Gnomes & Trolls: Homebrew TTRPG Rulz
A role-playing game is a game of imagination and collaborative storytelling. The players create a character based on the following rules, then they pretend to be that character in different situations as presented by the Narrator. The Narrator is also a player, but more of a storyteller and referee during the game.
As a player, you control one of the characters in the story—who they are, their background and motivations. In every scenario presented by the Narrator, you decide what your character says and does. The player has an active role in the creation of the fiction.
When it is your turn, declare what your character does with the same authority as a writer. Don’t ask “Can I try to do _?” Instead, based of the scenario that has been described, decide how your character would react, and then say what he does. There are circumstances where what you can do is governed by rules, such as in combat, but there are lots of times where you simply say what your character does.
The Narrator takes the actions of the characters, and the things they say, as what happens. Then he will say what happens next.
Characters can be of different species such as elves and dwarves, and have different abilities and skills that can affect the outcome of the game. Classes of skills, such as Fighter, Thief or Spellcaster define the role of the character within the adventuring party, which is comprised of all the players. When you encounter other characters (known as NPCs or Non-Player-Characters) during the game, such as merchants or monsters, the Narrator takes on their roles and determines their actions.
As players adventure through the world presented by the Narrator, they will gain experience points that are used to gain levels in their class. As a character gains levels they become more powerful—They can deal more damage when they hit, and they can withstand more damage before they become incapacitated.
A role-playing game doesn’t end at the end of a game session with a winner, like in a board game or card game. The characters continue their adventures from session to session, increasing in experience. The story is what happens during the game as the players, acting as their characters, interact with the challenges presented by the Narrator.
Core Mechanic
The Narrator presents the Players with situations, and players respond with what their characters say and do. However, not every situation is resolved through simple narration—instead dice are rolled to determine the outcome.
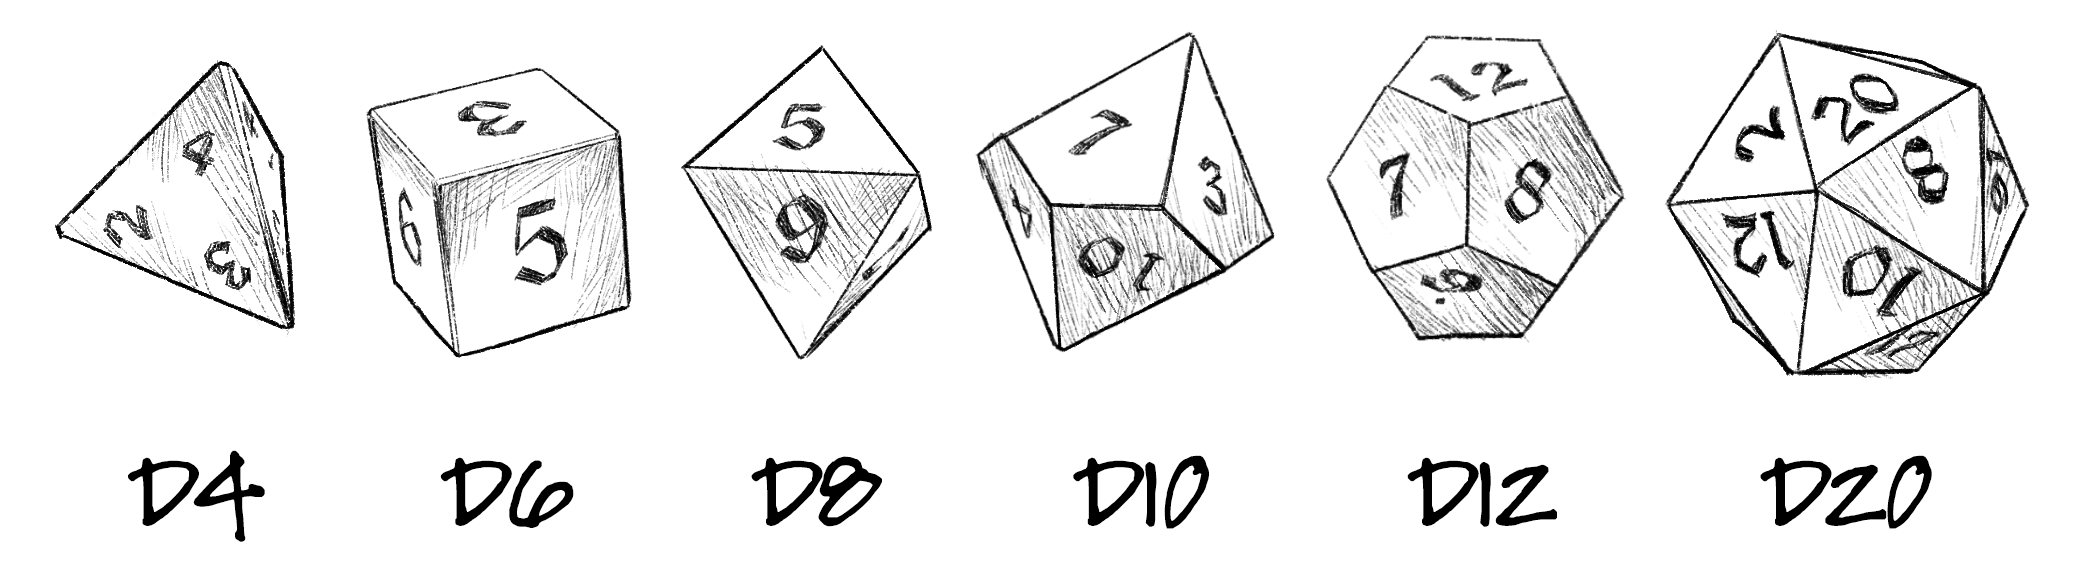
Players use polyhedral dice for a variety of actions in the game. The dice required is indicated by a capital D followed the number of faces, such as D4, D6, D8, D10, D12 and D20. When multiple dice should be used, the number preceding the D indicates how many. For example 4D10 means to roll 4 10-sided dice, which are added up to get the result.
The most commonly used dice is the D20. The 20 faces afford a lot of versatility for determining outcomes:
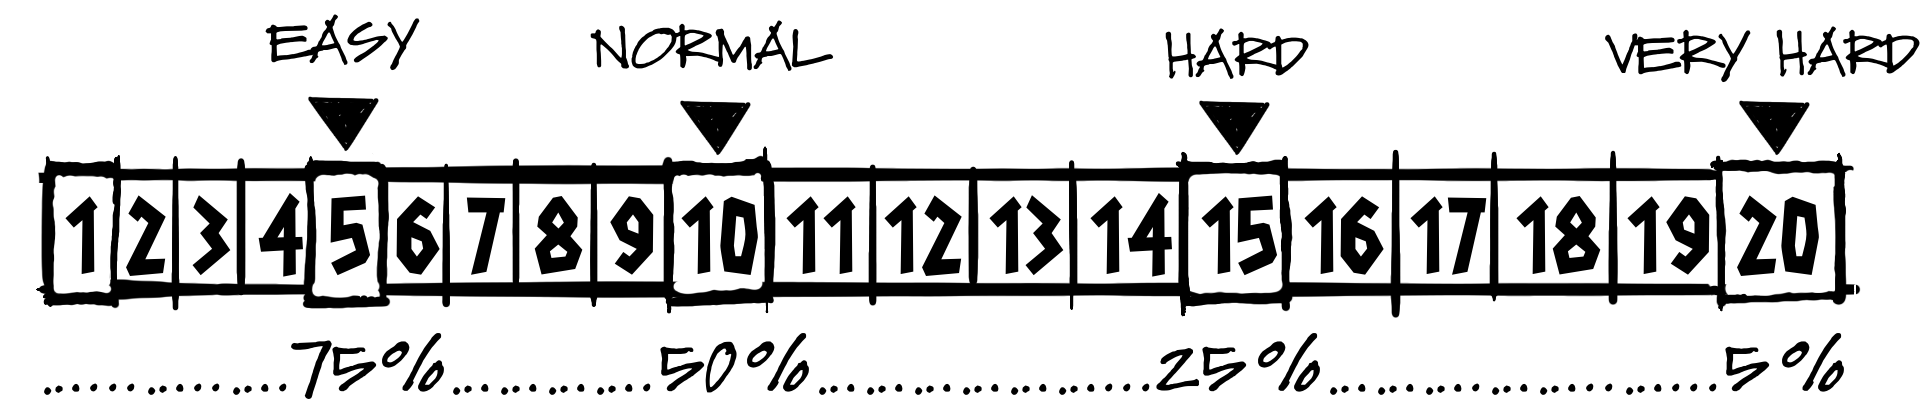
The range of the D20 can represent levels of difficulty and the chance of success for an action. The Narrator will ask the player to meet or exceed a target number by rolling a D20 .
Advantage and Disadvantage
There are circumstances where the narrator decides that you have an Advantage: Roll two D20 and take the best result. Conversely, there are circumstances where the narrator decides that you are Disadvantage: Roll two D20s and take the worst result.
Character Creation
- Attribute Scores
Roll 3D6 for each attribute: Strength, Agility, Stamina, Awareness and Intelligence.
- Strength: Physical strength. This score affects how much weight your character can carry (Pounds=STRENGTH x 5), and for a Fighter, how many Fury dice you have, as explained later under character classes.
- Agility: This score reflects your character’s nimbleness, dexterity and coordination. It contributes to your defense by making you harder to hit. For a Thief, it determines how many Finesse dice you start with, as explained below under the Thief class.
- Stamina: This reflects a characters health and toughness, and how much damage they can sustain before becoming incapacitated.
- Awareness: This score represents your perception, through your five senses of sight, smell, hearing, taste and touch.
- Intelligence: This score reflects a characters intellect and knowledge, ability to learn and solve problems. For a Spellcaster, this score determines their initial Focus Dice, as explained under character classes.
These scores (3-18) represent your character’s innate talent. They will be modified based on your character’s species, but thereafter will stay the same.
Your Species modifier is added or subtracted to your Attribute Score. Attributes may not be lower than 1, and not higher than 20.

- Choose your character’s Species:
- Human: D10 Health Die (HD is explained below).
- Dwarf: D8 HD. +2 Strength +2 Stamina
- Elf: D6 HD. -2 Stength, +2 Agility, +2 Awareness
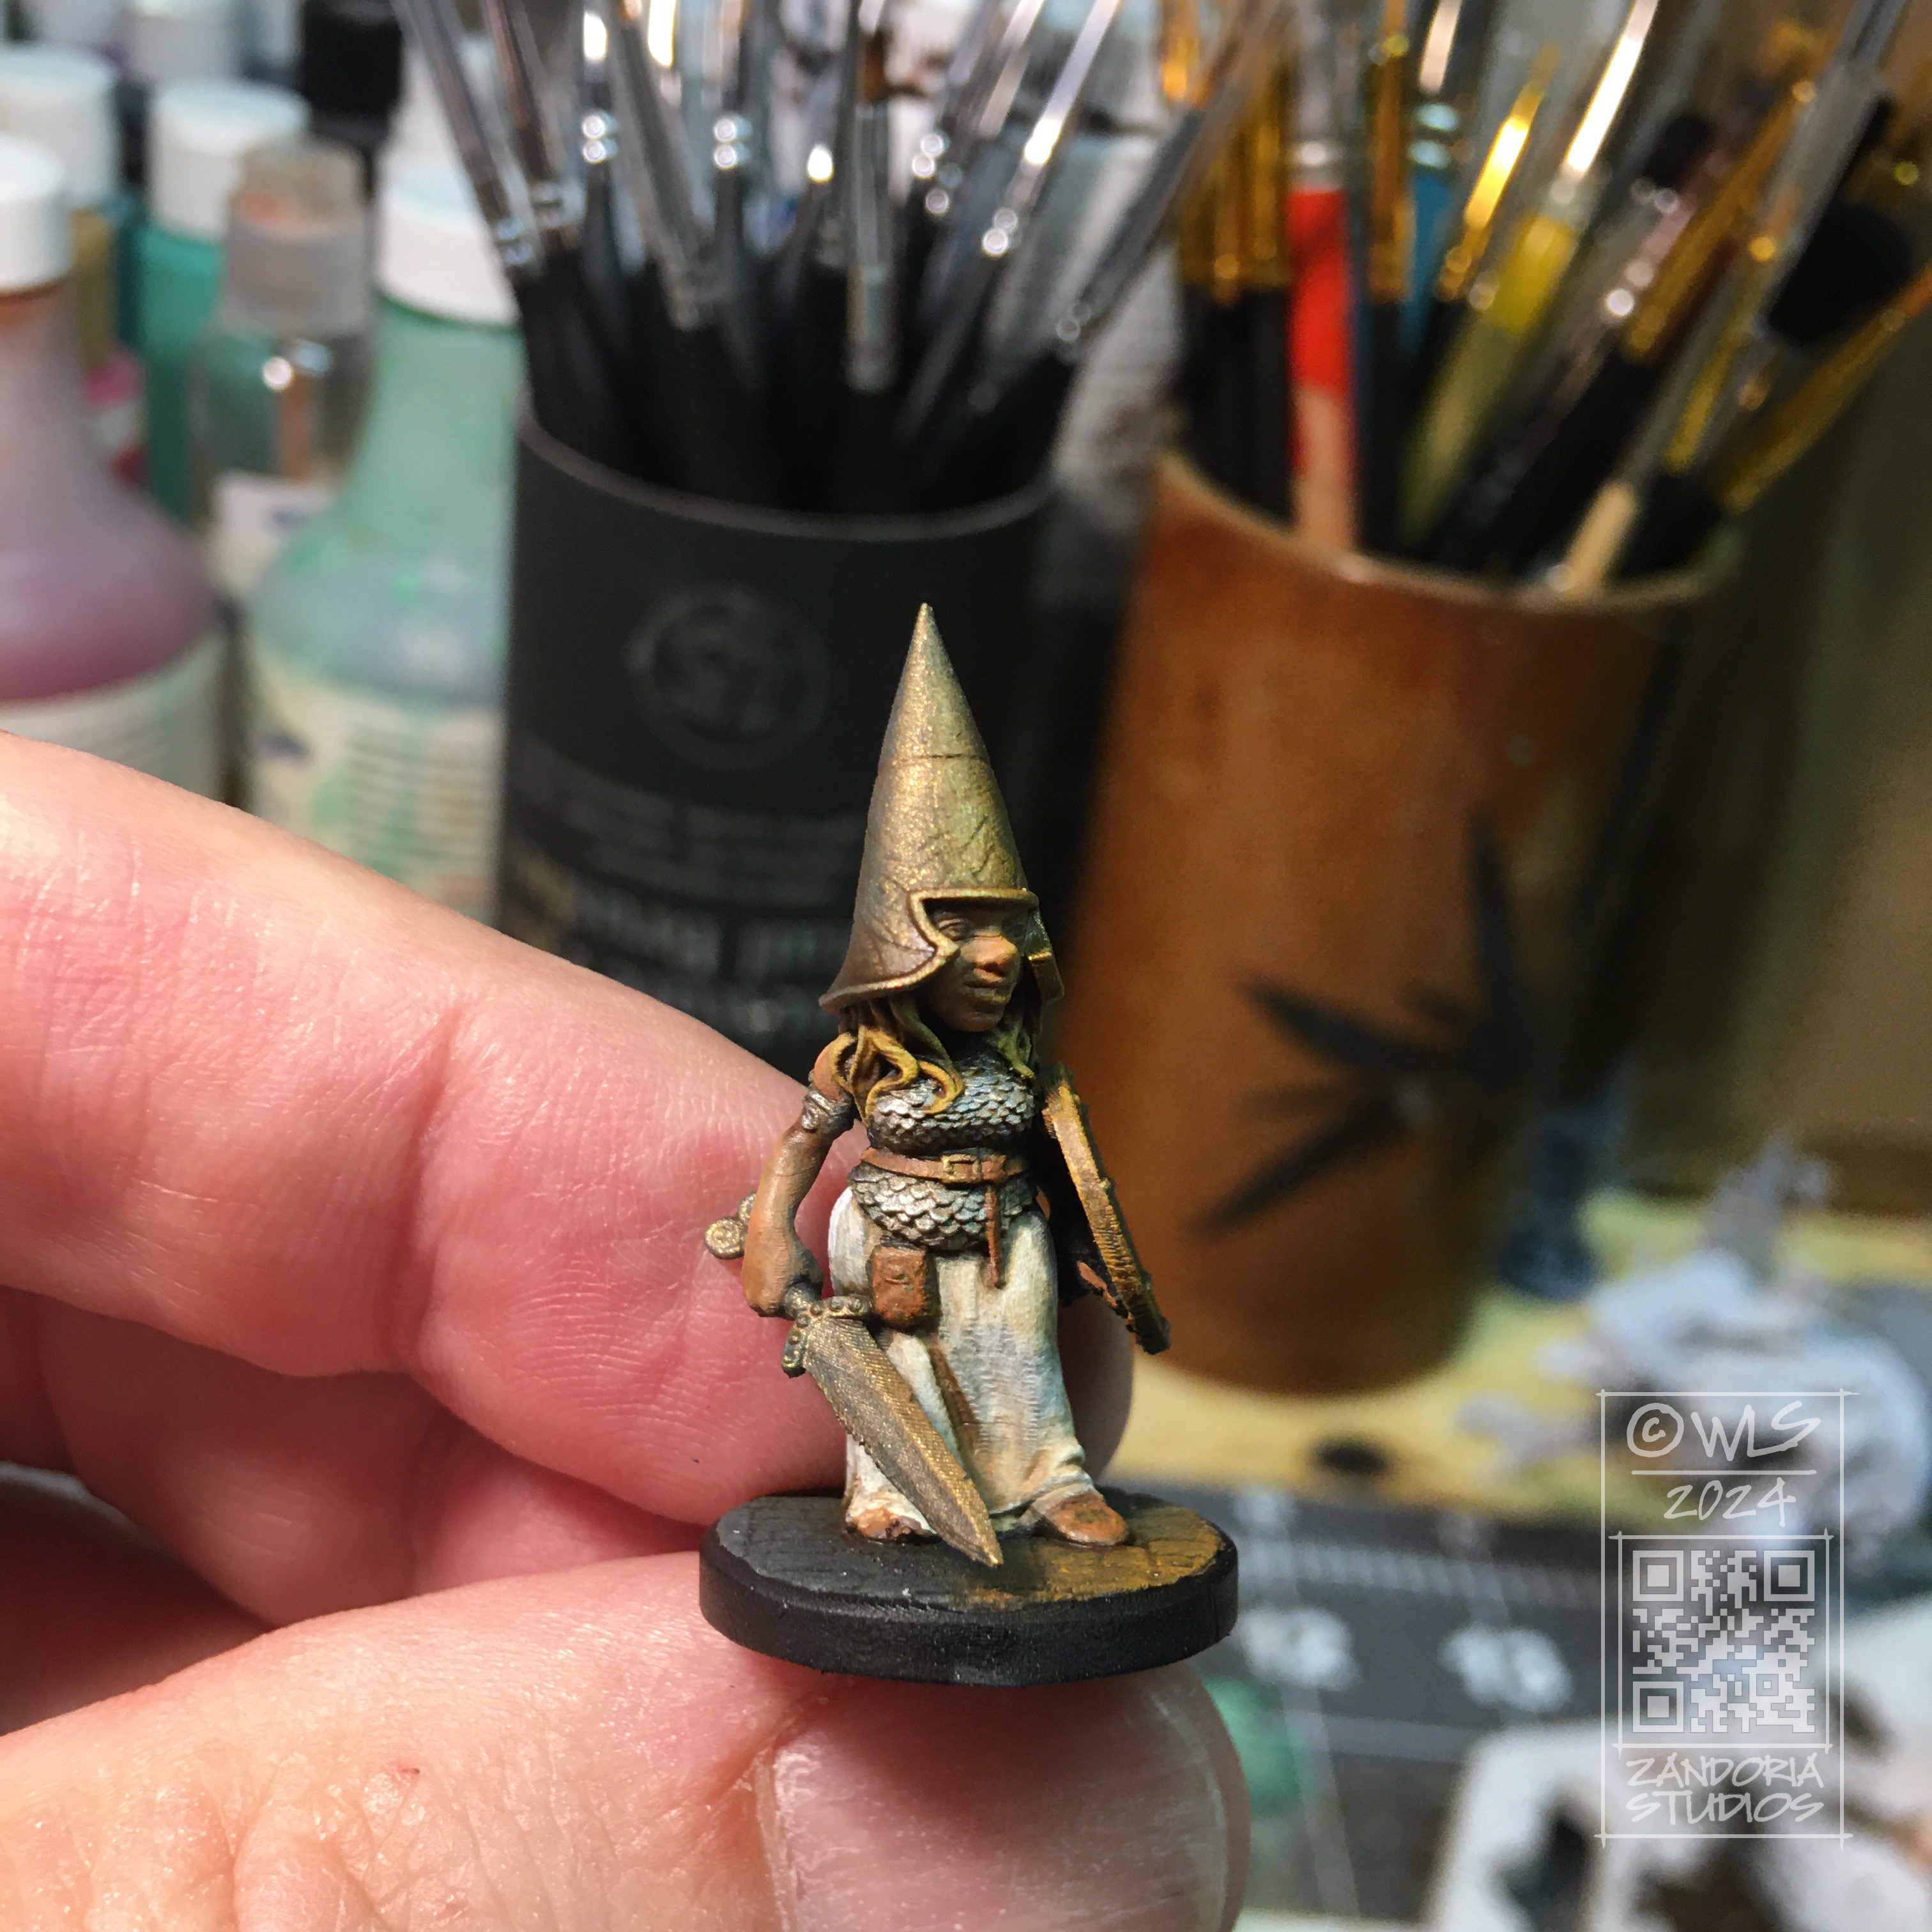
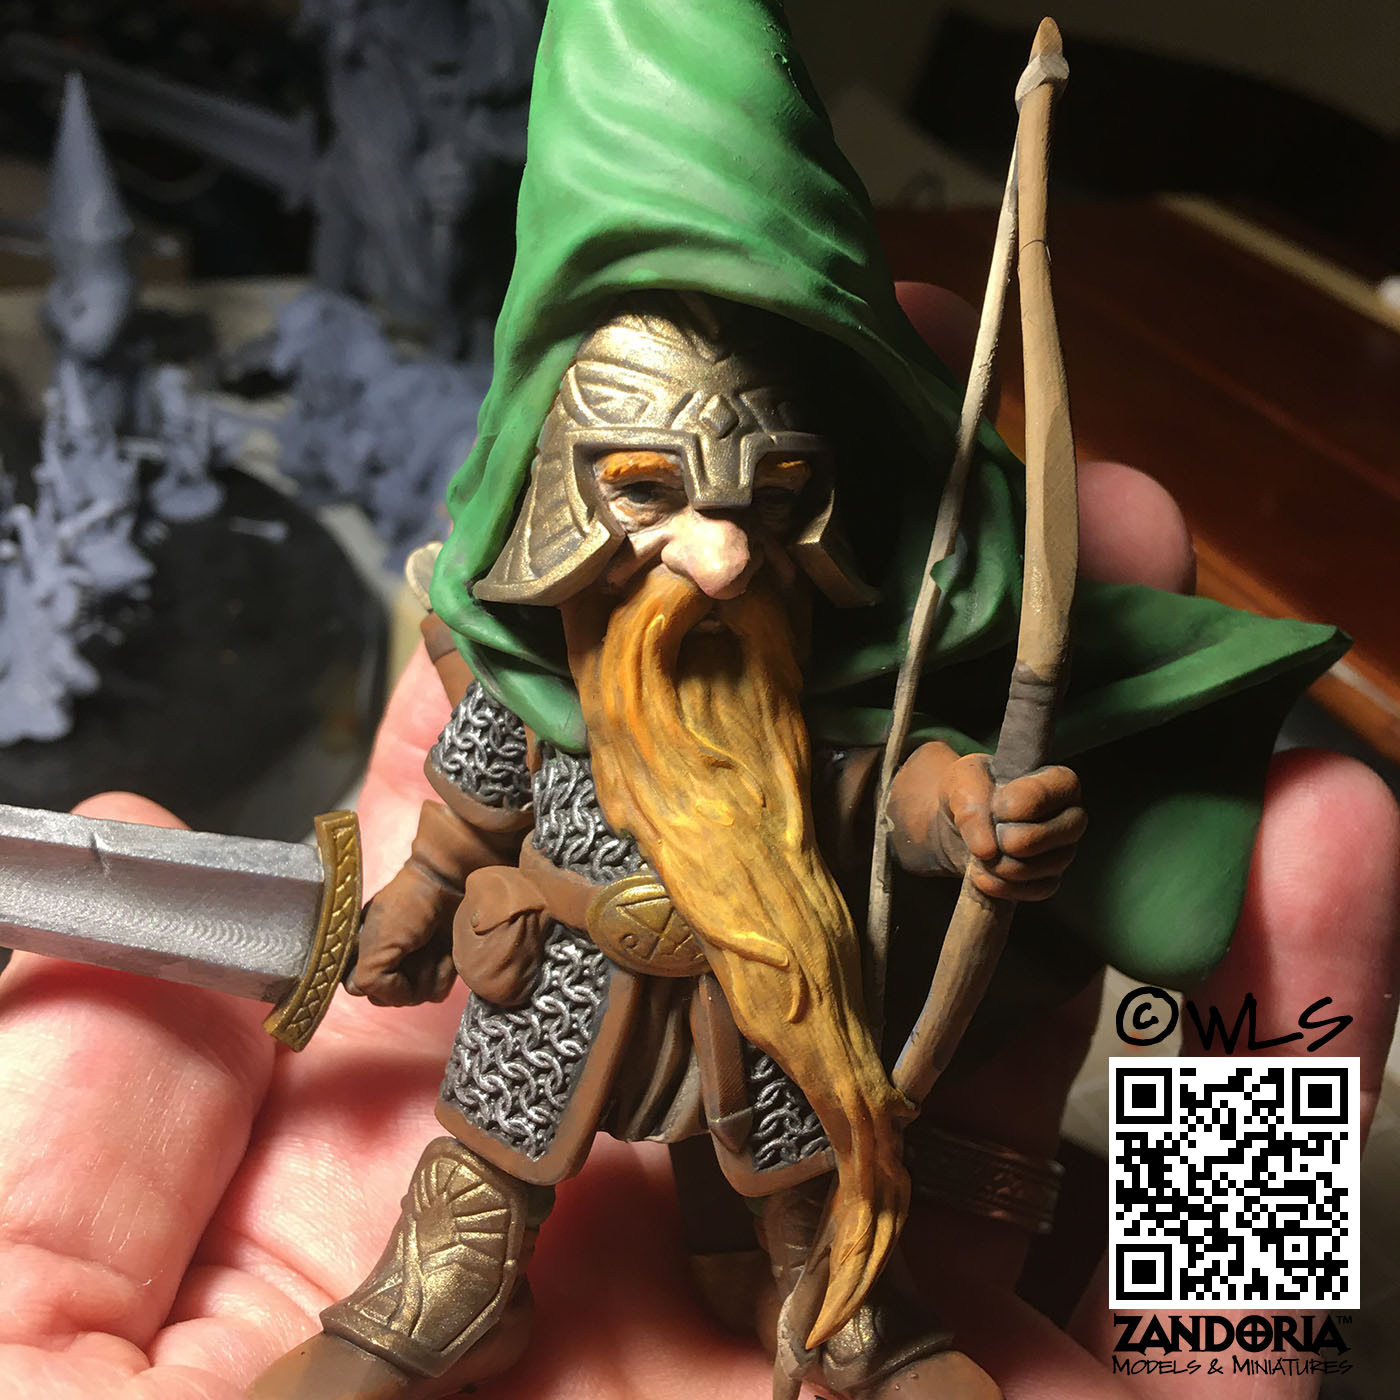
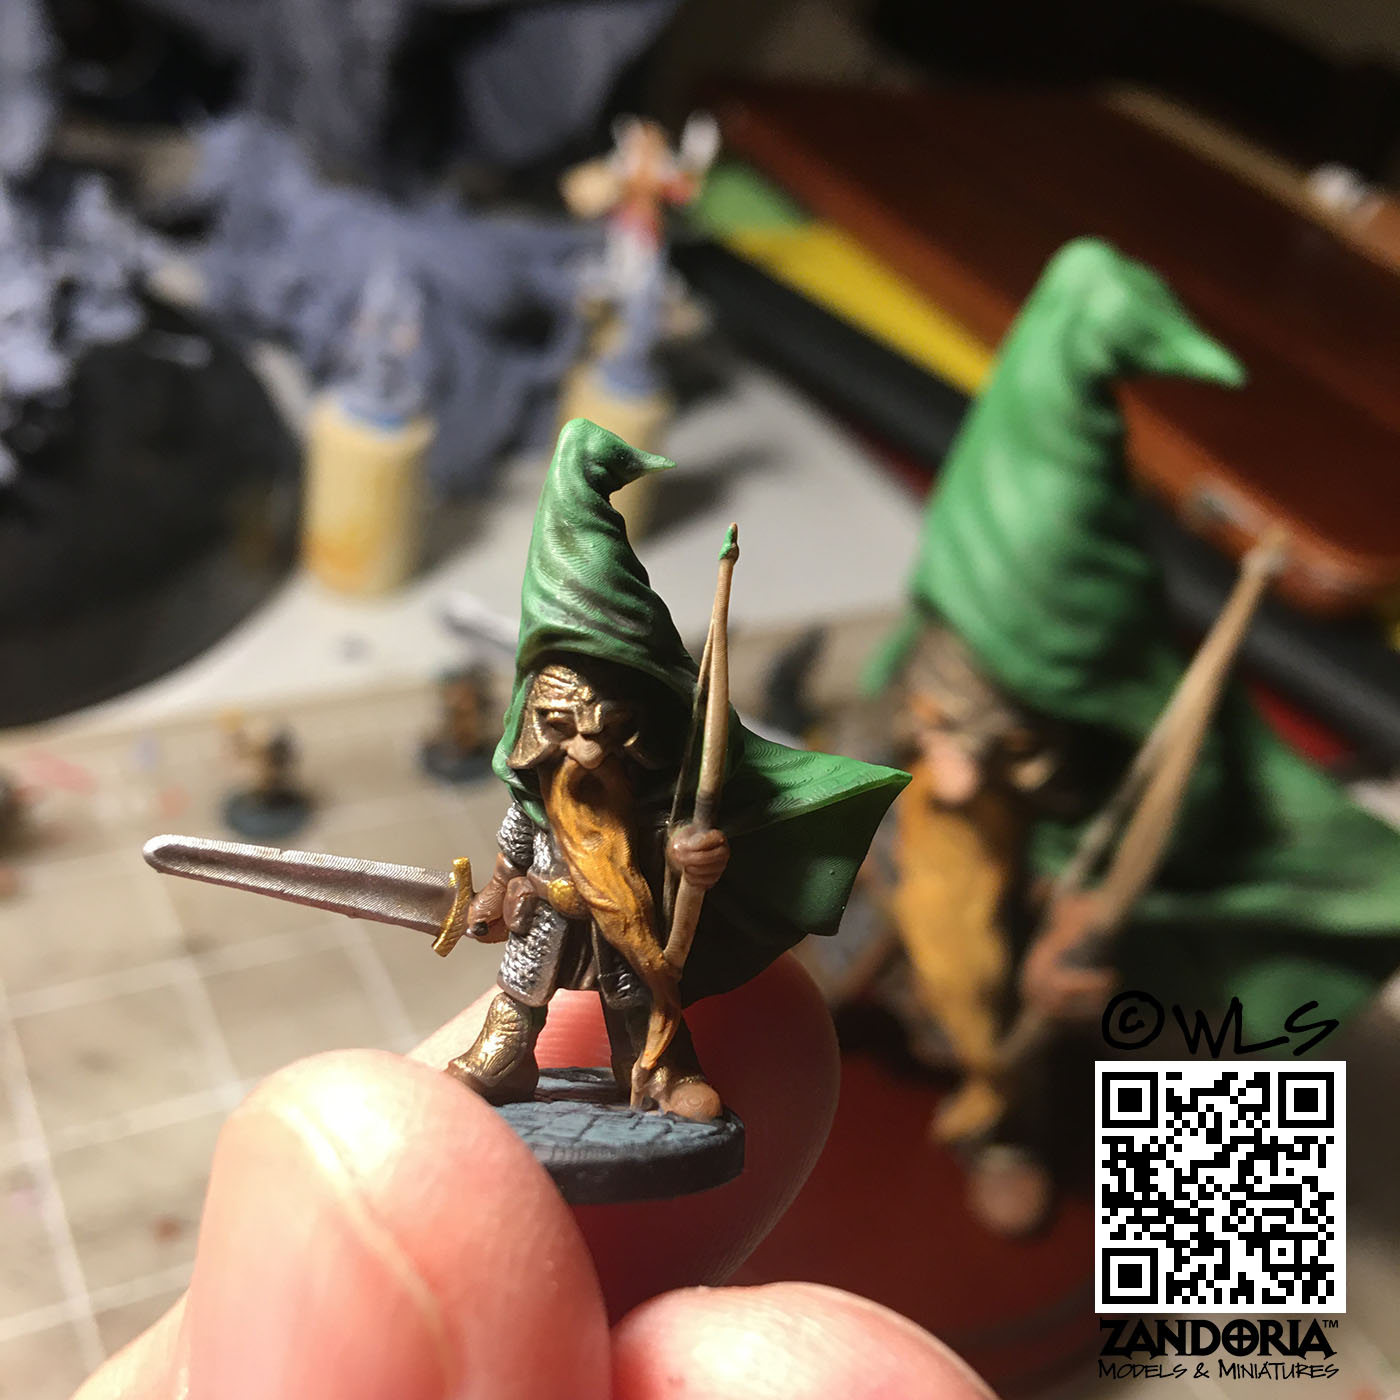
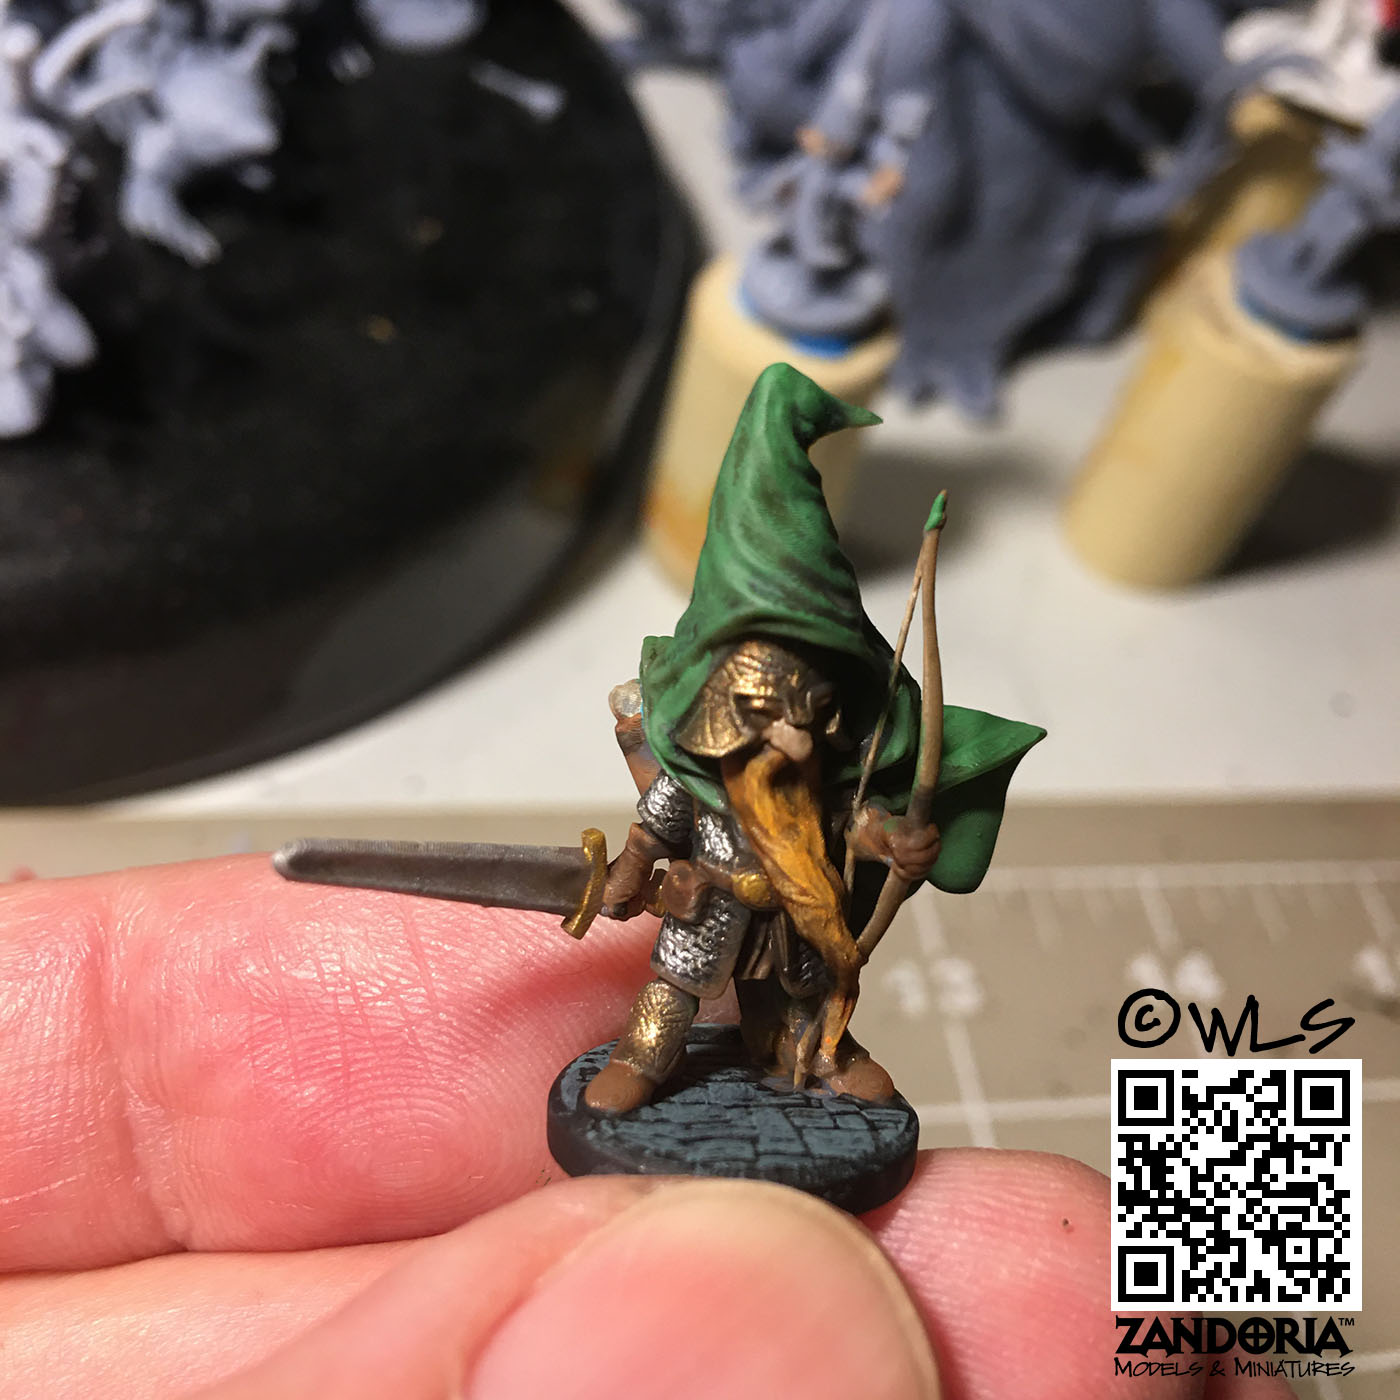
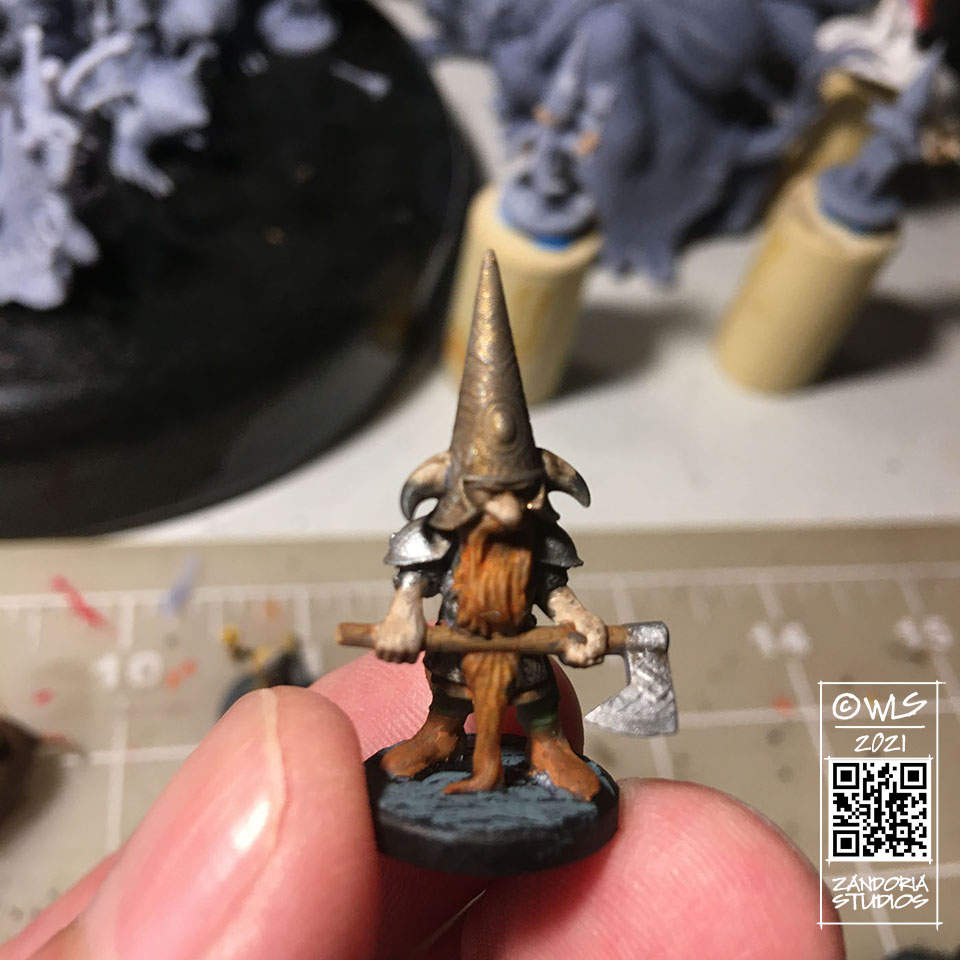
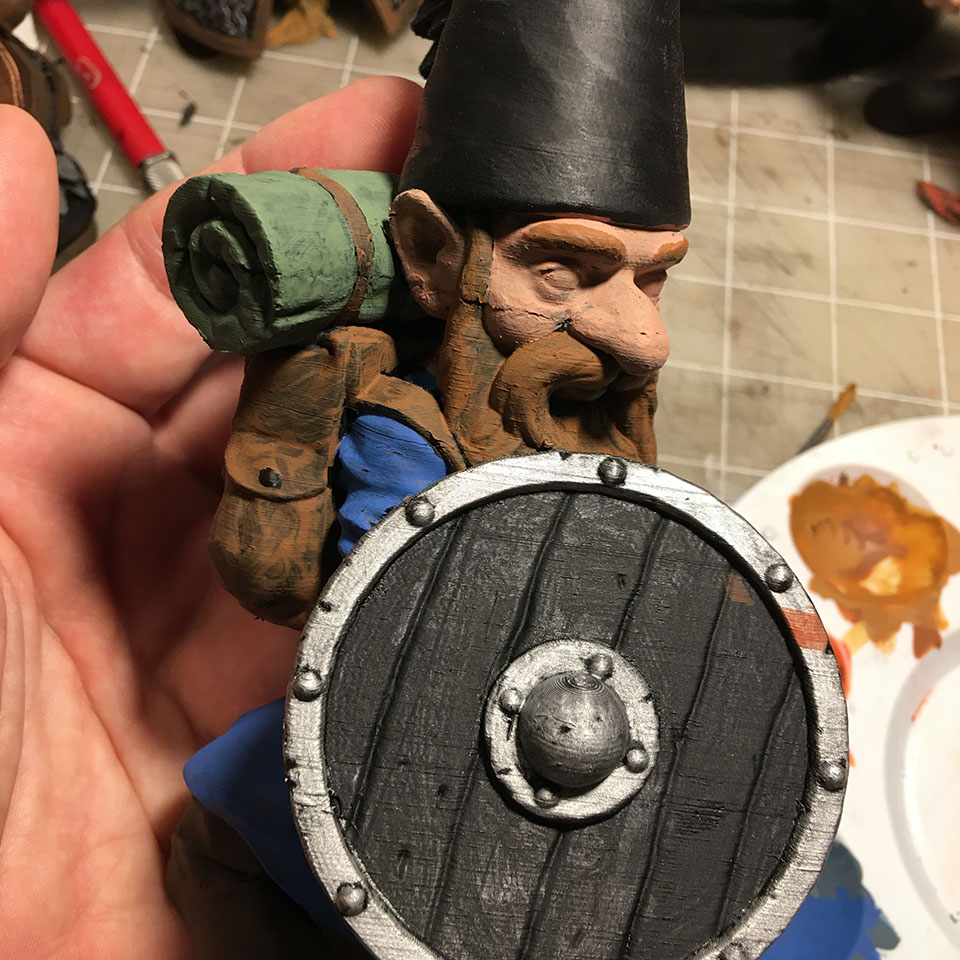
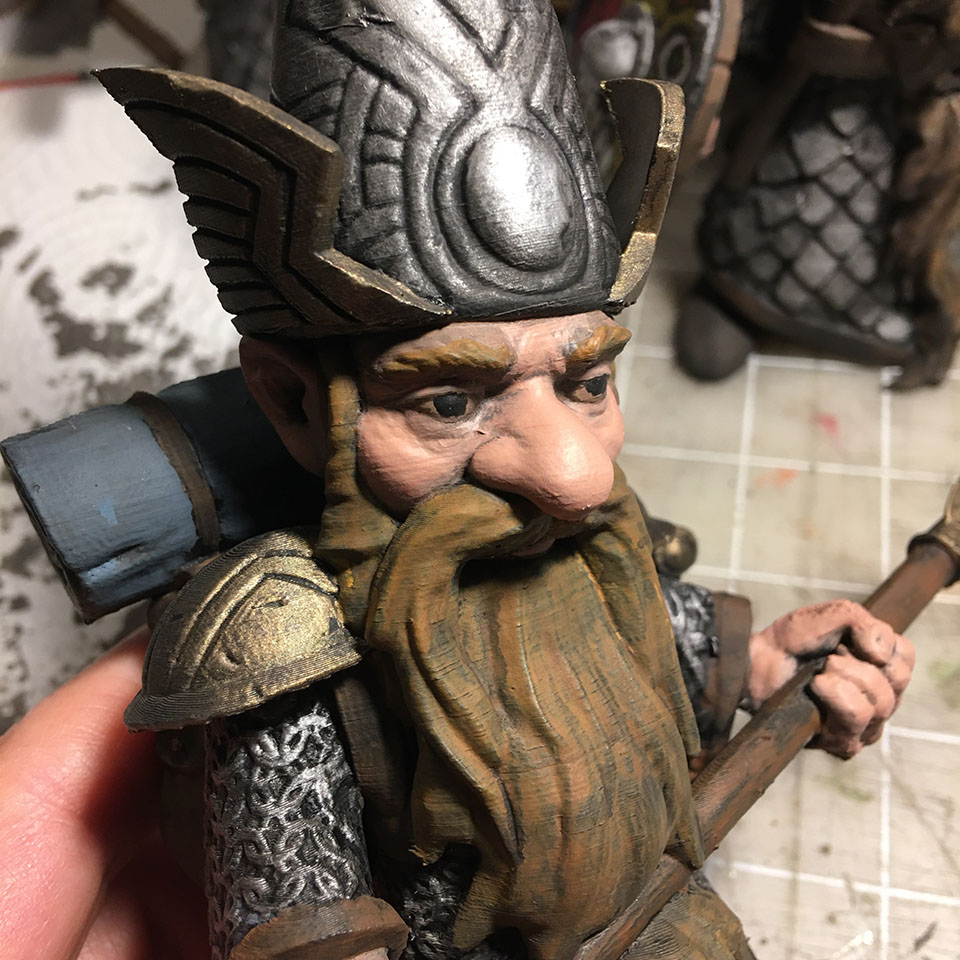
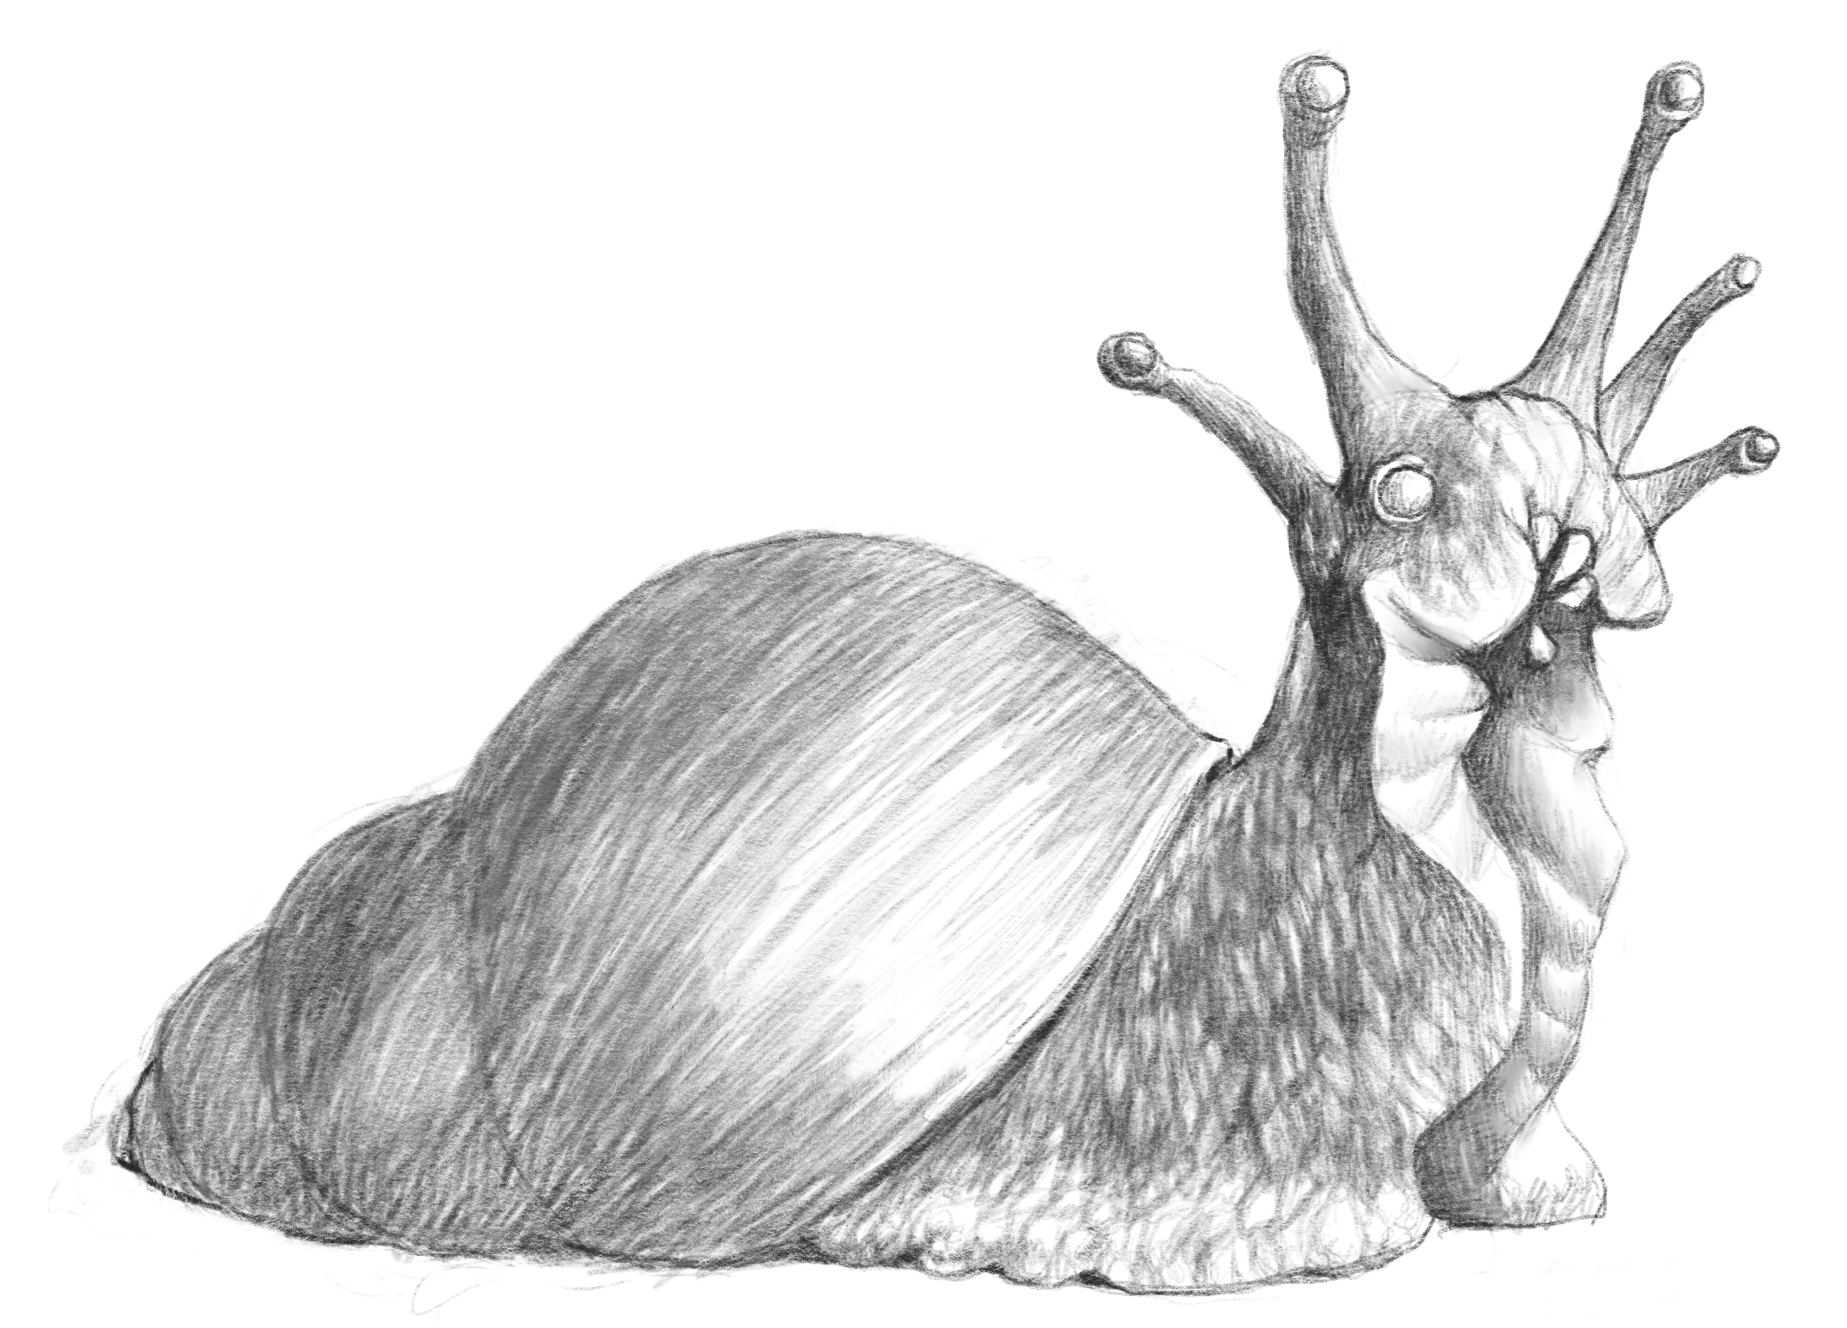
- Gnome: D6 HD. +2 Strength (Surprisingly strong)
- Fairy: D4 HD. -4 Strength, +4 Agility, +2 Awareness
Humans are the easiest species for players to understand, as we are all human. The attribute scores are not modified, as the game is balanced with human as the default. Human characters are resilient and have a D10 for their Health Die (HD), which is rolled to recover health points (HP)—health points are the amount of damage that a character can sustain before becoming incapacitated).
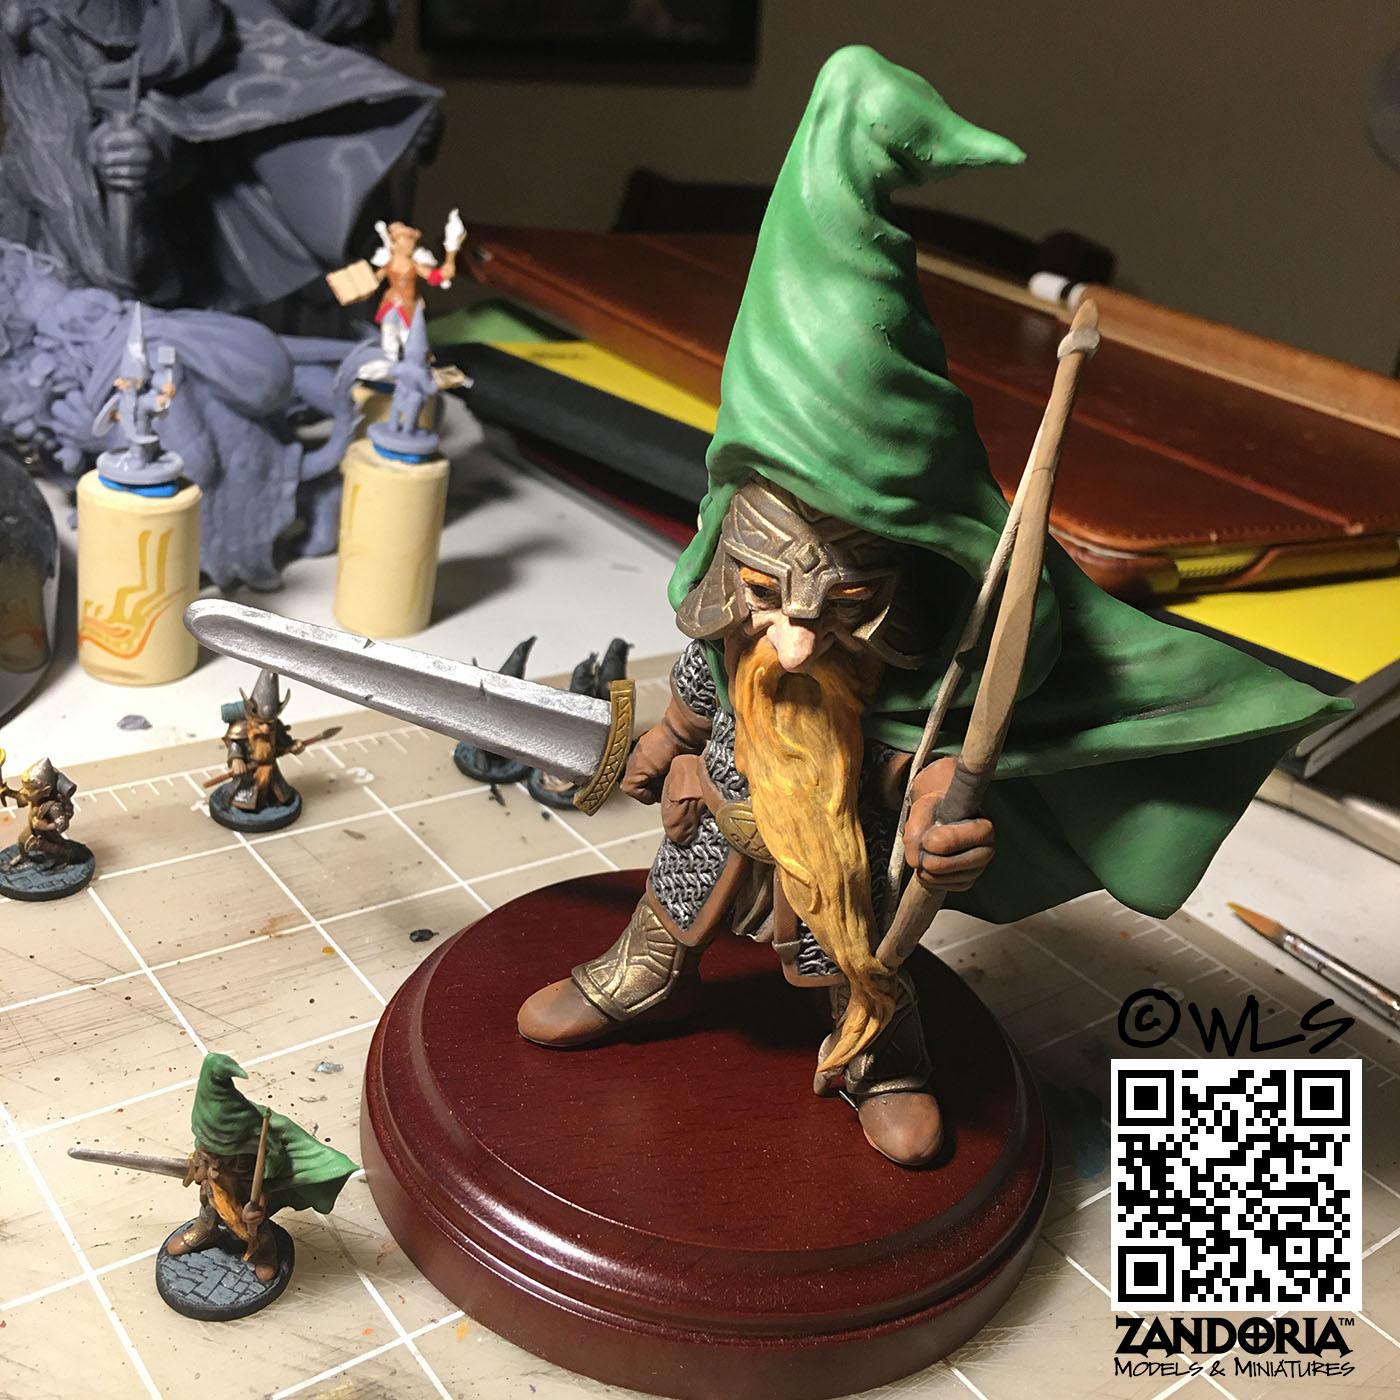
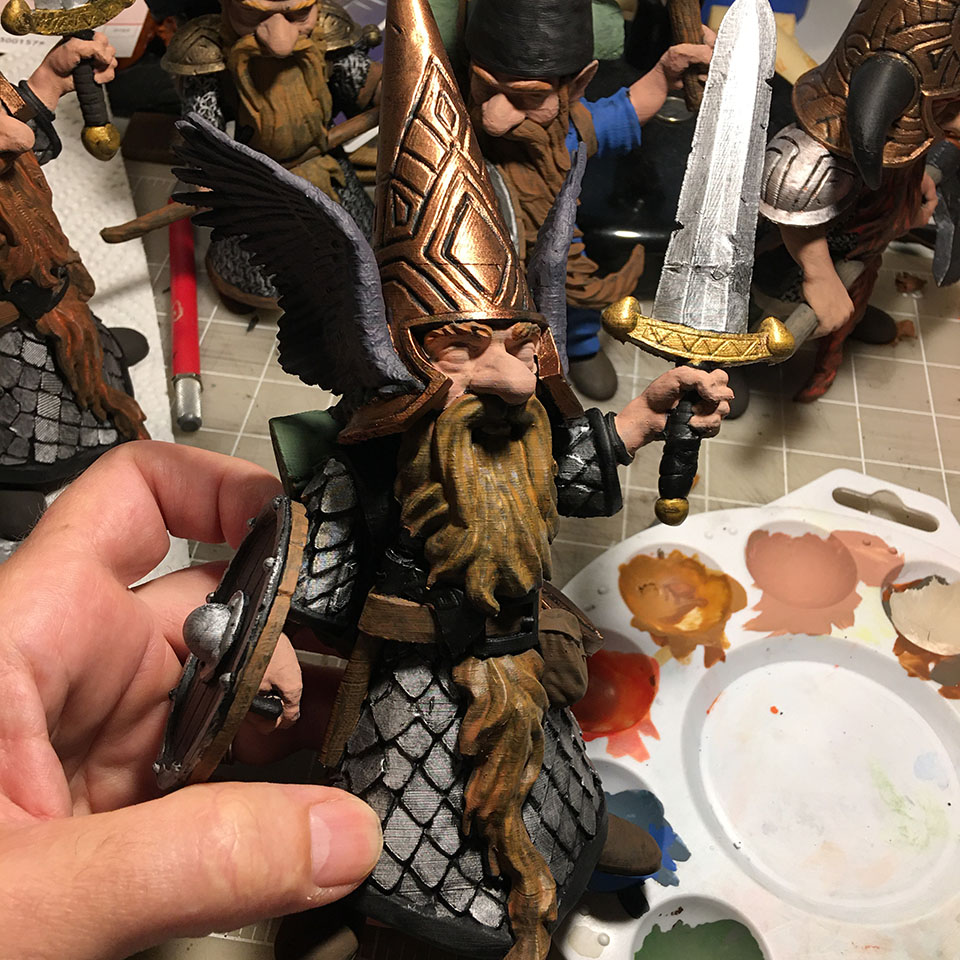
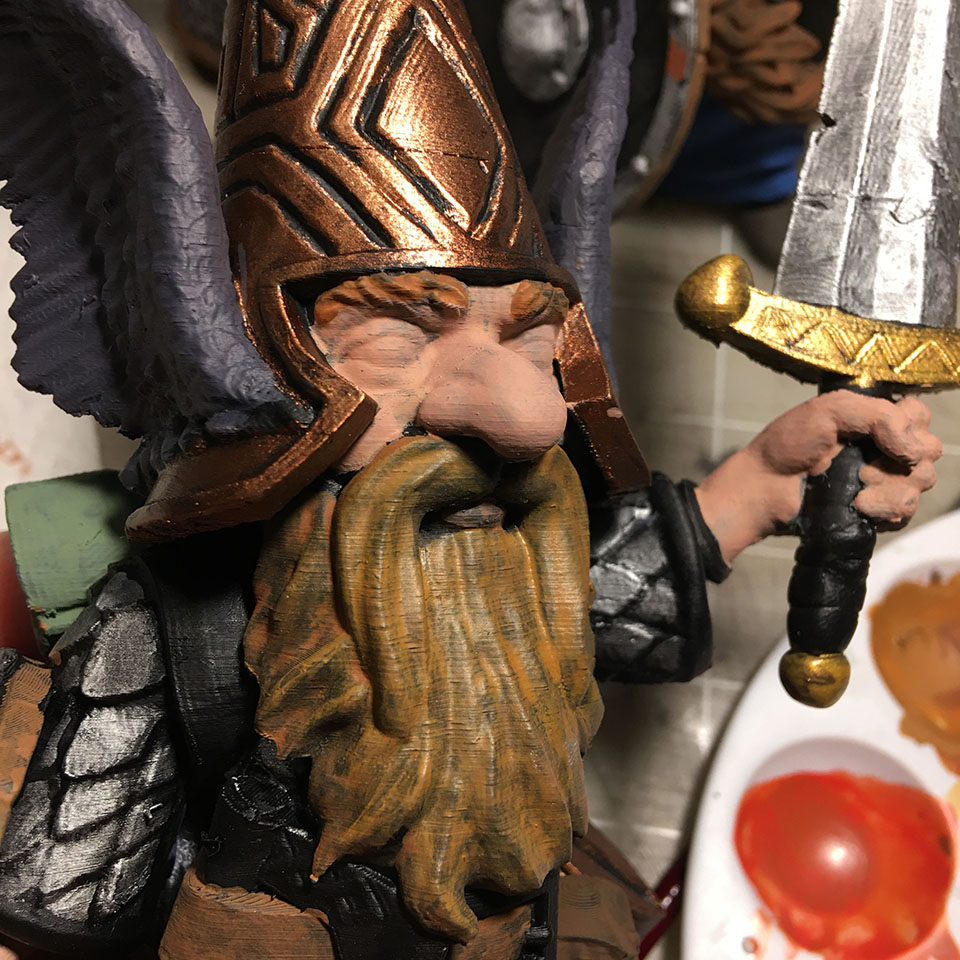
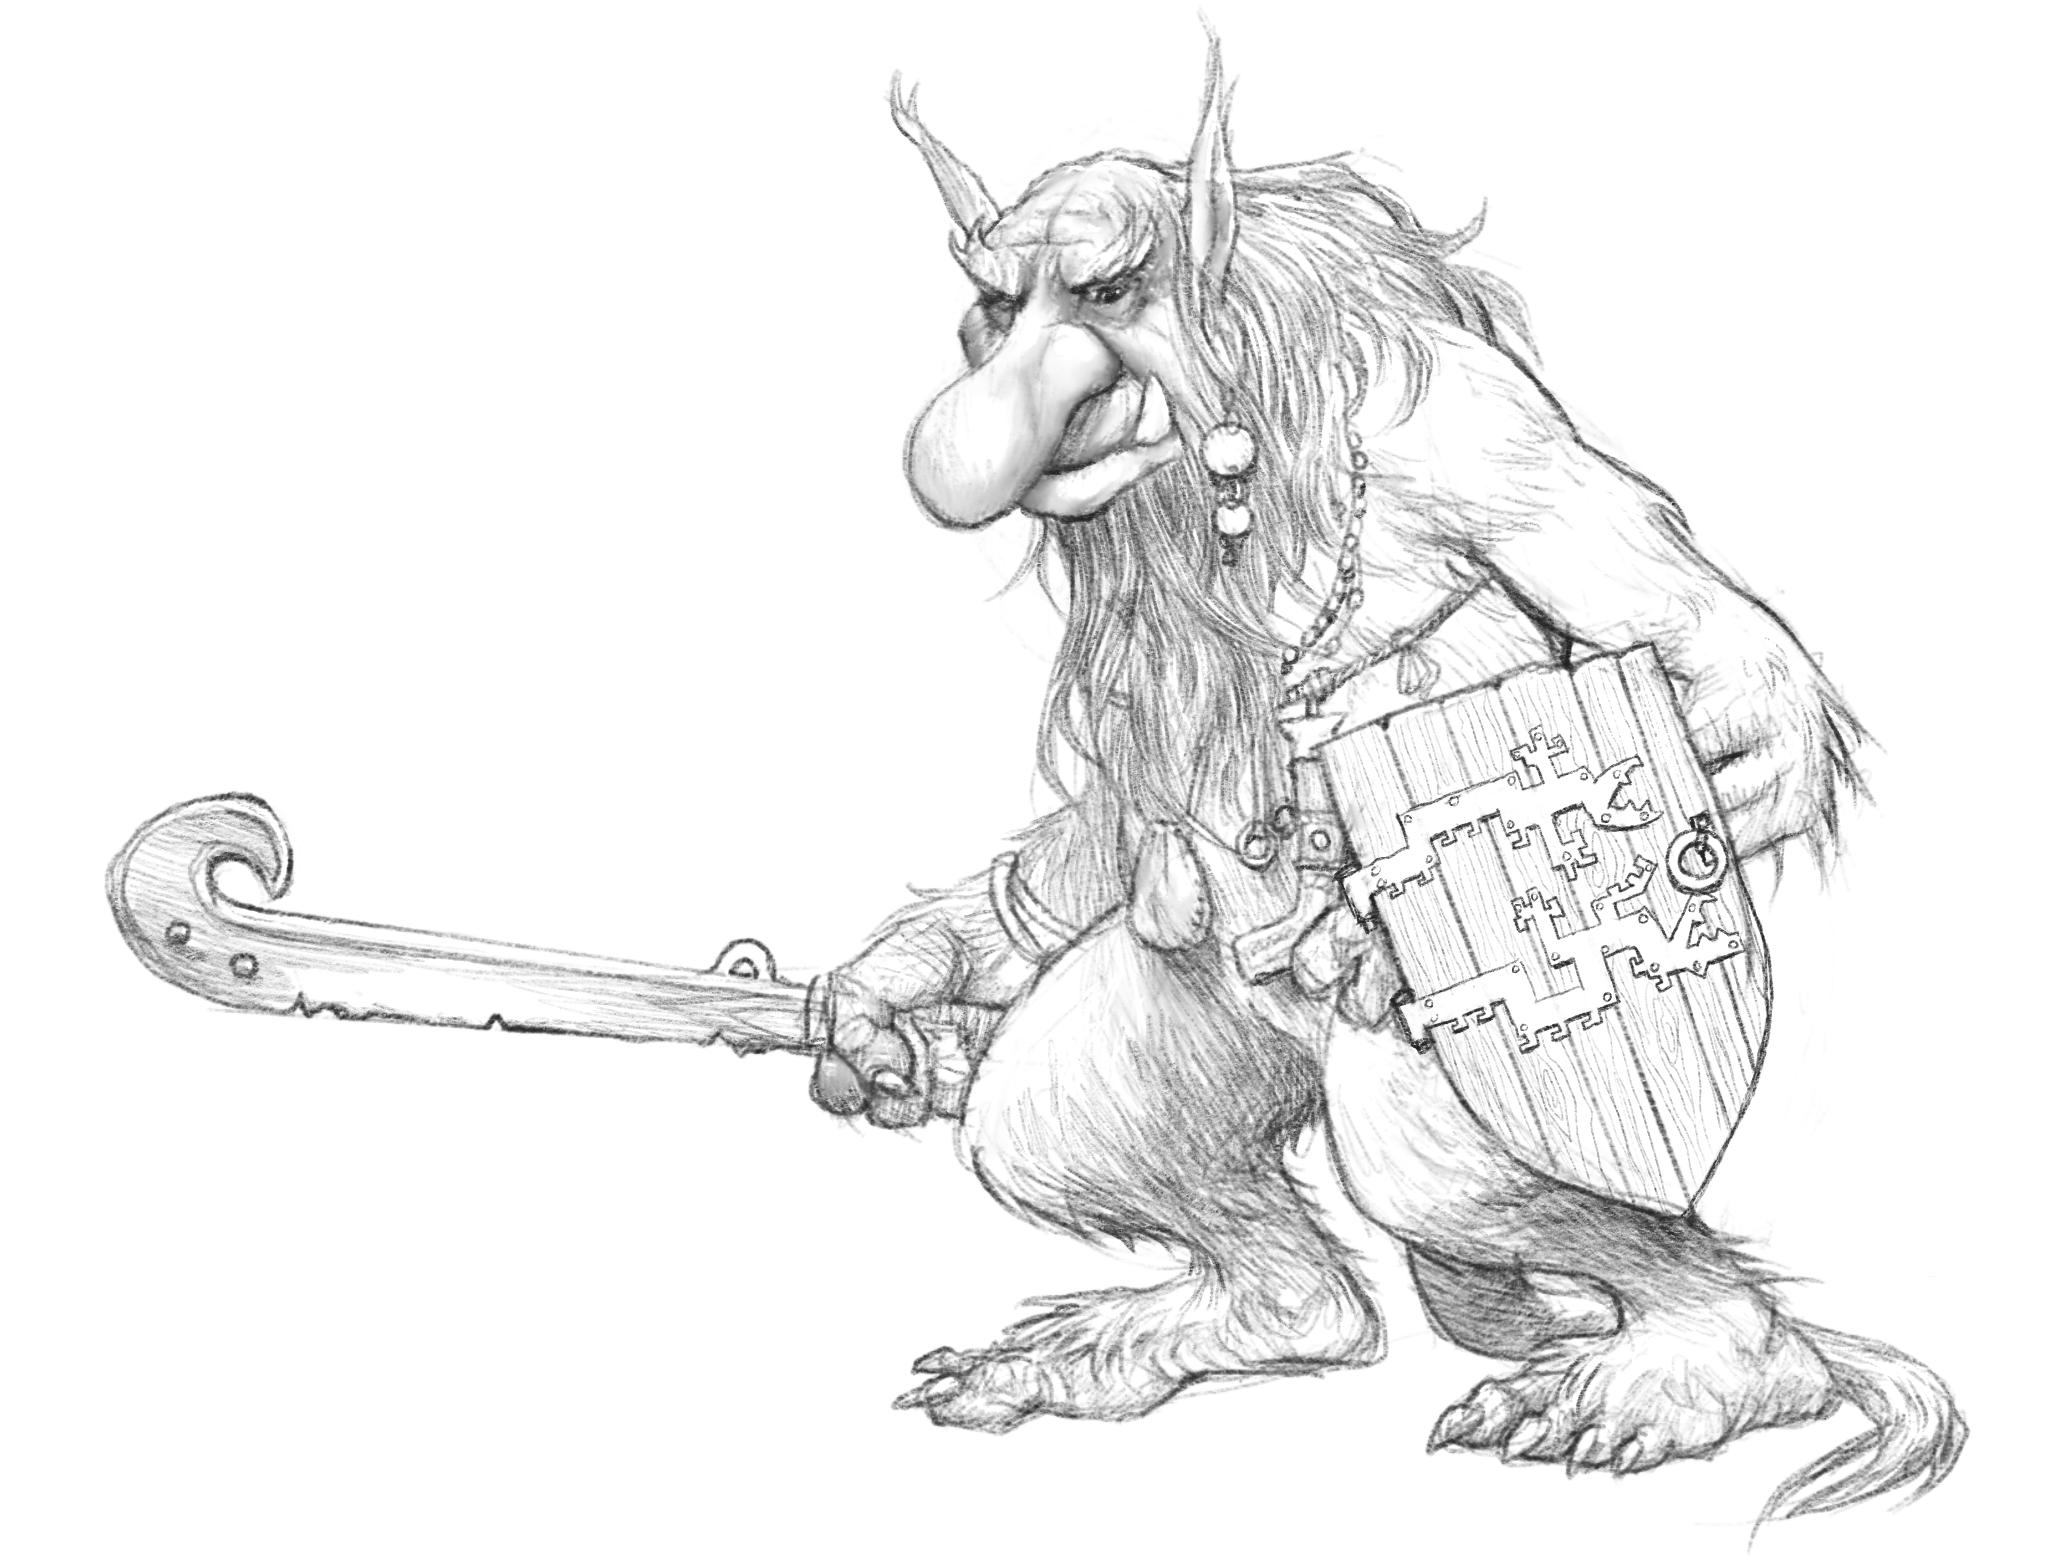
Dwarves are a familiar species from folk and fairytales. They live in hidden kingdoms beneath the mountains, where they also mine precious metals and gems. Dwarves are master craftsmen and are known for their magical weapons and armor. Stout and short, they have modifiers to their Strength and Stamina to reflect their increased strength and endurance. Dwarves also differ from us in their senses, as they can see in the dark by the subtle light (explained below, under Darkvision) as well as their deep sight, which is like x-ray vision. Deep sight allows a dwarf to see through solid stone and other materials to a range of about 30’. This is one of the reasons that dwarves are such excellent miners, since they can see the veins of metal within the rock. Dwarf characters use a D8 for their Health Die.
Elves are another species known from folklore and mythology, where they are often called “the good folk”. They vary greatly in size, from very small such as Nisse and Tomte (which might be mistaken for gnomes because of their pointed caps), to medium sized elves like the leprechaun, to high elves such as the Tuatha de Danan who are about as tall as a human teenager. Elves are slender and agile, and have a modifier to their strength and agility to reflect that. Elves have keen vision and hearing and also get a bonus to their perception. Elves use a D6 for their Health Die
Gnomes are another species from folklore, very much like the dwarves in their knowledge and crafting of metals. They have the deepsight the same as dwarves, and can see underground by the subtle light as well as they see by day. Gnomes are sensitive to sunlight,so often wear their caps low over their eyes. Gnomes can vary in size, but are generally between 2-3’ tall. Gonks are an unusual type of gnome, which don’t just have a long beard, but fur (and sometimes a tail) over their body! Gnomes are surprisingly strong for their size, often stronger than a man, so have an ability modifier for their strength. Gnomes have a D6 Health Die.
Fairies are an unusual species. Very small, between 6-12 inches, with wings like an insect or butterfly. They have a kinship with plants and trees, and can even speak with them. Fairies are often spellcasters, and use illusions to hide from danger. Because of their small size, fairies have modifiers to their strength. agility and defense, and a D4 for Health Die.
Darkvision
While humans see by visible light, there are some species who can see a wider spectrum such as ultraviolet or infrared, or who can see a subtle light from neutrinos and cosmic rays which permeate deep underground.
Gnomi, such as gnomes and dwarves, can see underground as well as men see outdoors by this subtle light. They also can peer deep into stone with an x-ray vision called deep sight. This is why they are such good miners, as they can see the veins and know where to dig.
Elves can see very far, like an eagle. They can see by very faint light, such as starlight, as well as if it were daylight. Underground, elves can percieve the subtle light in the darkness, though not as well as gnomes and dwarves, only about 30’.
Fairies see by daylight, but in a wider spectrum than men. They can see the earth’s magnetic field, just like birds, and they can also percieve the bioelectric fields generated by living things, called auras.
This lets them see invisible creatures, as well as the true form of shape-shifted creatures, and sense their intentions. They see by normal light, but need a candle or lamp to see in darkness.
Health Points
Health Points (HP): (STAMINA/2) + Your Species HD (per level). As you gain higher levels in a class, you gain an addition Health Die which you add to your total health points. For example, Thorin the Dwarf is a 5th level fighter with a Stamina score of 18. As a dwarf his Health Die is a D8, so he gets 8 HP for every level, for 40 points, plus he gets an additional 9 points from his Stamina, for a total of 49 Health Points (HP).
Health represents your stamina in a fight and how much damage you can take. HP are regained by rest or by healing magic. A character regains 1 Health Die per hour of rest (roll for the number of points). When your character rests, roll 1 HD for each hour rested. This is how many health points you recover. You may require several days rest to heal up from an adventure…
- Choose your Character Class. A class is a class of skills associated with a profession or craft. You begin with 10 XP, which is the required number of experience points for 1st level in a Class.
There are many classes of skills, such as blacksmiths, weavers, bakers, brewers, etc. Which are not relevant to adventuring, as they require years of apprenticeship… If you want to play these NPC characters, choose to be the Narrator!
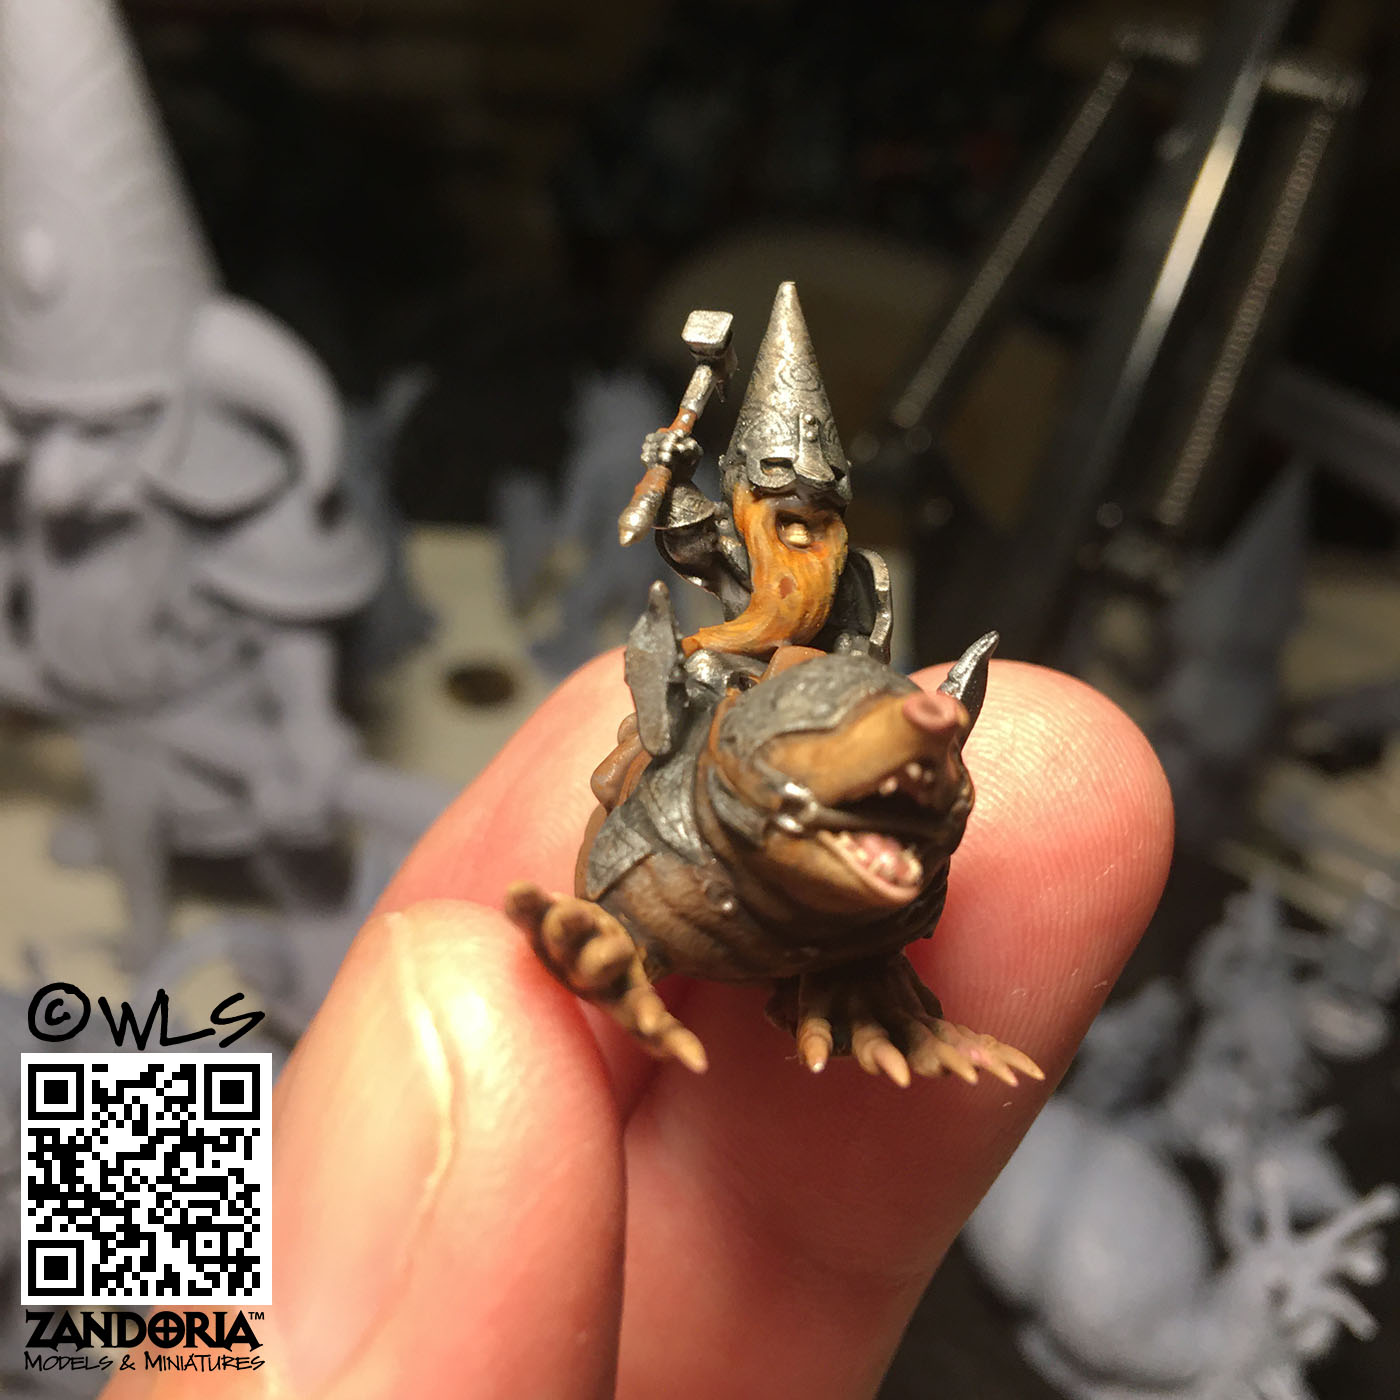
Fighter
Whether a knight in shining armor, a barbarian wielding a two-handed greatsword, or a meditative monk trained in the martial arts, all these characters are Fighters.
· Fighter: Add your Fighter level to all attack rolls. Damage Die is by weapon type. The number of damage dice rolled is equal to your fighter level. Fighters have training in both armed and unarmed combat, can use any weapon or armor, and has basic first-aid skills in binding wounds: (recover 1D4 HP).
A Fighter has FURY Dice (D6) equal to STRENGTH/2 + Level. You can use these dice to add to any D20 roll. You recover them 1 per hour of rest.
Thief
The Thief is much more than just a burglar, but a master of shadows and stealth. The Thief can disarm traps, sneak into guarded strongholds and make off with hidden treasure without alerting anyone that he was even there!
· Thief: Add your Thief level to D20 rolls for hiding, moving silently, climbing walls, picking pockets, sleight of hand, finding traps, and picking locks. The difficulty of these tasks will be determined by the Narrator.
A Thief has FINESSE Dice (D6) equal to AGILITY/2 + Level. You can use these dice to add to any D20 roll, such as attacks, saving throws, and thieving skills. You recover them 1 per hour of rest.
Sneak Attack: You can Backstab for extra damage dice (by weapon type) equal to your Thief level + 1 when you attack from hiding, or if your target is engaged in combat with another character or otherwise unaware of your attack, such as a ranged weapon attack.
To Hide from an opponent the DC= Target’s Awareness score. You can hide even from a target in combat during the Movement phase (though you may be visible to other enemies). Hiding is simply getting into the target’s blind spot (like a Ninja)…
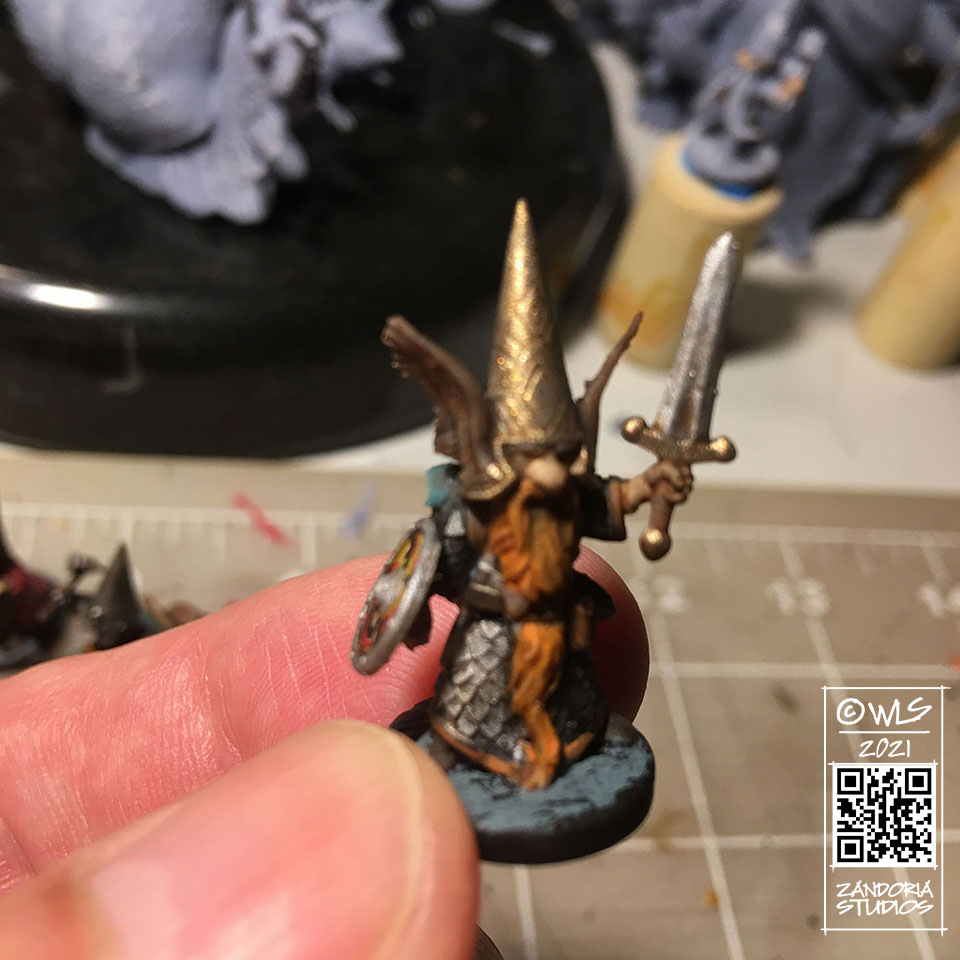
SpellCaster
· Wizard, Warlock, Sorcerer, Druid, Mage, Priest—There are many names for spellcasters, but all of their magic works the same. You cast spells as described below in the Magic section. Spellcasters also have the knowledge to craft scrolls, wands and staffs, potions and other magic items (with the proper time and materials).
A Spellcaster has FOCUS Dice (D6) equal to INTELLIGENCE/2 + Level. You can use these dice to add to any D20 roll. You recover them 1 per hour of rest.
Multi-classing
When you receive experience points, you may choose to add another class if you have enough points. For example you could have levels of Fighter, Thief and Spellcaster. When you are multi-classed and recover Health Points during a rest, you also recover Fury, Finesse or Focus dice (1 per hour of rest), but you must divide the Dice recovered between your classes.
Combat
Initiative & Flow
At the beginning of combat, players (and the Narrator) roll a D20 for Initiative. If one of the players rolls the highest, the player characters have the initiative and go first. If the Narrator rolls the highest, the monsters have the initiative and attack first.
It is important to remember that players turns are not sequential, but are simultaneously taking place during the same 6 second round—Thieves making sneak attacks, Spellcasters firing bolts of magical energy. When it is the players turn, all should announce what their characters are doing and then roll their dice all at once.
It is natural for players to want to build off what the player before them did, but a character should not be stopping their attack mid-swing to react to what another character is doing during the same 6 second round.
Making an Attack
Roll a D20.
Add your Character level to the roll + modifiers (such as from a magic weapon); Fury, Finesse or Focus Dice.
If the total meets or exceeds the enemy’s Defense, you hit. Roll damage dice based on weapon type.
Defense Score:
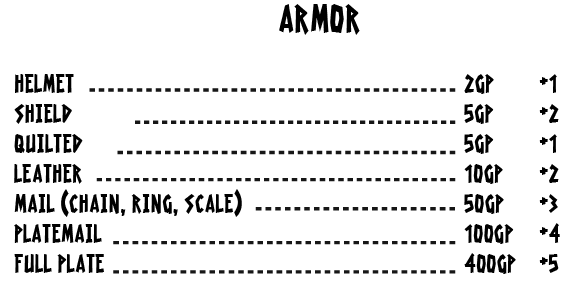
DEFENSE = (AGILITY/2*) + Armor + Shield Bonus *round up
Defense is capped at 20.
Death & Dying
· Incapacitated: At 0 HP, you are out of the fight. All Fury, Finesse,and Focus Dice are expended. Only magical healing or rest can get you back up. Enemy monsters are likewise stunned and incapacitated at 0 HP, and will try to crawl away…
· Instant Death: If a single attack’s damage exceeds your maximum HP, or you are hit with an attack while incapacitated, you die.
· Healing: For every full hour of rest, roll one of your Hit Dice to regain HP. It might take several days of rest to recover all of your hit points.
Magic System
Spellcasters, whether wizards, priest, warlocks, druids or sorcerers, have a number of Focus Dice that they can use each day to cast spells. Focus Dice = INTELLIGENCE/2 + caster level. Whenever you cast a spell, you expend one of your focus dice.
Cantrips are simple magical effects,such as detecting magic, igniting a fire, snuffing out a candle, a puff of smoke, throwing your voice, or making a noise, or creating a dim light (like a candle). They use only a tiny bit of power and do not cause damage, and do not count against a spellcasters pool of Focus Dice–But you must have at least 1 Focus Die available to use a cantrip.
As a spellcaster advances in experience the power of their spells increases. A spell like Firebolt does 1D10 damage at 1st level, but increases to 2D10 at 2nd level, and 3D10 at 3rd level. Some spells require the caster to be of a certain level before they can cast that spell.
To cast a Spell, roll a D20 + Caster level, this is your Spellcheck, and determines how potent your spell is and what the saving throw is. A spellcaster can expend a Focus die to increase the spellcheck number. If the spell targets an individual, the spellcheck must beat the target’s DEFENSE score. If the spell targets an area, then anyone within that area is affected, regardless of Defense–but they may make a Saving throw for 1/2 damage or to avoid the spells effect.
Area of Effect
· Area of Effect: A spell can target an area of effect, rather than an individual target, negating Defense. The size of the area scales with the Spell Tier, For a 1st Tier spell, the area is 0ne 5’ x 5’ square. At 2nd Tier, the area is a 10’ x 10’ square. at 3rd, a 15’ x 15’ square…
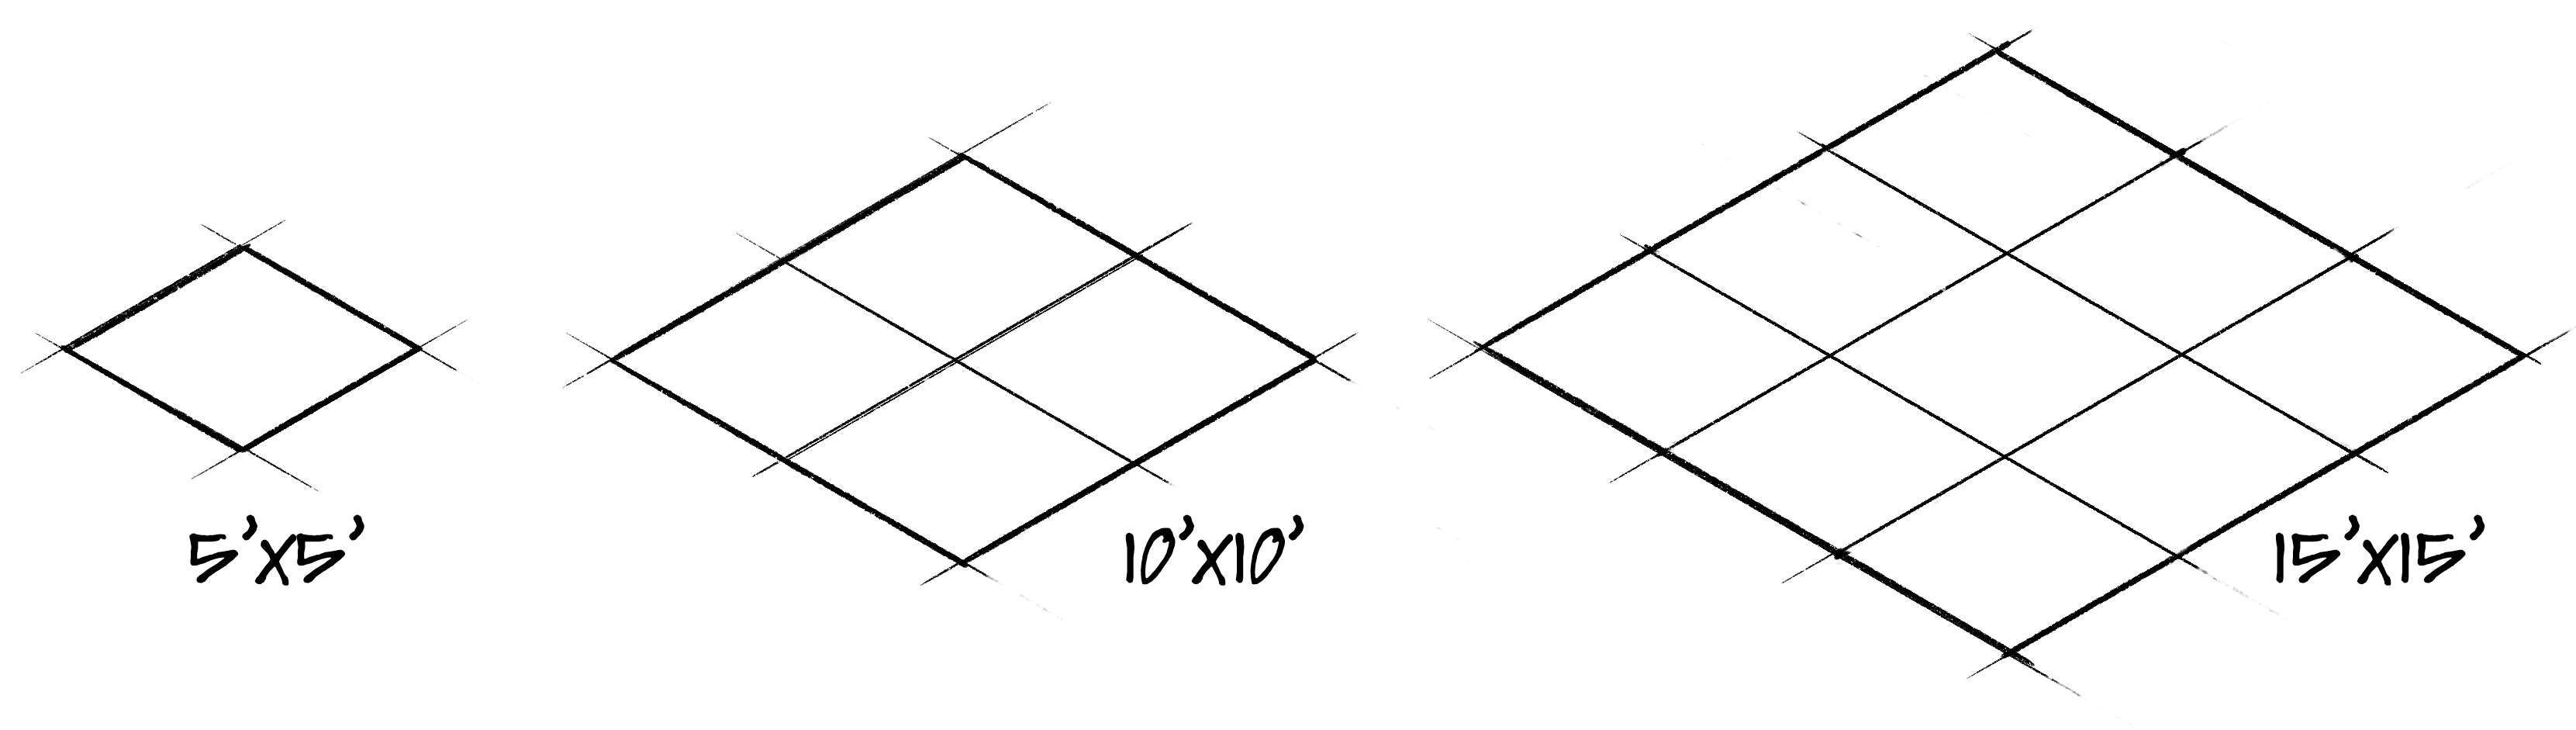
If you are playing with a Battlemat, each 1” represents 5’–so it is simple to see that the area of effect scales up by Area = (level)number of squares x (level)number of squares: At 5th level, a Fire
Spells
· Magic Bolts and Blasts (D10, 1st level) such as a firebolt, lightning bolt or eldritch bolt that are targeted: The Spellcheck must be higher that the target’s Defense or it misses and has no effect. Magic Blasts target an area of effect and ignore defense, but creatures caught in the area can make a Saving Throw to take 1/2 damage. The number of damage dice rolled is equal to the spellcaster level.
· Illusion spells (1st level) affect the senses or perception. Illusions can cause you to see something that isn’t really there, or to not see something that is there, such as Invisibility. The spell takes hold if the spellcheck > target’s AWARENESS Score. If spellcheck is lower, the illusion fails. Invisibility ends if the caster makes an attack.
· Telekinesis. At 1st level you can move objects at a distance, as if you were holding them. At higher levels, the amount of weight multiplies by the caster’s level. For example if you can move 100 lbs at first level, you could move 200 lbs at 2nd level, etc.
· Divination at 1st level, divination gives yes or no, or direction. It can Identify the enchantment of a magical weapon. At 2nd level get insight or answers to a simple Who, What, Where, When, Why question. To get a longer response or back-and-forth, increase duration, it is level 3.
· Healing magic (D8, first level). A spellcaster may heal someone by touching them and expending a Focus Dice to restore health points (the number of dice rolled is equal to the caster level. Similarly, a spellcaster can Smite someone to take away HP! The spellcheck must beat the target’s defense score–If using a weapon, the smite damage is added to the weapon damage.
· Charm or Hypnosis (1st level). Give a simple suggestion or command. The Spellcheck is the number to beat to make a saving throw and resist the charm.. Duration is 1 minute. At 2nd level the duration increases to 1 hour, at 3rd level 1 day.
· Protection (1st level). Like a personal force field, a spellcaster can add the dice (D4) results to their defense for 1 minute. At 2nd level, the duration increases to 1 hour. At 3rd level to 1 day. This bonus to defense is in addition to any bonuses from enchantment.
· Wards (3rd level) is a magical trap, where spell energy is contained in a spot, and only released when conditions (set by the spellcaster) are met. The duration of a Ward is 1 day.
· Enchantment. (2nd level). This spell can be used to enchant armor or weapons. Roll D4 and add this as a bonus to the weapons attack rolls, or to an armors defense modifier. The effect lasts for 1 hour. At 3rd level, it lasts for 1 day. (In order to be permanent, the spell must be cast on the item during forging, when it is red hot)
· Teleportation, Conjuration and Summoning spells (2nd level). At second level, Teleport is a short line-of-sight teleport for the spellcaster. To portal others or take them with him to a destination, the spellcaster must be 3rd level. To create a portal to another plane of existence (or world) increases the Spell tier to 4th level.
Conjuring or Summoning an object works in the same way, just with the direction reversed. To conjure up an object from a distant place, such as a book of spells that you left back at the castle—or to conjure a monster from a distant place. is a level 2 spell, To Summon a group of creatures is level 3. To resist a summoning spell, the target must make a saving throw against the spellcasters roll.
· Shapeshift (3rd level) is a transmutation that allows the spellcaster to change his or another’s bodily form. You can assume the shape of an animal of HD less than or equal to your caster level. Your Health Points are temporarily replaced with the HP of the animal form, and your damage type is replaced by the animals teeth and claws., But you can still talk. Your clothing and items are not transformed. The Duration of the transformation is 1 hour at 3rd level, and 1 day at 4th level. The caster can dispel the transformation at will. The target may make a saving throw by rolling a D20 to beat the Spellcasting check.
·Wards (3rd level) is a magical trap, where spell energy is contained in a spot, and only released when conditions (set by the spellcaster) are met. The duration of a Ward is 1 day.
To create a spell from scratch, consult with the DM to determine the spells Sphere or School of magic (what dice it uses) and how the effects will scale at different spell levels, and how it will manifest, so that you can roleplay how it looks to the other players. Give it a name that will associate it with your character!
For spells that deal simple damage, consider the type of effect and use the following dice:
Kinetic or Force: D6
Life affecting, such as Healing/Smite, Radiance (spectral) or Poison: D8
Energy spells, like fire, lightning, cold: D10
Counterspell & Dispel
· Counterspell (1st level): If you have not begun casting a spell on your turn, you may attempt to counterspell another caster. Make a Spellcheck (D20 + your caster level). The Target Number is the original caster’s Spellcheck result. Success cancels the spell. You can expend Focus Dice to buff the results of the spellcheck.
· Dispel Magic (1st level): Make a Spellcheck against the original Spellcheck result that created the spell effect.
ball affects 5 x 5 squares (25’ x 25’).
All creatures within the area of effect are affected, regardless of defense.
Potions, wands, scrolls
Some spells can be prepared in advance, during the Spellcaster’s downtime, in the form of wands, potions and scrolls. The spell tier must be one that the caster can normally cast, uses the same Focus Dice as normal to craft. It takes a full day to craft an item.
A Wand can hold 6 charges, and is burned up as the charges are consumed. Scrolls burn as the spell is read. Potions are consumed.
Experience & Advancement
Gaining XP (Awarded per session/adventure)
· Monsters: 1 XP per HD of monsters slain or defeated.
· Treasure: Notable Hoard: 3 XP. Extraordinary Hoard: 10 XP
· GM Bonuses: For clever play and goals.
Leveling Up
Level to Achieve XP Cost
1st 10 XP
2nd +20 XP (30 total)
3rd +30 XP (60 total)
4th +40 XP (100 total)…
XP is a running total. You can split XP to multiclass into a new class (e.g., spend 20 XP for Fighter 2, and 10 XP for Wizard 1).
Monsters
The following table is useful for the Game Master when building an encounter for the party. Rather than an exhaustive bestiary, creatures are grouped by weight, with their average Hit Points, To-Hit modifiers, and XP.
To convert a monster from any other game, estimate its position on this chart by weight, and make a note of its Armor Class and any special abilities.
Scaling Rules
· HP:
· <=1,000 lbs: HP = round up(weight ÷ 20)
· 1,001–6,000 lbs: HP = weight ÷ 20 (exact)
· 6,001–16,000 lbs: HP = 300 + (weight – 6,000) ÷ 33.33
· 16,000 lbs: HP = 600 + (weight – 16,000) ÷ 200
· To-Hit:
· <=1,600 lbs: To-Hit = floor(weight ÷ 200)
· 1,600 lbs: To-Hit = 8 + (weight – 1,600) ÷ 1,600 (rounded to nearest integer, max +19)

Monster HD and Damage
Use the To-Hit modifier to determine the number of dice to roll for damage. if a creature has a +1, then roll 1D (by weapon type). If a creature has +6, then roll 6D for damage.
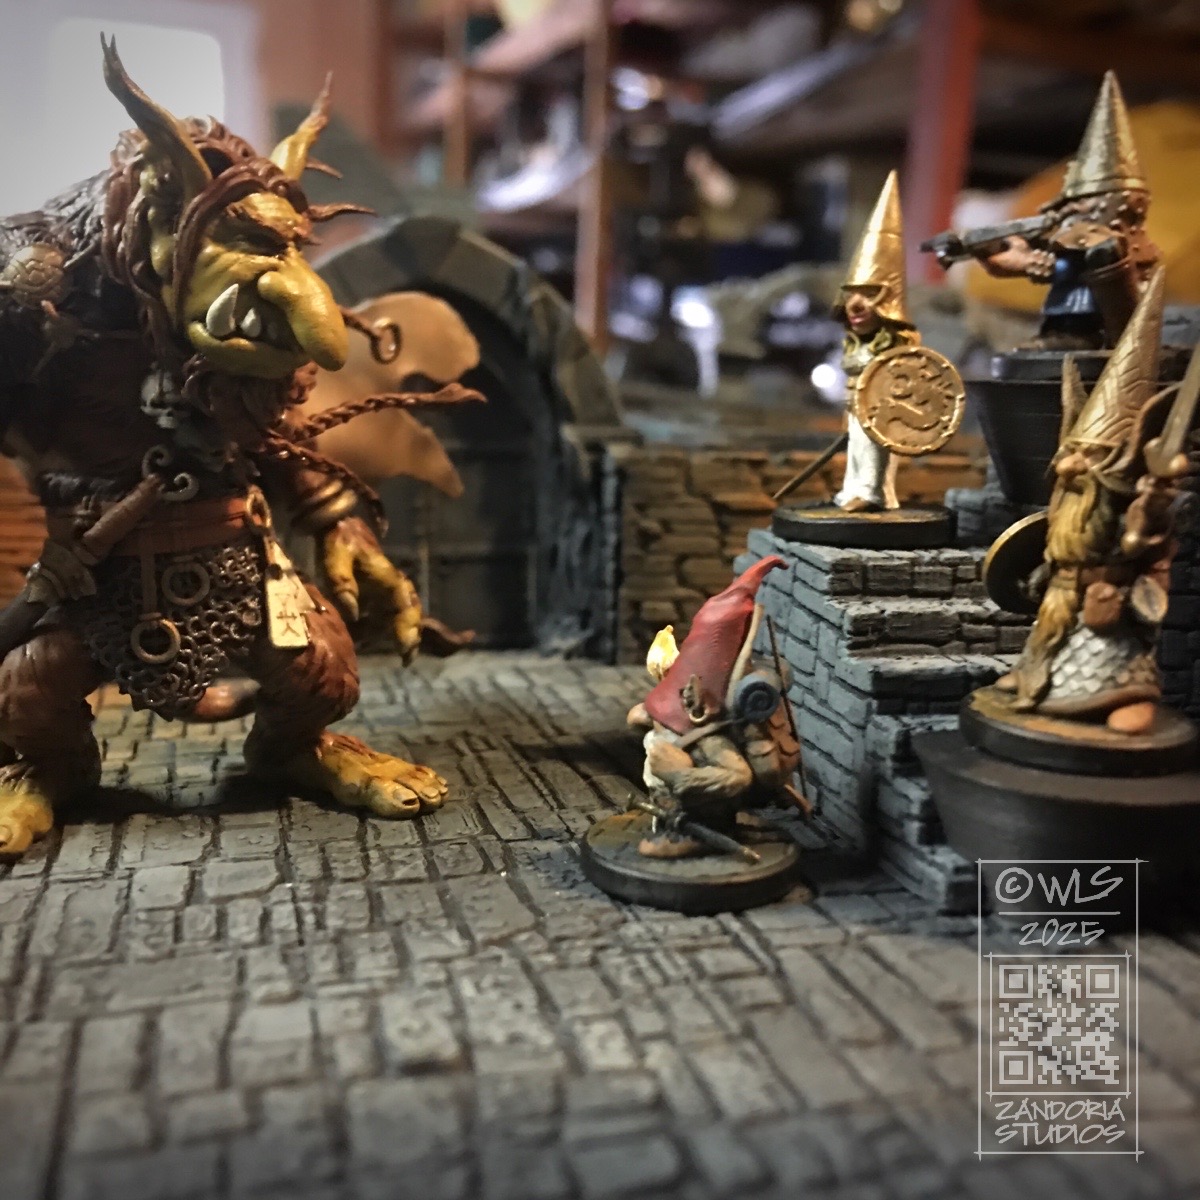
For example, a large Mountain Troll is wielding a two-handed sword (D12). He rolls his attacks with a +6 to-hit, and does 6D12 damage!
OPTIONAL
To make a monster a bigger challenge, such as a “boss”, give it a boost by adding additional hit dice to increase it’s damage, and even an enchanted weapon. Turn a goblin into a goblin-shaman by adding 1-2 levels of Spellcaster!
Colossal creatures( above 6,000 lbs) Ignore AC —treat all attacks as Area of Effects: DC=To-Hit modifier of the creature, Save for 1/2 damage.