
After the 3Dprinting, the minis need to be painted, right? It is almost a joke in the hobby, about the unpainted army… I thought that it would be good to talk about my own process, and maybe it would be interesting to you all.
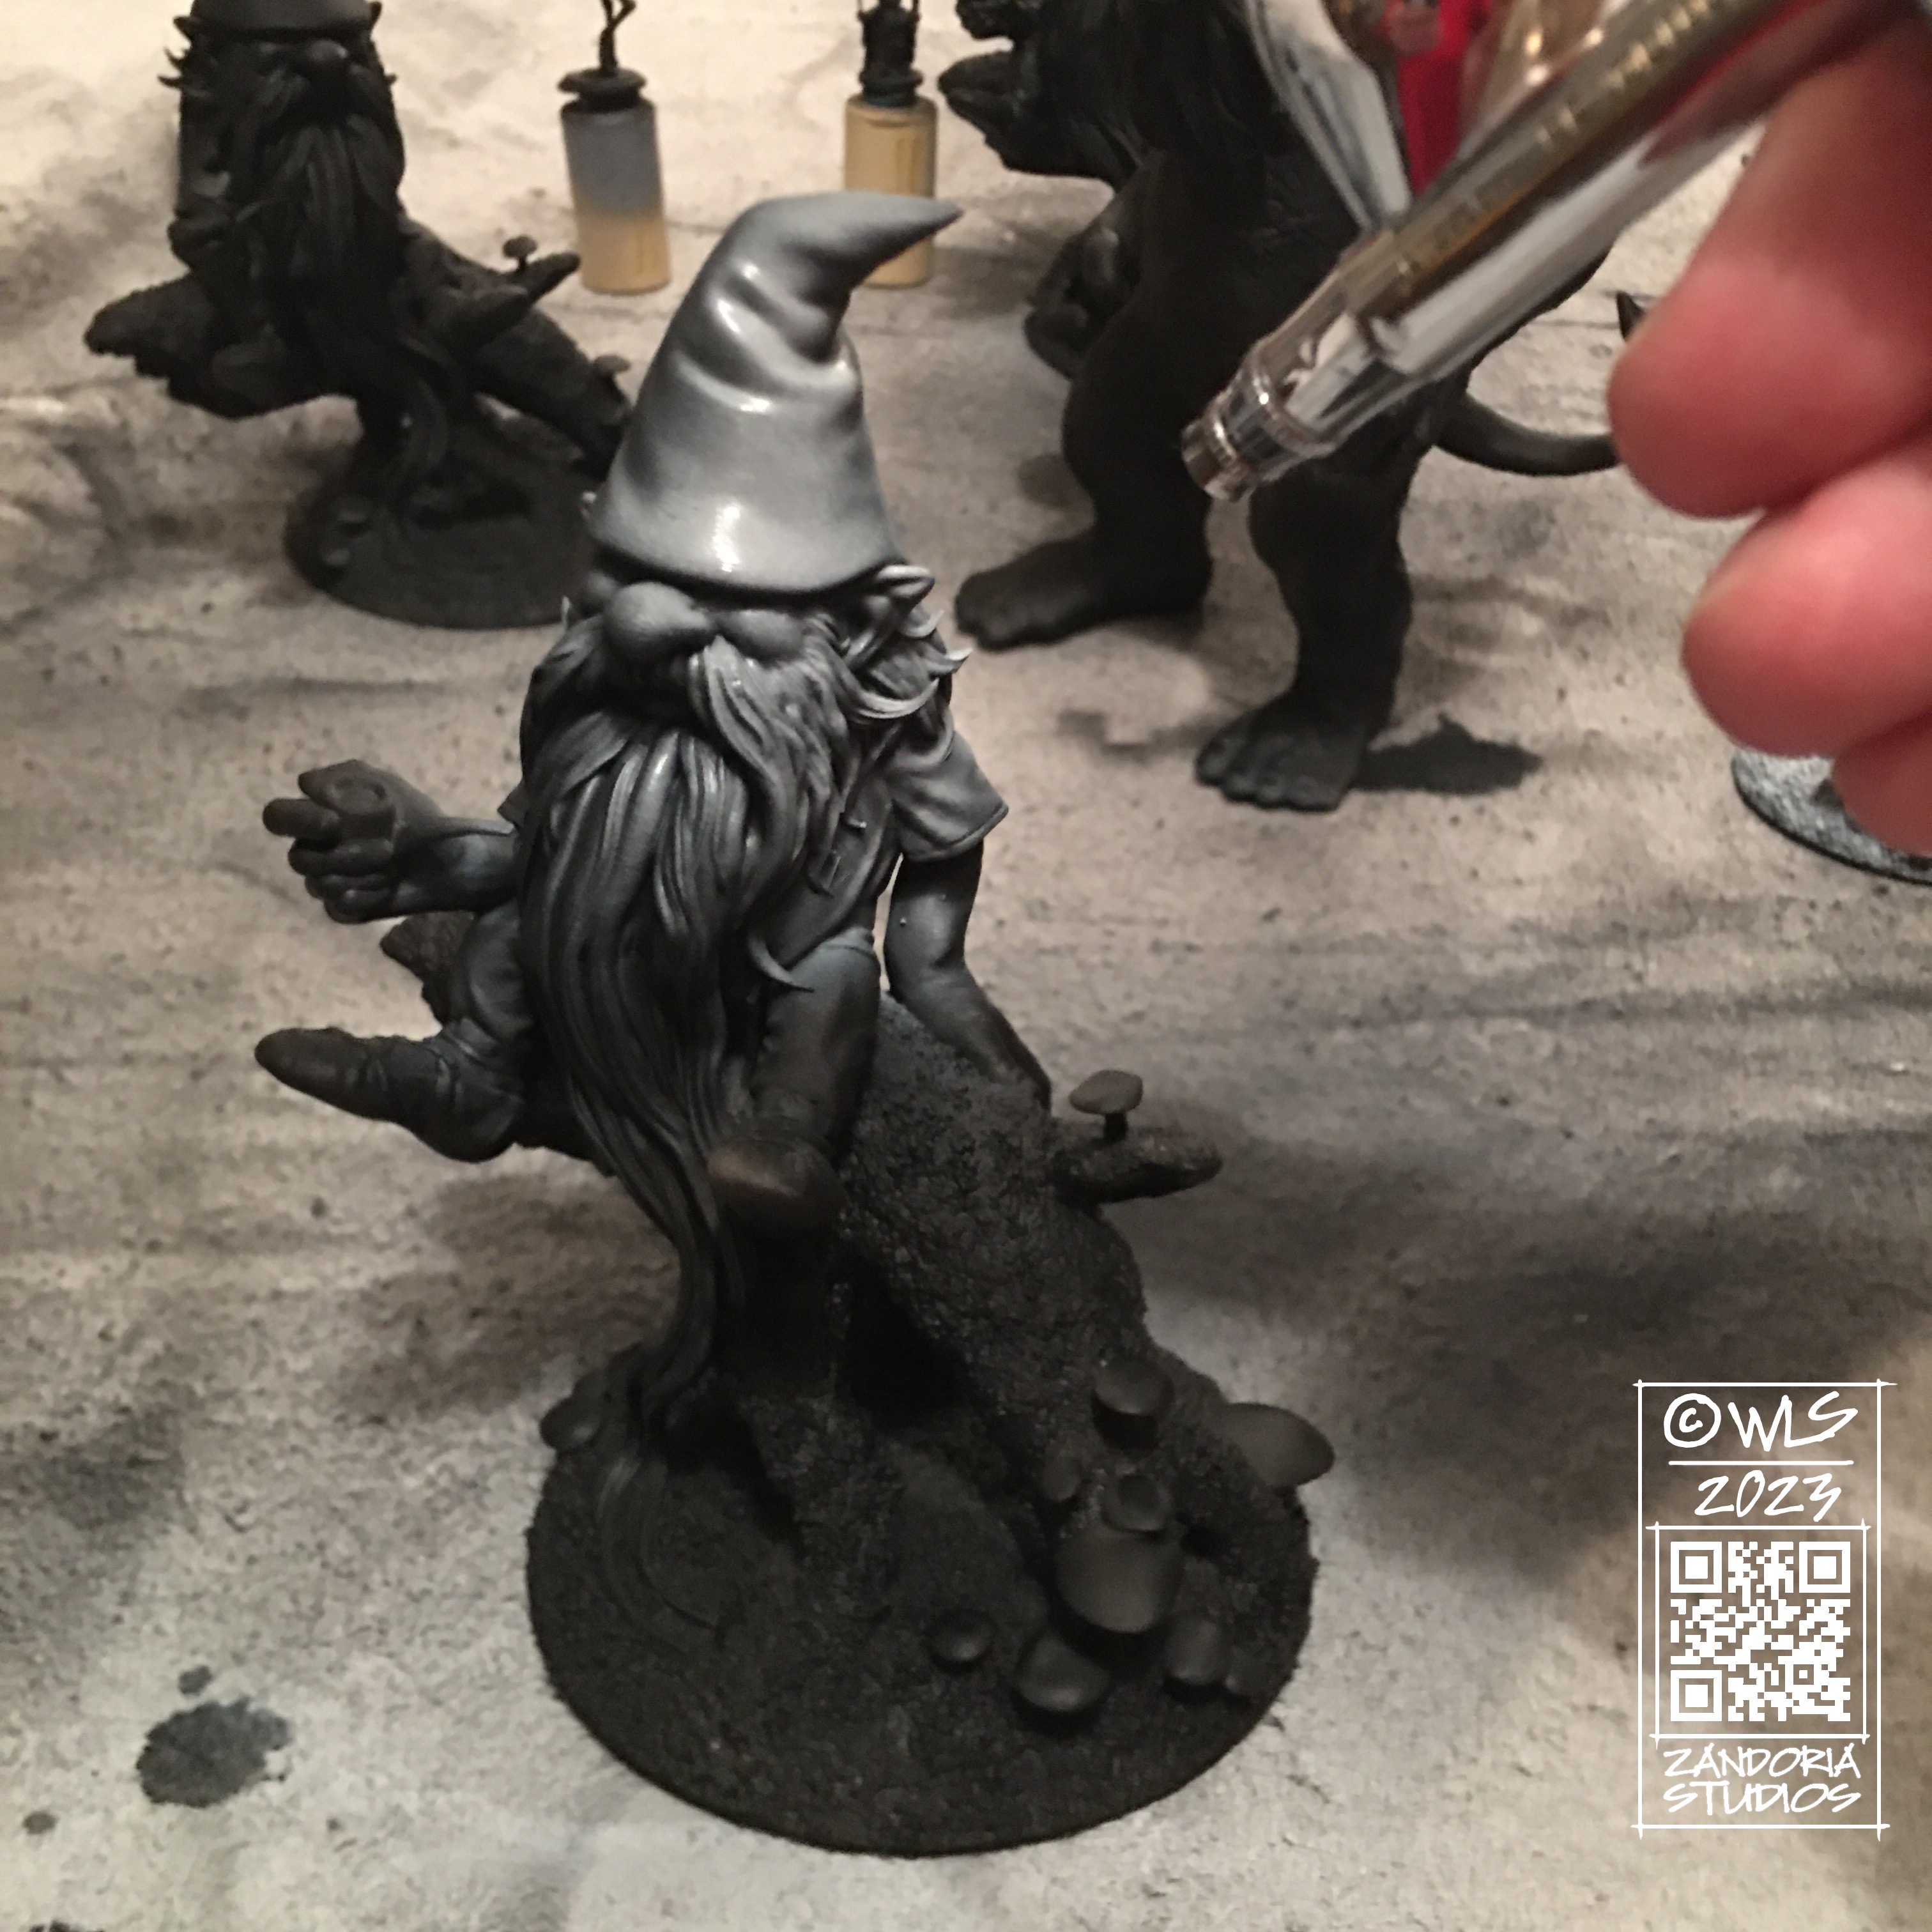
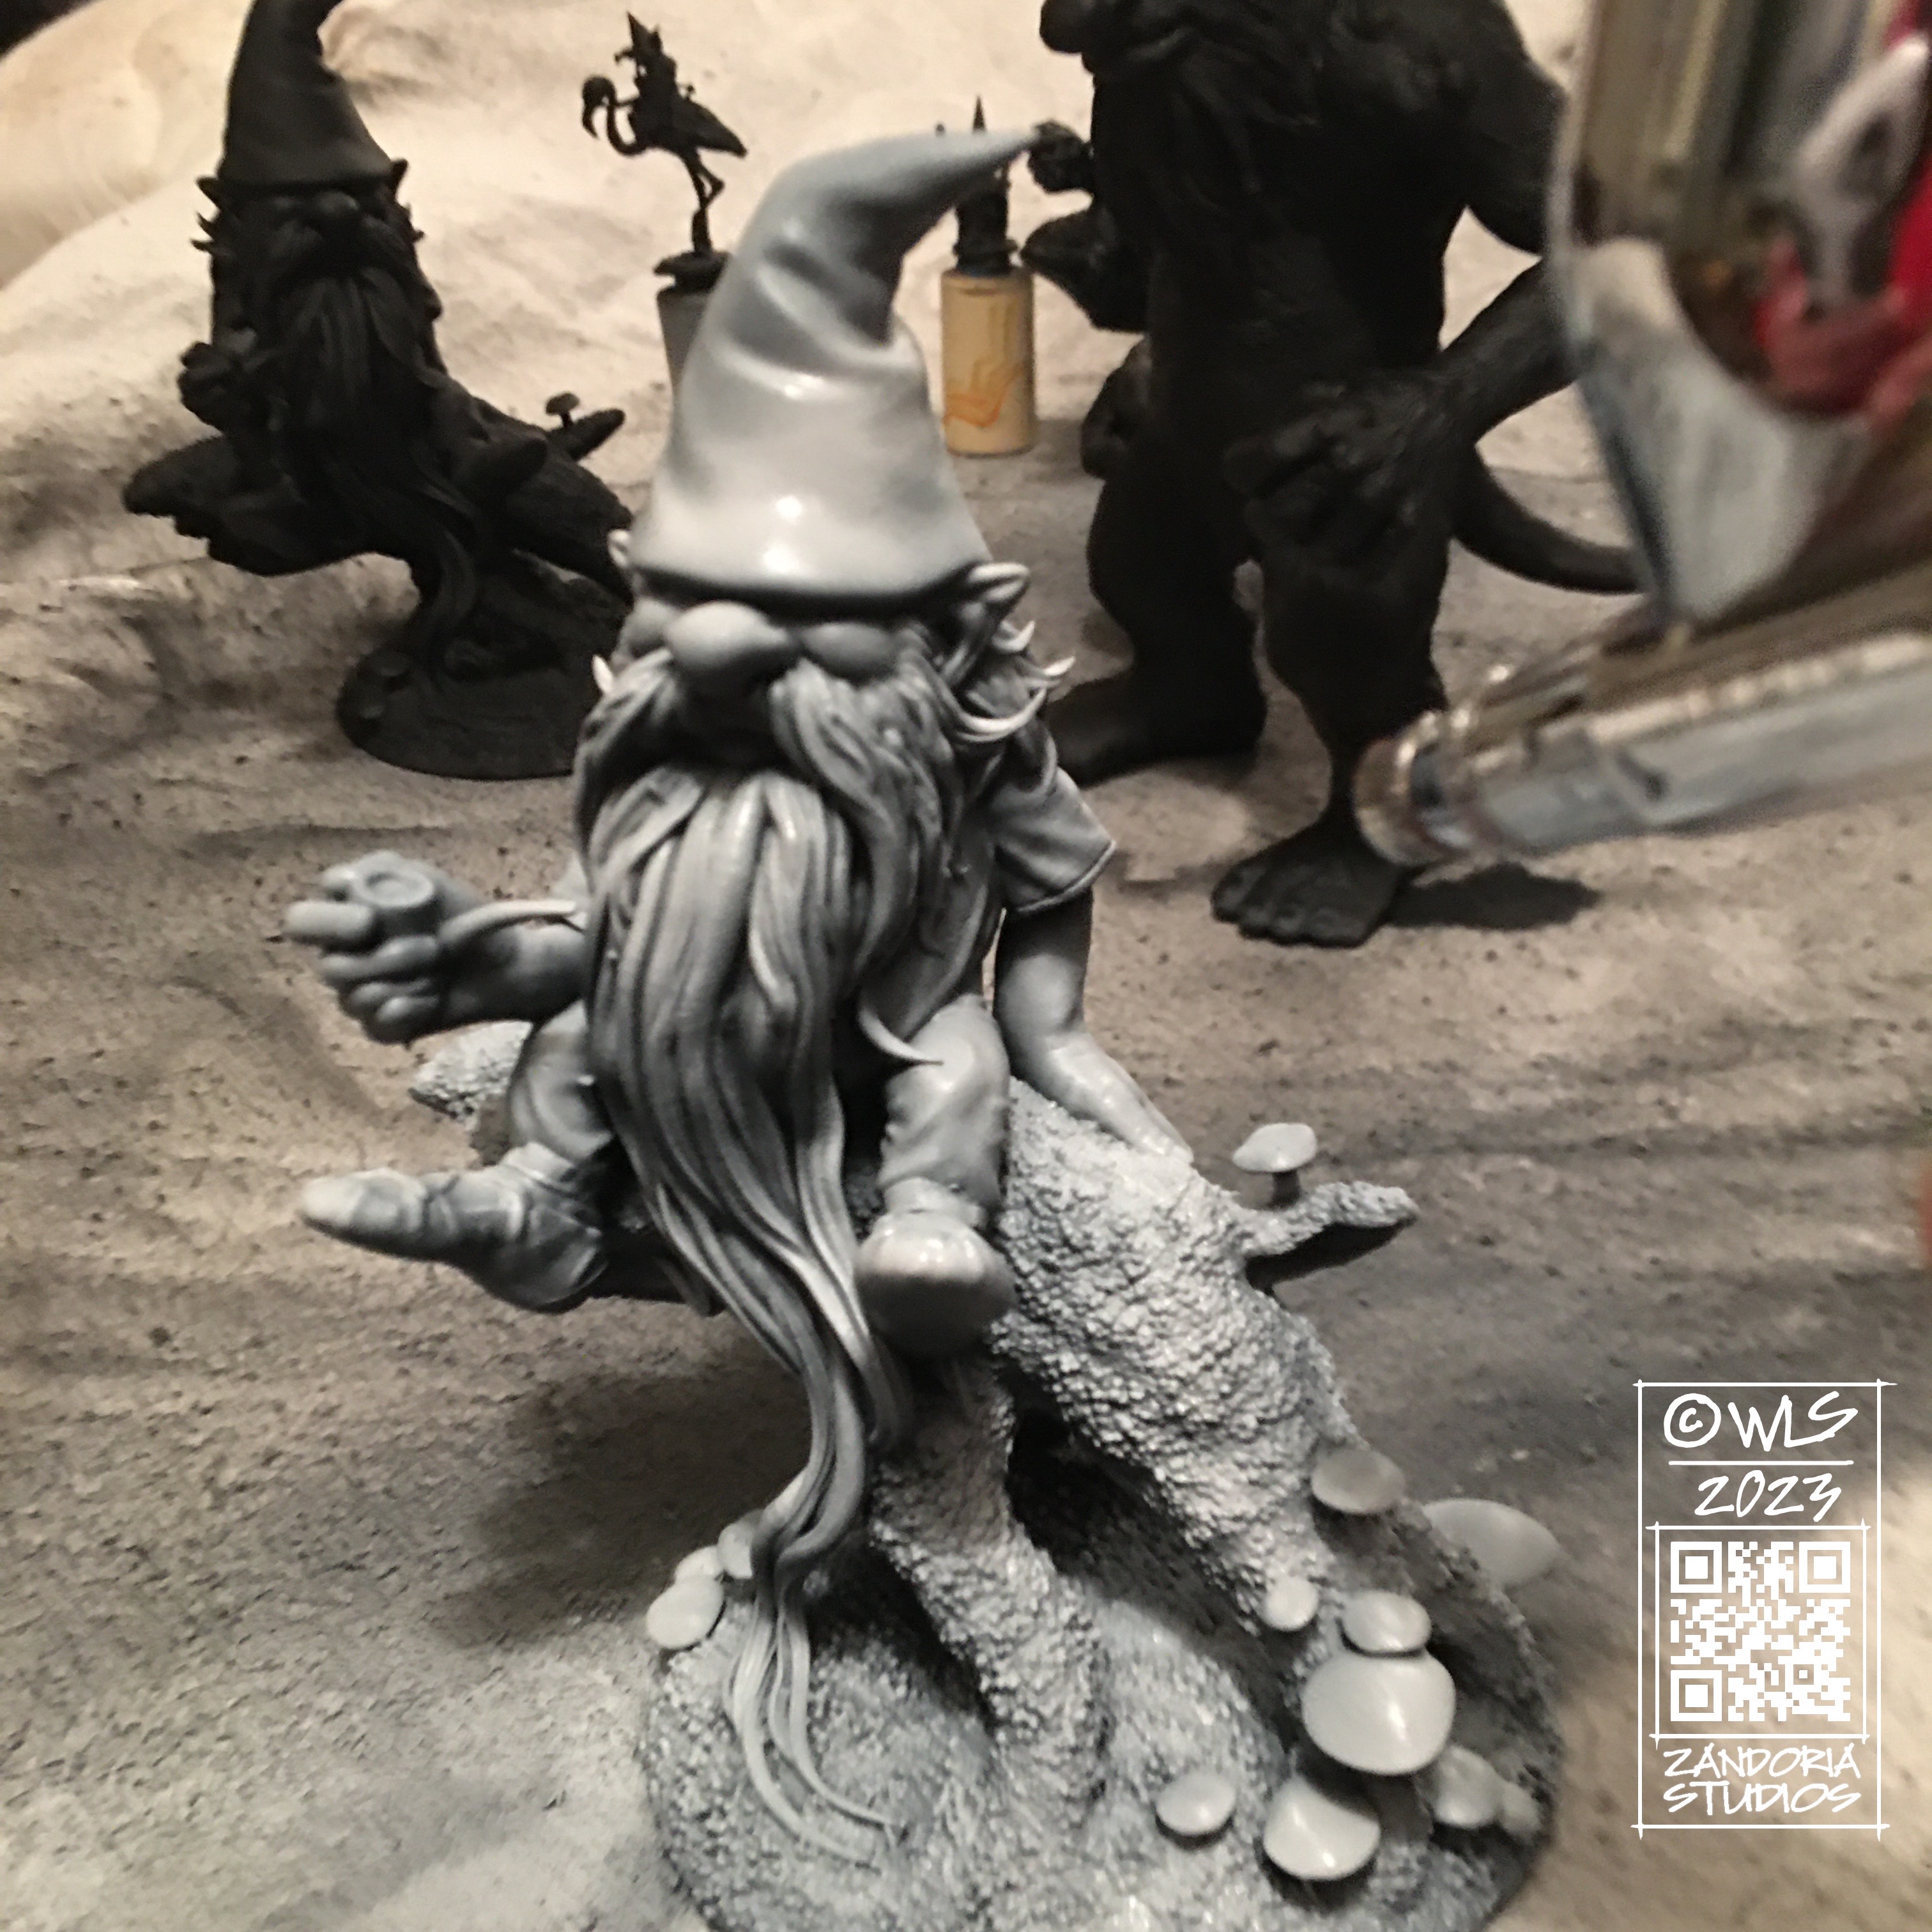
For these figures, I am starting with a black primer over the entire print. Then I switch to a grey primer and spray it from an angle to mimic ambient lighting across the model. The idea for this “zenithal” priming is to bring out the subtleties of the model and enhance those details even through the paint that will cover it.
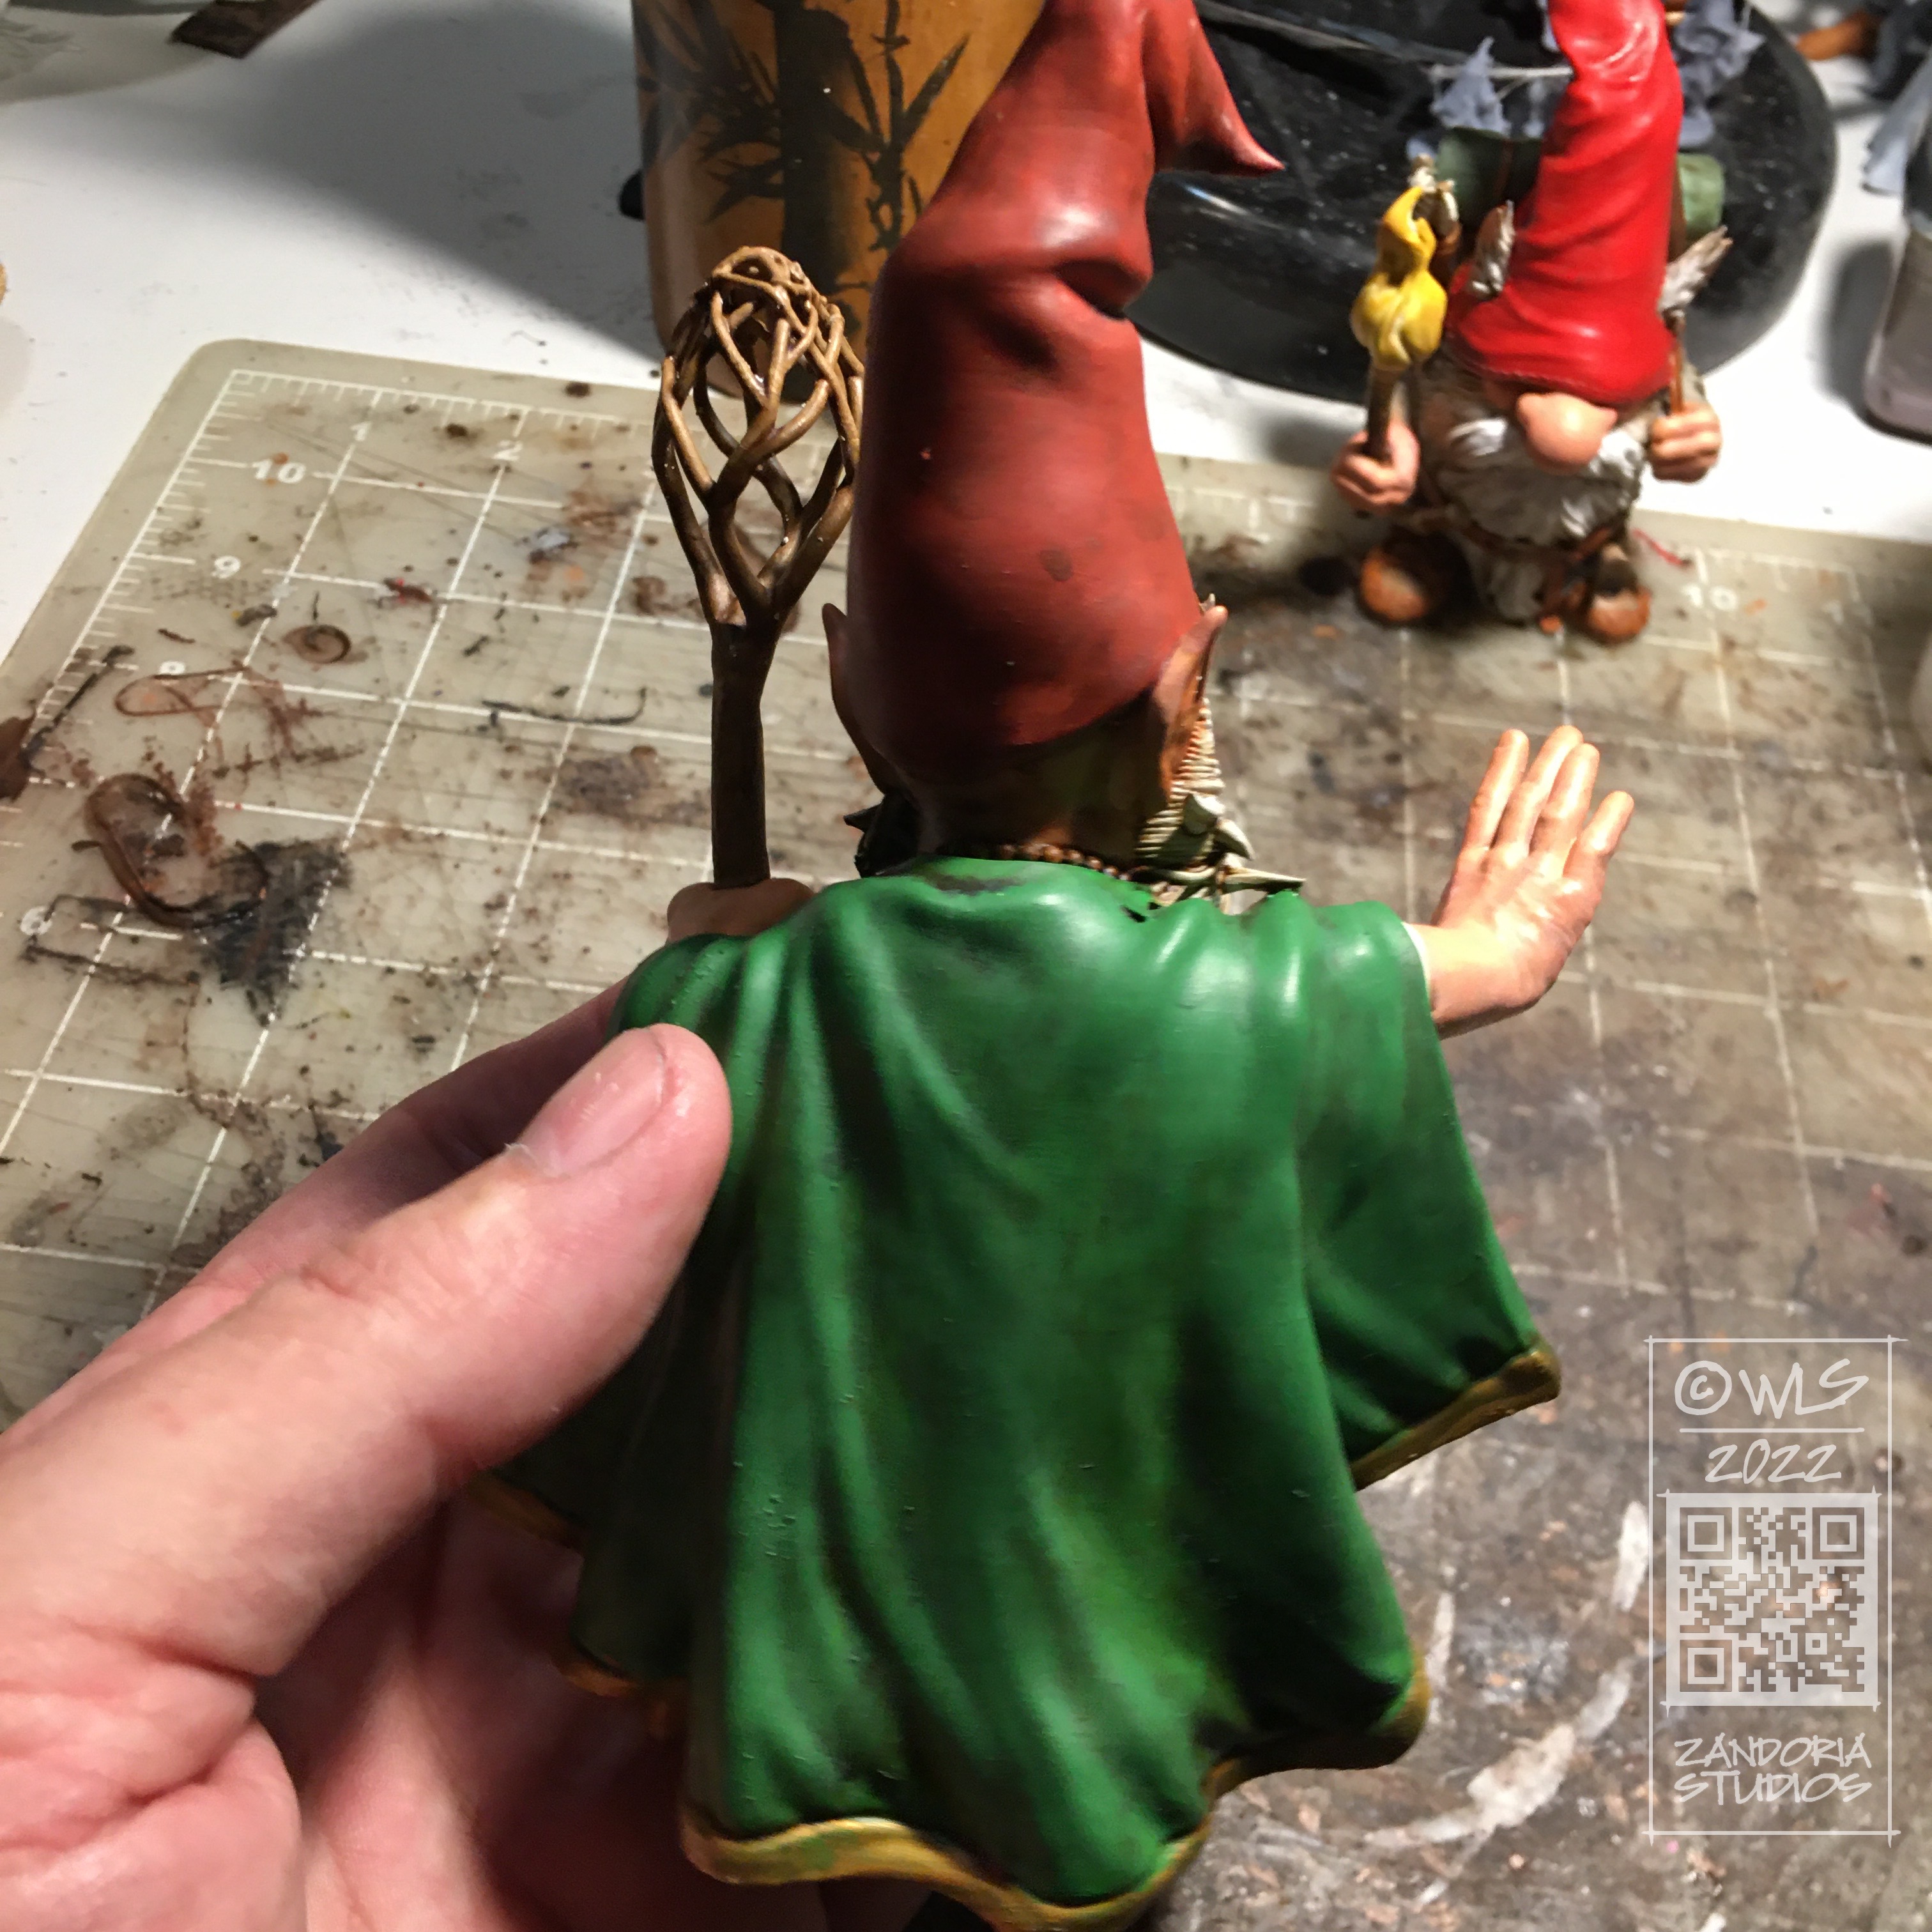
The next step is to lay in the base colors over all parts of the model. I like to start with the deepest areas and work my way out. It isn’t critical to worry about getting paint on an adjacent area, because we will hit things more than once–just like painting a house, one coat isn’t enough….

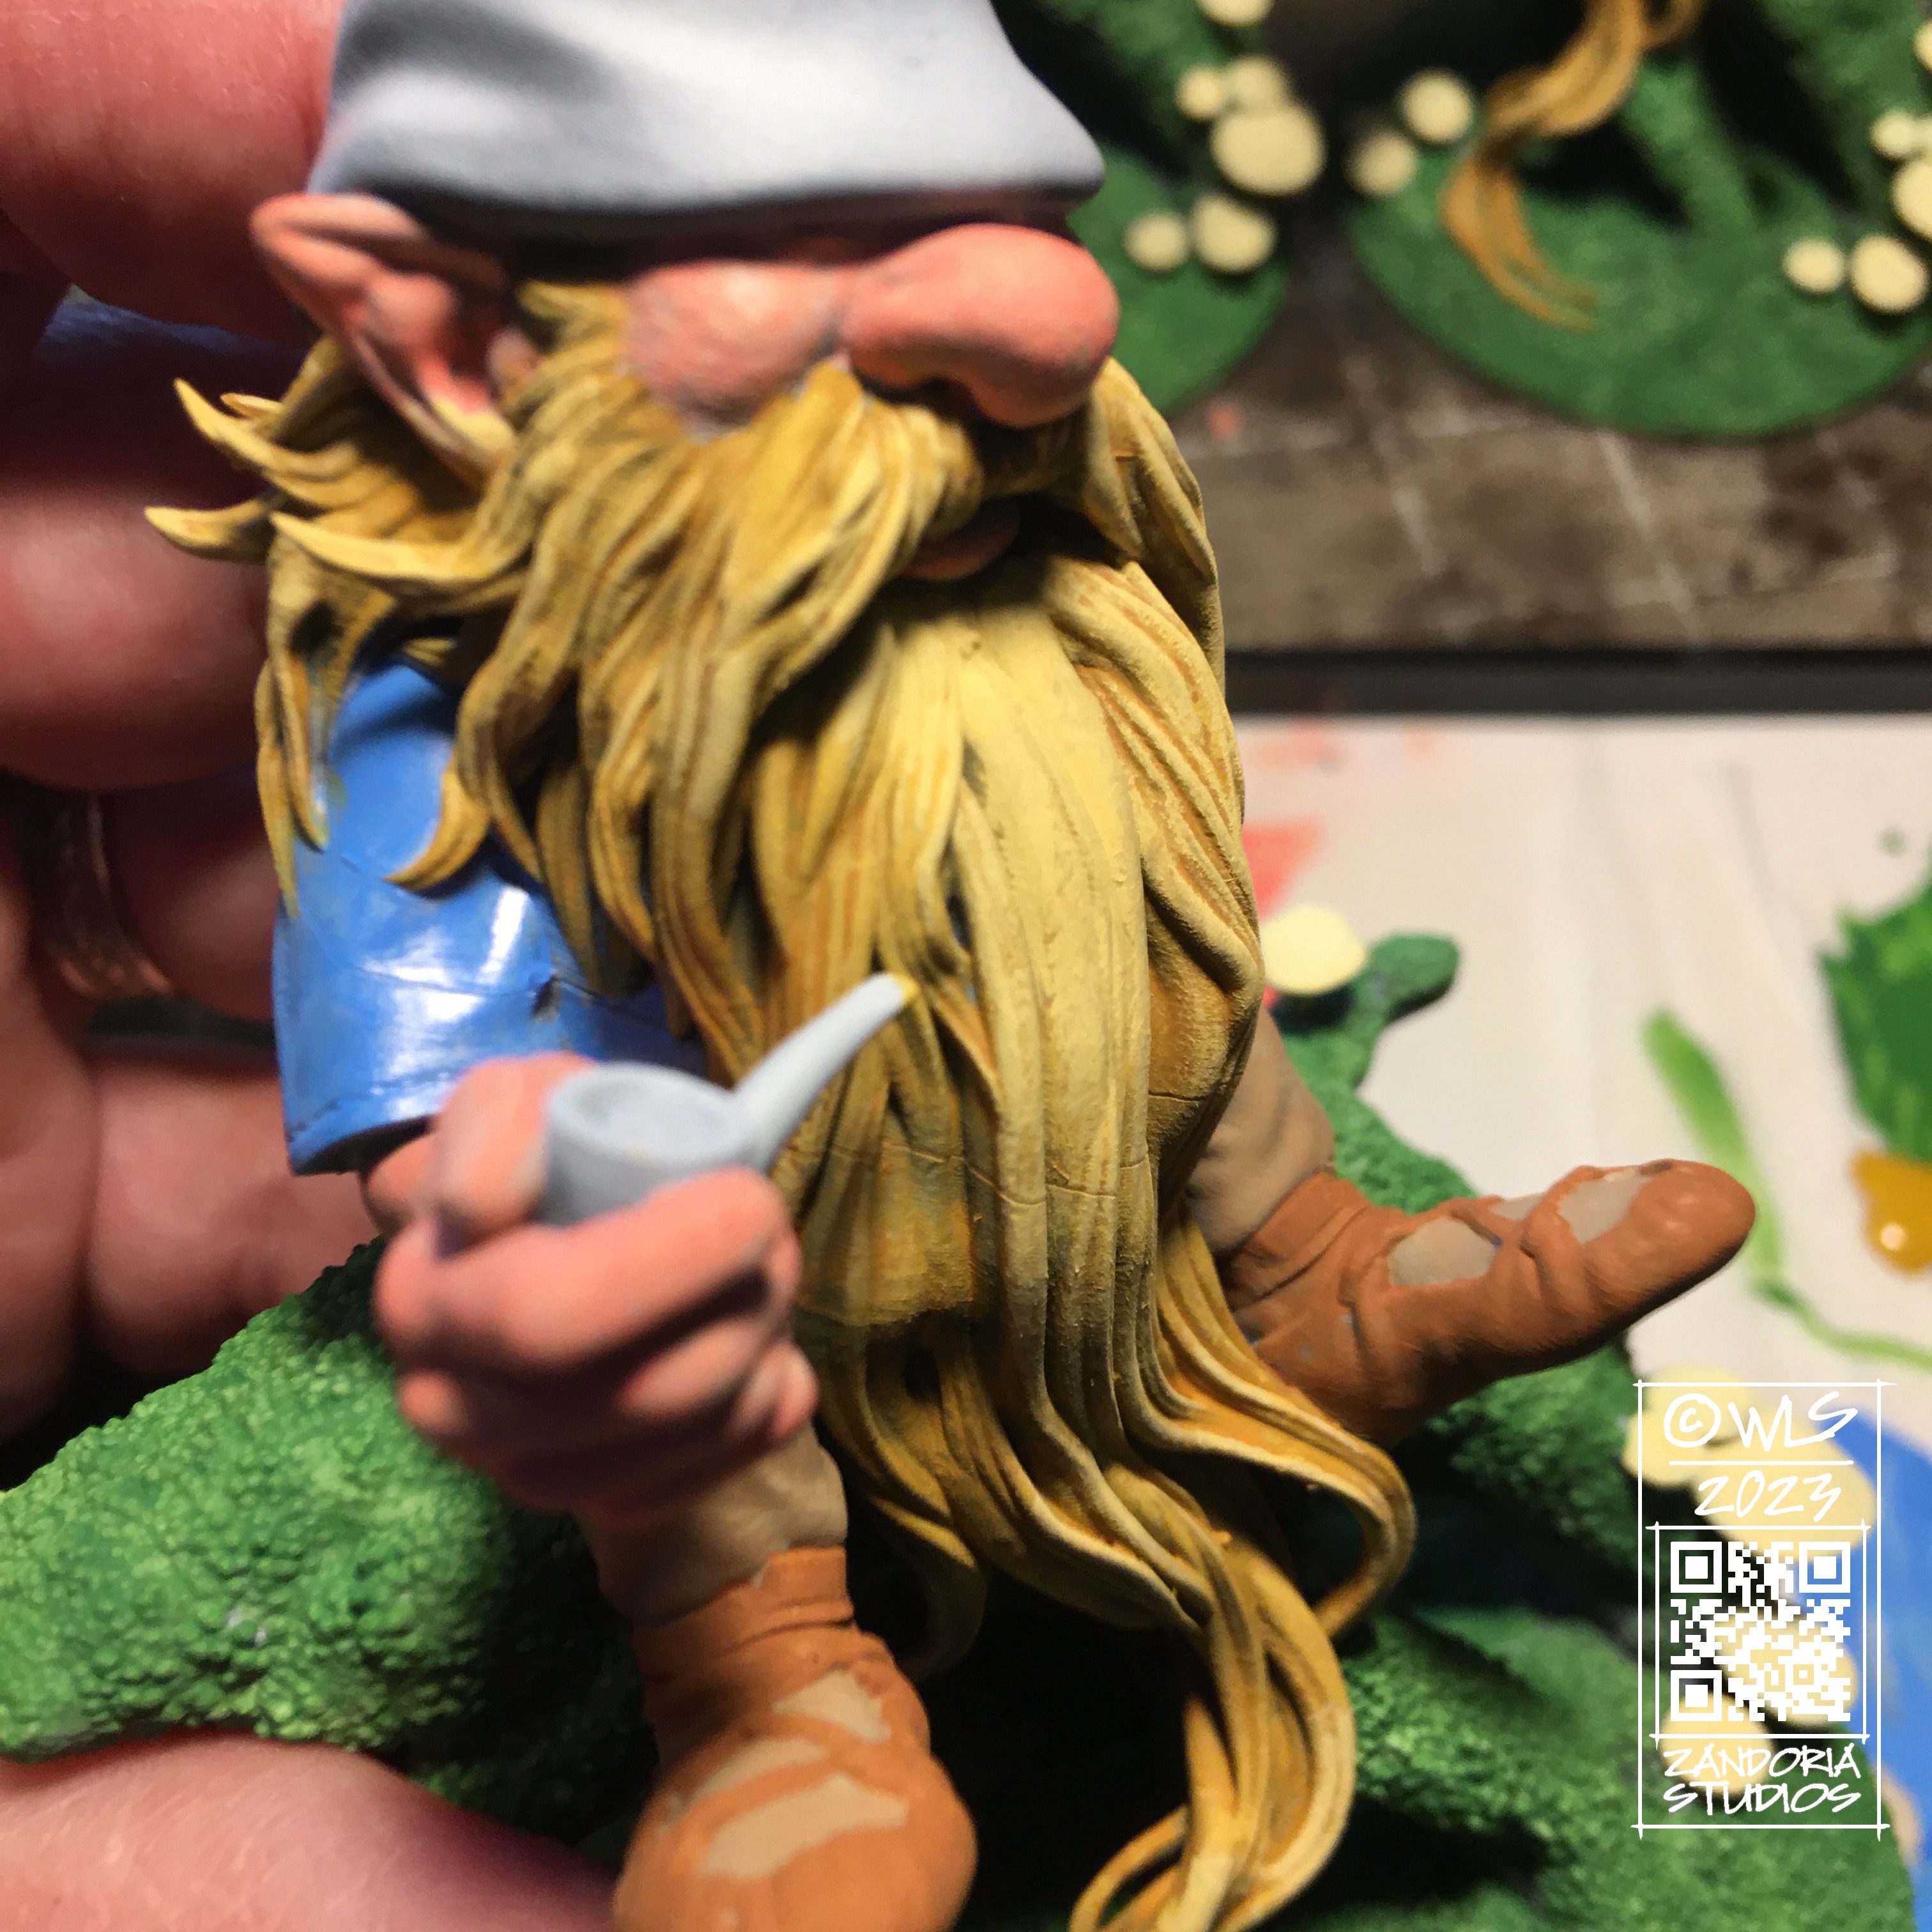
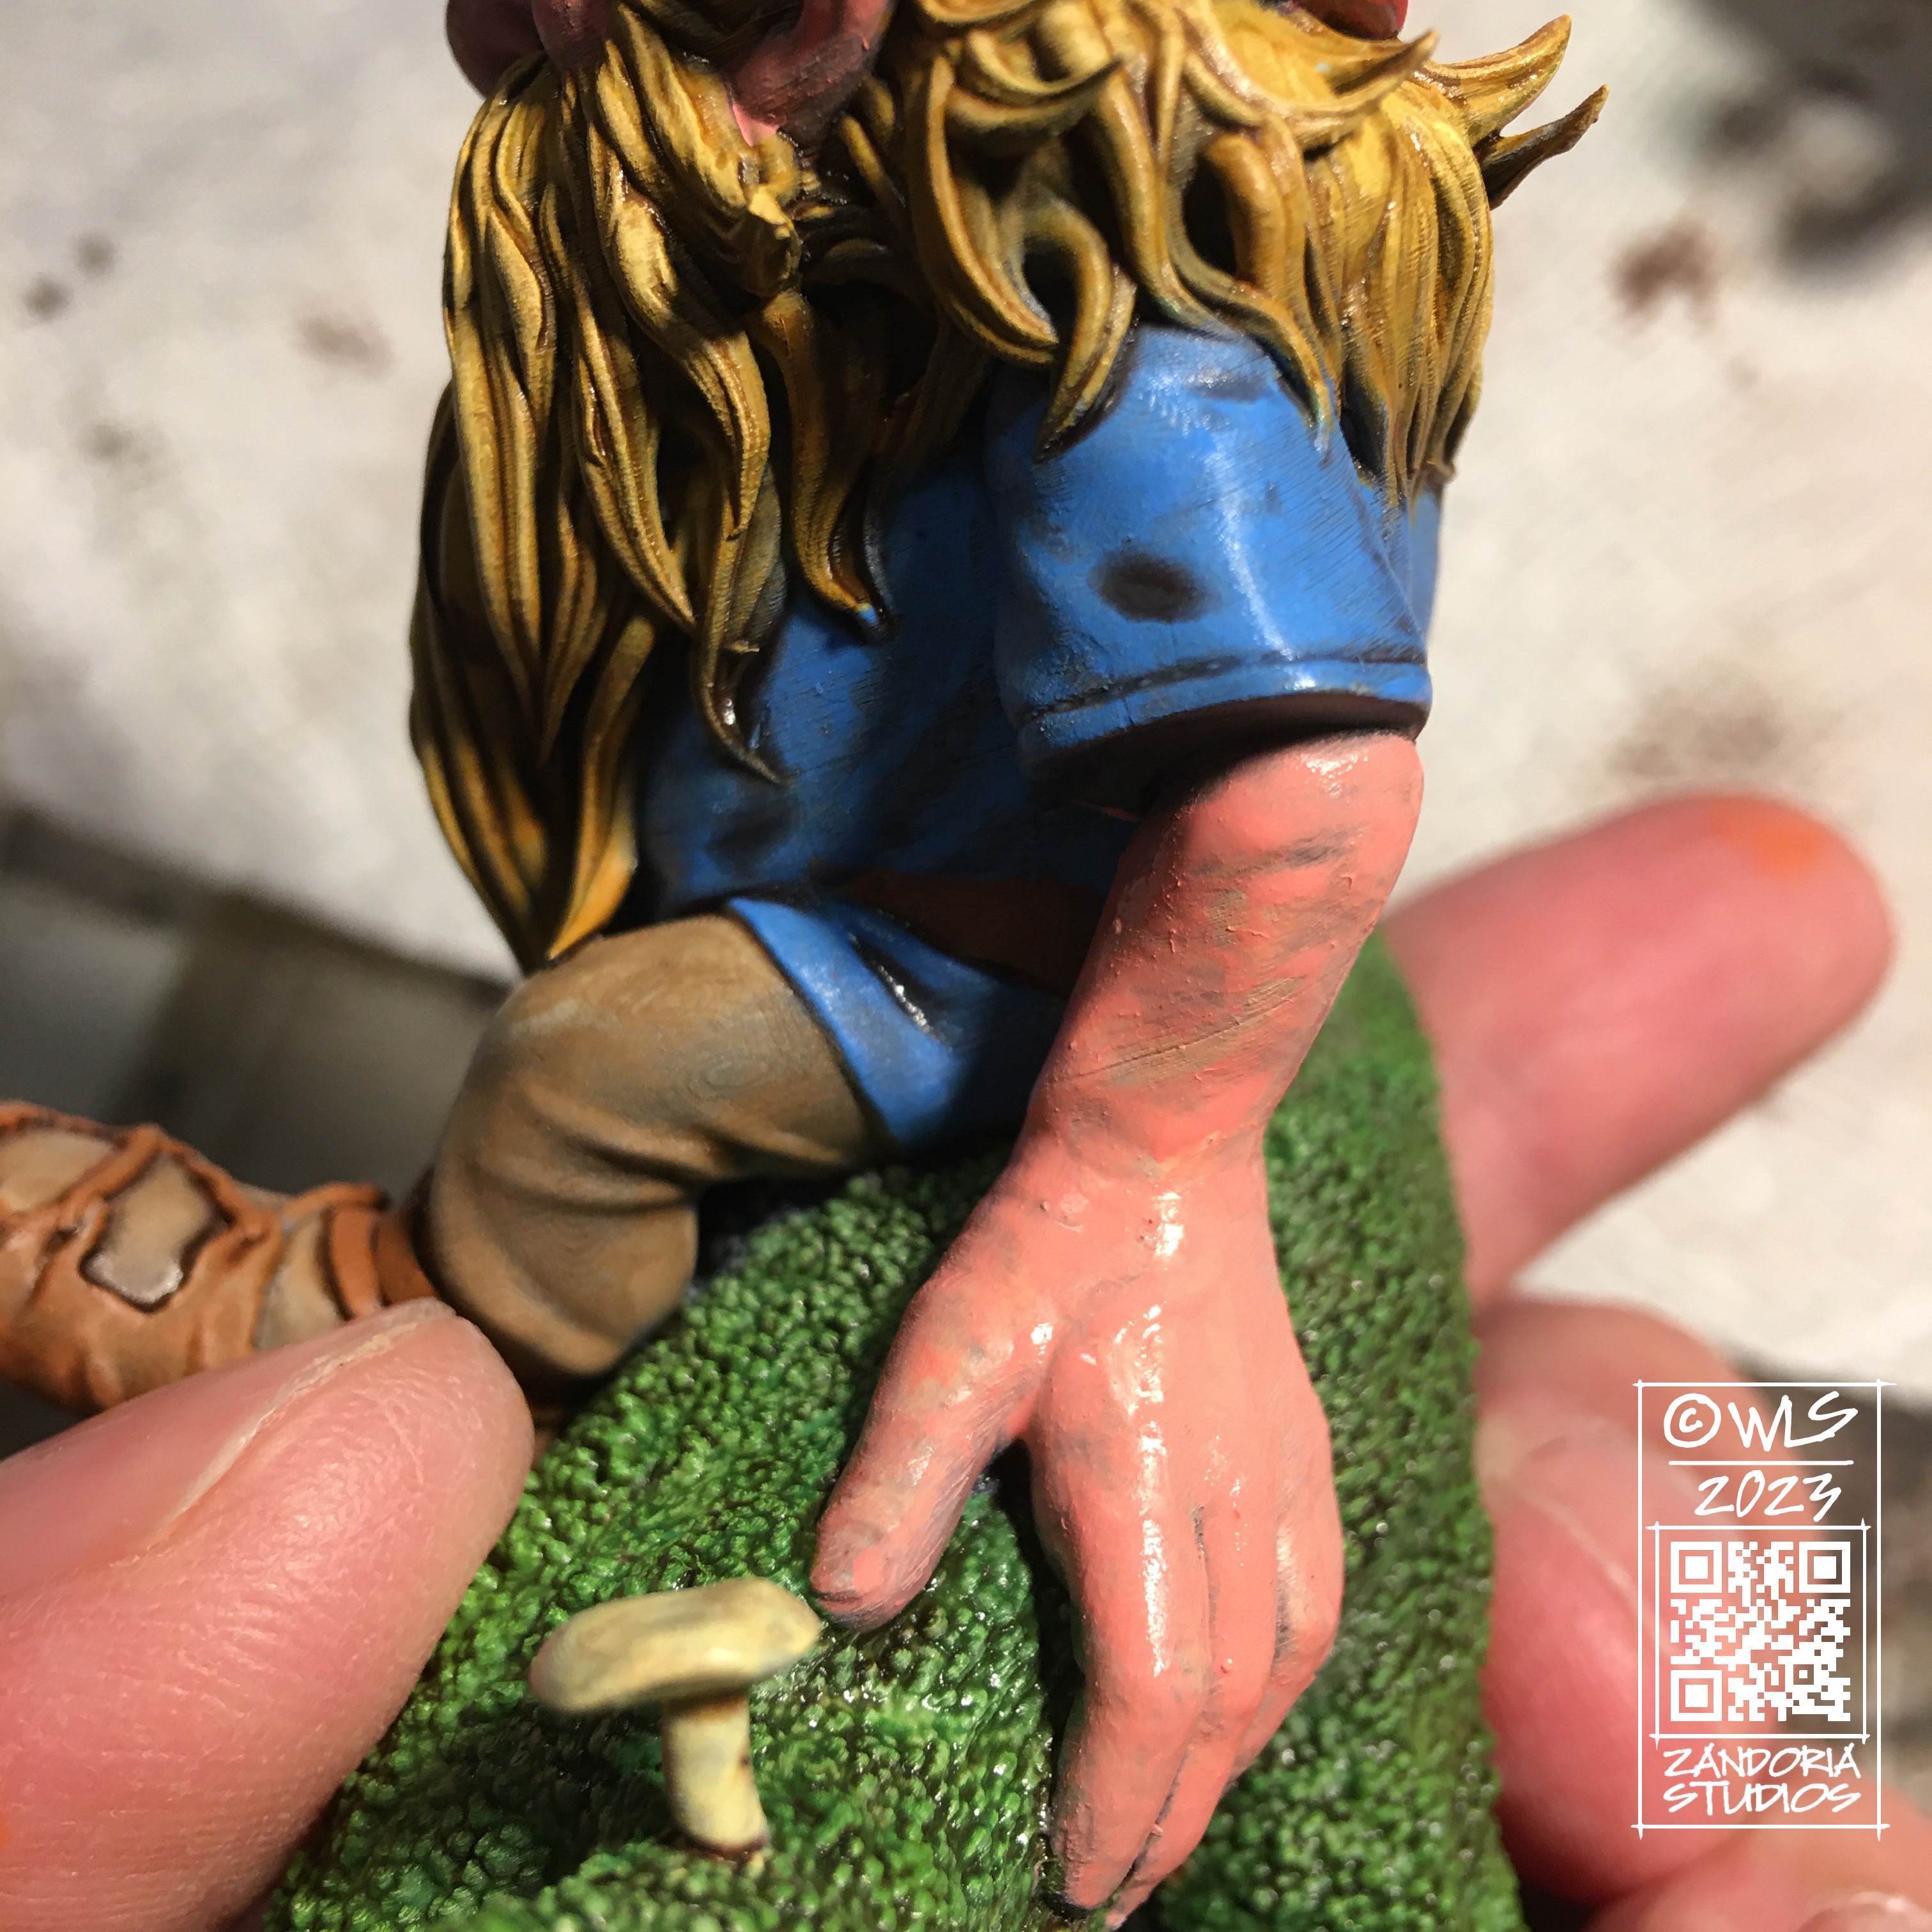
I’m starting with the skin. Notice how saturated and pink the color that I’m using is. It is pure pink and orange! I think one of the keys to making the sculpture come alive is to make the flesh look like it has blood pumping through it, just like a living thing.

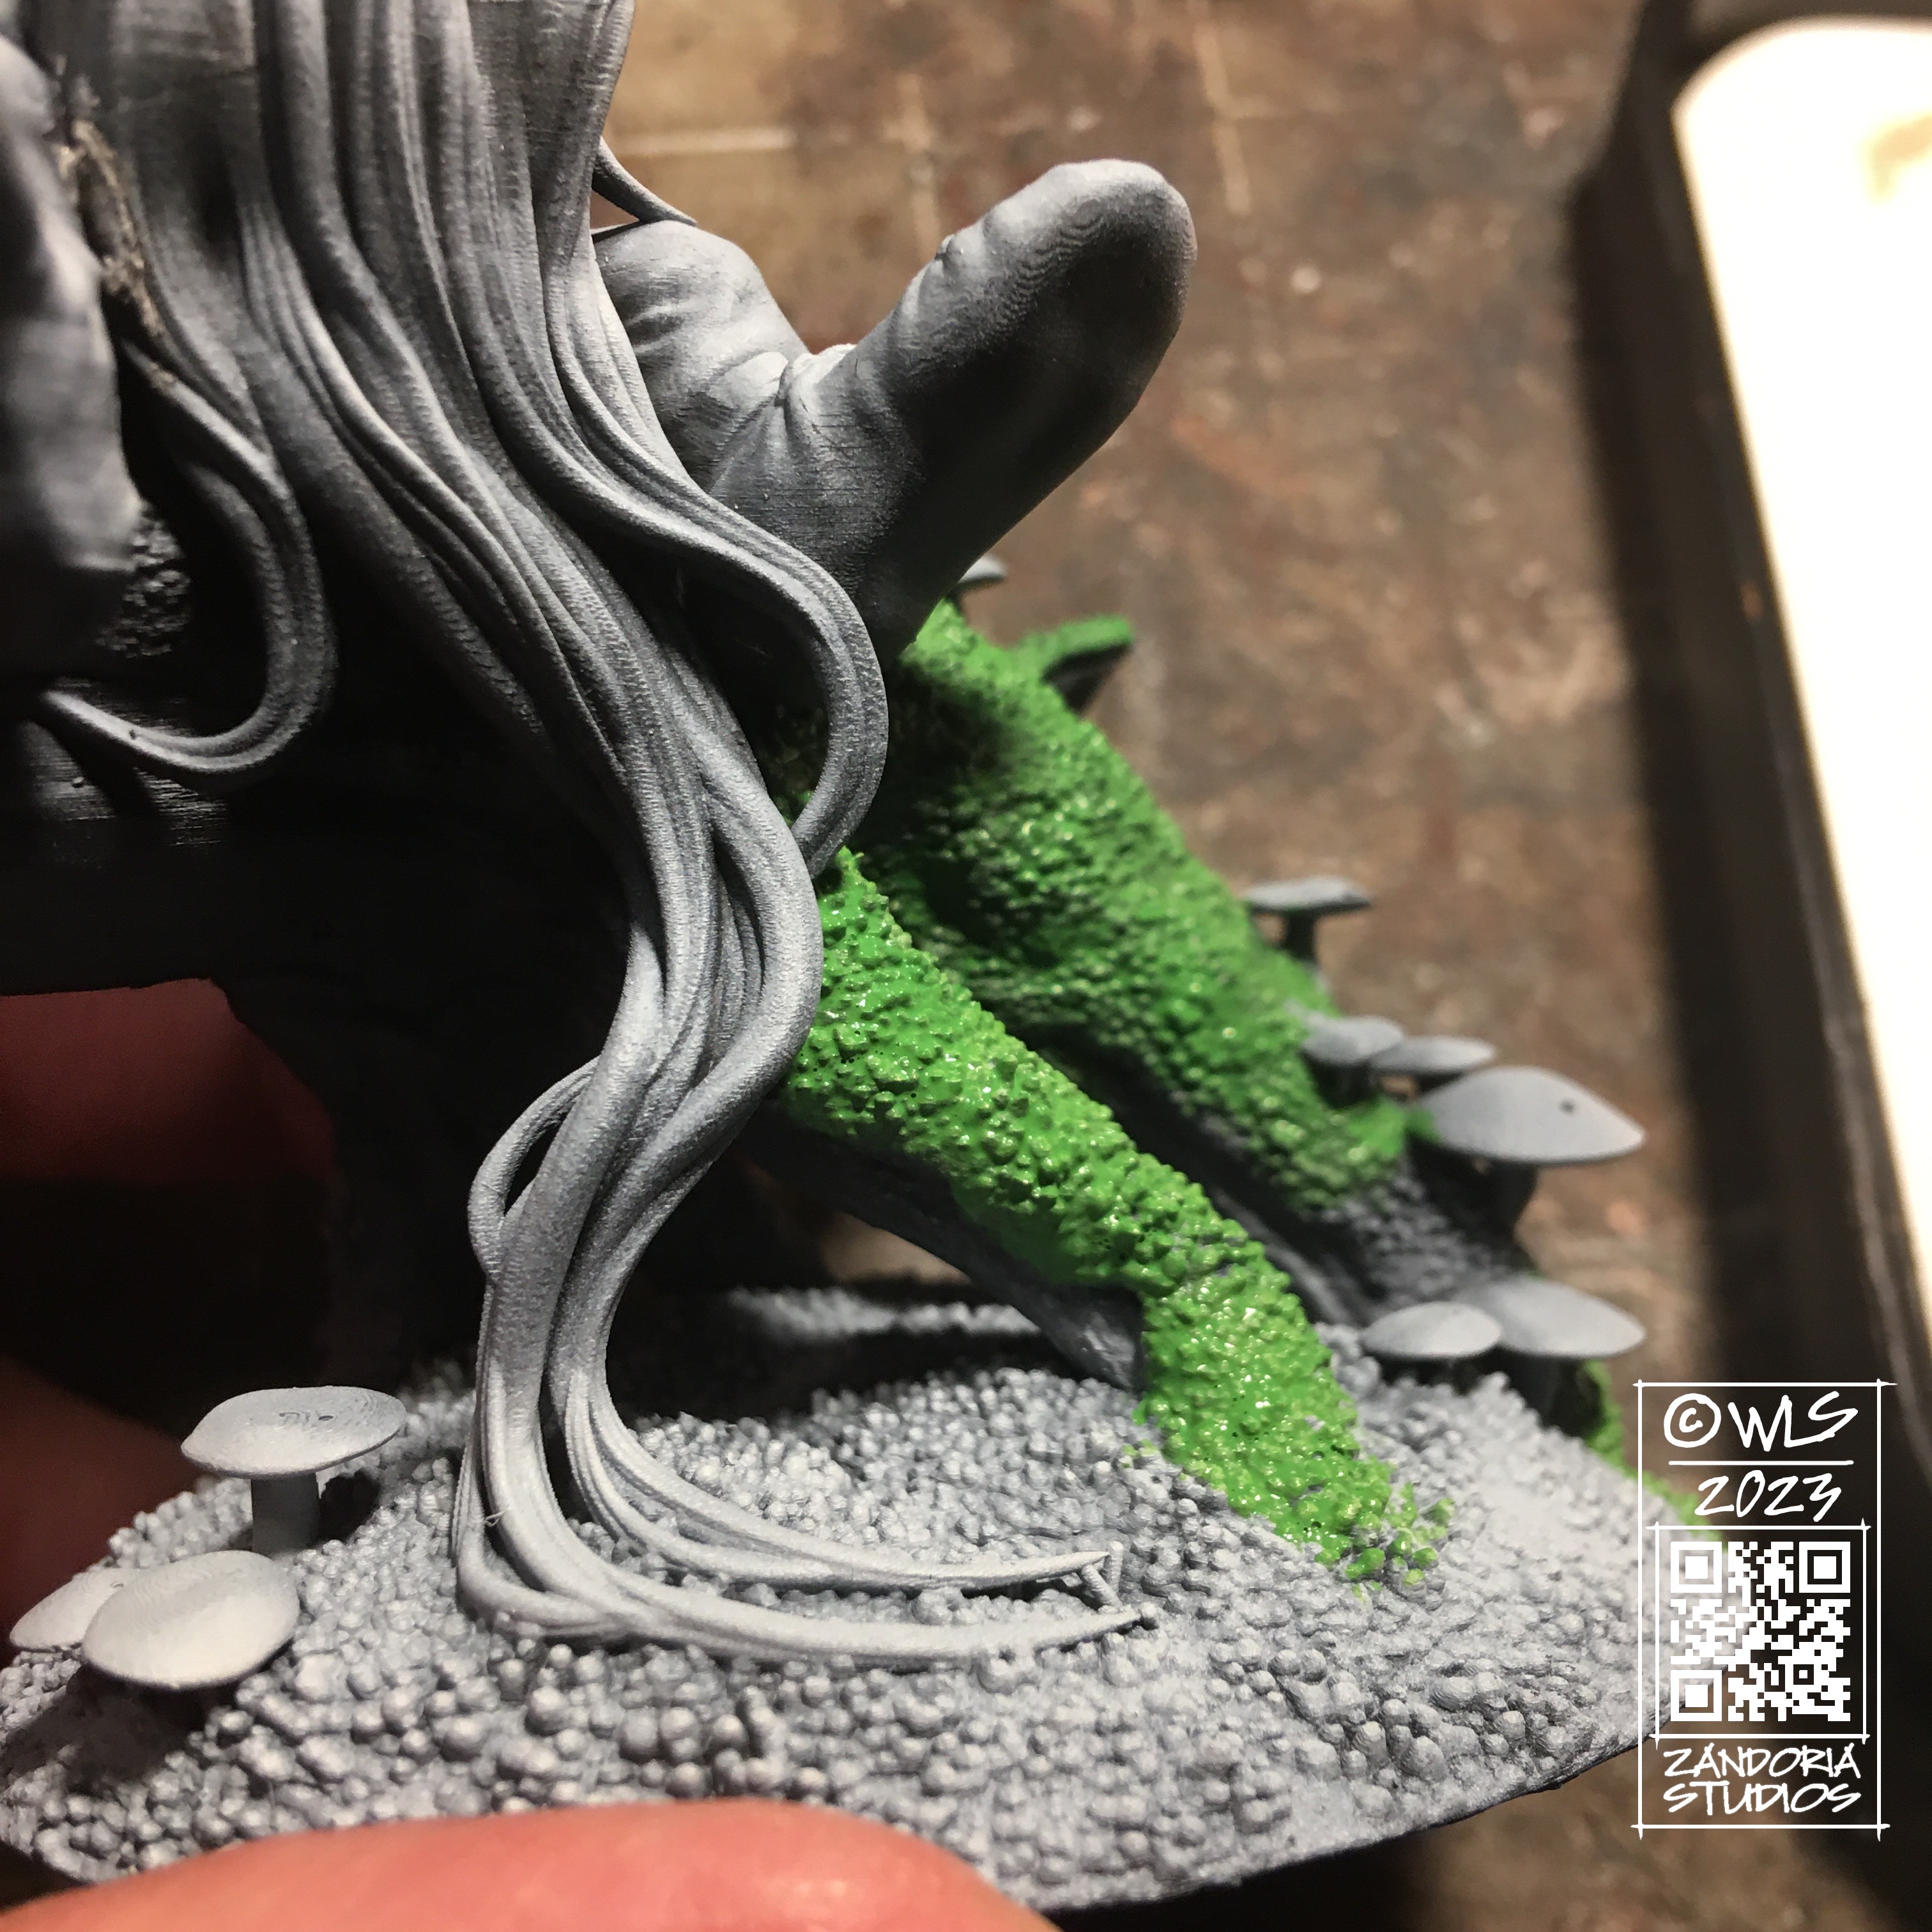

Here I’m giving the moss it’s base color. I will continue through all of the areas, until everything is well colored. Most of the time, there will be two coats, but sometimes will just make sure it looks good.


Once you have the base colors done,it is time to add a wash. this can just be thinned acrylics, a “shade” type pre-made wash, or a mix of an acrylic pouring medium with some watercolor inks added to it.
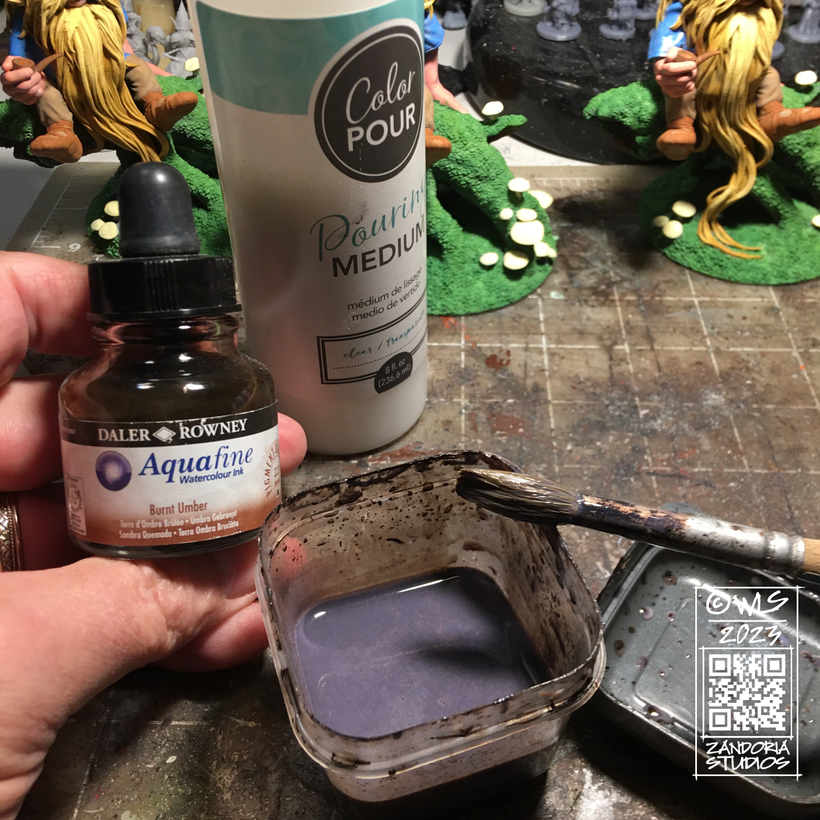
The wash will settle into recesses, darkening them and bringing out the details. You may prefer a subtle light tone,or a very bold dark wash. It really depends on the figure and your own sensibilities…

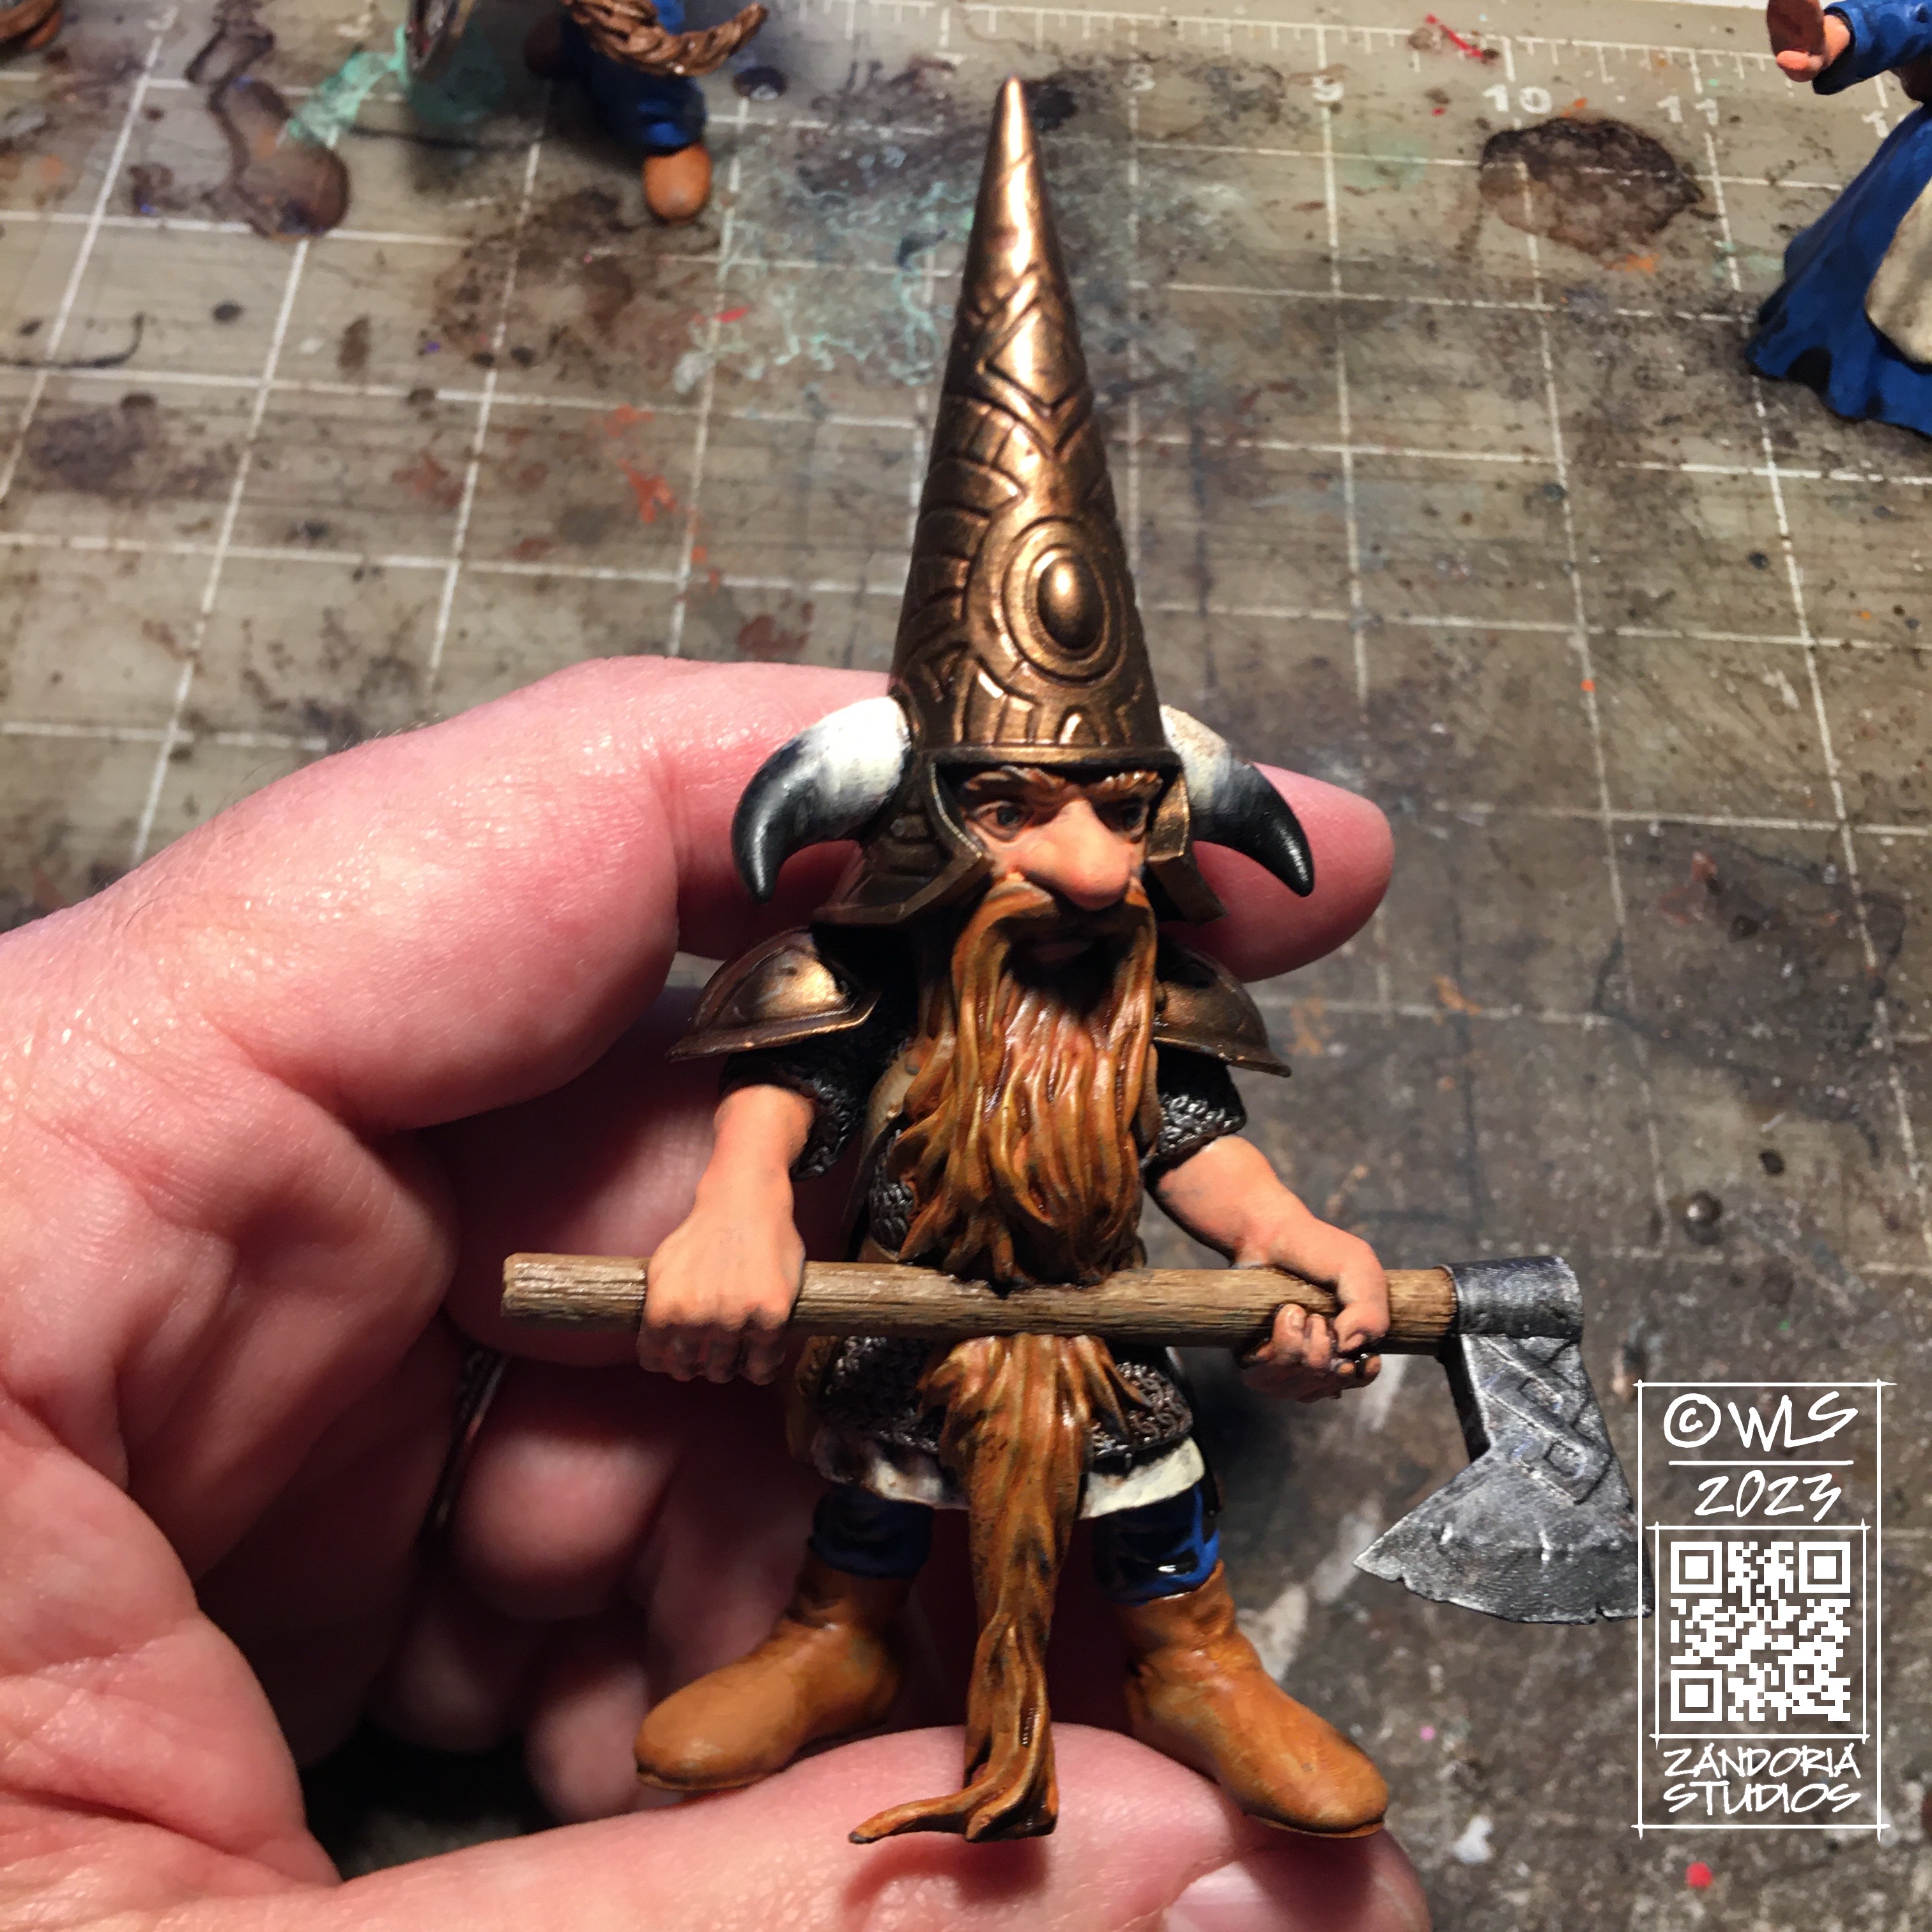
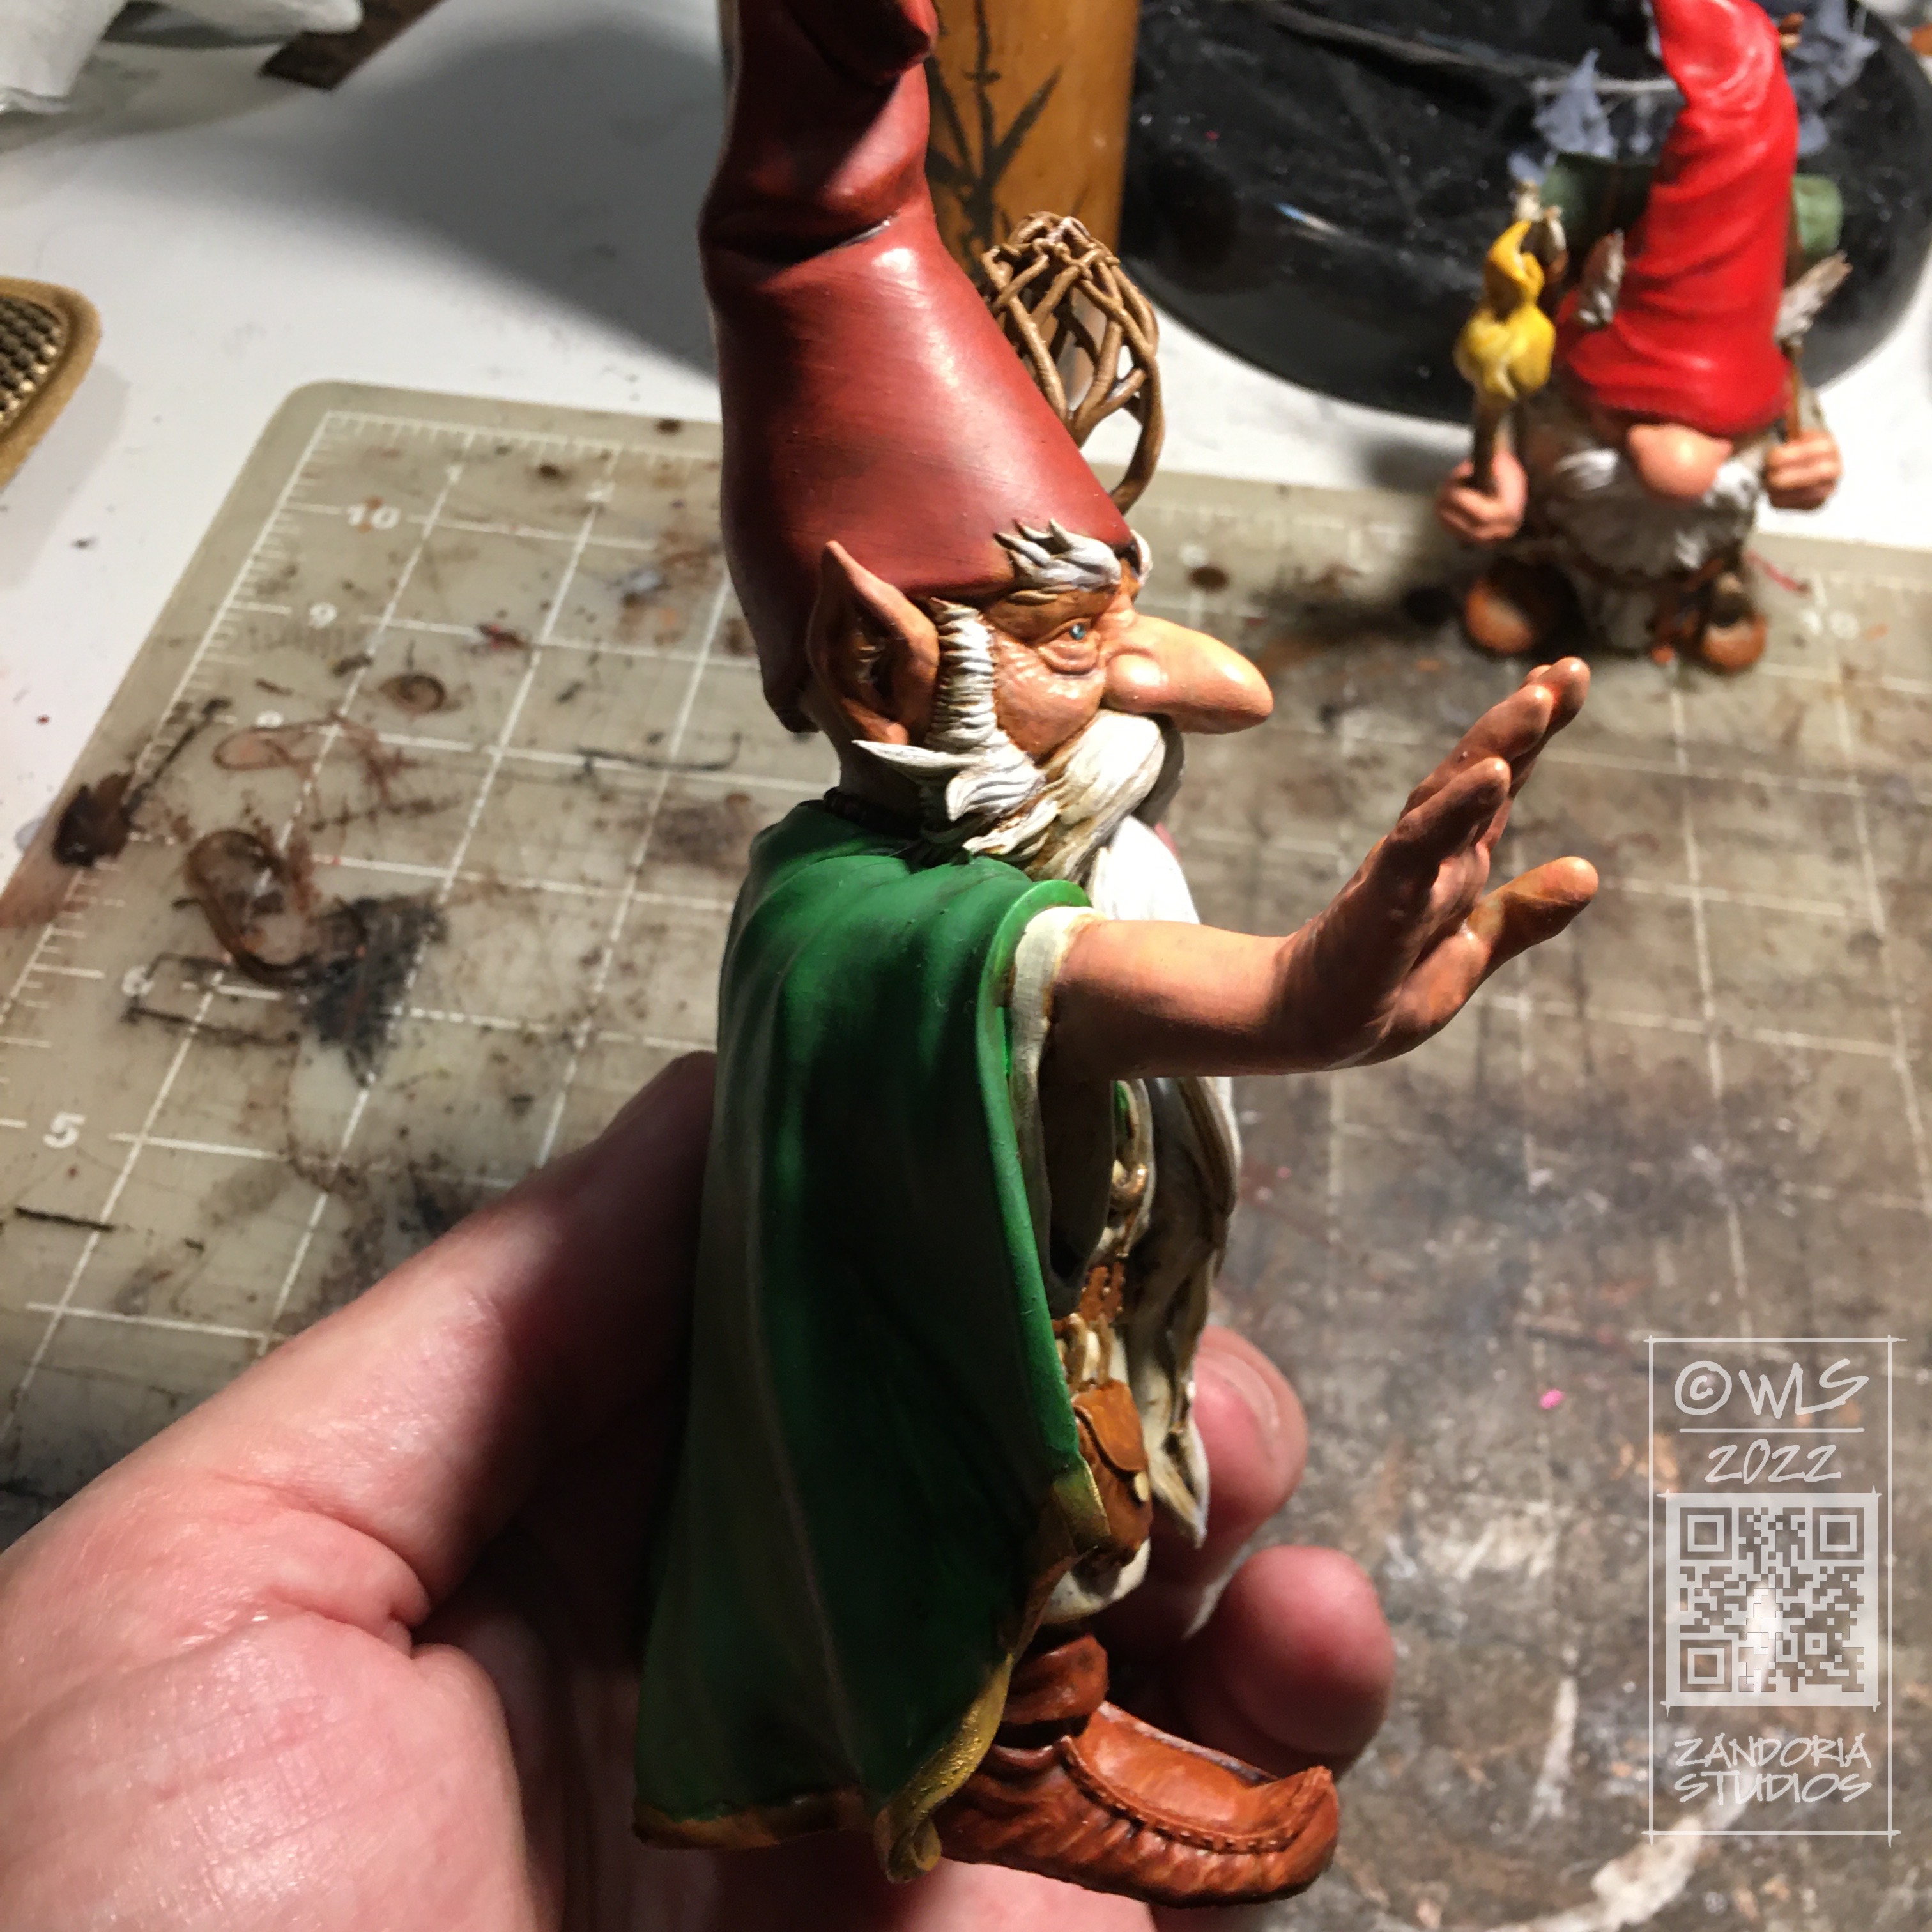
After your wash is dry, you will be able to judge if you want to make it darker. If it is too dark in some areas (such as the skin), you should feel free to add another coat of paint. I almost always redo the skin—keep the saturation high, because the colors dull a bit when they dry. You may just highlight some of the raised areas with the pure color to lighten them up and add contrast.

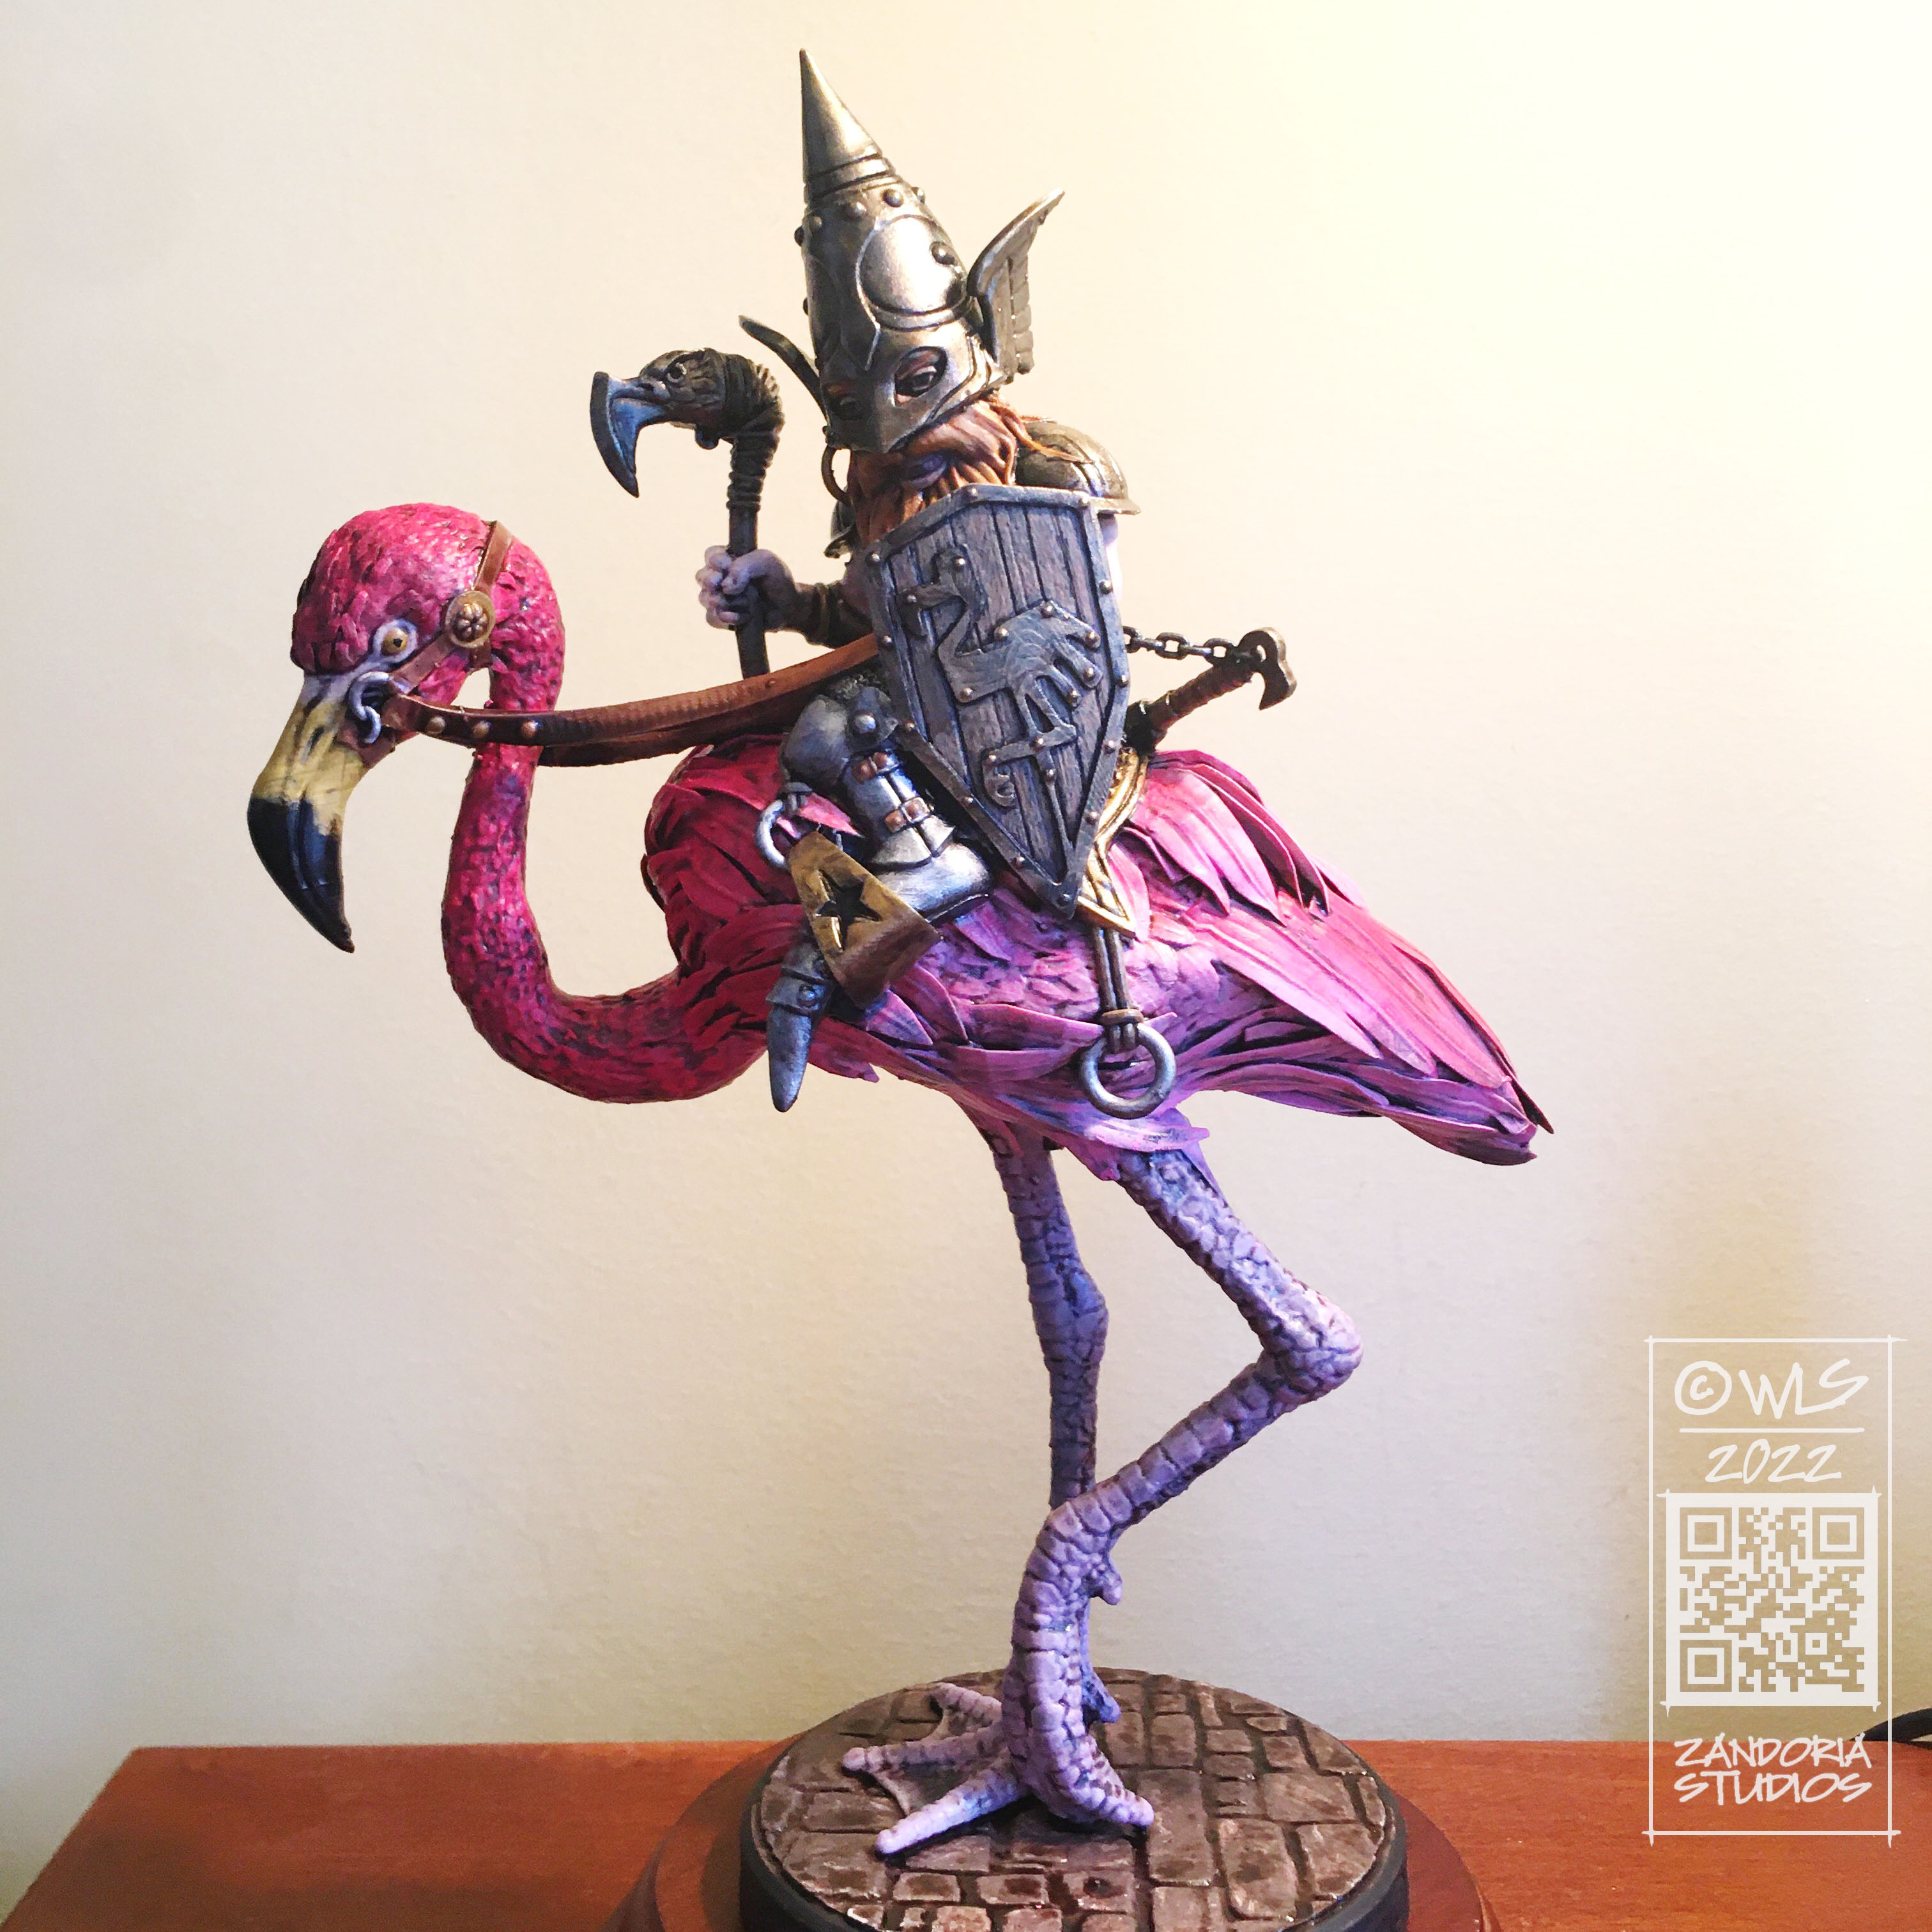
After the painting is complete, you will want to give a varnish of some kind to give an even look to all of the colors. My secret is to use liquid paste wax (for floors). It drys dull, but you can buff it to give it a shine. This is also what I use to seal the bronze metal coating on my figurines.

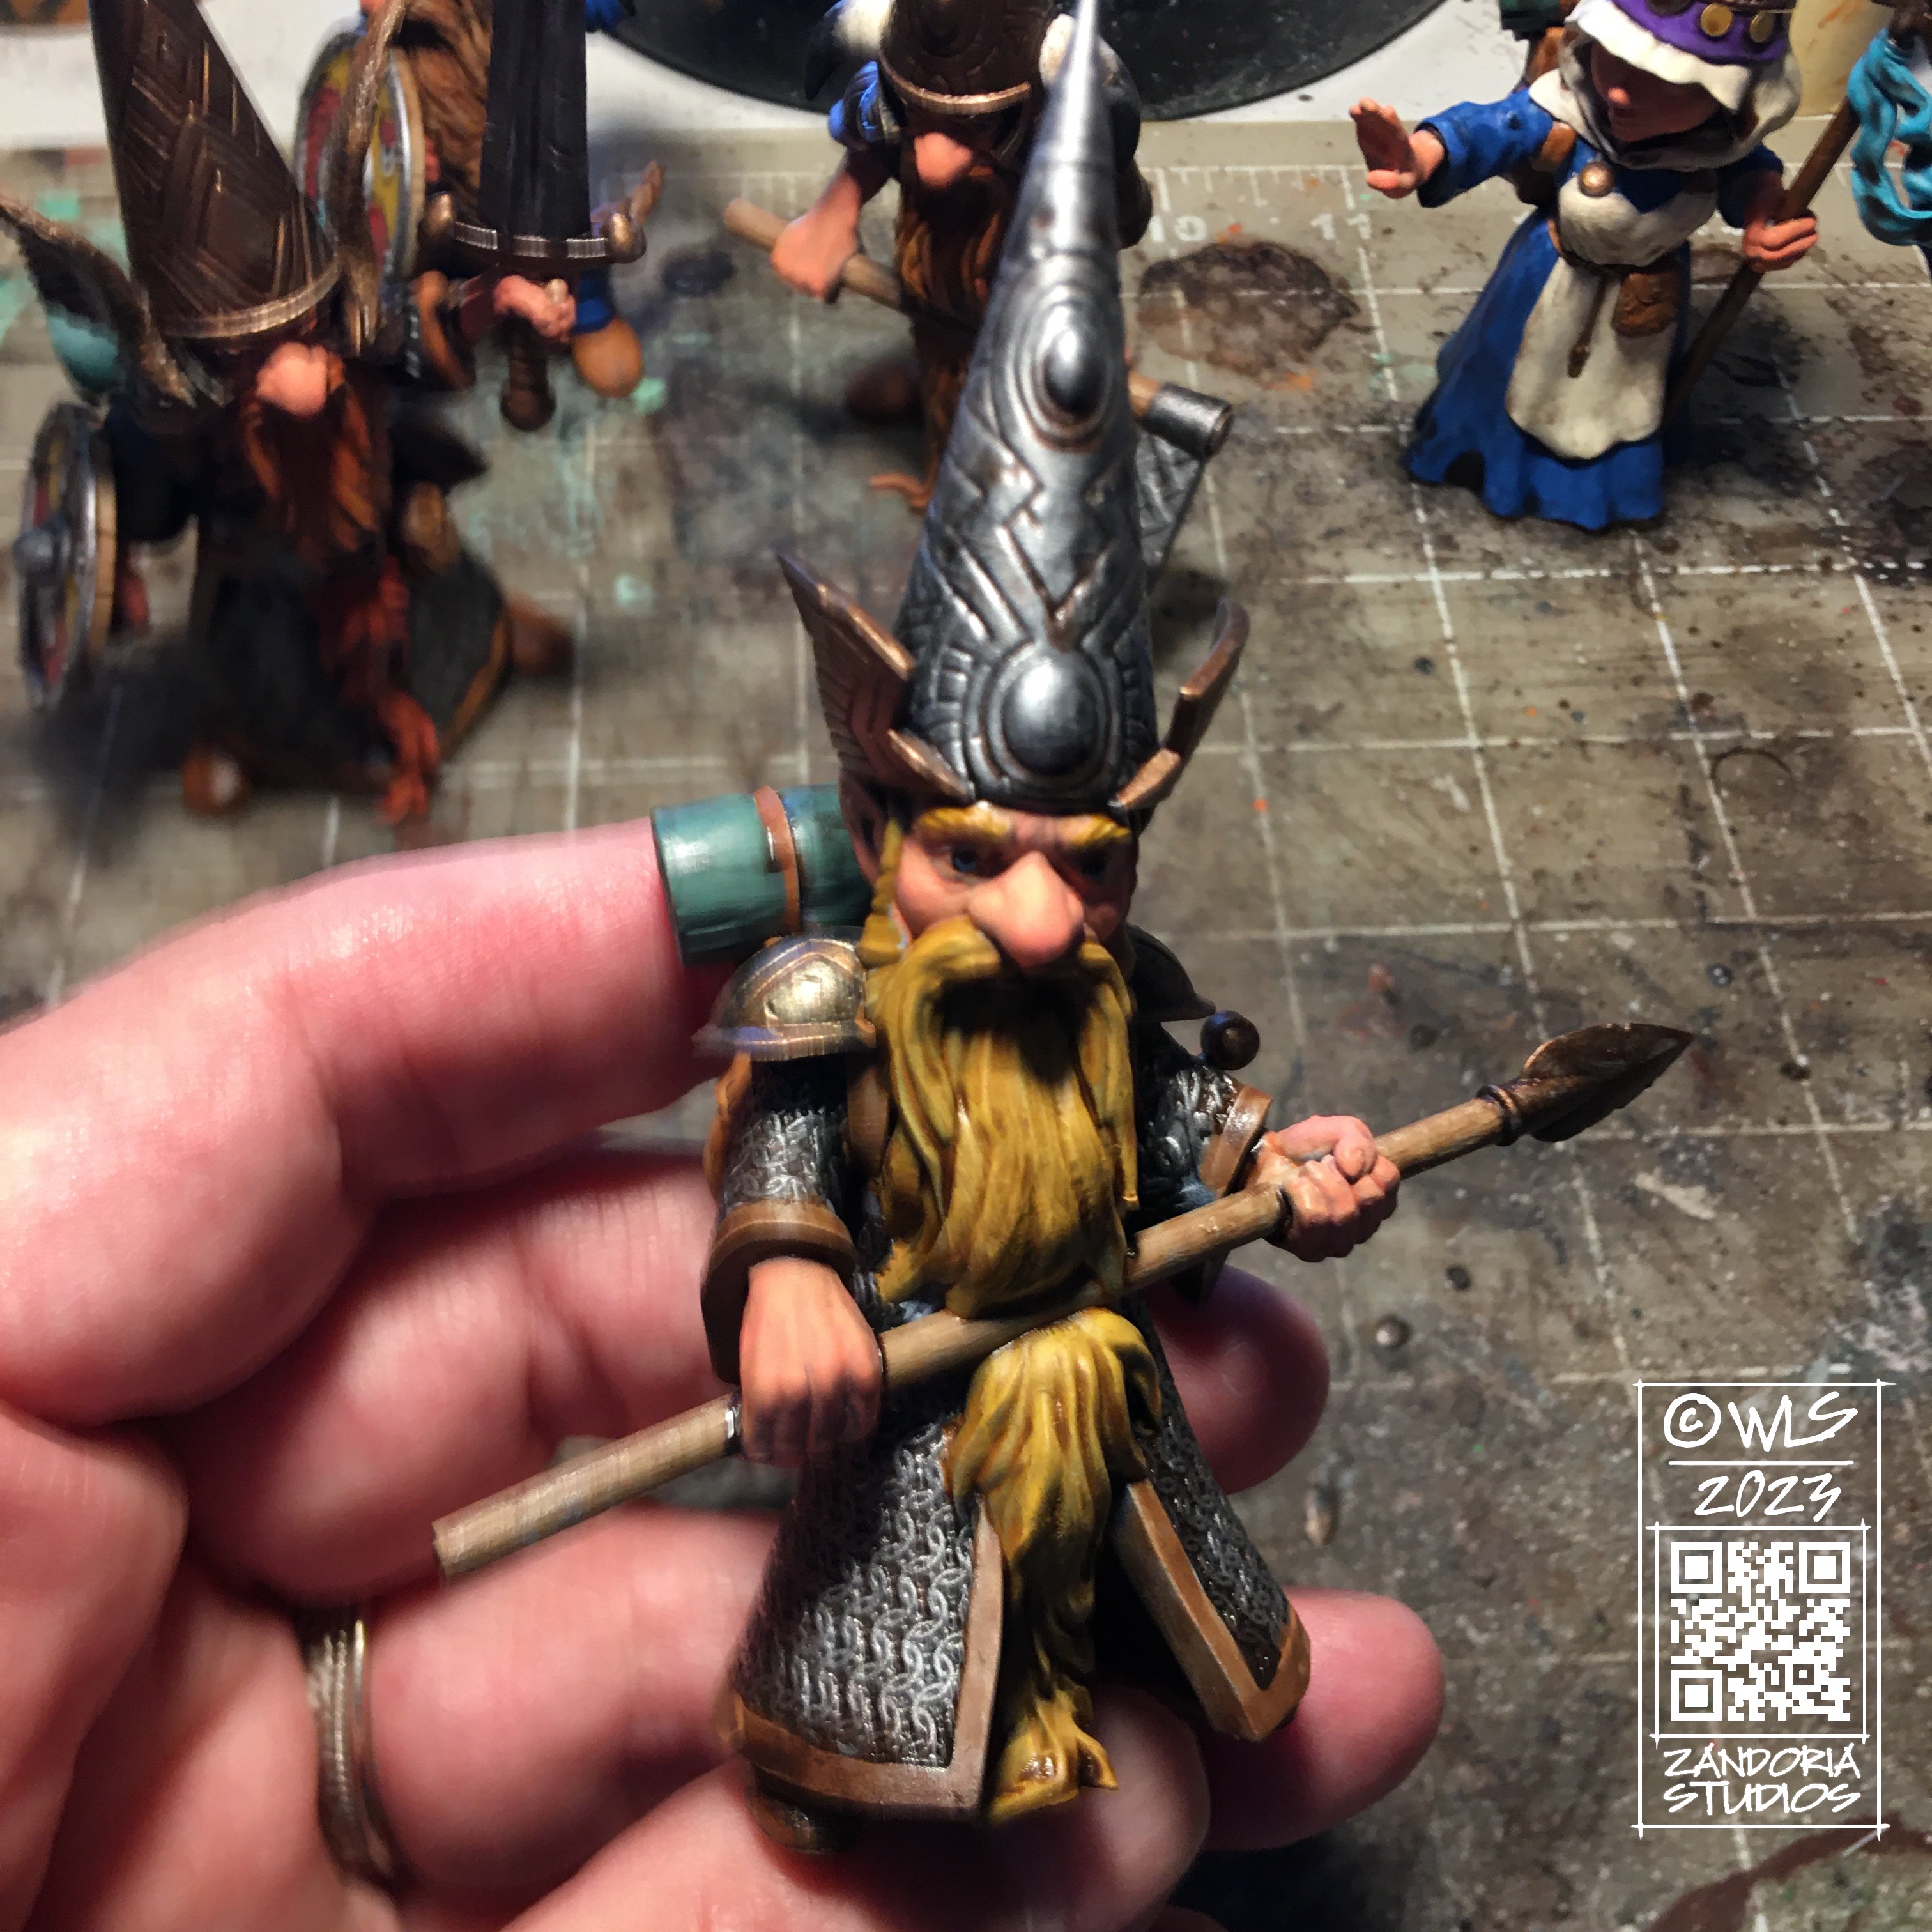
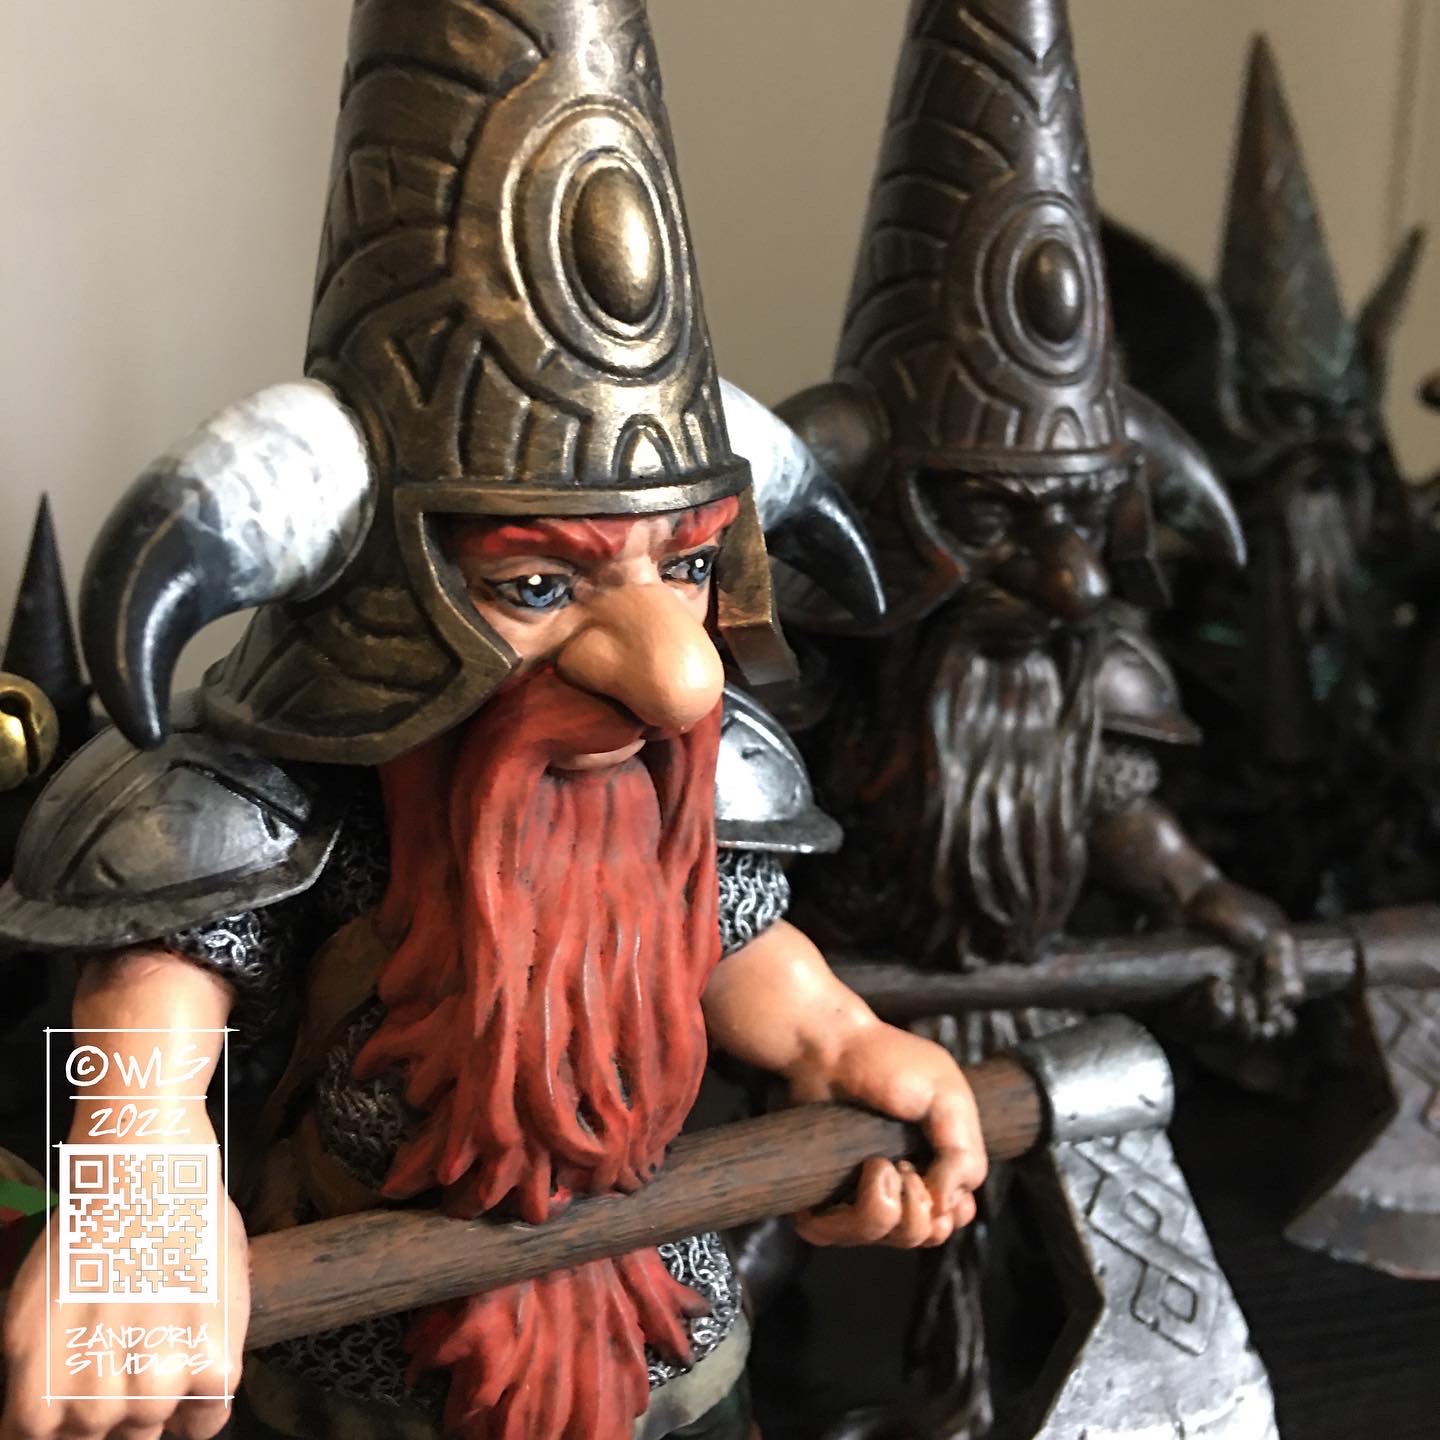
If you have printed the model larger (or bought a larger size gnome), you will have room to add more details than you would on a mini… On the mini of this gnomess, the eyes are only darkened by the wash–but on the 8″ version, I had room to paint them in detail:

These techniques are good for miniatures too:


If you would like to paint some of these gnomes for yourself, you can buy Unpainted miniatures and figurines of different sizes on my Etsy Shop. If you own a 3Dprinter, you can buy any of these sculptures as an STL file at Cults3D.
I hope this tutorial inspires you to paint some Guardin’ Gnomes!
