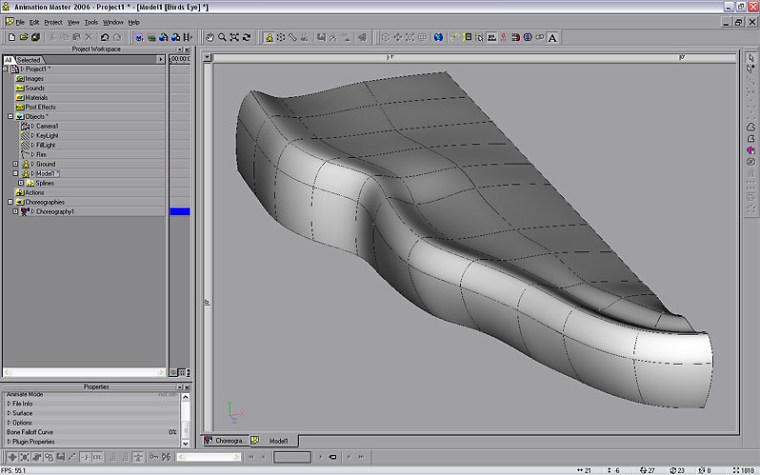
Start with the mesh of the jaw or gums. In this case I decided to model what could be a crocodile or dragon’s lower jaw.
Using the ADD tool, stitch a circle into the gum. This will become the base of a tooth.
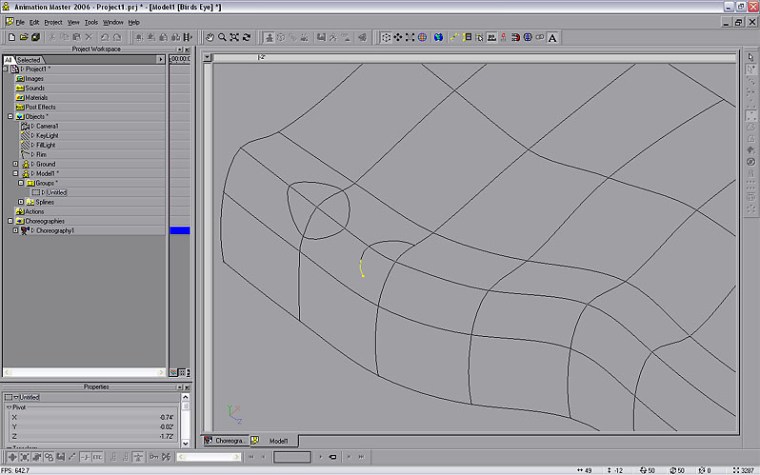
Select the splines in each circle and set the MAGNITUDE to 167%. For these teeth I have added a second ring, which will become the tooth cross-section later.

Where the mesh doesn’t have enough resolution for the number of teeth you want, stitch in more. These dangling splines will be HOOKS.
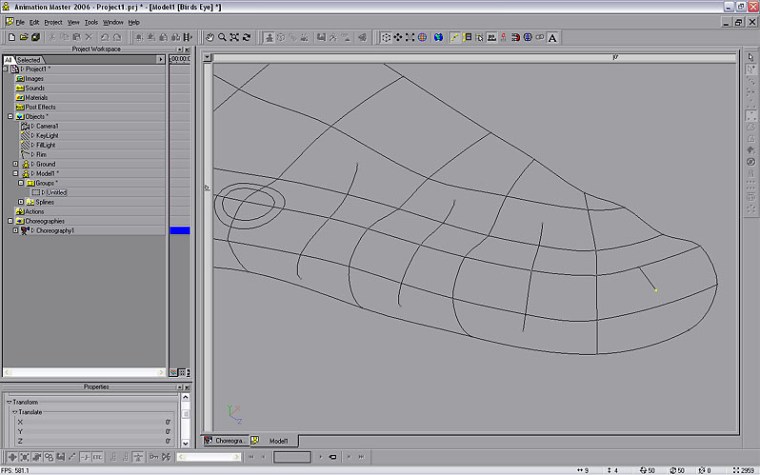
After you get your teeth drawn in, you notice that the adjacent teeth have 6point areas between them. Fix this by stitching a spline between them. leave the end dangling, then HOOK it into the next patch.

Here you see all of the teeth stitched in, but a lot of 5point patches to make!!!

It’s really not too bad…just work your way down the line. ![]() Turn on SHOW NORMALS (SHIFT+1) to make it easy to see which way the surface is pointing. If the direction is wrong, hit (F) to FLIP it.
Turn on SHOW NORMALS (SHIFT+1) to make it easy to see which way the surface is pointing. If the direction is wrong, hit (F) to FLIP it.
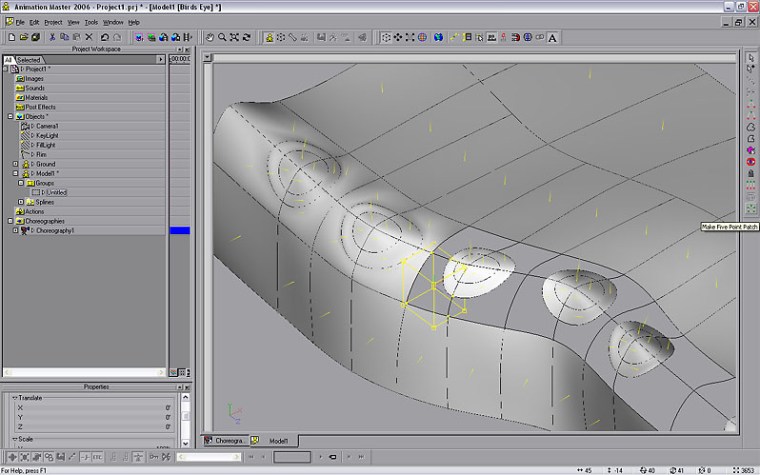
Select the spline where it runs into the base of each tooth and PEAK it (P). This will help create a distinct gumline where the tooth emerges.

Select the center of the tooth and TRANSLATE it up. Then select the cross-section spline and move it up also. You may need to switch views as you go. Holding down (2) constrains movement to the Y-axis (up and down).
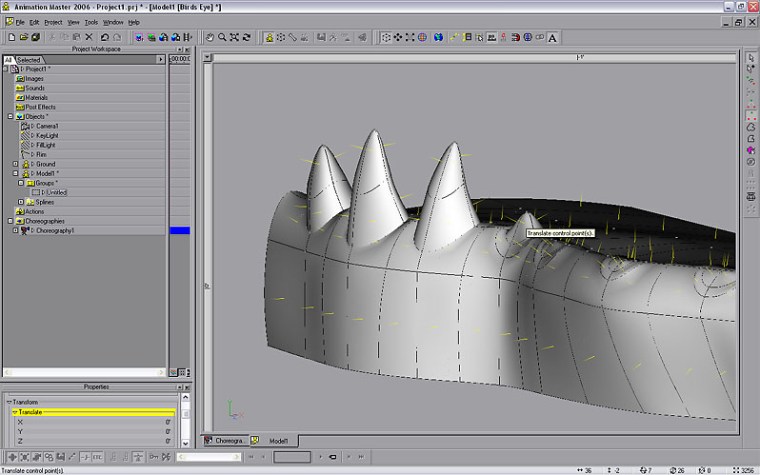
Continue down the line and shape the rest of the teeth.
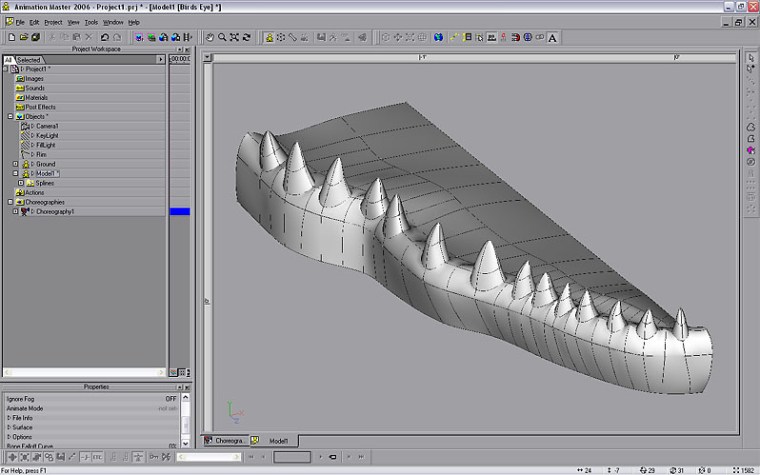
COPY/FLIP/ATTACH to get the second half of your model. Easy! ![]()

Thanks for visiting! If you have found this tutorial valuable, please consider making a contribution!


Someone should make a plugin that would automatically stitch in that circle (or two) around a selected spline intersection. that would speed things up.
LikeLike
Very nice Will. Straight forward. I will use this technique.
LikeLike
Nice tut Will! Very straightforward and easy to follow.
LikeLike