Ahsoka Star Map Puzzle Ball
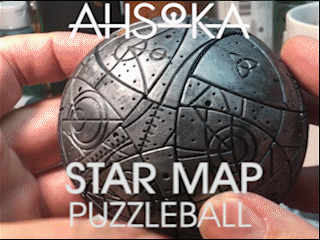
When I first saw the Ahsoka Star Wars show, I was fascinated with the Star Map prop. I thought it would be awesome as a 3Dprintable project. It turned out to be very challenging to engineer the pieces. there are 62 moving parts and 12 axis of rotation!
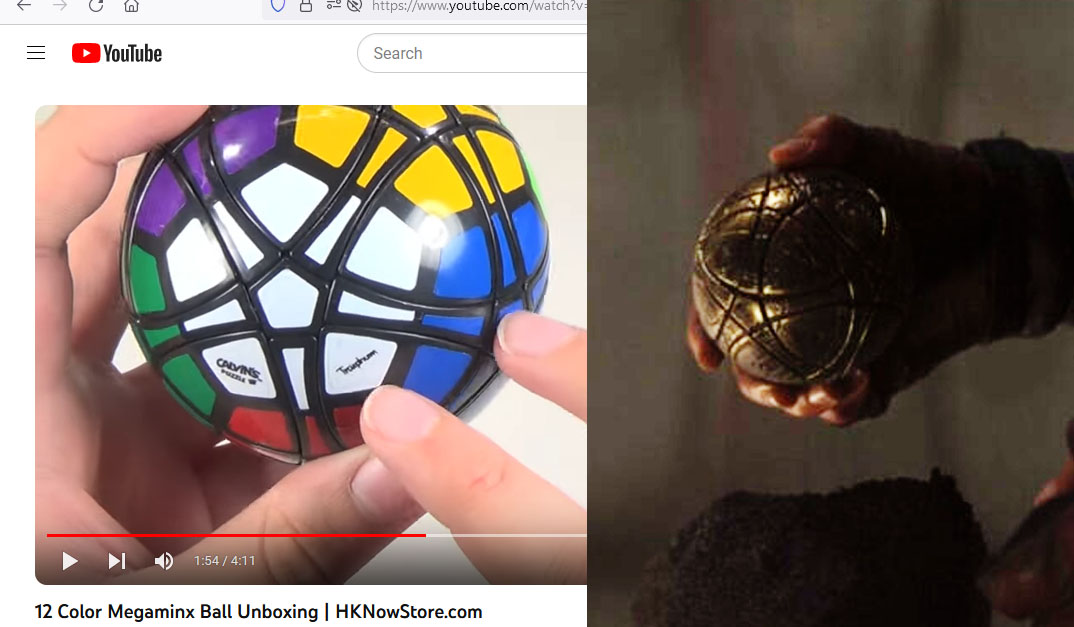
The prop in the Ahsoka TV show seemed to be a repurposed Megaminx puzzle with engraved star map. I couldn’t find a Megaminx ball (it looks like it was last manufactured in 2008), so I had to figure out how to interlock the shapes as well as how to make it work.

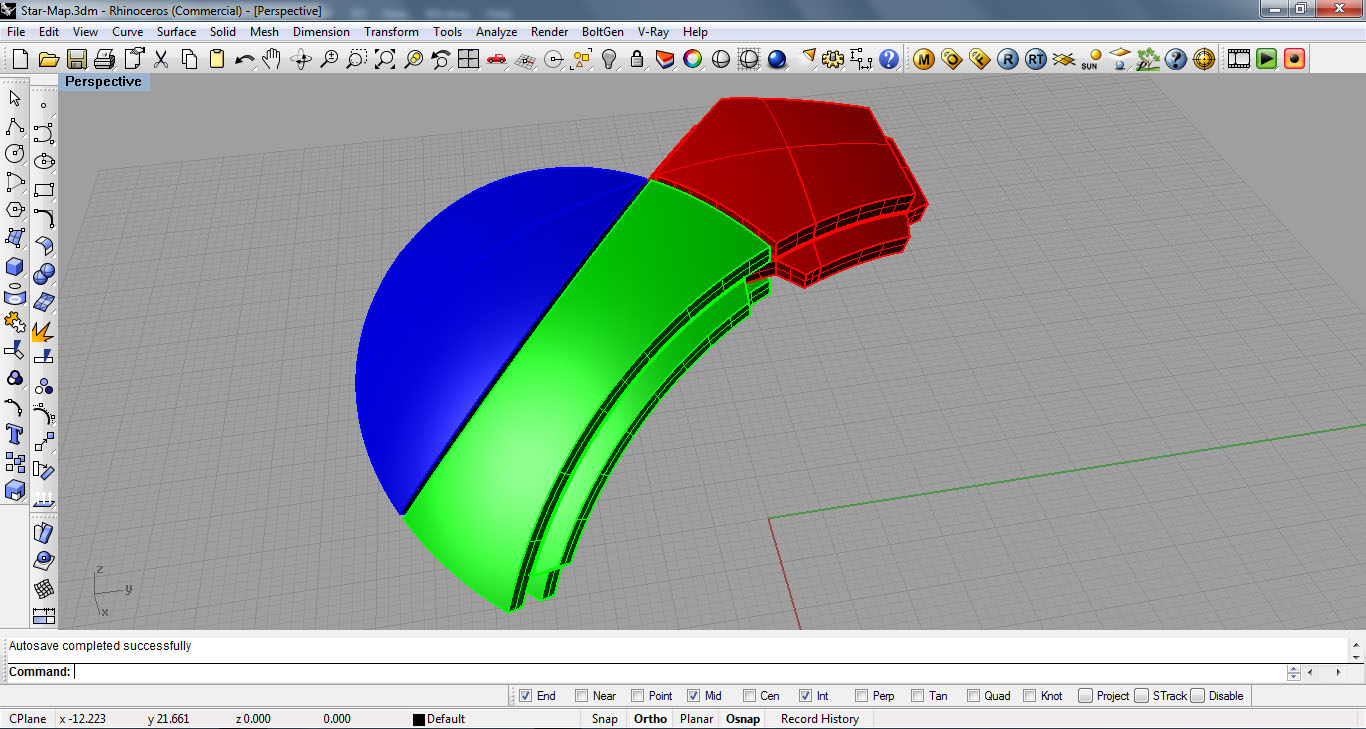
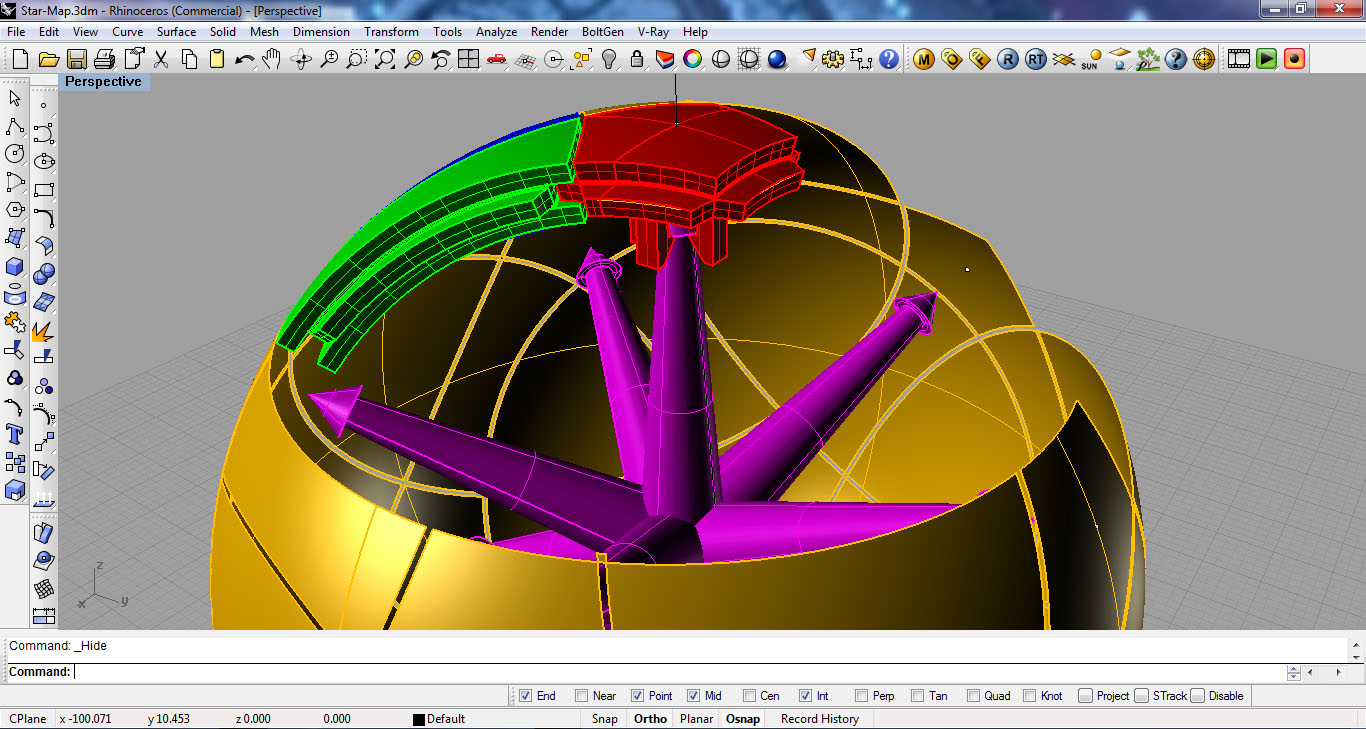
I started in Rhino with an 80mm sphere. The main pieces are just 3 parts, arrayed around the puzzle. The 5-sided shape is the cap at the axis of rotation. I called the 3-sided shape a “petal” and the 4-sided shape the “rib”.
My first iteration fit together, but wouldn’t spin or slide… so I ended up tweaking and revising until I got a version that would work.

Once I had printed a version that would work, I had to figure out how to draw the star map. Rhino only had a limited ability to draw a curve on the surface, so I had to draw a curve interpolated on the surface and then snap to the points on that curve to draw spheres that I could intersect to create the circles on the main sphere.

I piped a tube around those circular curves to create geometry that I could boolean subtract from the final pieces. Such a boolean operation would easily crash my computer in Rhino, so my plan was to export all of the geometry into ZBrush and use the Live Boolean feature.

From the Umesh results, I first autogrouped the parts and gave it a name before splitting it to subtools. this gave me each piece as a separate subtool, named sequentially. Then I used the 3Dprint Exporter to save as STL using the subtool names!


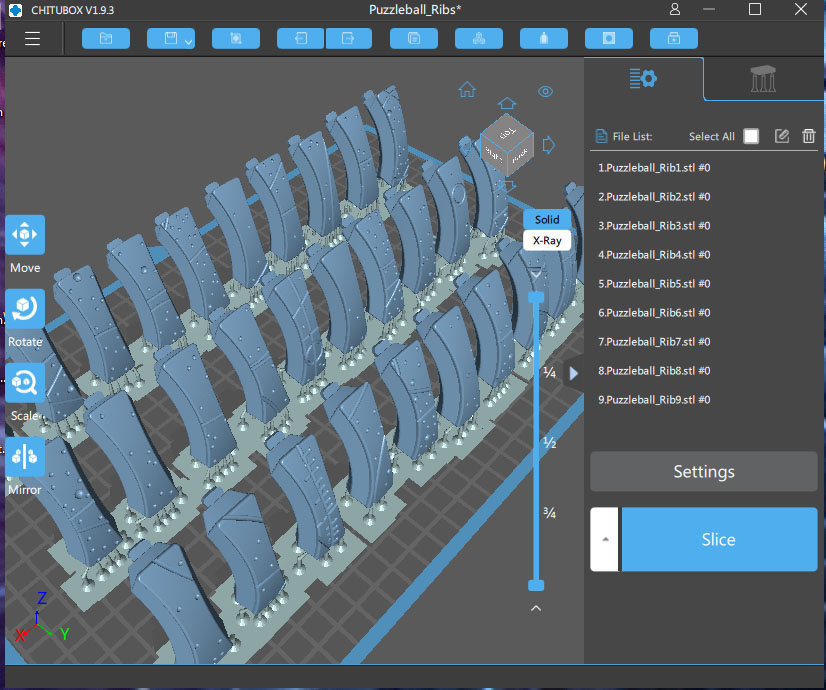
In Chitubox I created a separate project for each type of piece: Axis, Caps, Petals and Ribs. I 3Dprinted all of the pieces in ABS resin. I also saved the Chitubox projects with all of the supports, so that I could include the pre-supported files along with the STL files. Since all of the files exported in their final orientation on the model, they had to be rotated and positioned on the build plate–I didn’t want to make the customer have to do all of that!
Here is a video of how to assemble. I used some graphite lubricant (it is a very fine black powder) on a Q-Tip to swab the v-shaped notches on the Petals and Ribs, so that they would slide more freely.

I’m very happy with how it turned out! It works! all of the 62 moving parts slide and rotate just like the one in the show!
If you would like to 3Dprint this project, the files are available here on Cults3D.