
A Guide for putting together PuzzleLock Sewers
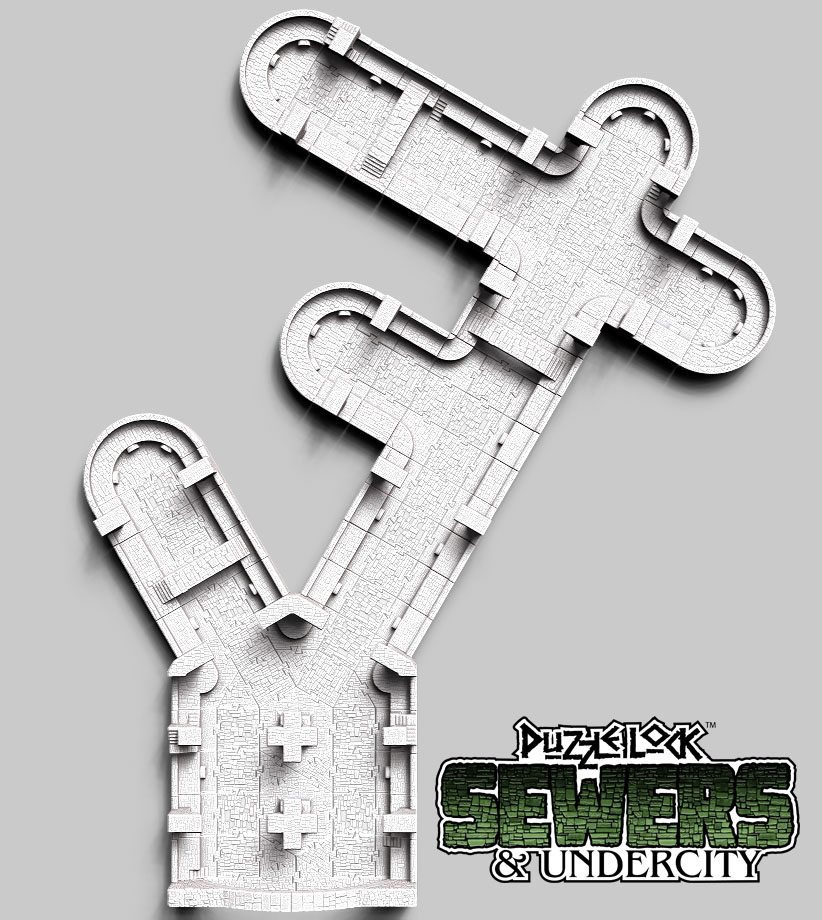
A couple of users have asked me for a guide to laying out their PuzzleLock Sewers to match the example in the product video. I can see how it could be a little confusing until you have enough tiles printed out to be able to play with it and see how you can configure it.

In the video, you can’t really see all of the puzzlelock connections. This is a good thing–unless you are having to freeze frame to figure it out… So here are some call outs for the pieces you need to configure the large area that I show leading to a large arch inspired by the “Cloaca Maxima” of the sewers of ancient Rome.

The normal passageway through the sewers is 6″ across. The “wall” sections (3 types) have a 1″ wide ledge that would be the walkway when the sewers are full of water. Between the walls is a 2″ square tile. There are bridge tiles that can cross the entire span, and “end” tiles that can cap off a passage:

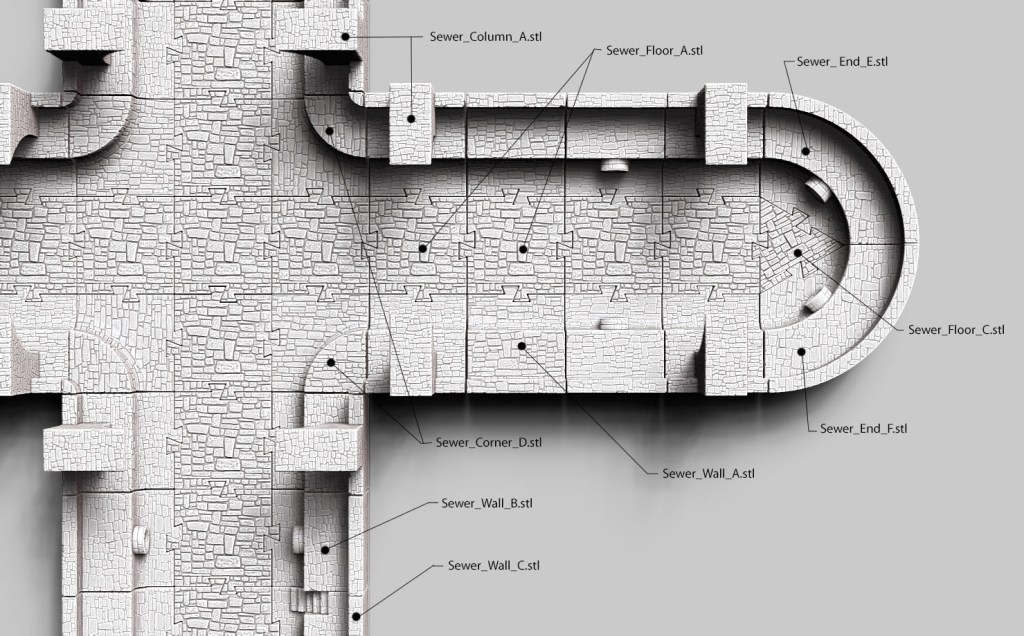

The Sewer_Column_A and Sewer_Column_B should be places symmetrically across from each other on a passageway to create the impression of an arch across the passage (though the height of all pieces is cut off at 70mm).
I hope this is helpful! If you have not purchased the .STL files they are available here for only $19.95
PuzzleLock Playsets

In February, I debuted the PuzzleLock Caves and PuzzleLock Dungeon at Con Nooga in Chattanooga. The response was very good, so tomorrow we are launching a Kickstarter to fund the creation of more PuzzleLock playsets!
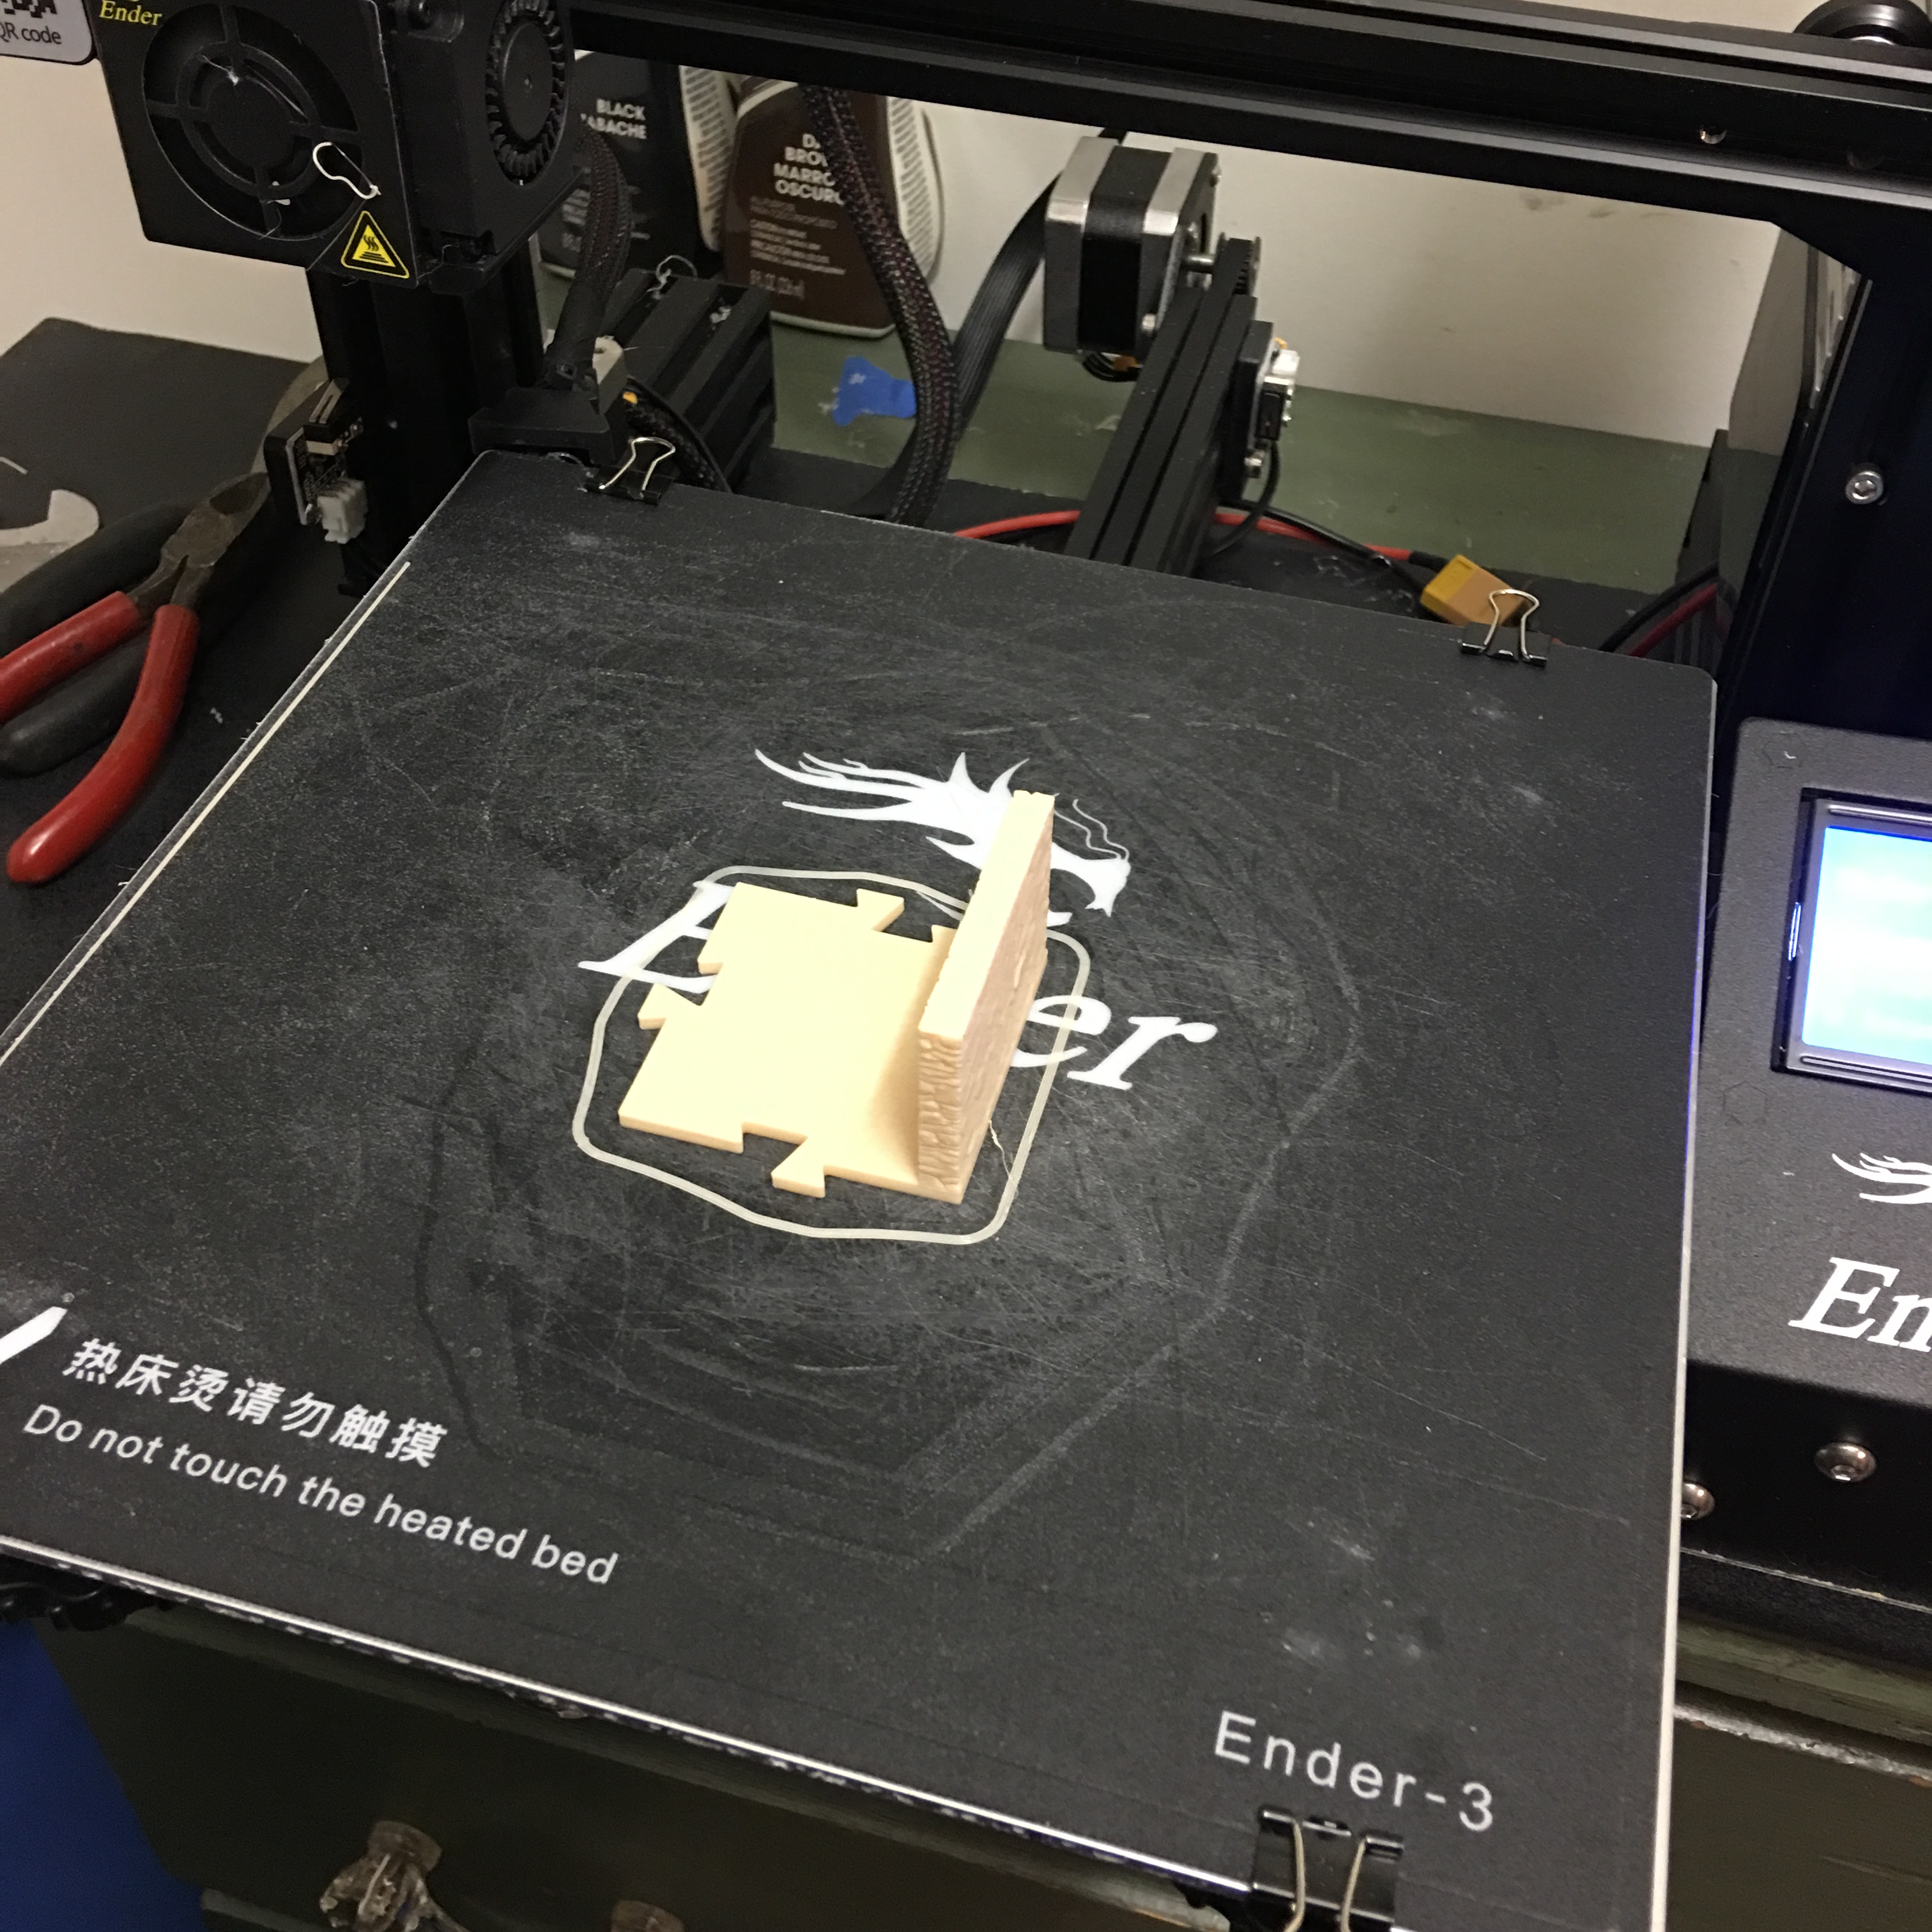
These playsets are 28mm scale terrain for tabletop role-playing games like Dungeons & Dragons. They help create an immersive gaming experience. They are printed on a $200 home 3D printer, and I printed the entire dungeon on a $20 roll of filament!
Unlike other systems, PuzzleLock doesn’t require any clips or magnets. It goes together like a jigsaw puzzle!
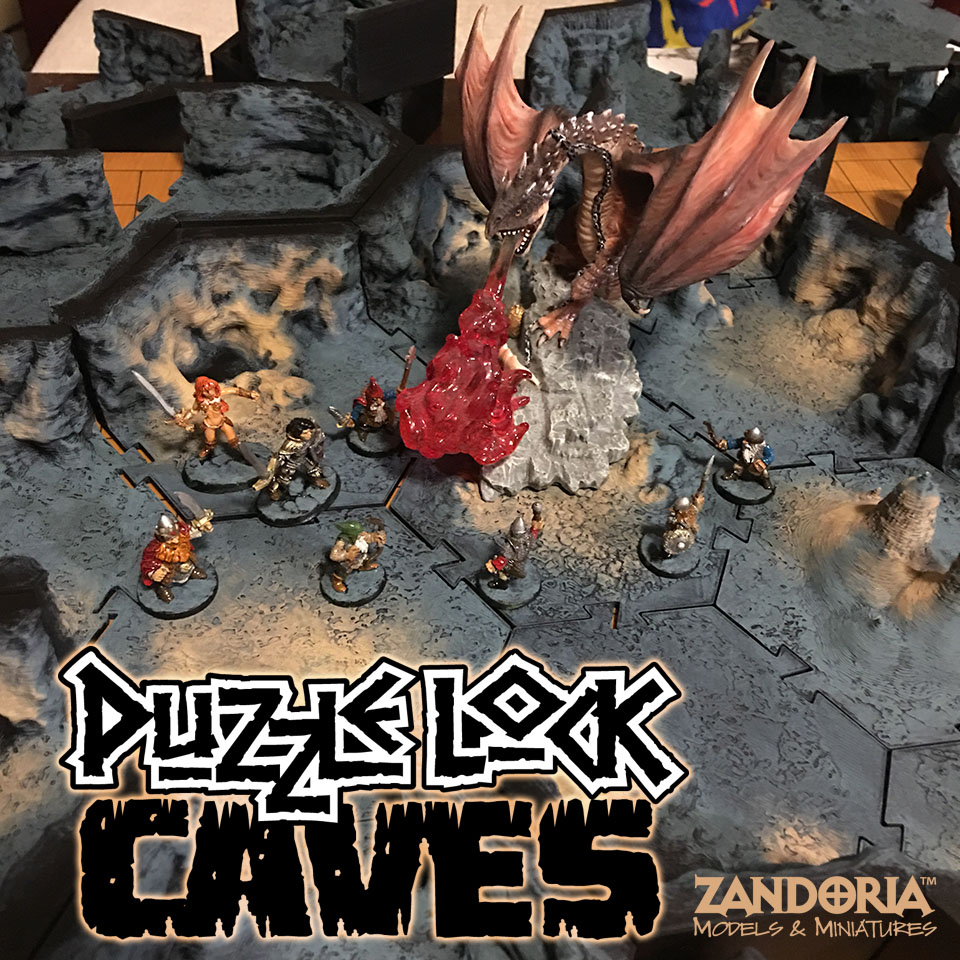


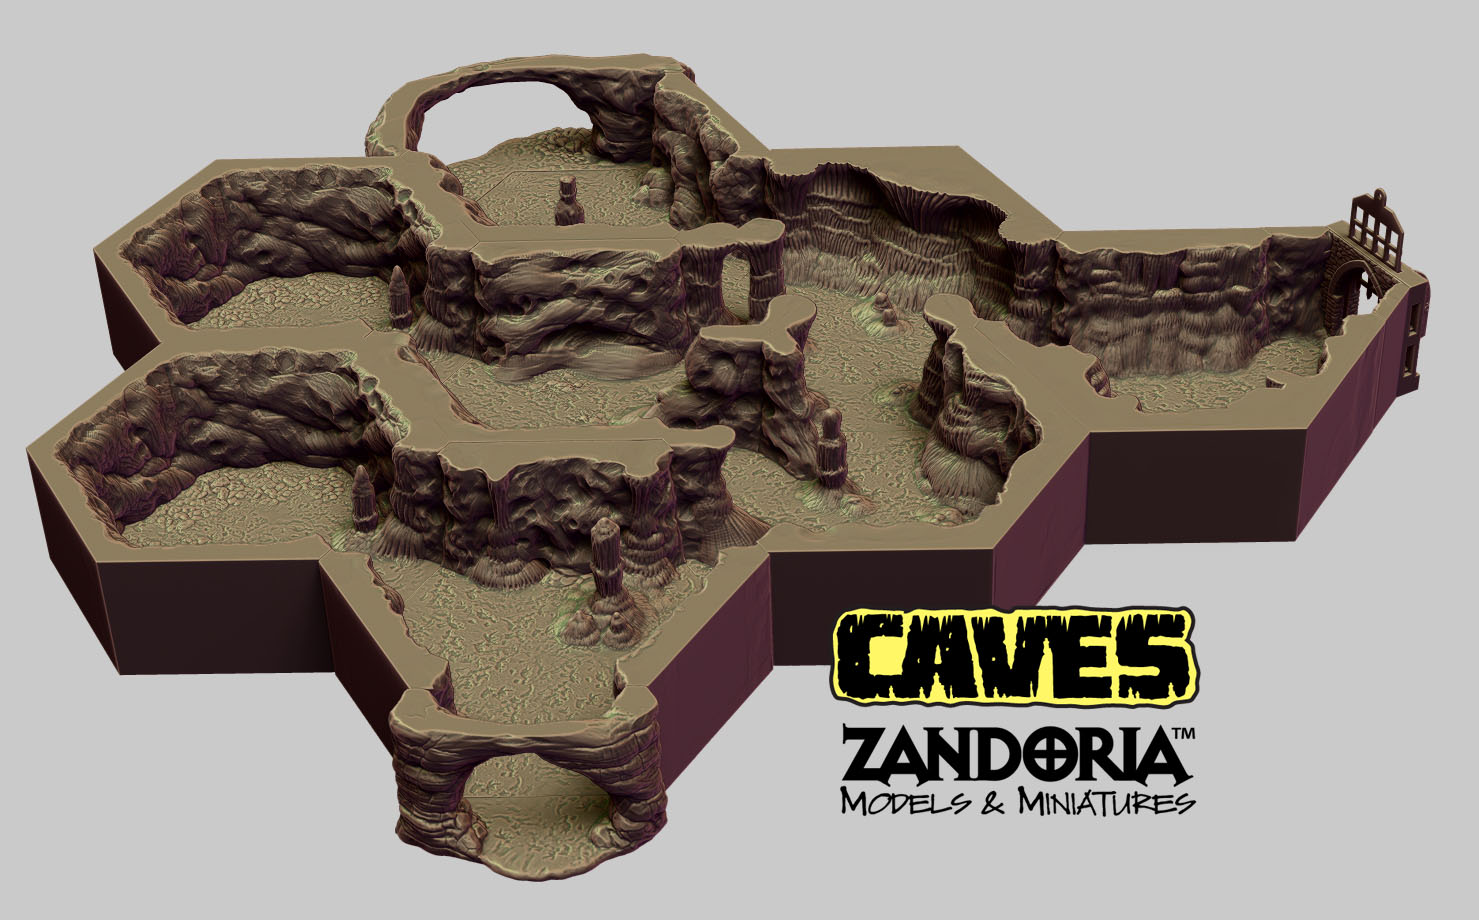
The Caves are 100mm point to point and about 35mm tall. The sides of the hexagons are 50.8mm (2″) and can connect to any other PuzzleLock playset.
The PuzzleLock Caves are available NOW at Cults3D:
https://cults3d.com/en/3d-model/game/puzzlelock-caves


The dungeon tiles are 50.8mm ( 2″) square, and about 35mm tall. They work with all other PuzzleLock Tiles.
Dungeons are available NOW
on Cults3D:
https://cults3d.com/en/3d-model/game/puzzlelock-dungeon
All of the PuzzleLock playsets are delivered as .STL files, which are 3D models that can be printed on a home 3D Printer.
The Kickstarter was 857% funded! Stretchgoals for Traps & Secret Doors and Sewers & Undercity were unlocked and will be available on Cults3D after they are sent to backers.
Caves of Chaos

When I first played Dungeons & Dragons as a teenager, the first adventure was the Keep on the Borderlands. The monsters were in an area of the map called The Caves of Chaos! I have a lot of great memories of those years, so when I started thinking about designing some 3D printable terrain for table-top gaming I naturally started think of those caves….
There are a number of kickstarted companies that are selling .STL files for 3D printing. I realized when I started checking them out, that the gaming community has eagerly adopted this technology, and there might be an opportunity for me in this area.
Before 3D printing, a company called Dwarven Forge was already making a very high-quality hand-sculpted and hand-cast resin terrain for gaming, but it is very expensive. What I noticed right away about the designs from these newer companies is that they were basically copying the designs of Dwarven Forge– The tiles were all 2″ squares, about a half inch thick, in all sorts of configurations to help you layout your dungeon.
However 3D printed PLA plastic is a lot lighter than Dwarvenite resin… So the 3D printed pieces have to be clipped or glued together so they don’t get scattered all over the table. I felt that the designers had failed to approach the problem from scratch with the strengths of 3D printing in mind. On top of that, the Caverns and caves were all rectangular and ugly….
I decided that I would start from scratch. One of the strengths of 3D printing is the ability to create complicated shapes that would be difficult or impossible to create through traditional manufacturing. I wanted to build complete pieces that were ready to paint and play, with no assembly. Instead of squares, I started with a hexagon and began to calculate the number of possible passageways that could come in and out of a 6-sided tile.

The biggest tile that I can print on my Printrbot is 6″, though that is pretty small compared to a lot of FDM printers, which would be big enough to not get knocked over during play. Since it doesn’t have to attach to the other tiles for stability, That gives you the freedom to rotate the tiles and quickly reconfigure the game map. Because the 3D print is starting from the ground, and there is no need for the additional structure to clip tiles together, I decided to make the floor 1/8″ thick–thick enough to be sturdy, but not wasting plastic.
I kept the 2″ standard for the openings of the passages, and the 2″ overall height (taller than that interferes with visibility of the miniatures).
My wife and I visited Cumberland Caverns in McMinnville Tennessee, which is the largest cave complex in our state, for some inspiration.


Once I was back home in the studio, I opened ZBrush and created a template for the tiles, ensuring that I could make all of the tiles mate up perfectly when printed.
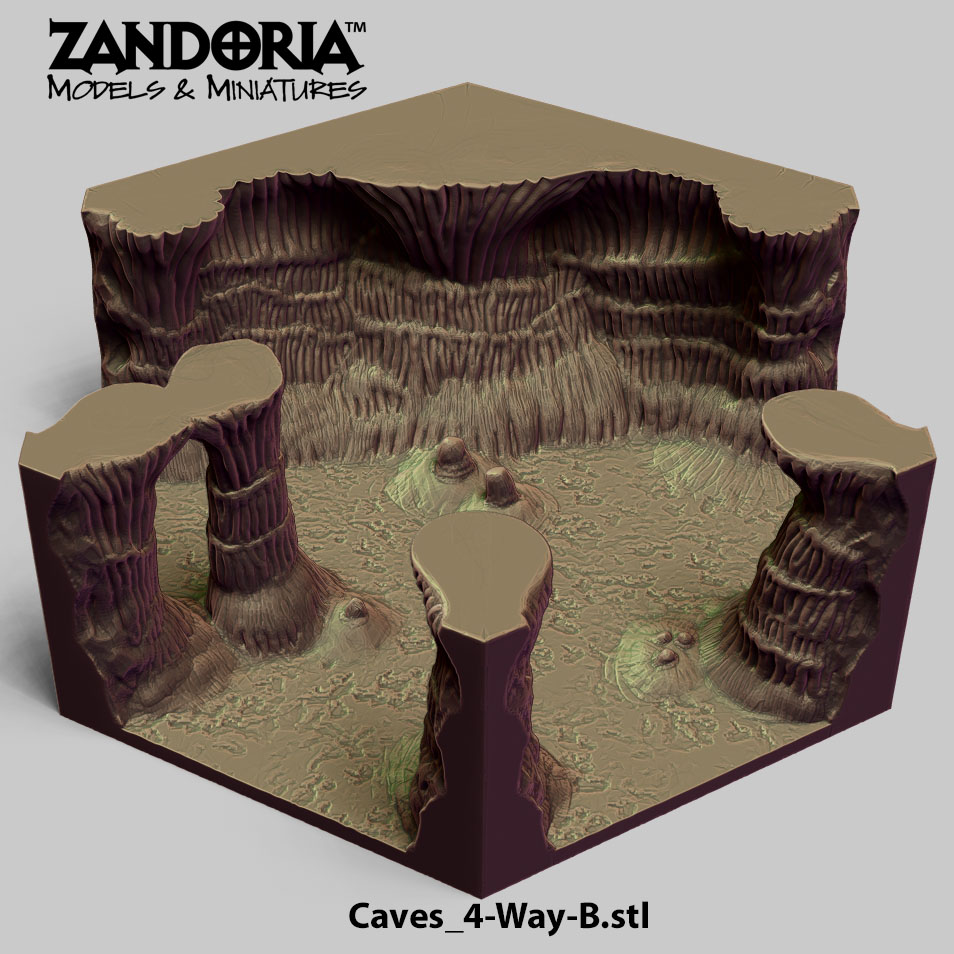
I ended up creating 22 Hex tiles, which could create and endless cavern across the tabletop. The tiles print with no support, and require no assembly.

Here is just a quick sample of the types of cavern layouts you can create:


Once I had the pieces sculpted, I decimated the models to create a high-resolution polygon mesh, and exported the .STL files.

Edit: I have gone back an added some Cave Entrances as well as Hex rings with OpenLOCK and Magnetic connection (because people kept asking for it), and an OpenLOCK compatible dungeon entrance so that you can connect these Caves to the rest of your dungeon:

If you are a gamer, and would like to print your own endless caverns and caves, you can get the set of .STL files here:
On MyMiniFactory:
https://www.myminifactory.com/object/3d-print-caves-77276
On Cults3D:
https://cults3d.com/en/3d-model/game/caves
On DriveThruRPG:
https://www.drivethrurpg.com/product/232472/Caves
On RenderHub:
https://www.renderhub.com/zandoria/caves
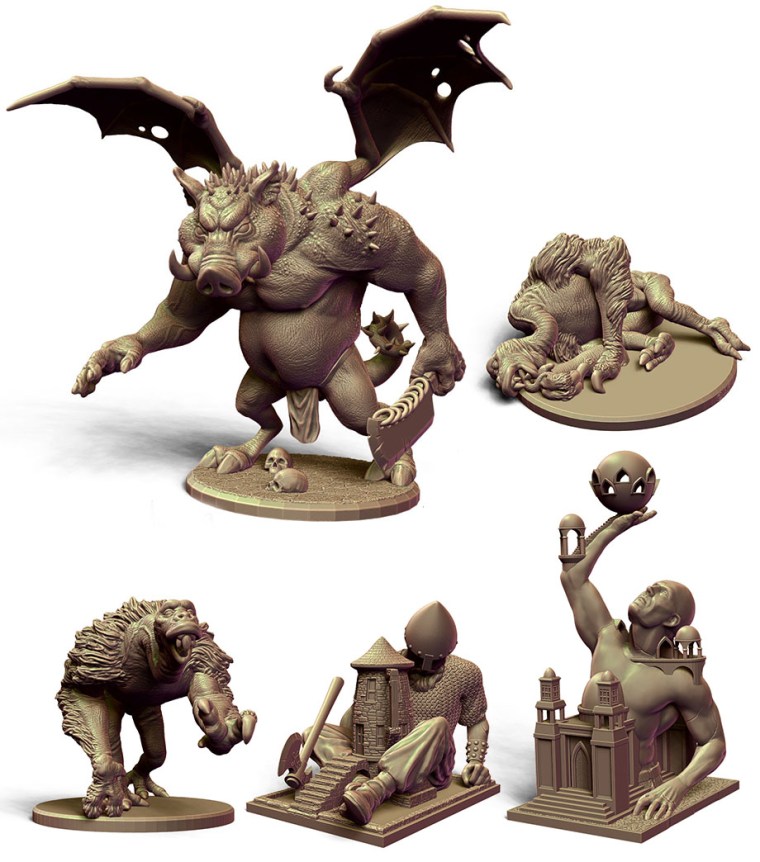
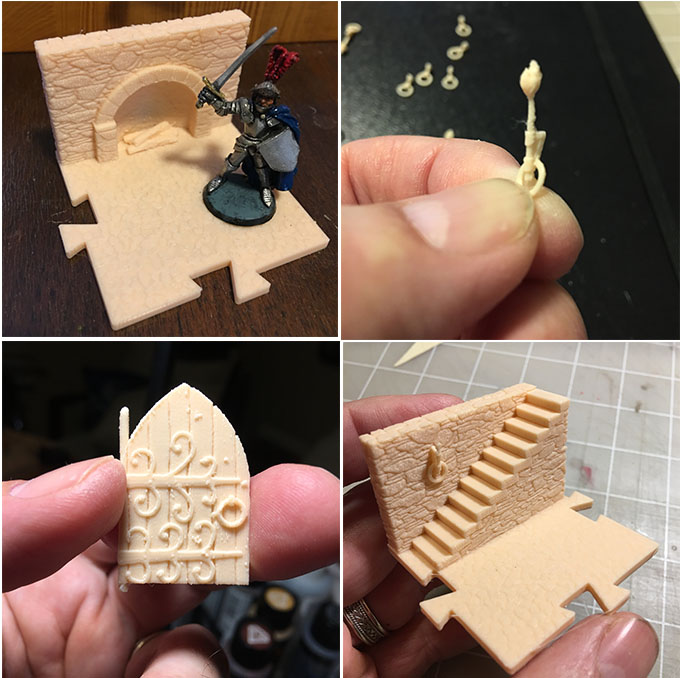
3D Print your own TAR of Zandoria Collectible!
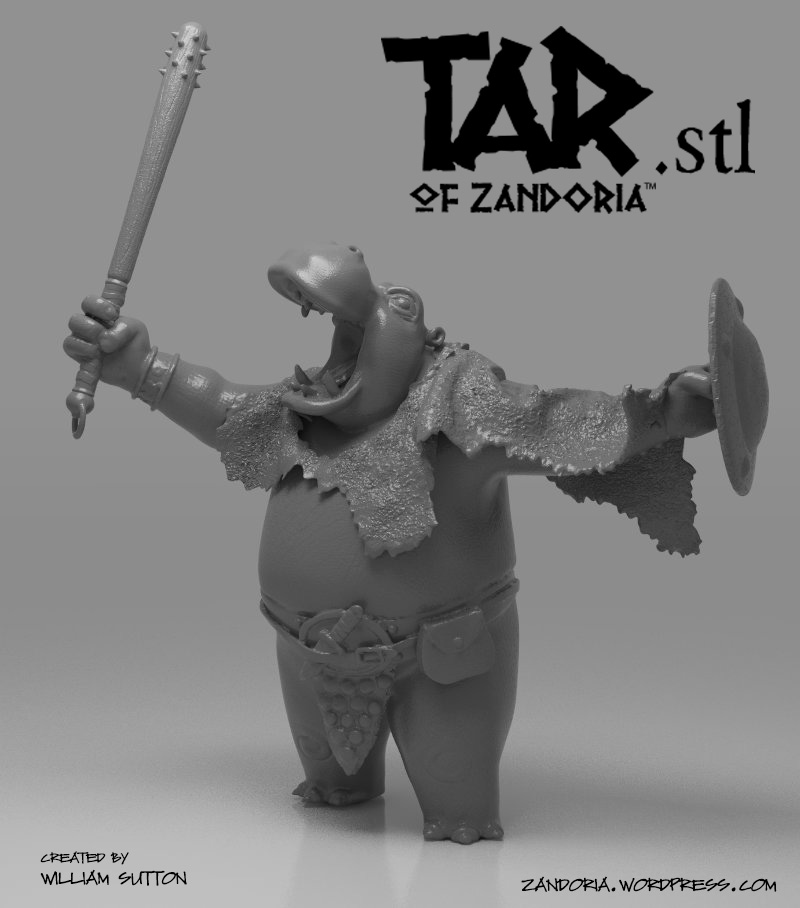
Download and 3D print your own TAR of Zandoria collectible statue! Print it and put it on your desk. Print it and give it as a gift. Take a picture and share it! Every time someone sees this statue, they are going to ask “What IS that!?”
That is going to help spread awareness of this project, and the cost of the .stl will help me keep the lights on 😉
Pierre at Cults3D invited me to upload my sculptures to their new 3D model marketplace where people can buy print-ready models to build on their 3D printers. It seems like a great idea–I imagine that there are only so many Stanford bunnies and Yoda heads that a person needs… As 3D printers become ubiquitous there is a need for high quality sculpts to fill the build platforms.
I foresee that there is going to be a market for commission work too, so if you need a little help bringing your idea to life, please give me a shout. Here it is on Thingiverse

