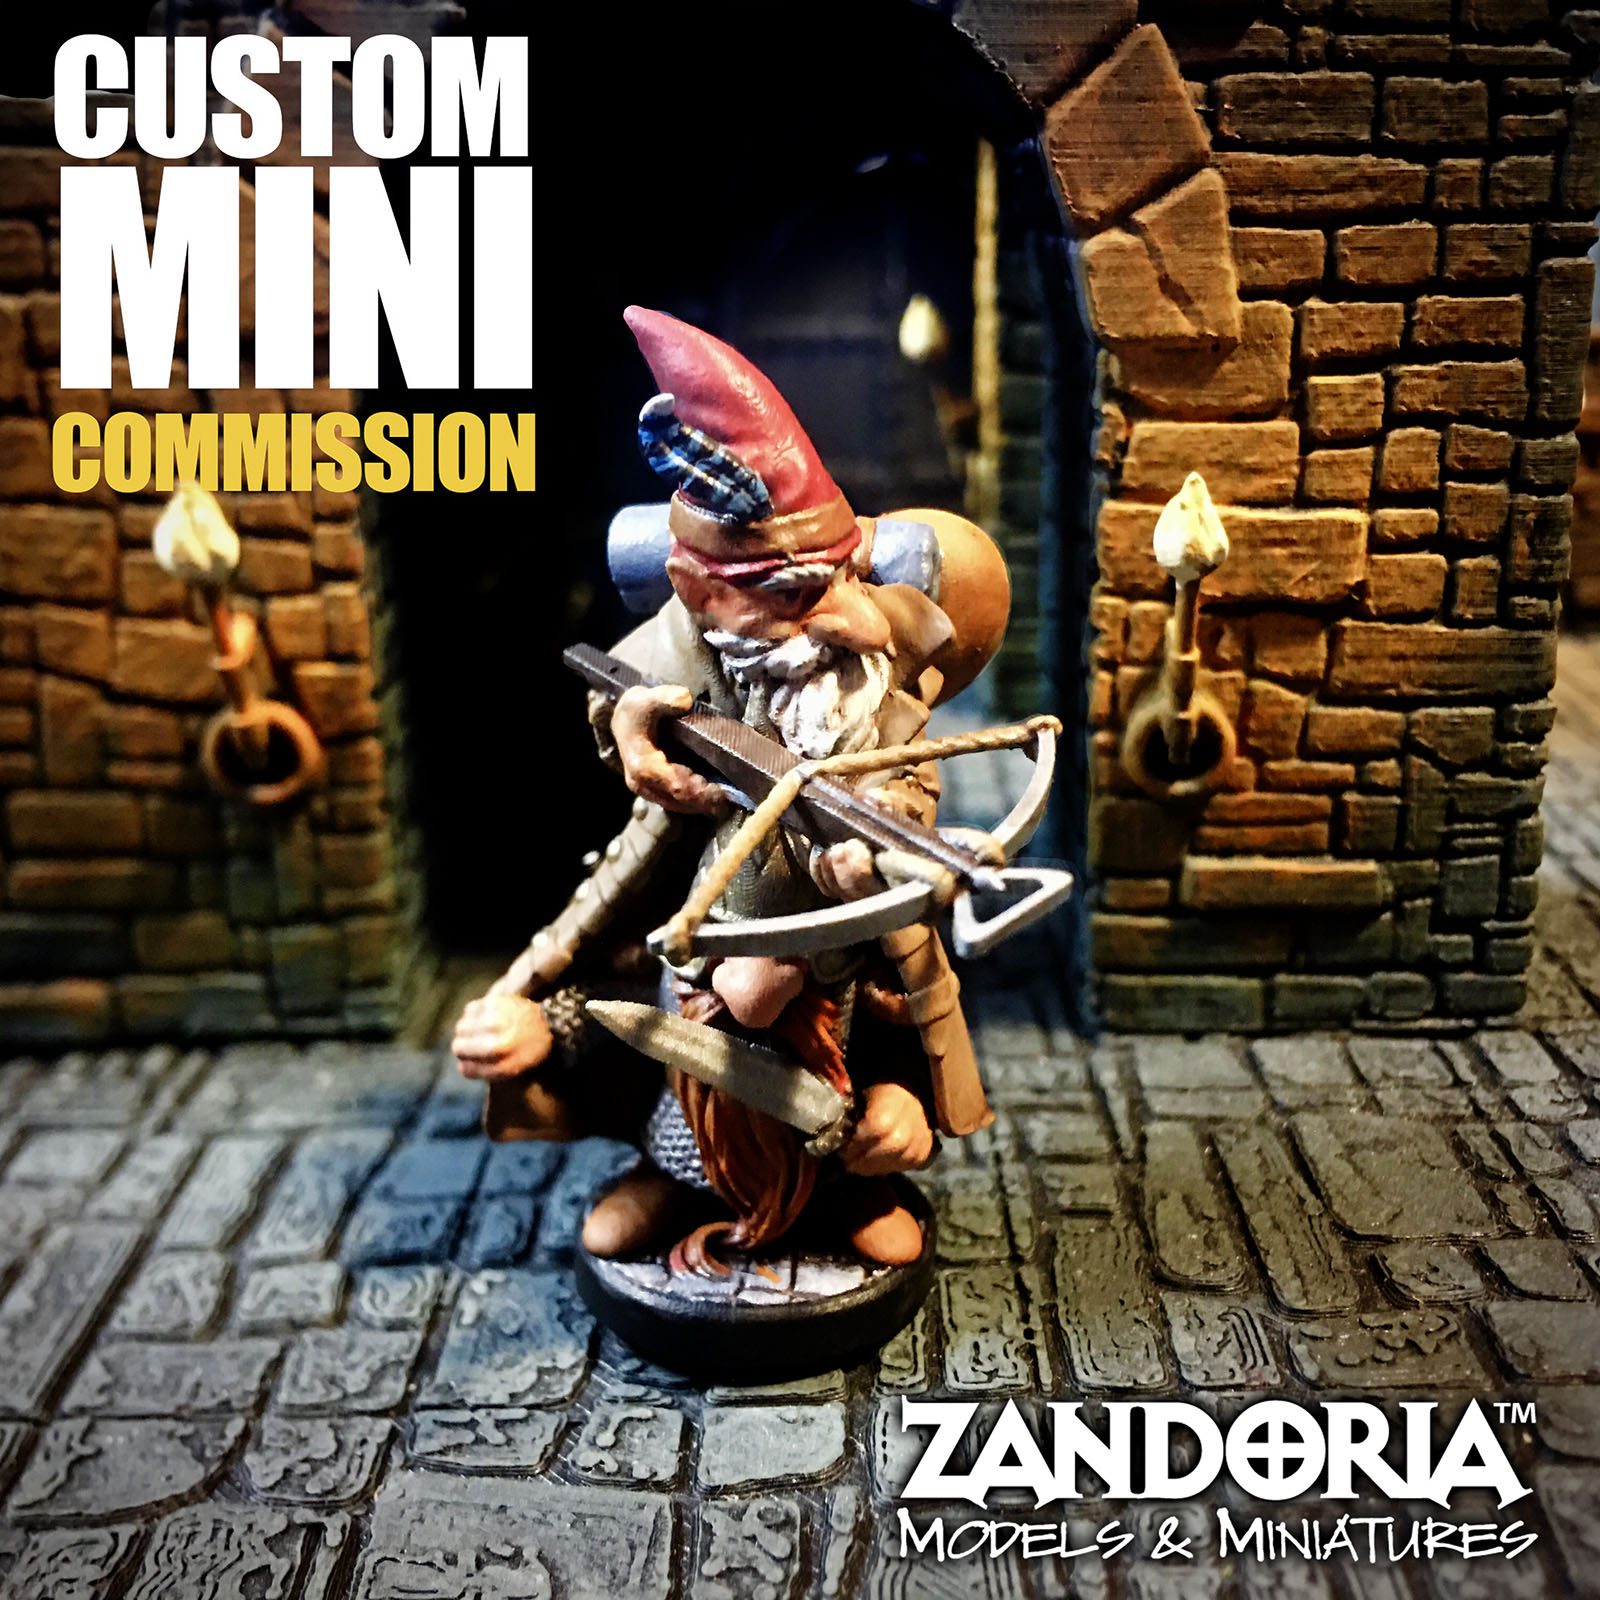
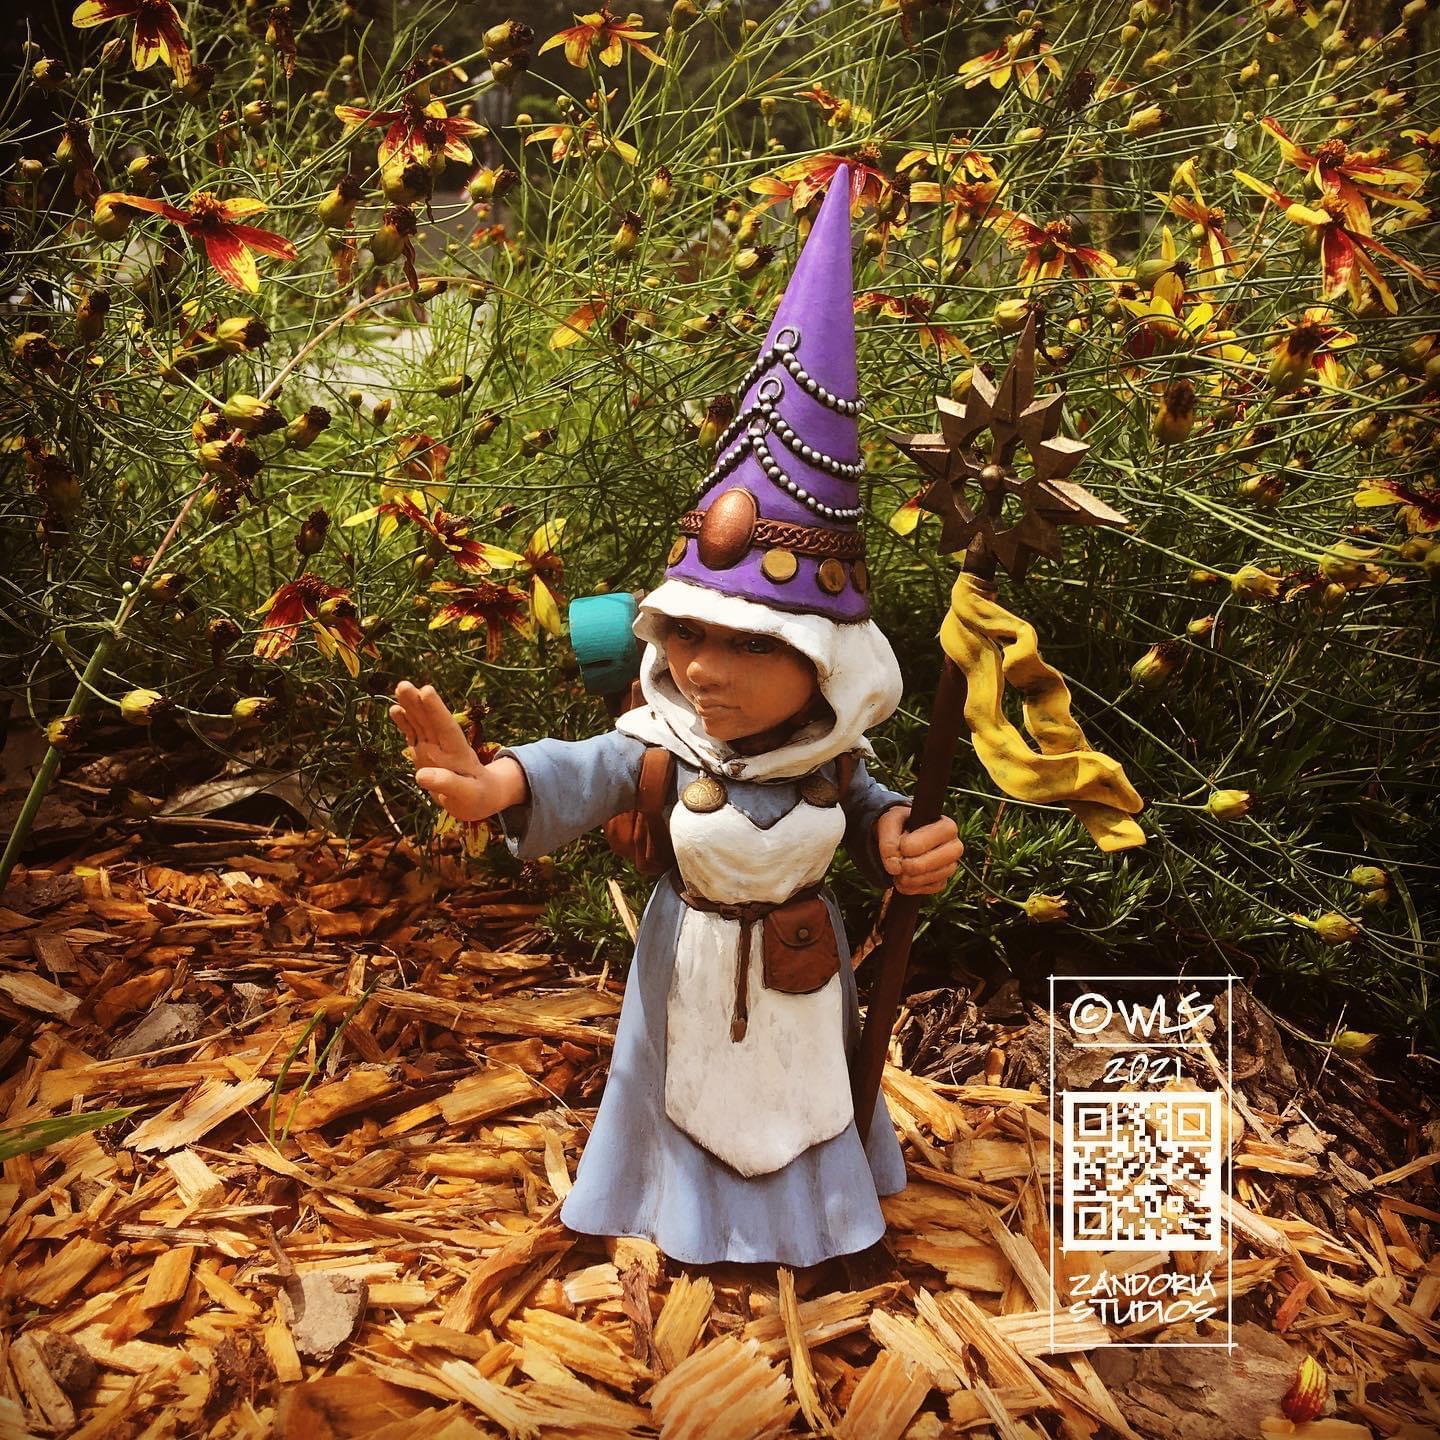
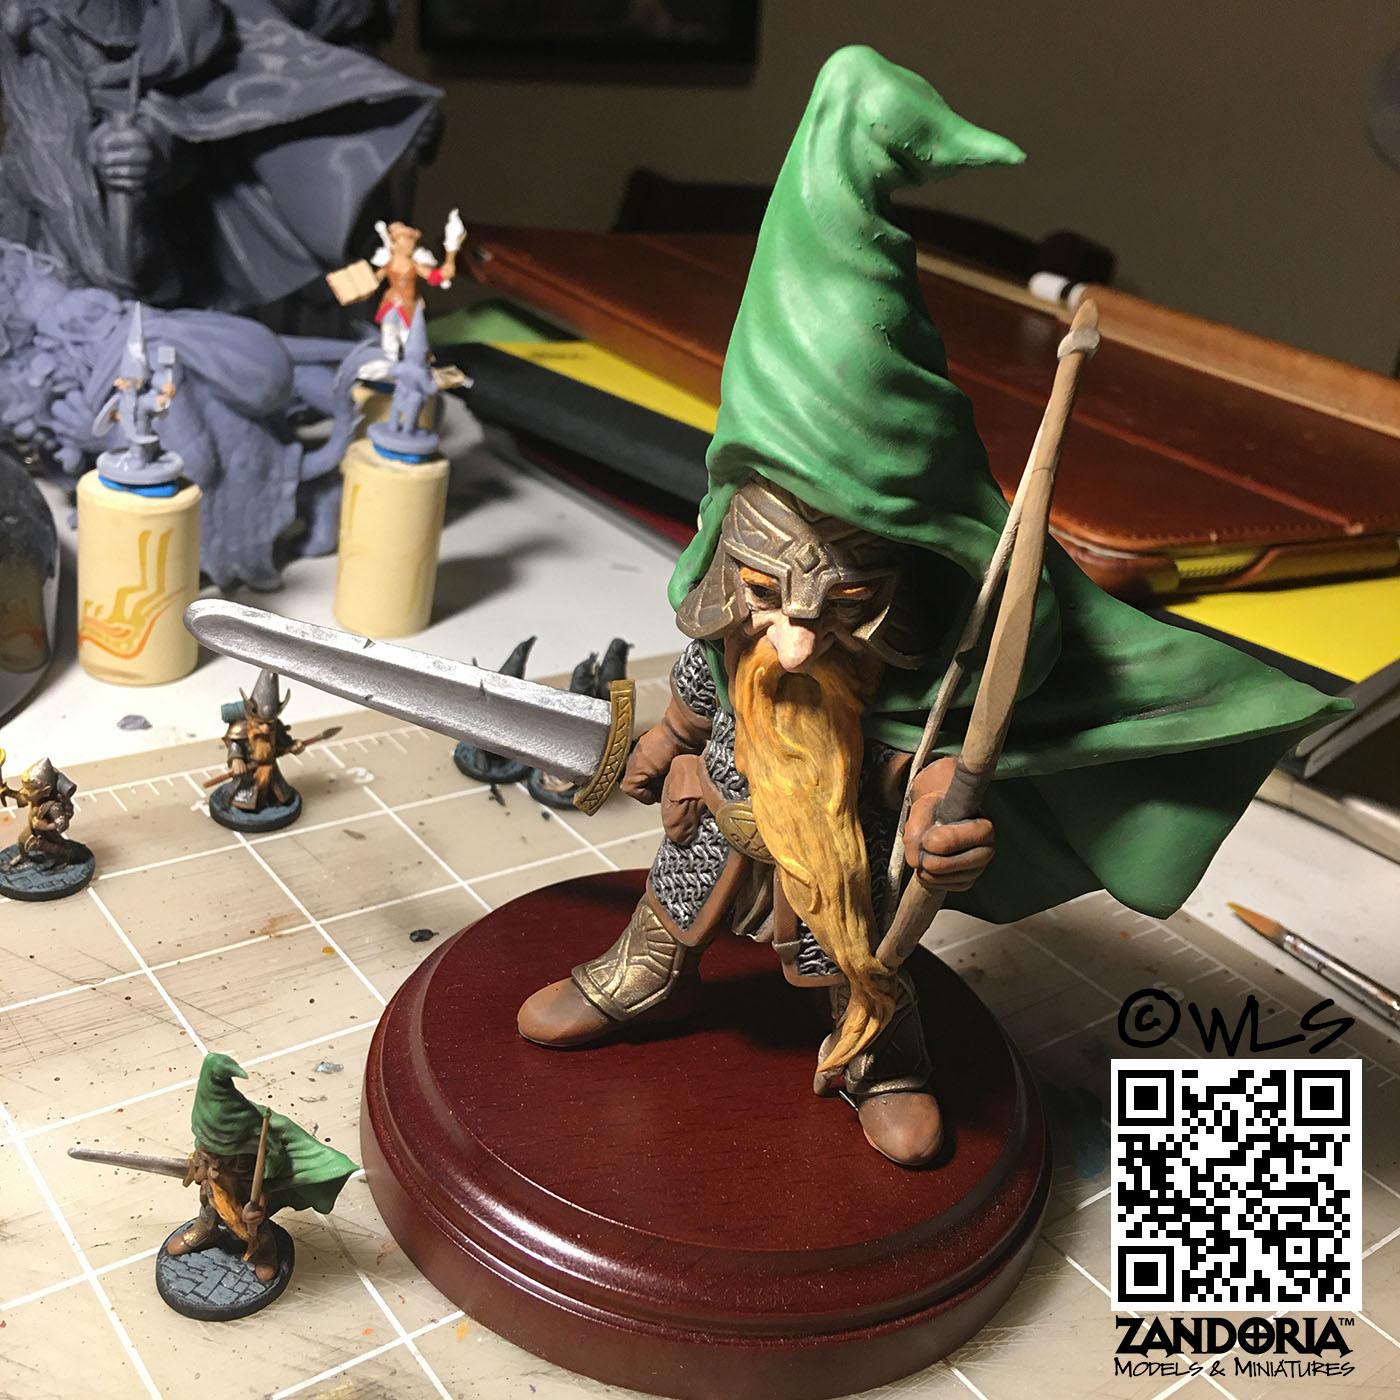
Tired of trying to find a mini to match your favorite character? I will sculpt your character from scratch, and create a one-of-a-kind miniature of your character!
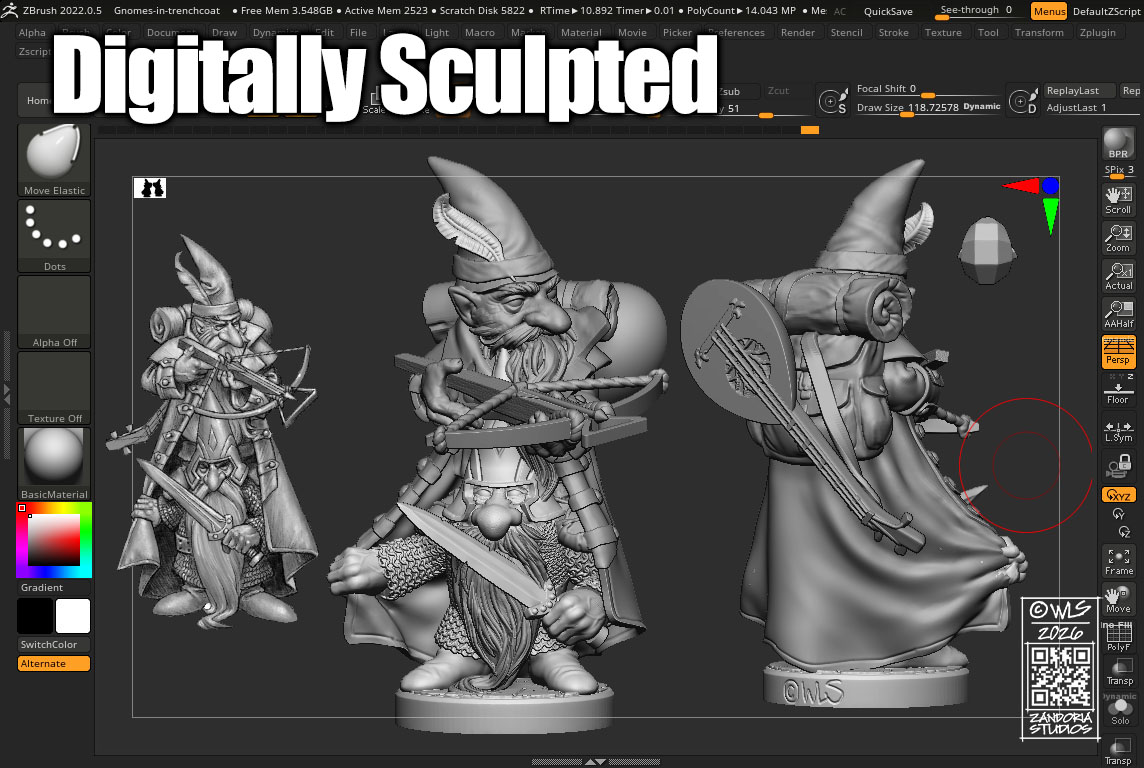
Based on your character description, I will sketch out your mini for approval, and then digitally sculpt to bring your character to life!
Since I have to draw your character as part of my process, you also get a character sketch as well as a mini!
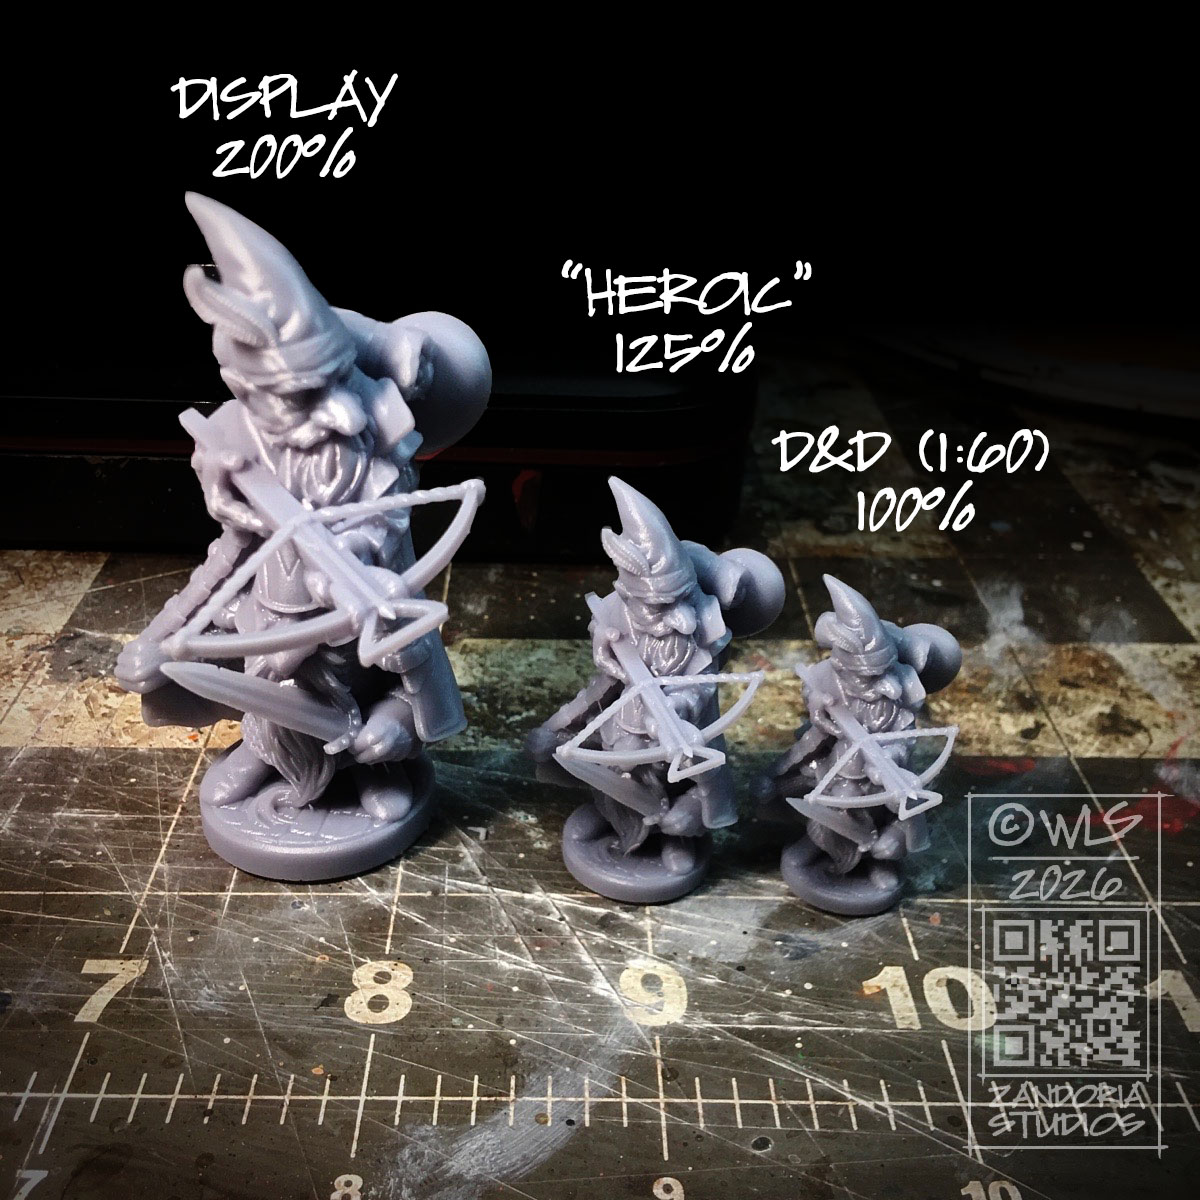
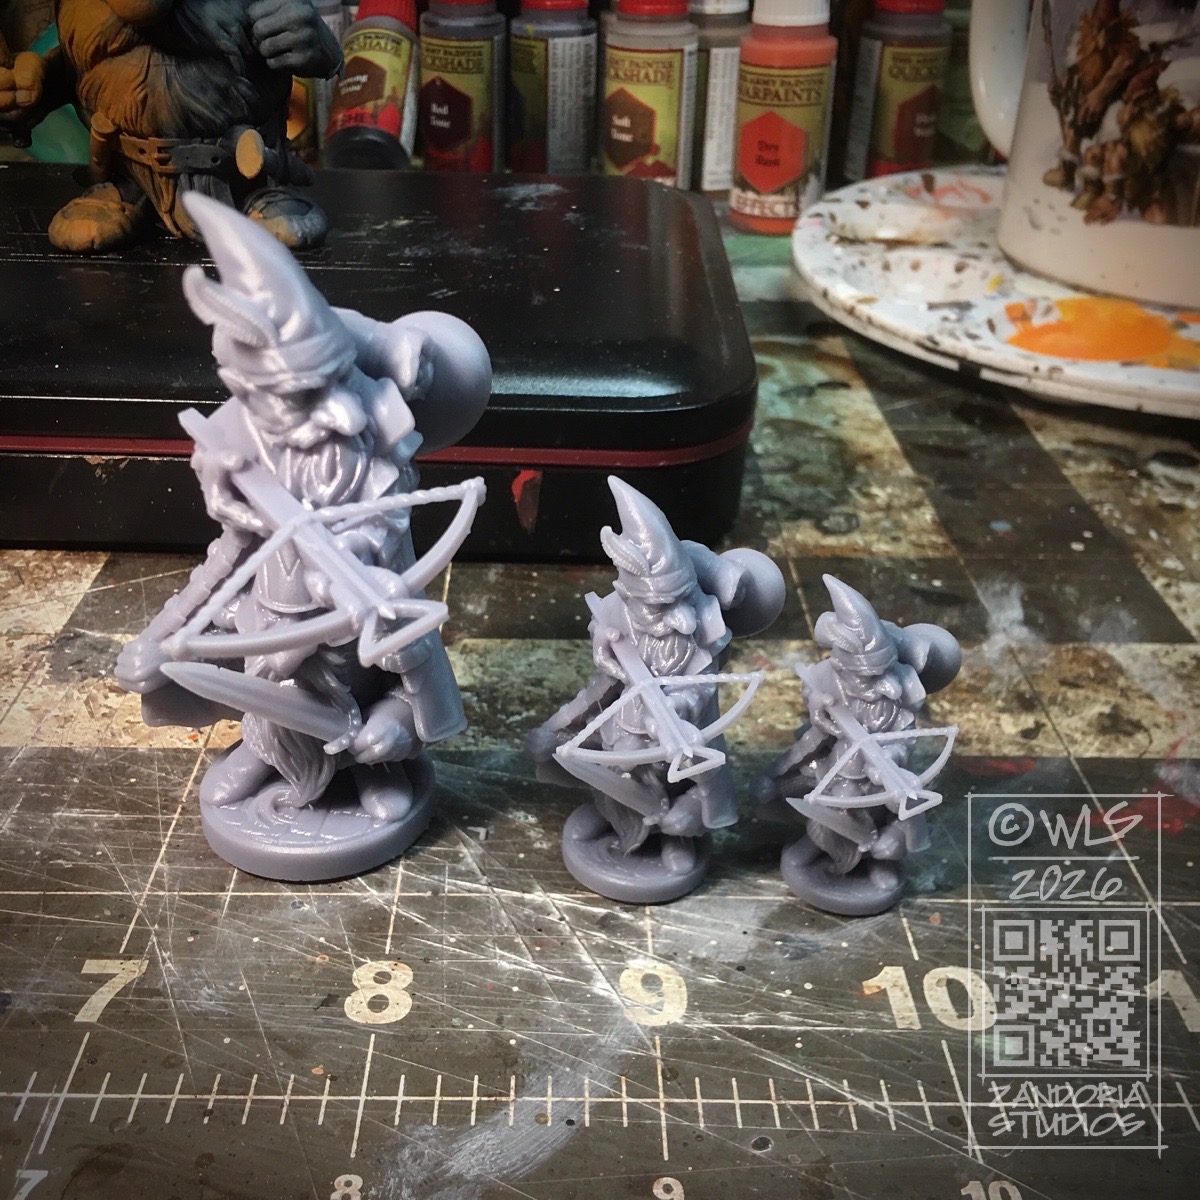
I sculpt the miniatures in 1:60 scale which is perfect for Dungeons & Dragons characters. 1:60 means that 1 inch equals 5 feet–this is often referred to as 28mm scale. Because the sculpture is digital, I can also 3Dprint it at different sizes.
With your order I will print a tabletop, D&D sized mini (If you prefer what is know as “Heroic” sized, let me know) as well as a larger 200% sized one for display. I will also provide a copy of the STL file for your personal use.
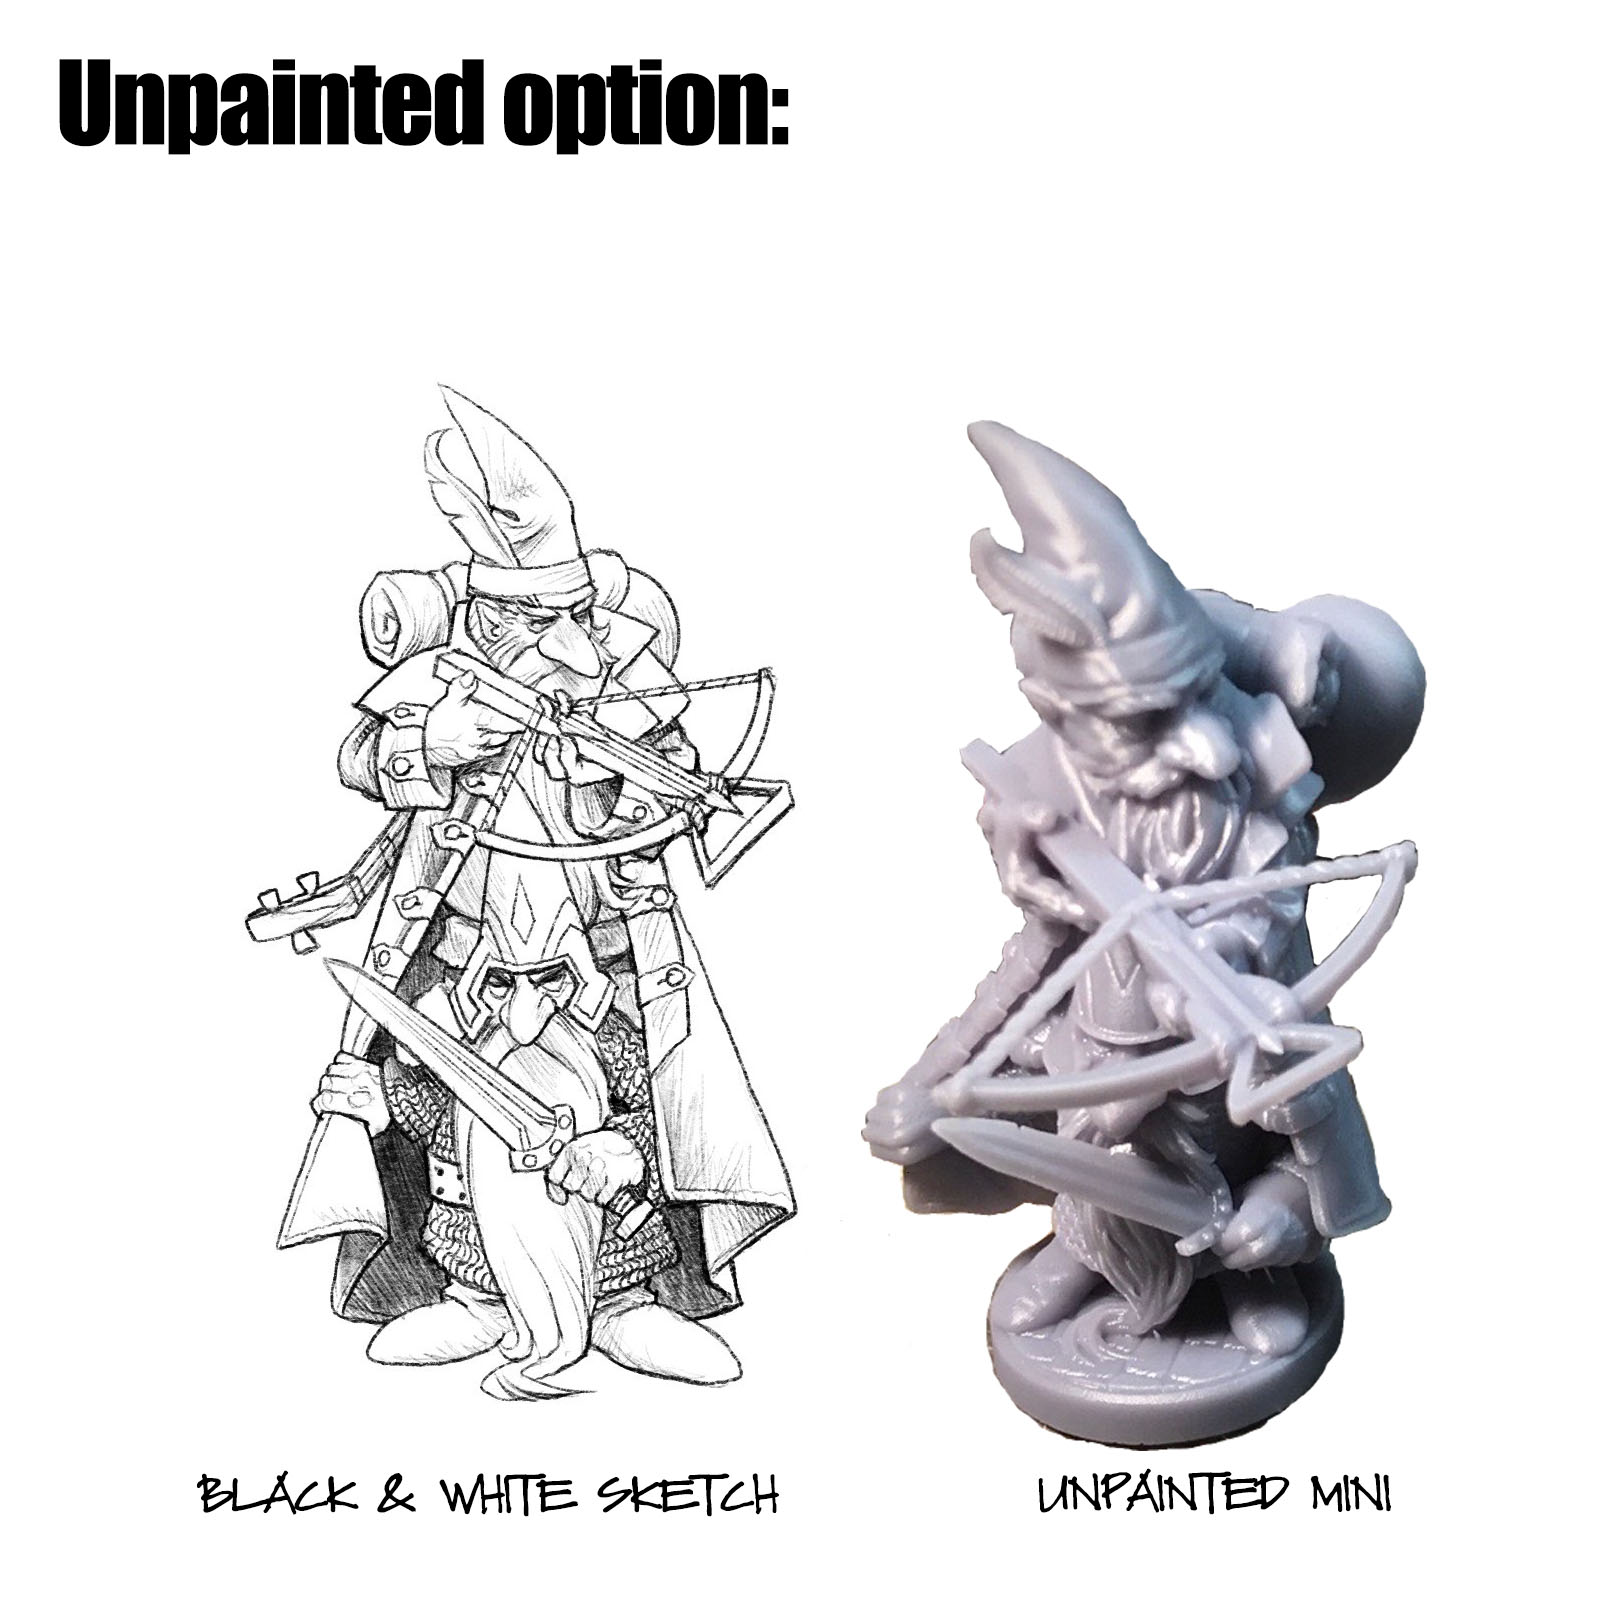
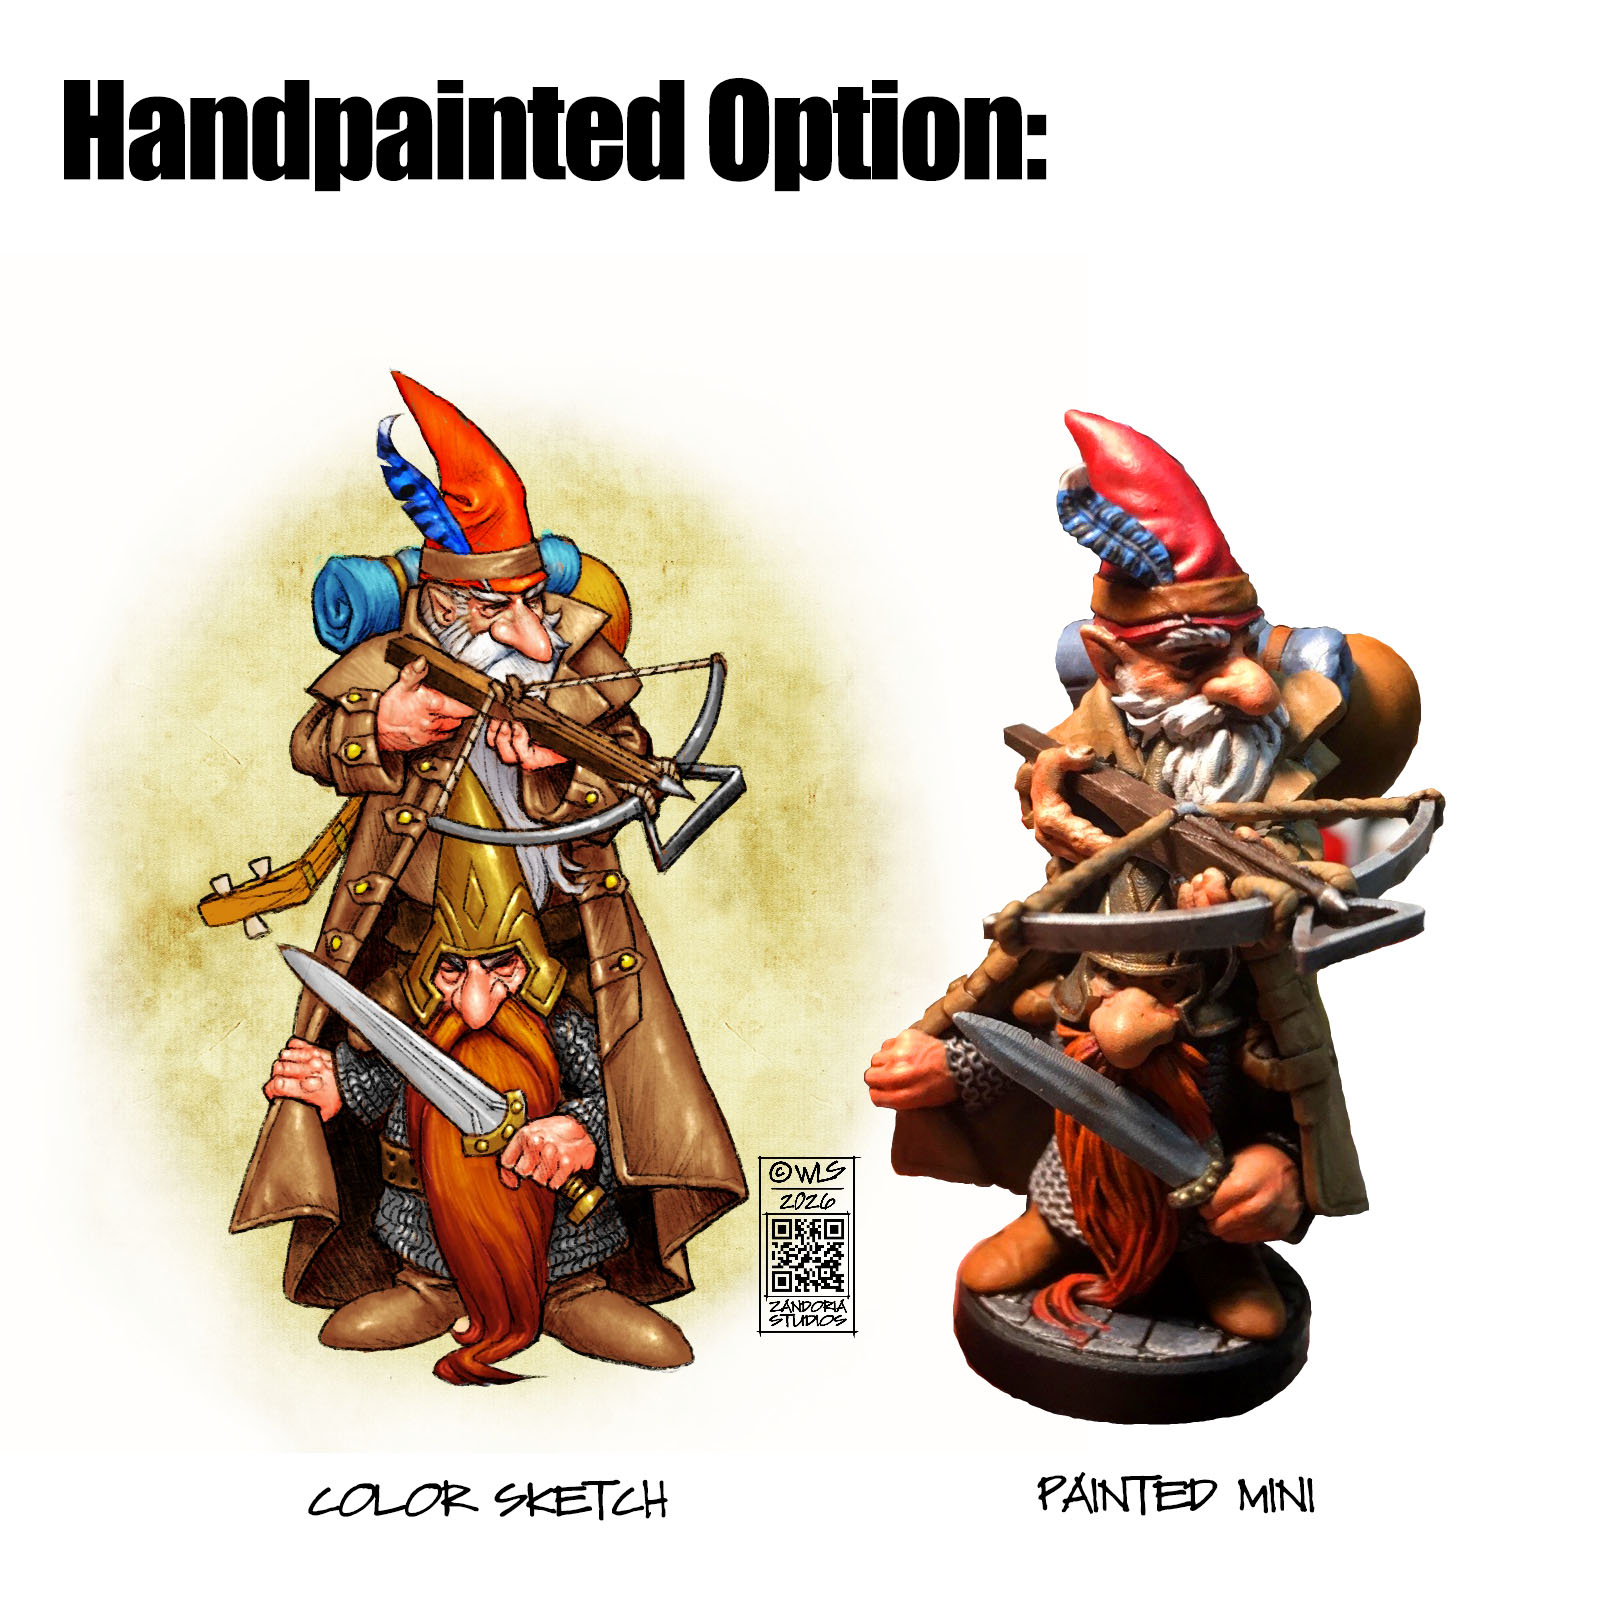
I’m offering this custom mini commission in an UNPAINTED or HAND-PAINTED option. If the listing is SOLD-OUT, just check back the next week–I am limiting the QTY so that there is only 1 spot available at a time.
Playing D&D is great fun, and I have been adventuring with my friends for many years. We have always played the game around the table with just our character sheet, notes and dice. The DM might have a hand drawn map, but for the most part all encounters are just described in what is called the Theater-of-the-Mind style of play.
TotM can lead to confusion. “Wait, how many goblins are left?”, or “I said I was hiding behind the pillar!”, or the classic: “I didn’t ask you how big the room is–I cast Fireball!” Many of the rules in D&D are very tactical in nature. Players are aware how many feet they can move per turn, their weapon ranges, what the bonuses are for 1/2 or 3/4 cover, and are constantly peppering the DM with questions to clarify the described situation. Miniatures solve many of these issues.
With terrain and miniatures, it is very easy to see who is in the area of effect when the Fireball spell goes off. Miniatures provide clarity vs. chaos, save time and avoid unnecessary arguments.
Theater-of-the-mind may be great for most D&D encounters, and some players think that playing with minis will make the game feel too much like a boardgame. This is a valid. If the Dungeon Master gives a great description of the boss encounter, it can really come to life in the players imagination. However, what gets imagined is going to be slightly different for each player….
This party of gnome adventures is exploring the room, when behind them they hear the scrape of stone on stone…
The Dungeon Master says, “You turn and see a large mountain troll, with a stone axe”. As a player you may wonder what a mountain troll looks like, or how big it is relative to you; whether you should start running or draw your sword.
The DM says, “roll initiative” ominously, as he places the mountain troll mini onto the table. The players eyes go wide. They see it’s size. The immediate, visceral understanding of the threat is an “oh $#!%” moment.
Don’t just describe the threat. Make them feel it…
The moment you place that troll on the table, the game’s tension skyrockets. It is no longer an abstract concept; it’s a physical problem they need to solve. Miniatures are not mere game pieces, but are tools for creating sharper, more dramatic, and more memorable stories at your table.
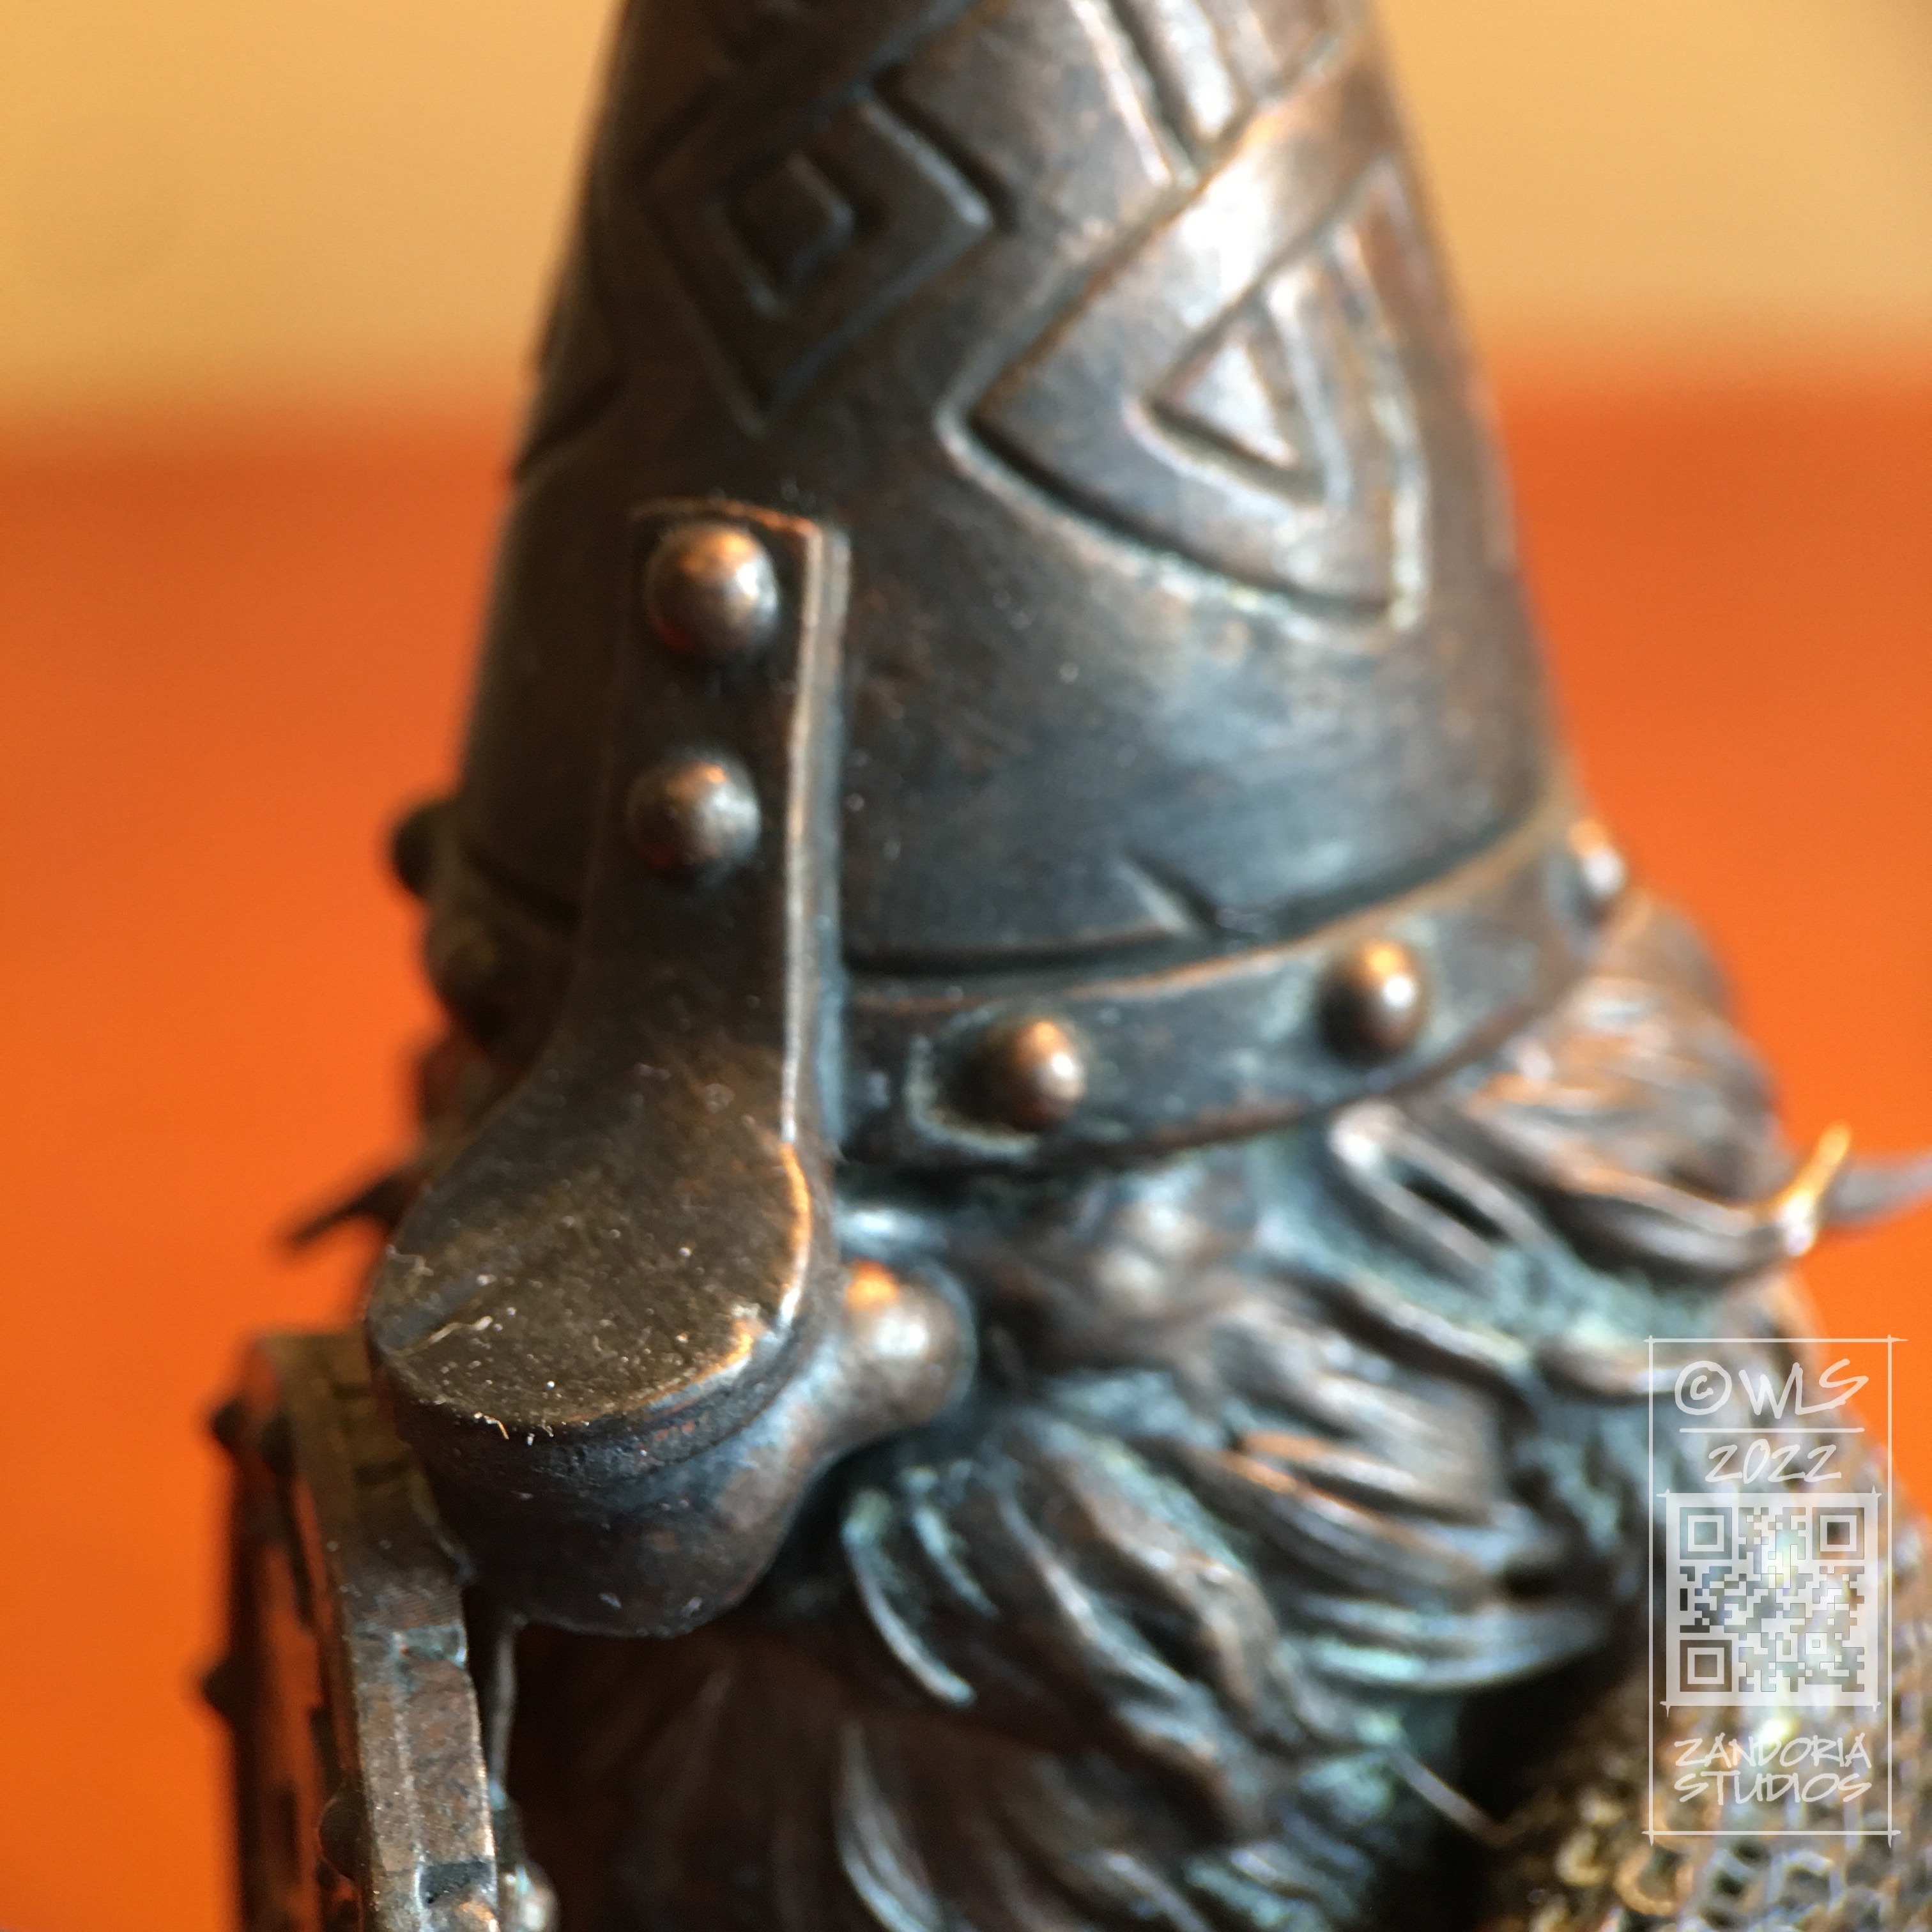
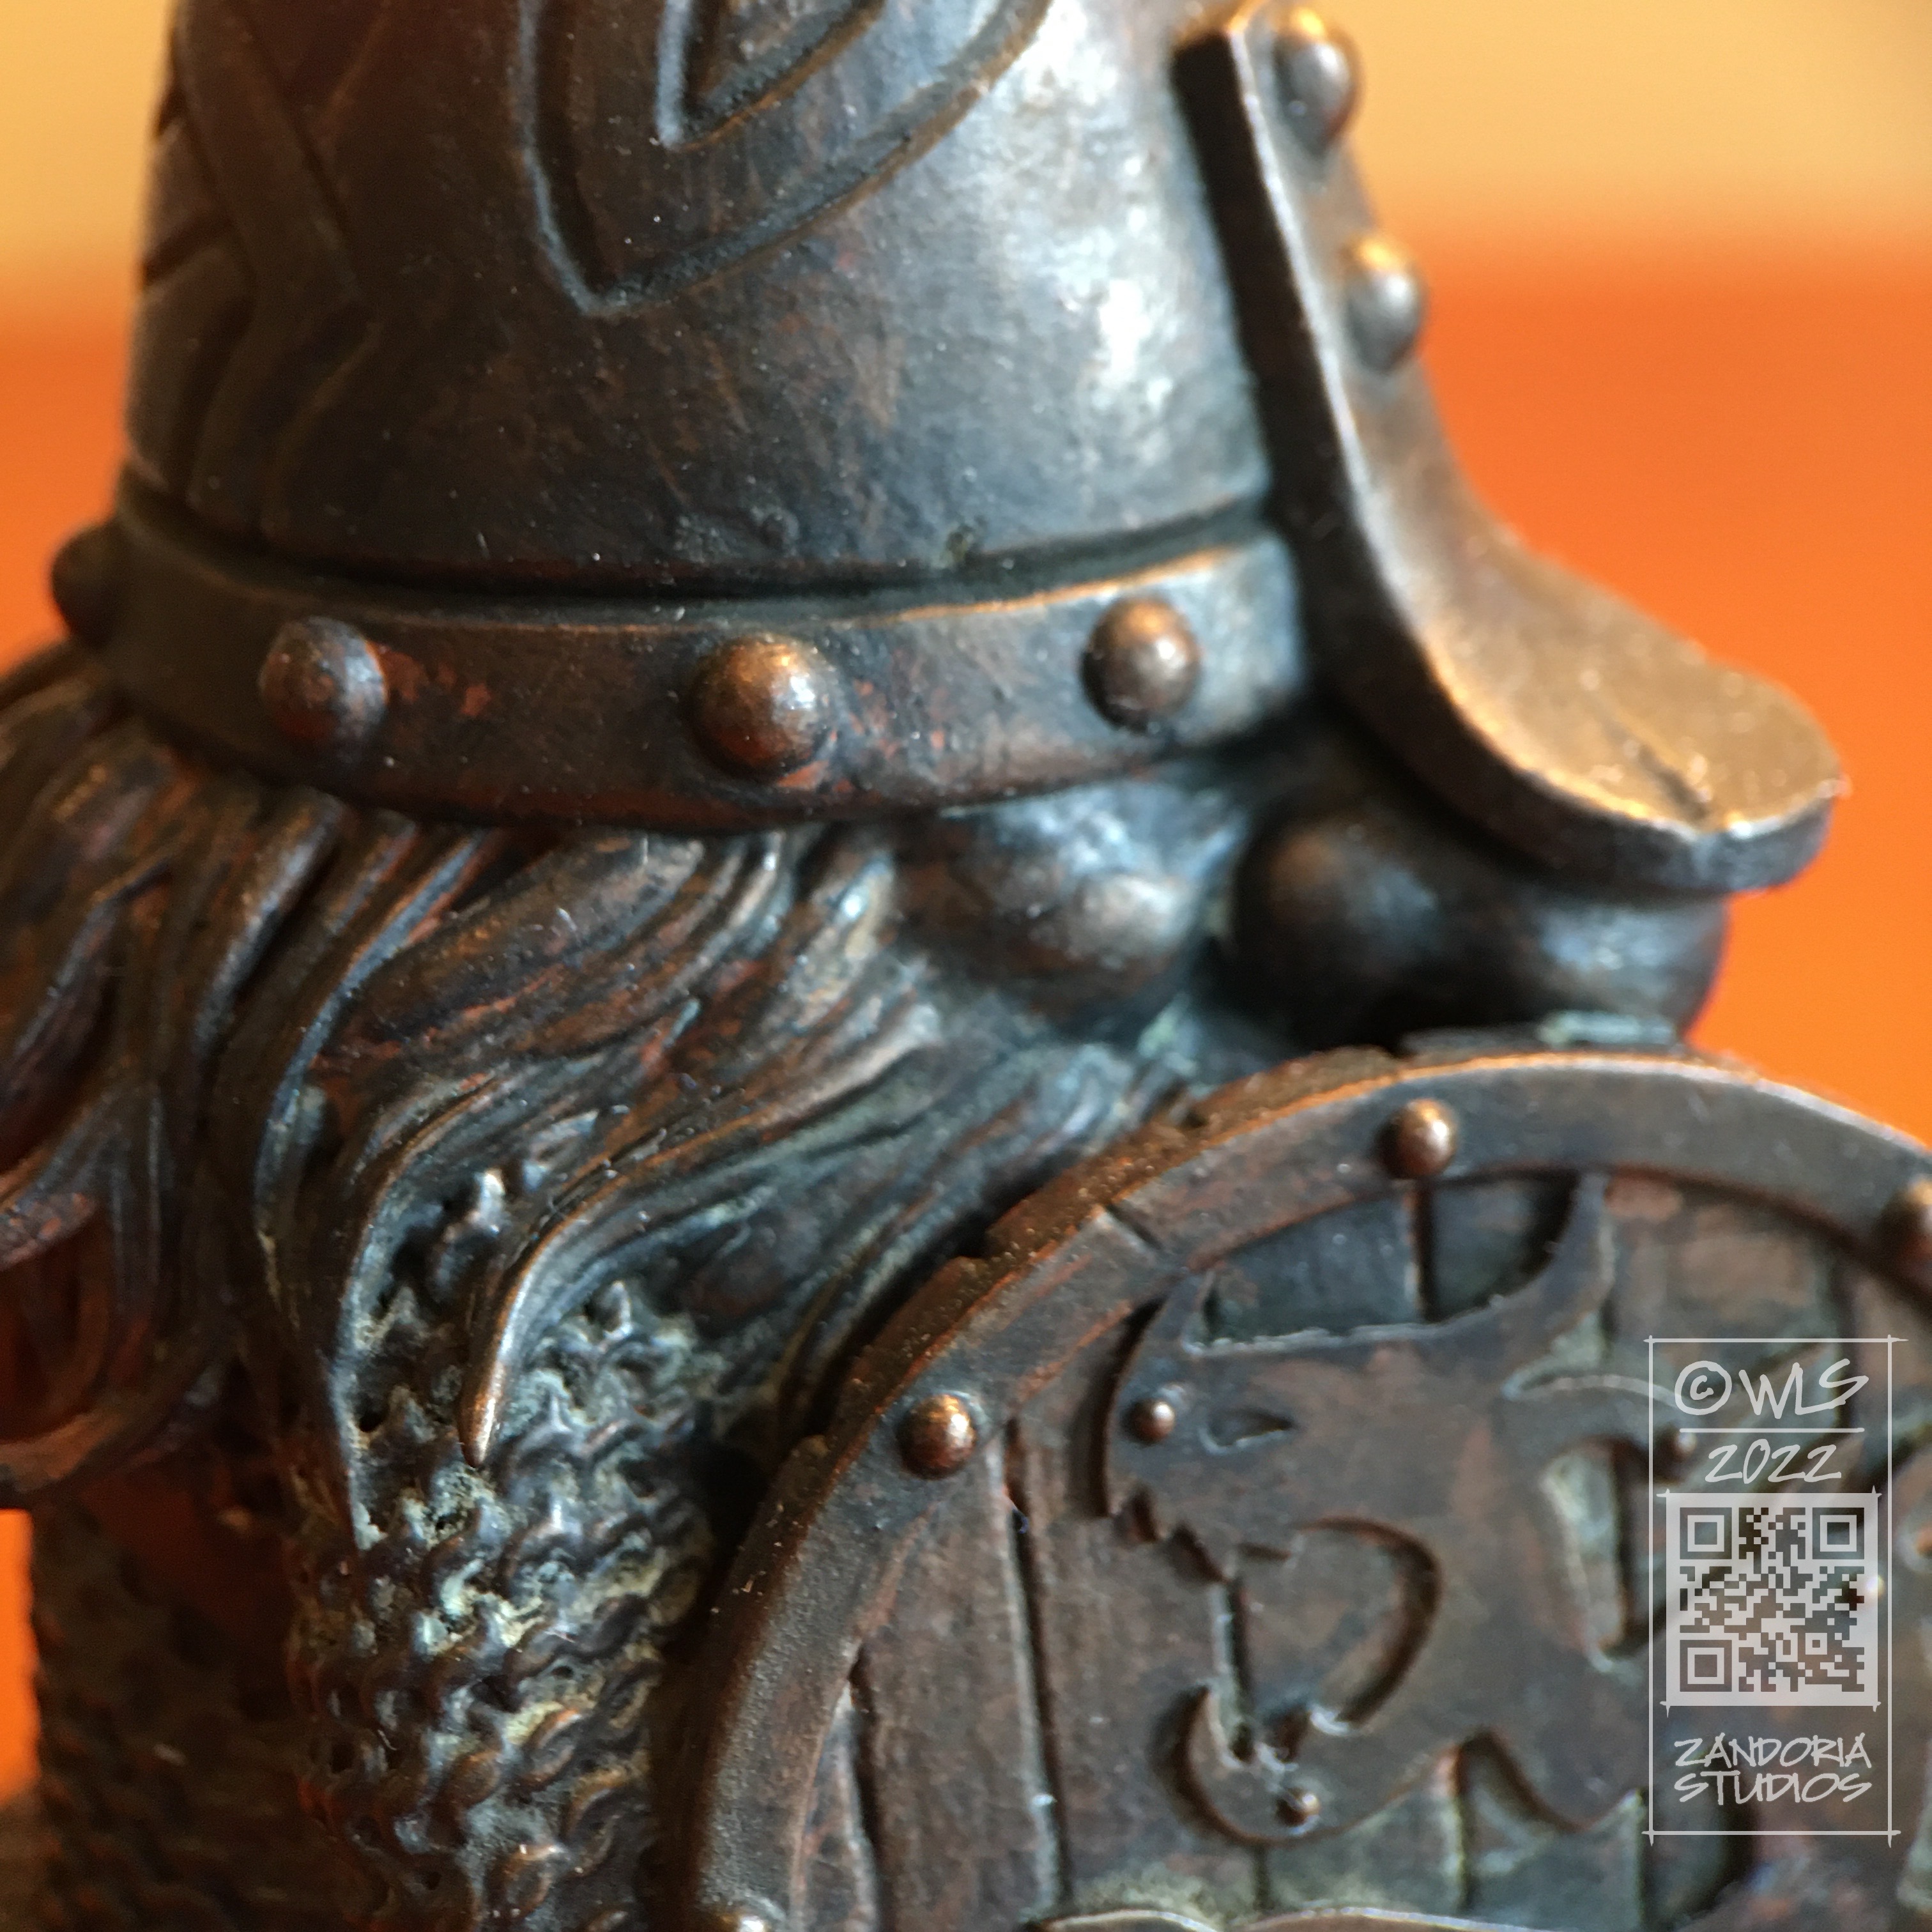
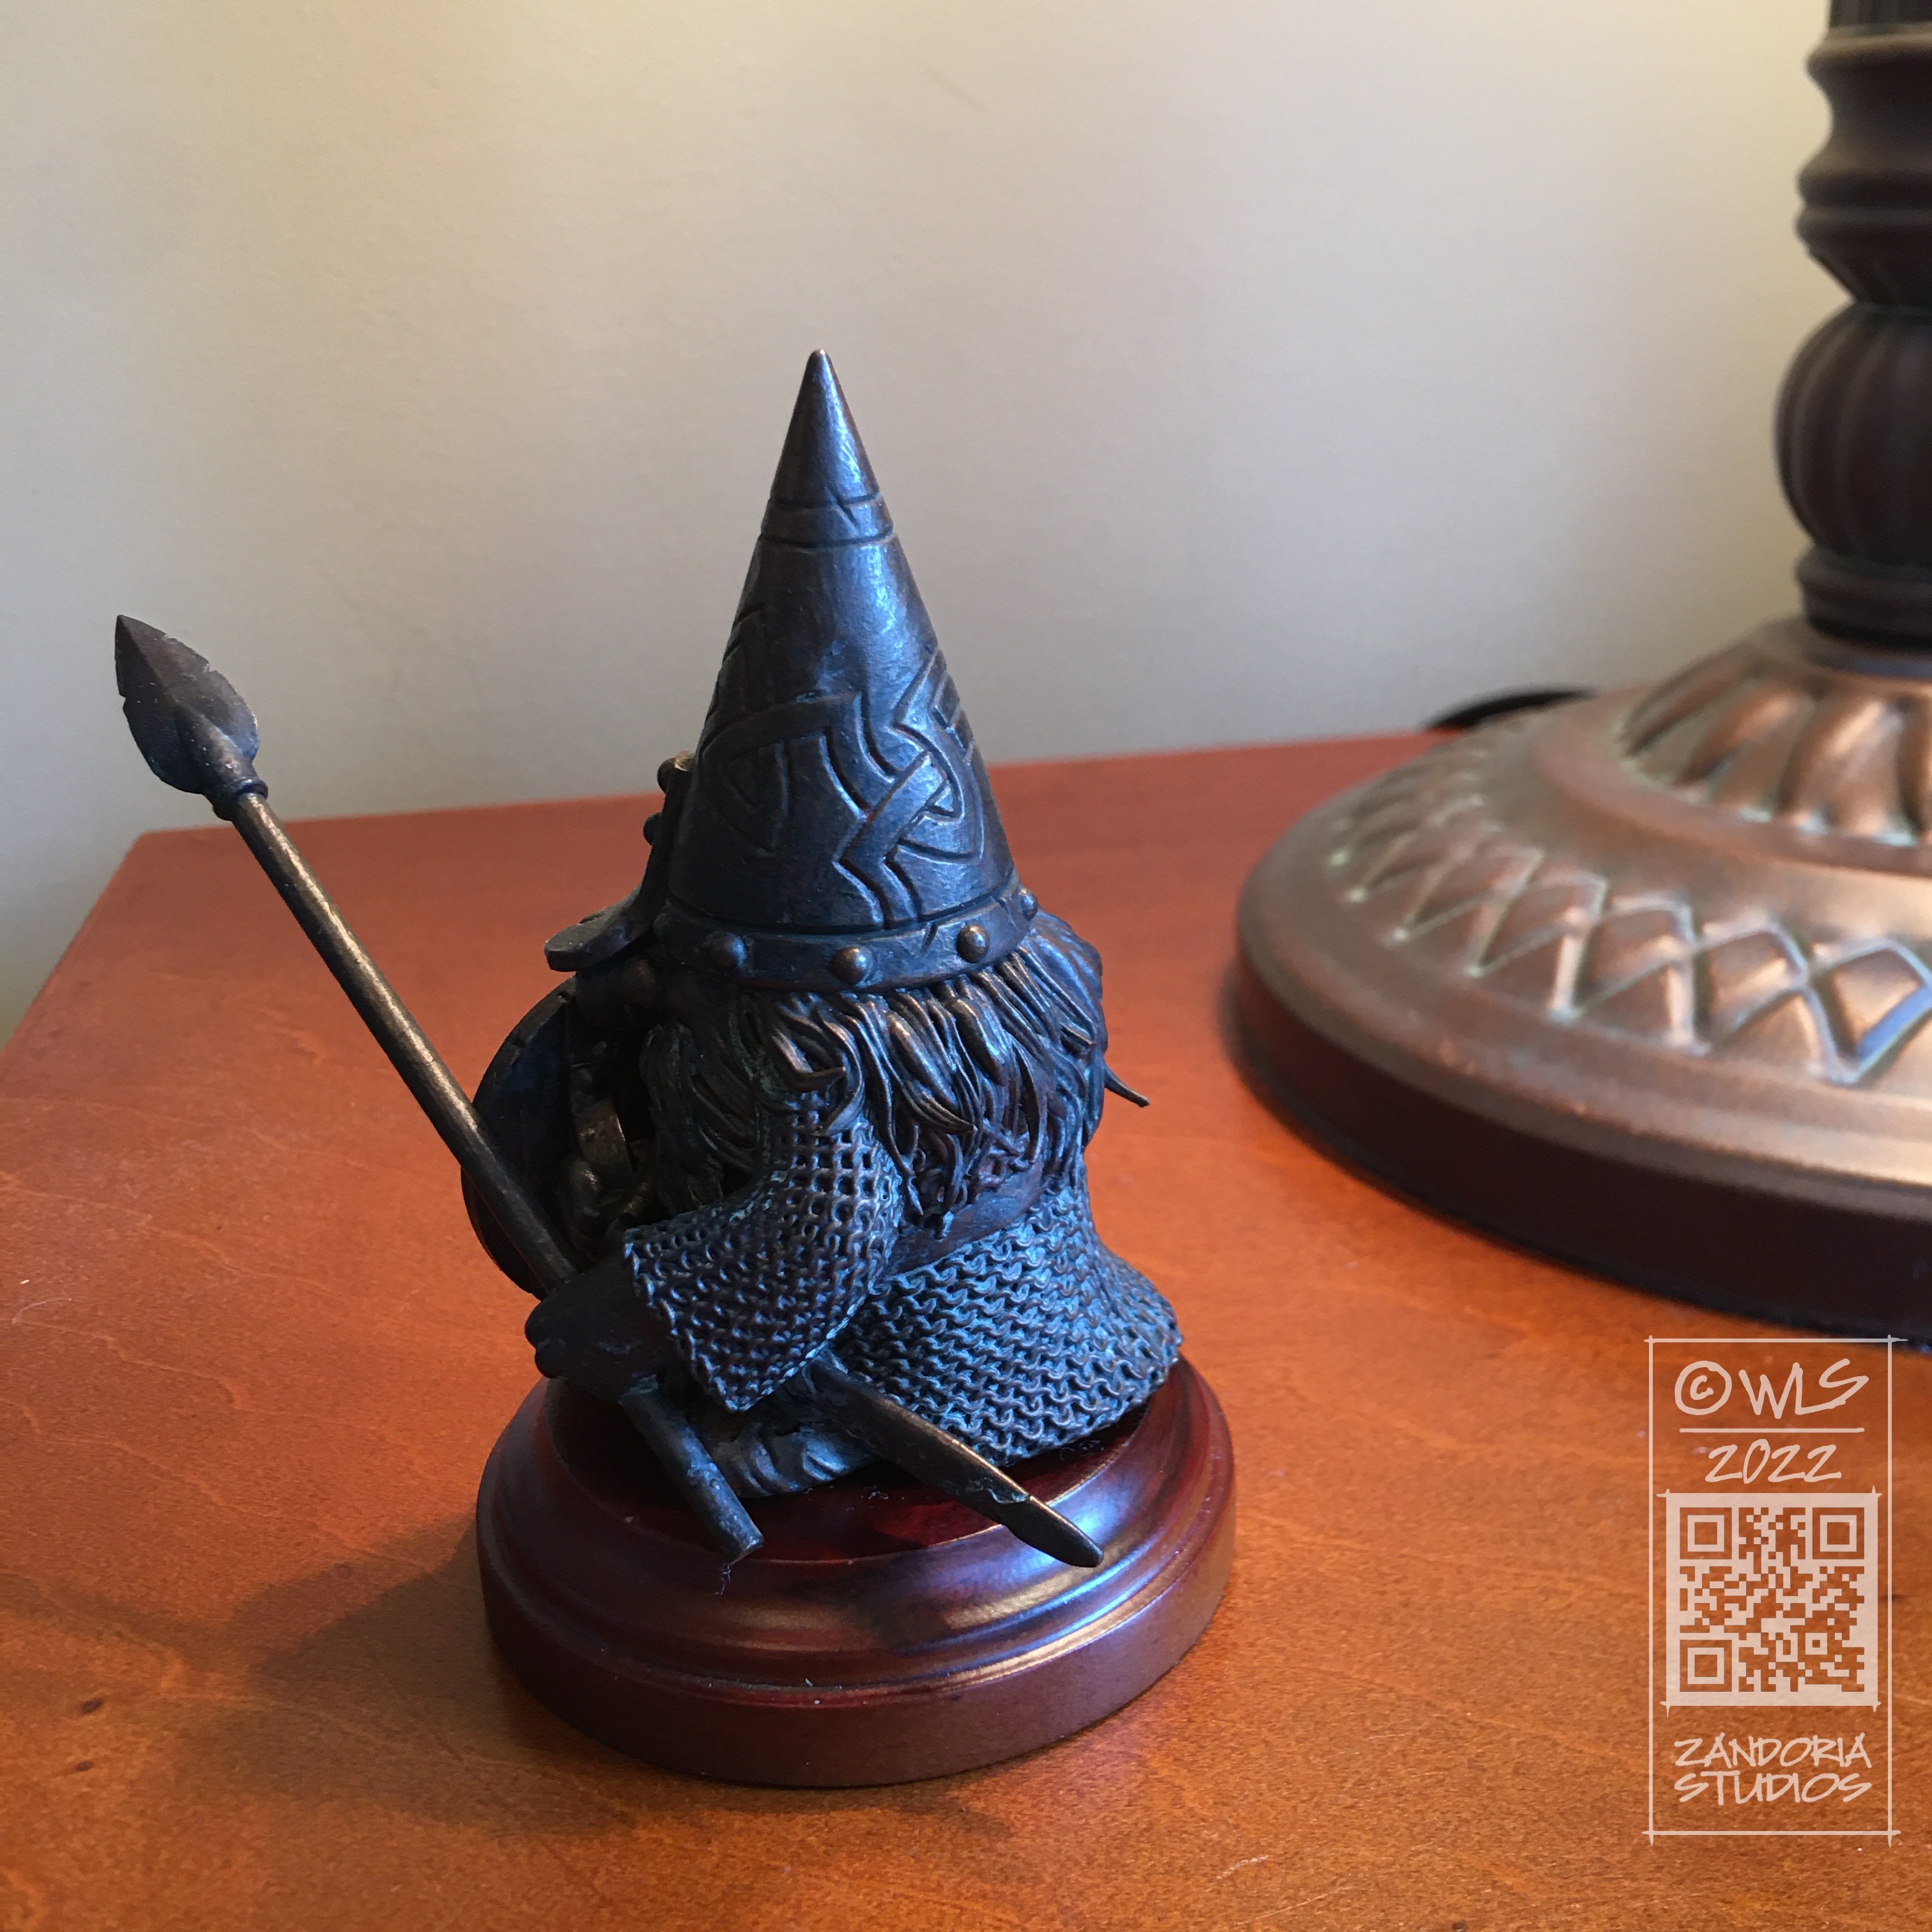
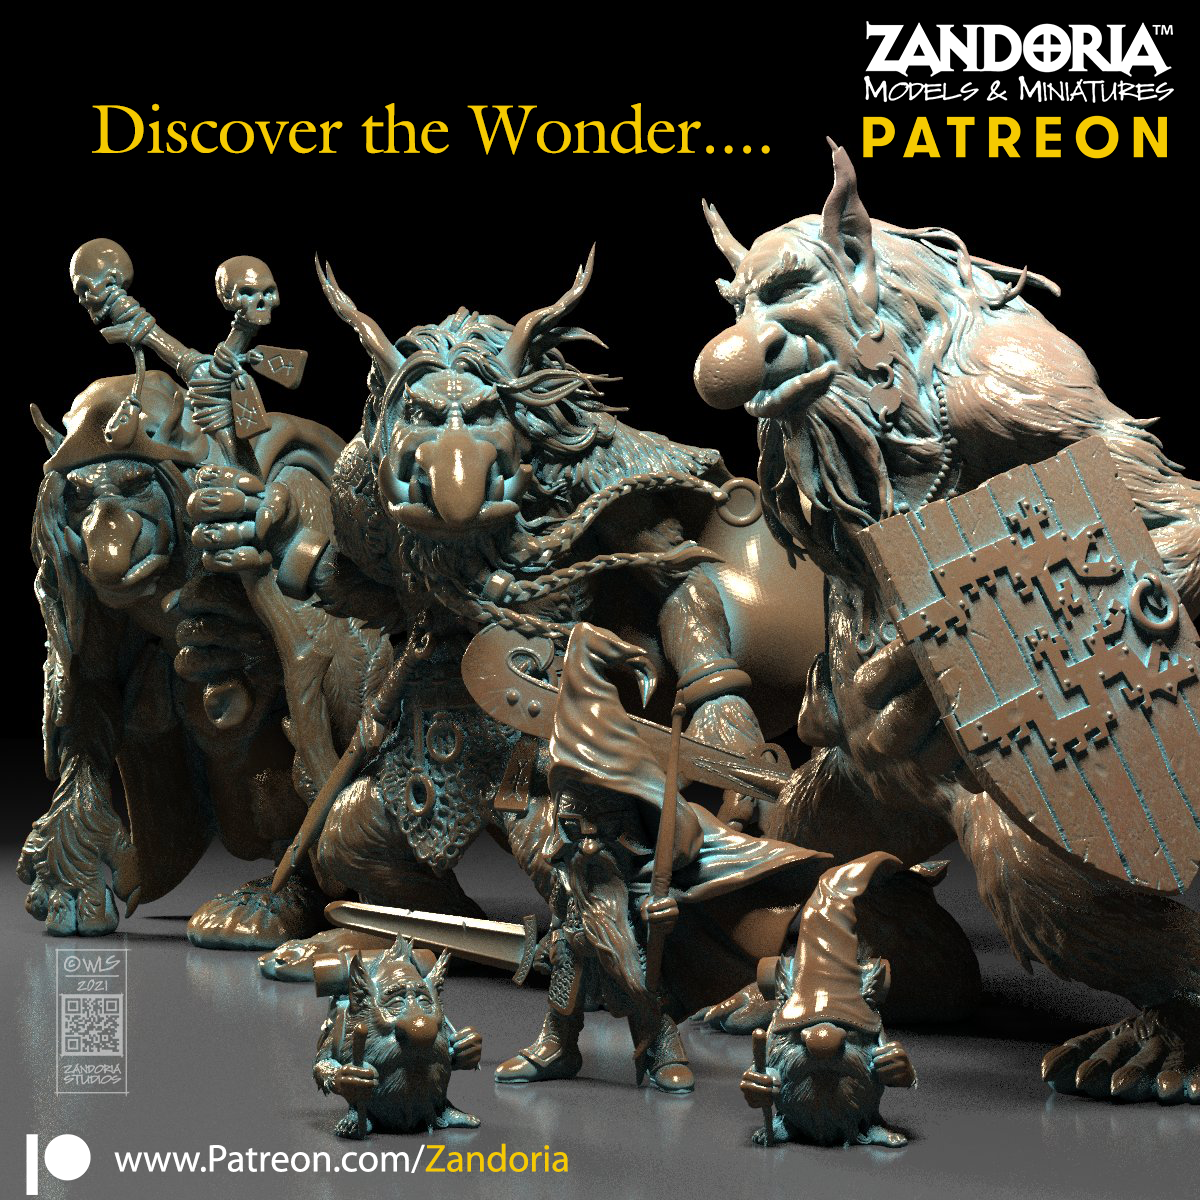
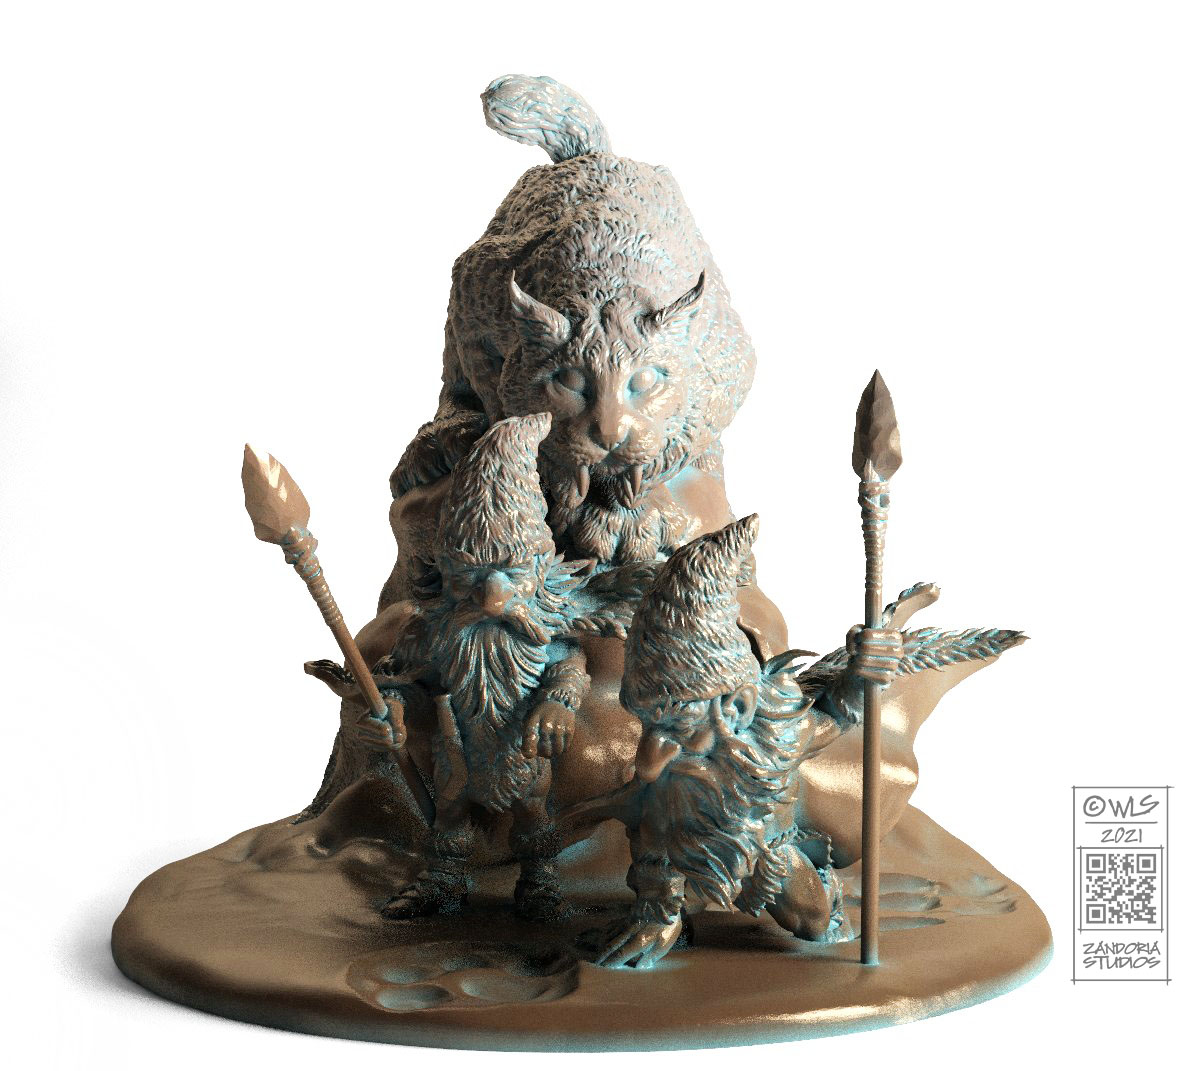
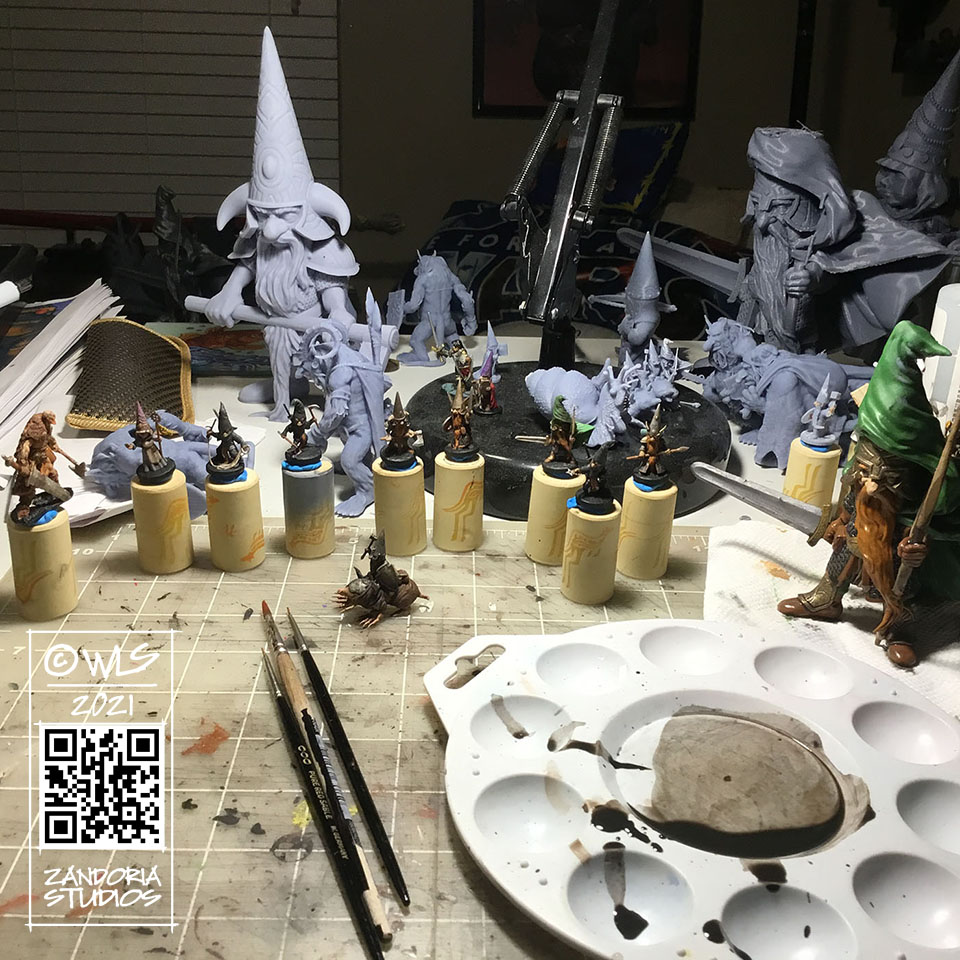
These are all miniatures and terrain that I have sculpted, and are available in my shop
I was talking to a friend of mine today about a 3Dprinting project. He was unaware that I had a 15 year background in design for manufacturing, and I realized that maybe it would be a good idea to talk about CAD (Computer Aided Design), and how I integrate it with some of the work I create for 3Dprinting.
When creating an object that is to be manufactured, or that has to mate up with other components, It is critical to use CAD to make sure that all of your dimensions and tolerances are going to work. Much of my freelance work combines CAD with digital sculpting, allowing me the best of both worlds–especially when dealing with 3Dprinting.
Part of a Tap Handle designed in RhinoIncendiary Tap Handle for Big Bridge Manufacturing
For this tap handle for Big Bridge Design, which is manufactured with resin 3Dprinting, the handle needs to mate up with a brass insert nut, so that the handle can be screwed onto the beer tap. Using Rhino I am able to utilize the clients 2D Illustrator file (.ai) to create a 3D model with the basic graphic design elements at the precise size, and also create the threads to receive the metal insert. The skulls are sculpted in ZBrush.
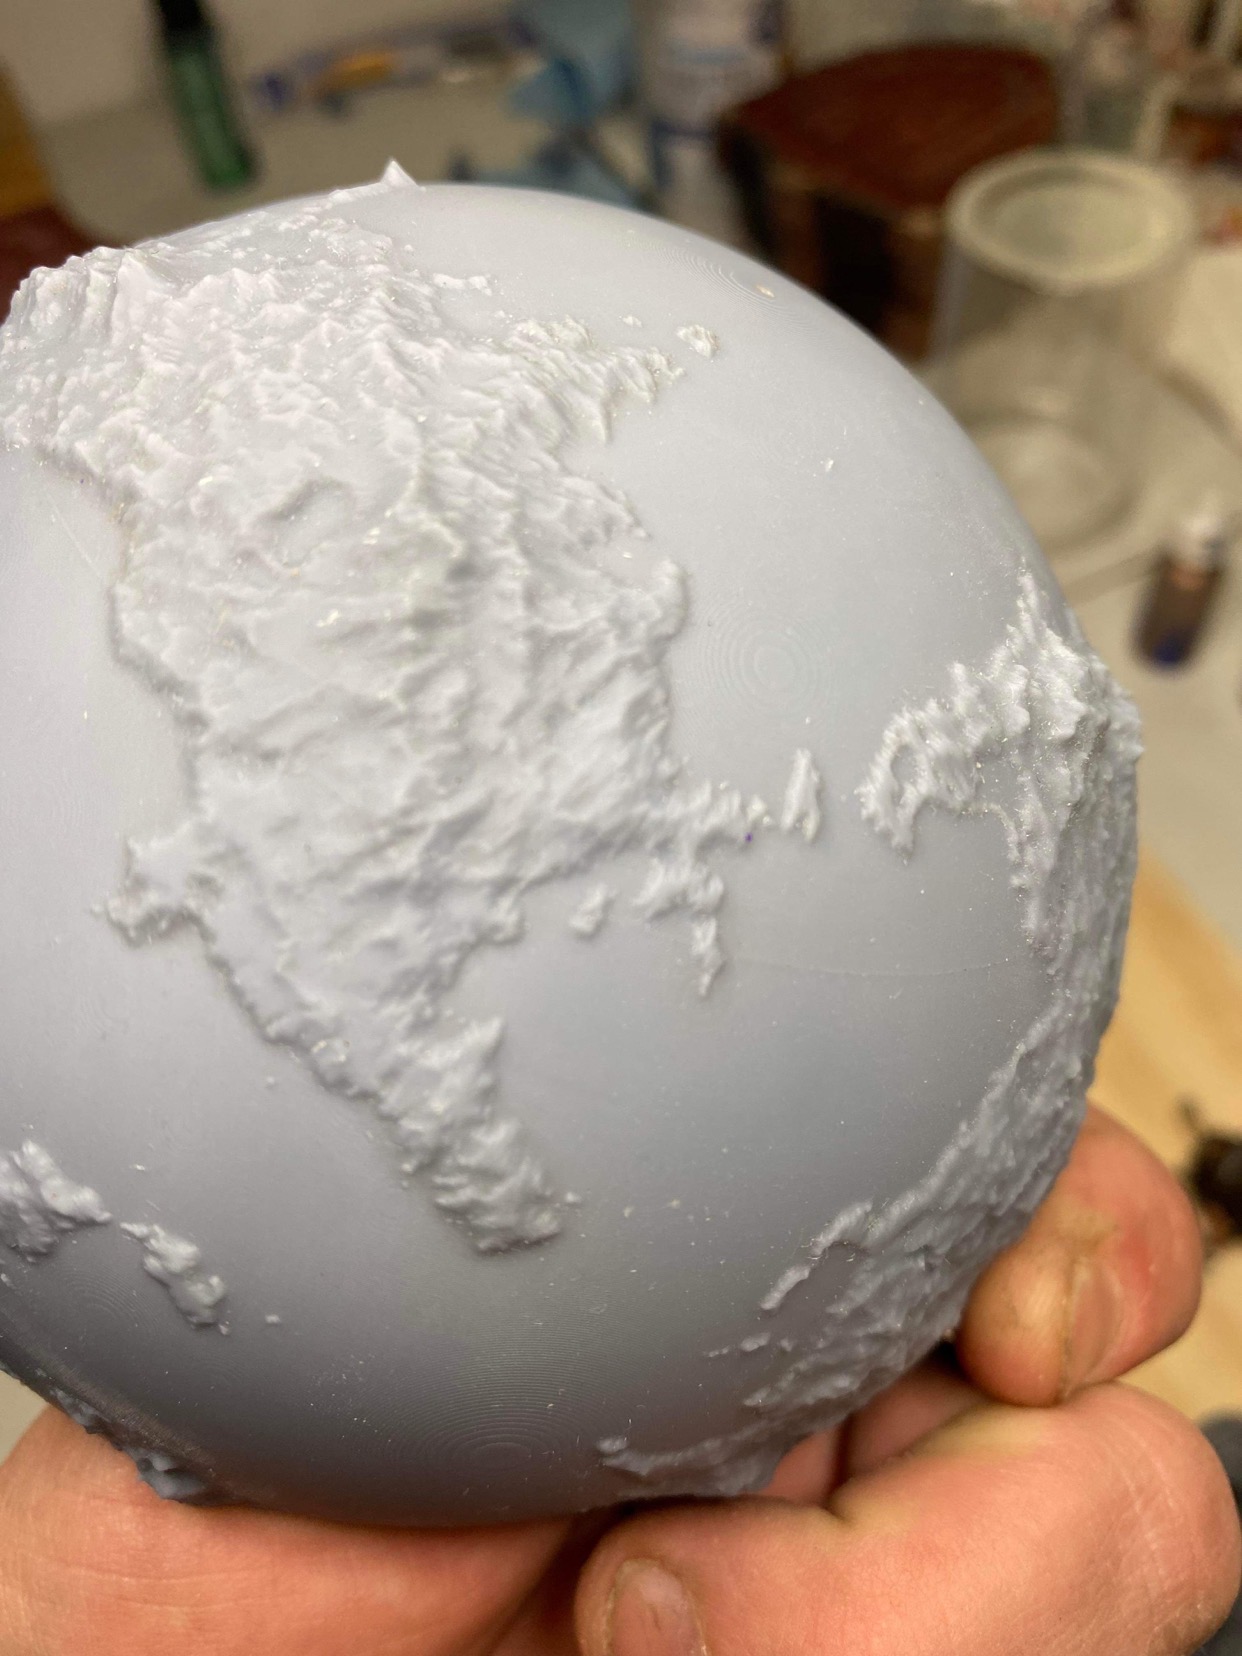
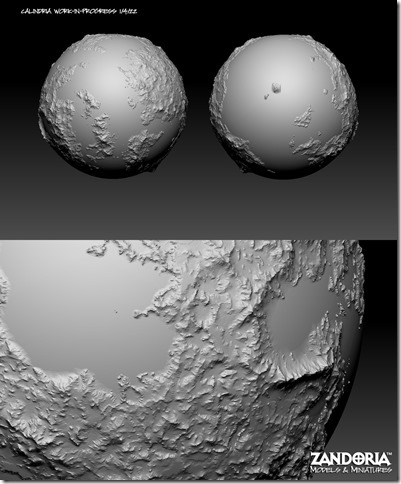
Turning the World of Calindria into a 3D model
This globe project was to create a 3Dprintable world for Noble Dwarf, the publisher of a tabletop role-playing setting Legends of Calindria. It is not too difficult to generate terrain based on the clients map, but it also needed to be printed in sections and have keys for assembly.
I created a globe in CAD and split it into sections. then used ARRAY commands to position all of the interlocking keys. The surfaces of the sections were subdivided and projected against the terrain in ZBrush to get the final shape.
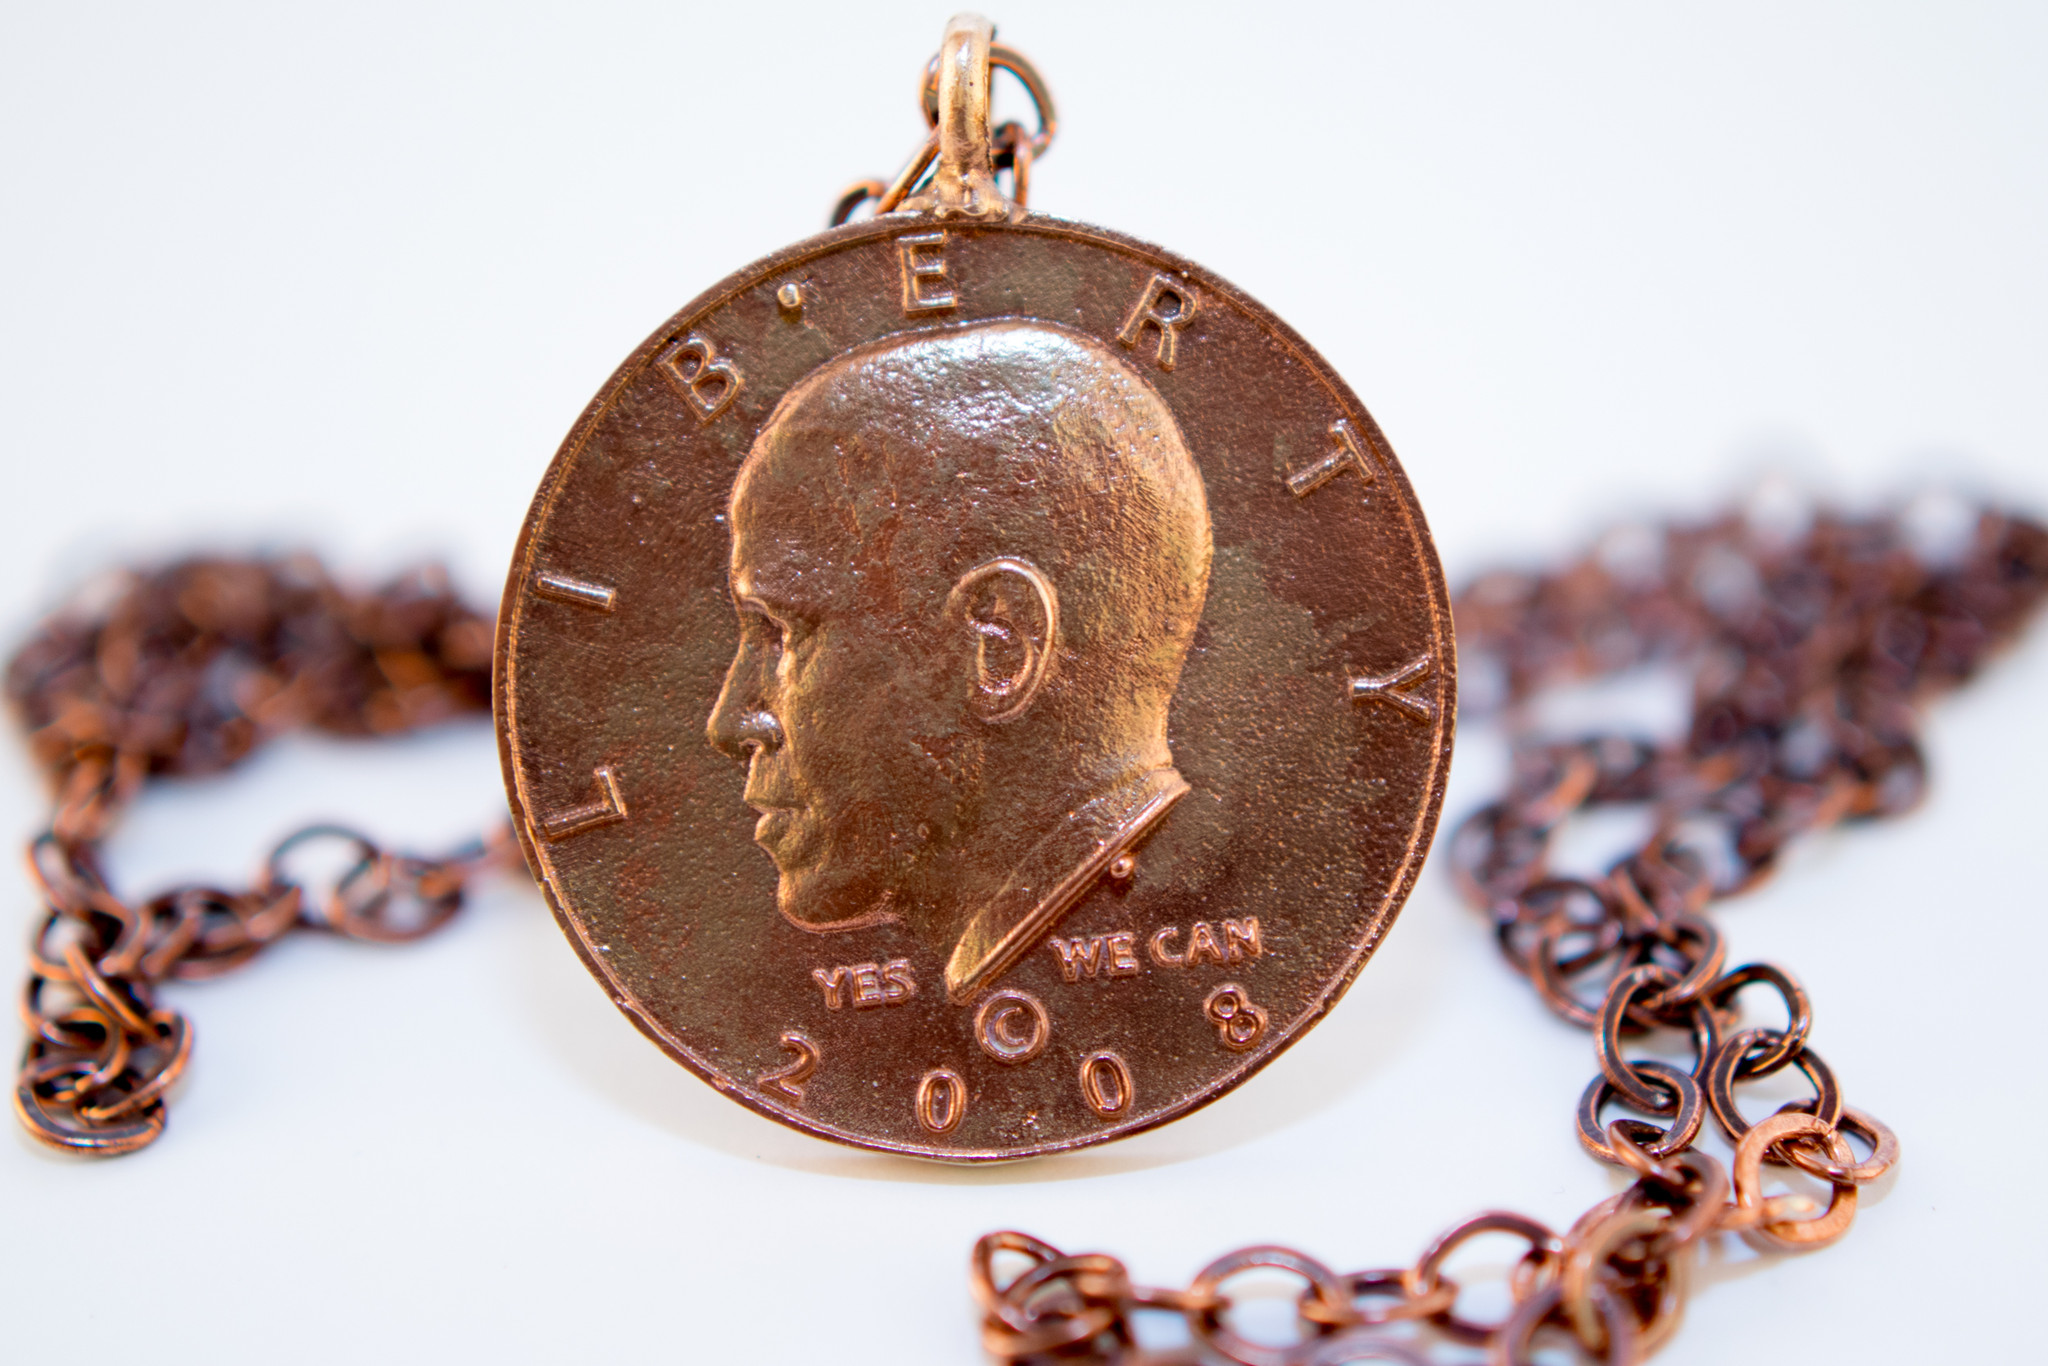
Jewelry is also something that is a good opportunity to mix sculpted elements with CAD. This set of cuff links and pendant for 44th Legacy combined a relief sculpture from ZBrush with elements modeled in Rhino. The final pieces were created in bronze with the lost-wax process.
cuff links and pendant for 44th Legacy
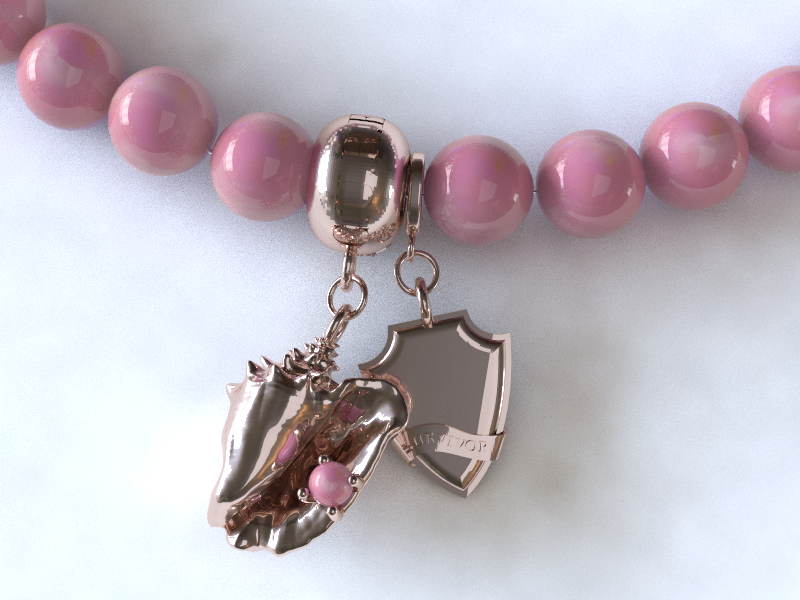
Another jewelry example combines a conch shell with other elements for a custom bracelet for BEACH BY JEWEL
When I started using 3Dprinting, I saw it as a potential market for selling files that users could print themselves. Over the last couple of years, I have watched the field explode with artists thinking the same thing–all jumping in with their latest Kickstarter or Patreon, seeing this technology as a “gold rush”. There are now thousands of Patreons offering 3dprintable miniatures now!
There are so many STL files being released each month, that you could never print them all (much less paint them…). Many patrons just collect the files, with a fear of missing out driving them. Artist’s are joining this churn trying to offer more and more files/month at lower and lower prices. Most of the files make it onto Telegram or other pirate sites, which drives the value of the STL files even lower. It is a frustrating rush to the bottom…
But what about using the 3Dprinter as the means of production? Not selling a merchant license for other people to sell their prints of your work, but producing your own miniatures and figurines?
There are a number of advantages to this. When you are doing the printing, you remain in control of the quality of your work. Your intellectual property can not be shared or pirated, if you are only selling physical items. 3Dprinting allows for details as fine as a human hair, and geometries that would be impossible for recasters to duplicate.
Another advantage is that there are a LOT more customers who might like your art, than there are hobbyists using 3dprinters themselves.
example of real bronze patina on 3dprinted resin
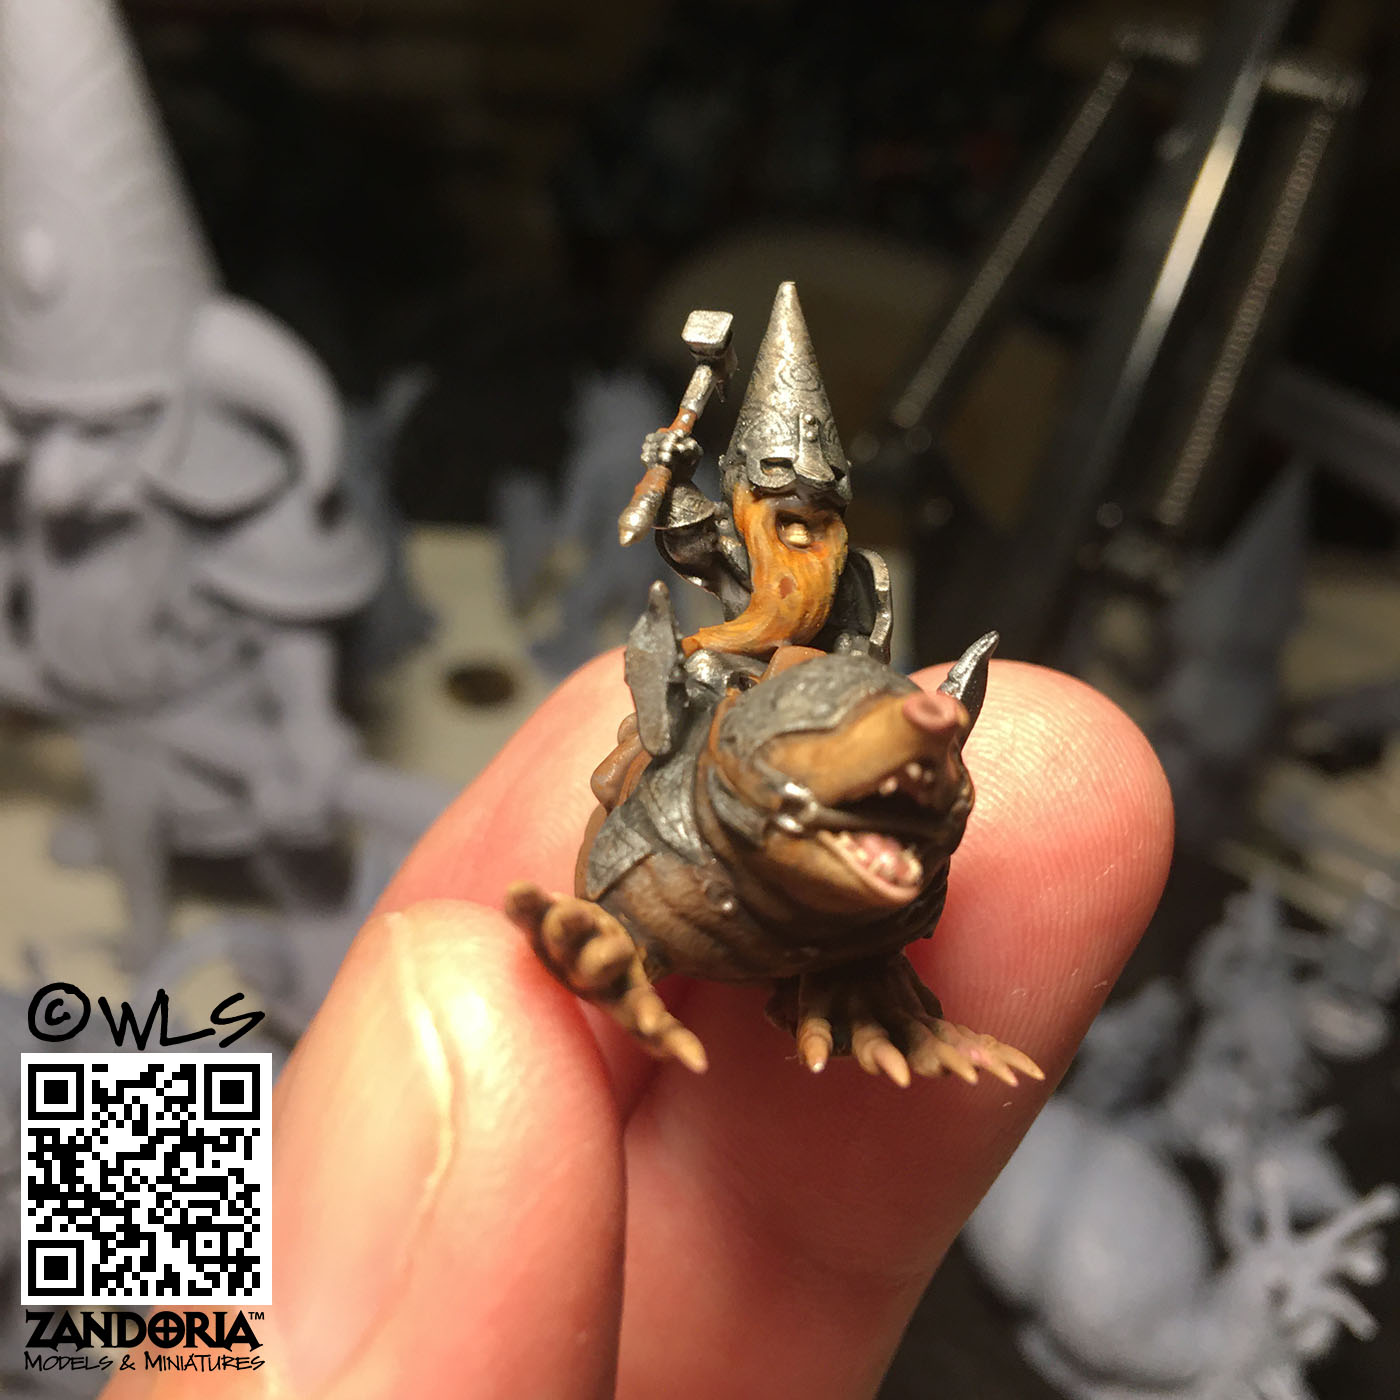
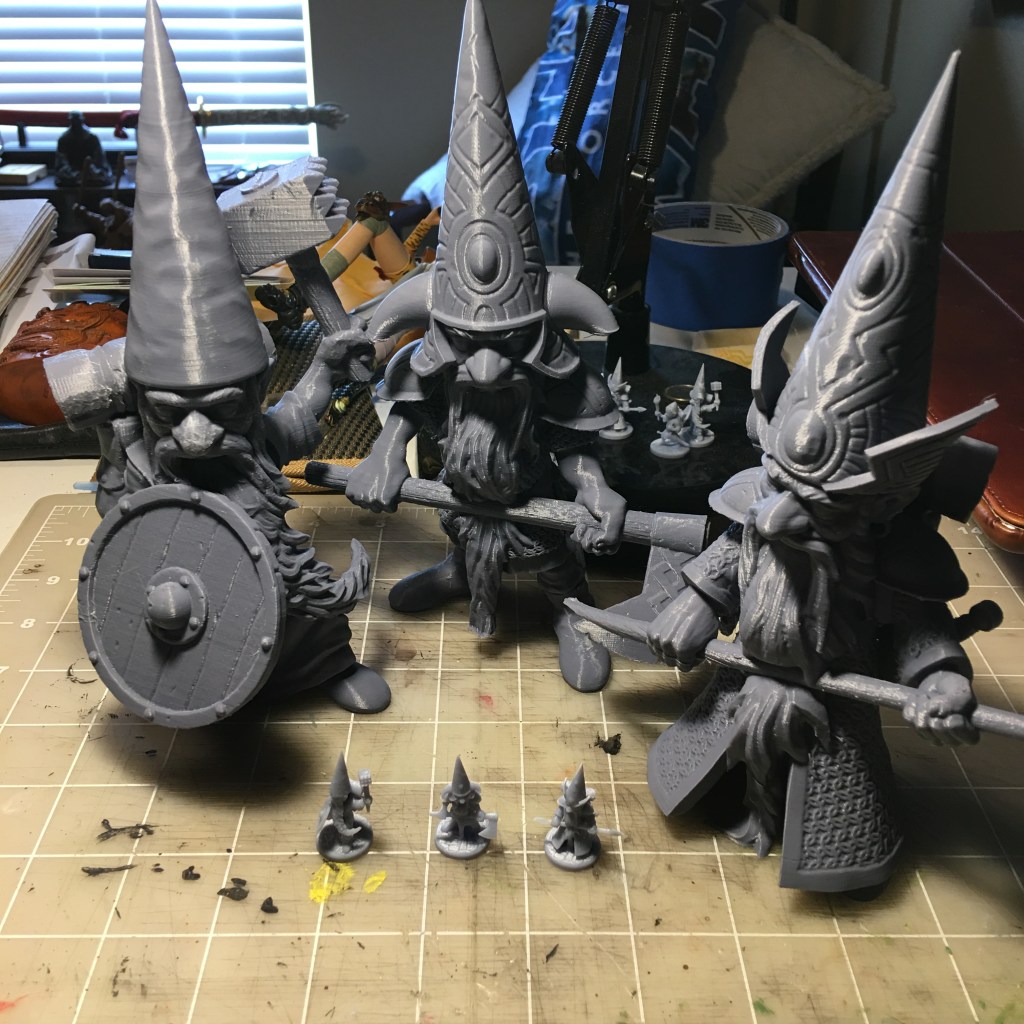
Using a 3Dprinter to reproduce your work is more efficient than mold-making and casting, and will allow you to offer multiple sizes of the same sculpture.
multiple scales of the same Gnome Druid
The learning curve is not that difficult, if you are already sculpting digitally, consider adding a 3dprinter to your studio!
It is New Years Day, which a lot of people use to come up with resolutions…Instead of that, I thought that I would post some work from the past year and talk about what I’m working on now, and what will be coming up on my Patreon and Cults3D in 2022.
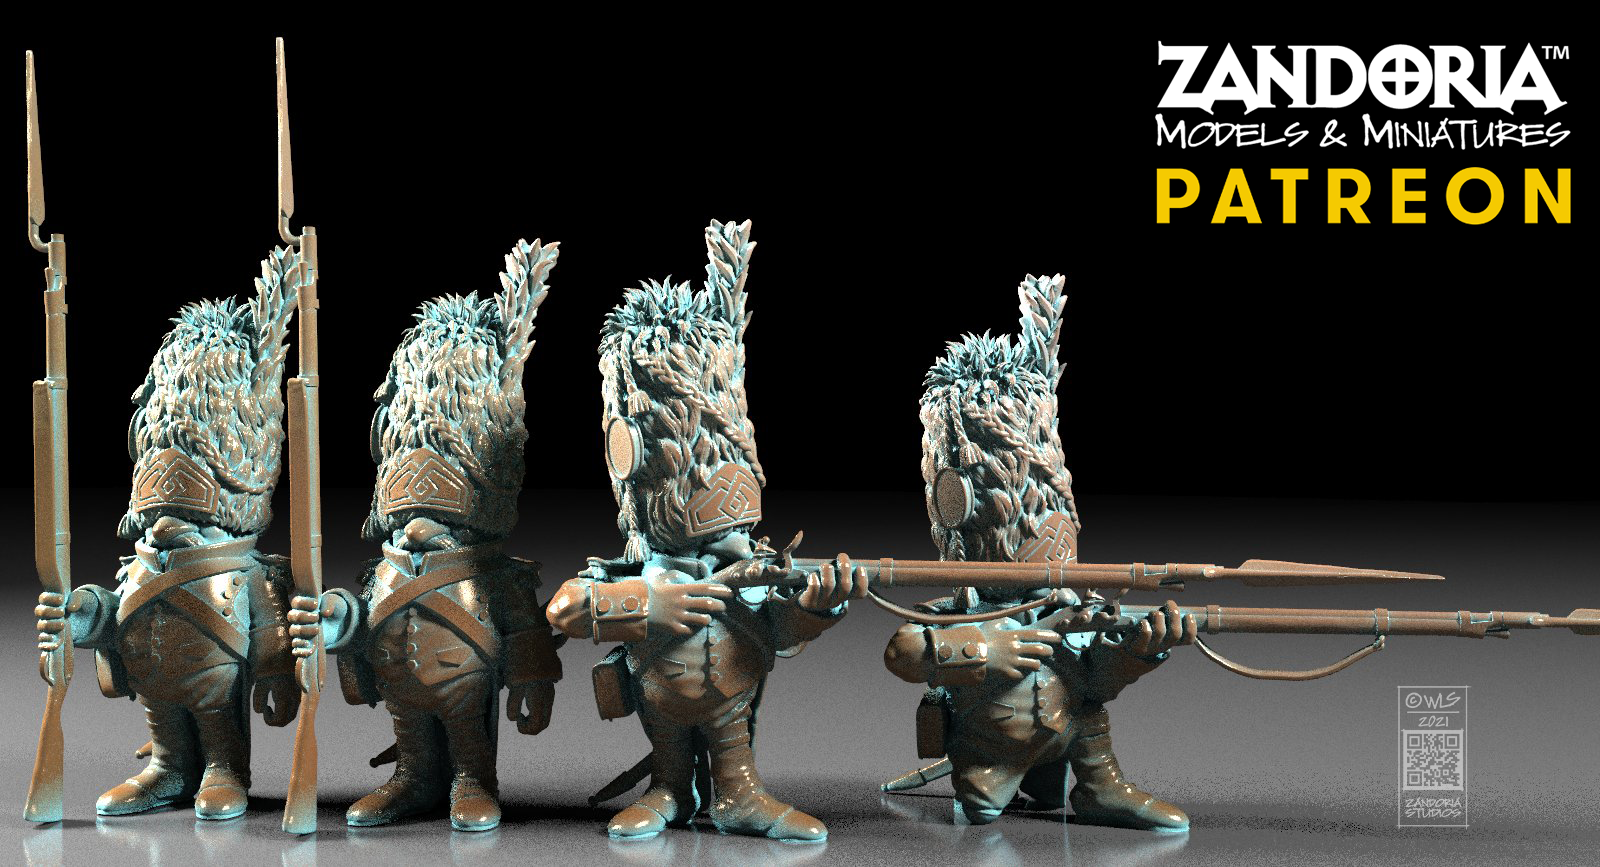
Gnomepoleonic Wars!
I’ve got the first set of gnomes for Gnomepoleonic Wars finished. I will be adding additional sets with different headgear (Bicorn and Shako hats). These minis are going to be great for tabletop wargames, and that has me thinking about publishing a Gnome Wars rule book, using my own wargame system!
guardin’gnome
It will not be limited to just Napoleanic battles, but works for skirmish games, scifi wargames, fantasy and historic. And it will be able to be used with any miniatures, whether traditional or 3dprinted–not just mine–Though I will use my own miniatures and illustrations for the book ( I better model some Space Gnomes…)
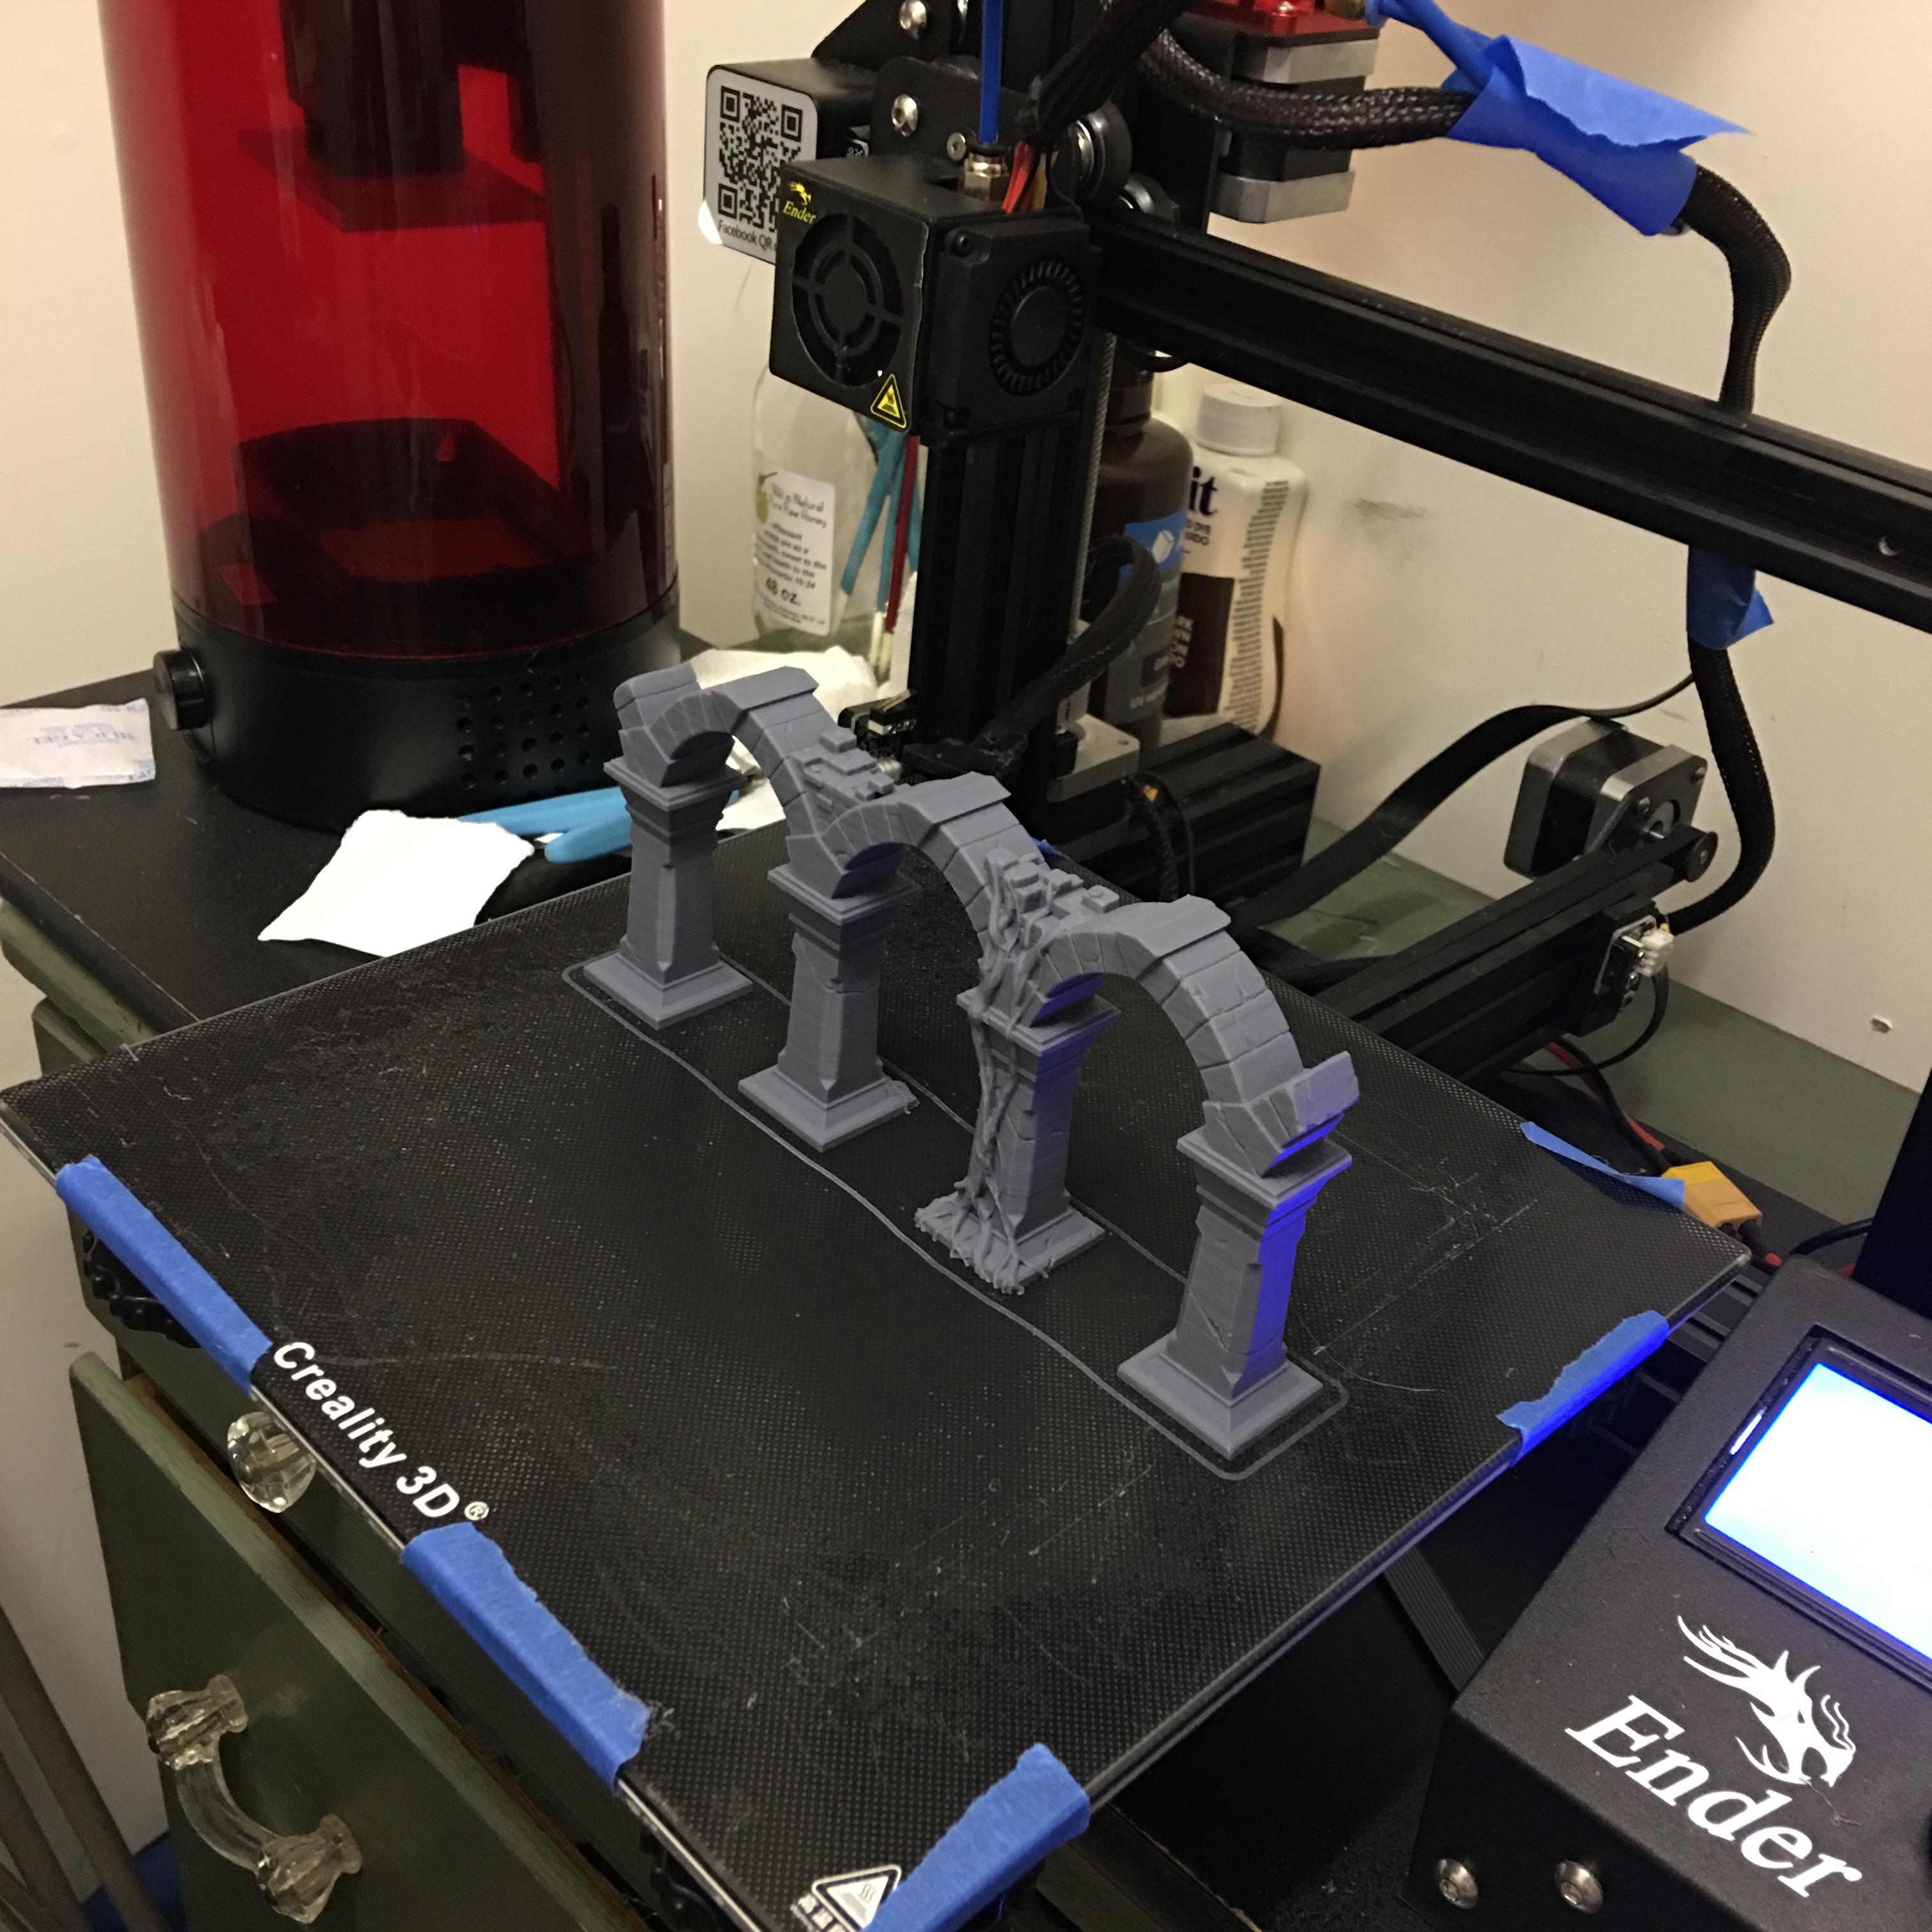
PuzzleLock Dungeon II
I also plan to release PuzzleLock Dungeon II this Spring. This is an improvement over my earlier PuzzleLock Dungeon, because I have focused on fully printed rooms and corridors (which make better use of the printbed), and have offset walls to maximize the playable space of the grid.
test prints for PuzzleLock Dungeon II
I also want to put up some more figurines on my Etsy shop! I have shown off a few on Facebook and Instagram, and based on the response I think there might be a desire for them amongst fans who don’t have access to their own 3Dprinter…
That’s the update for now. I hope that you have a Happy New Year!
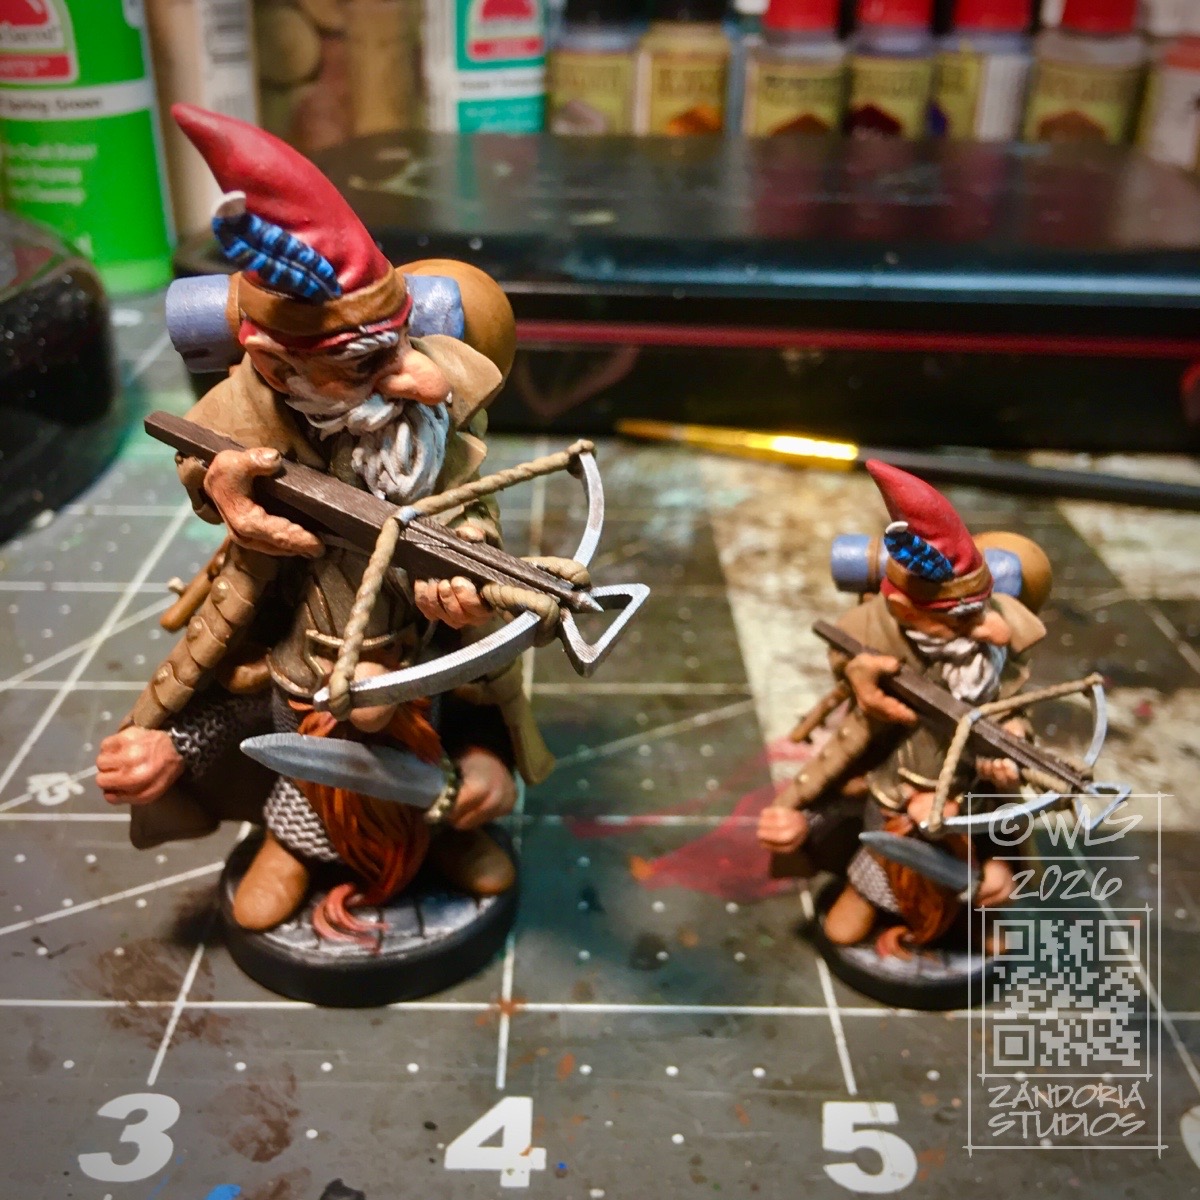
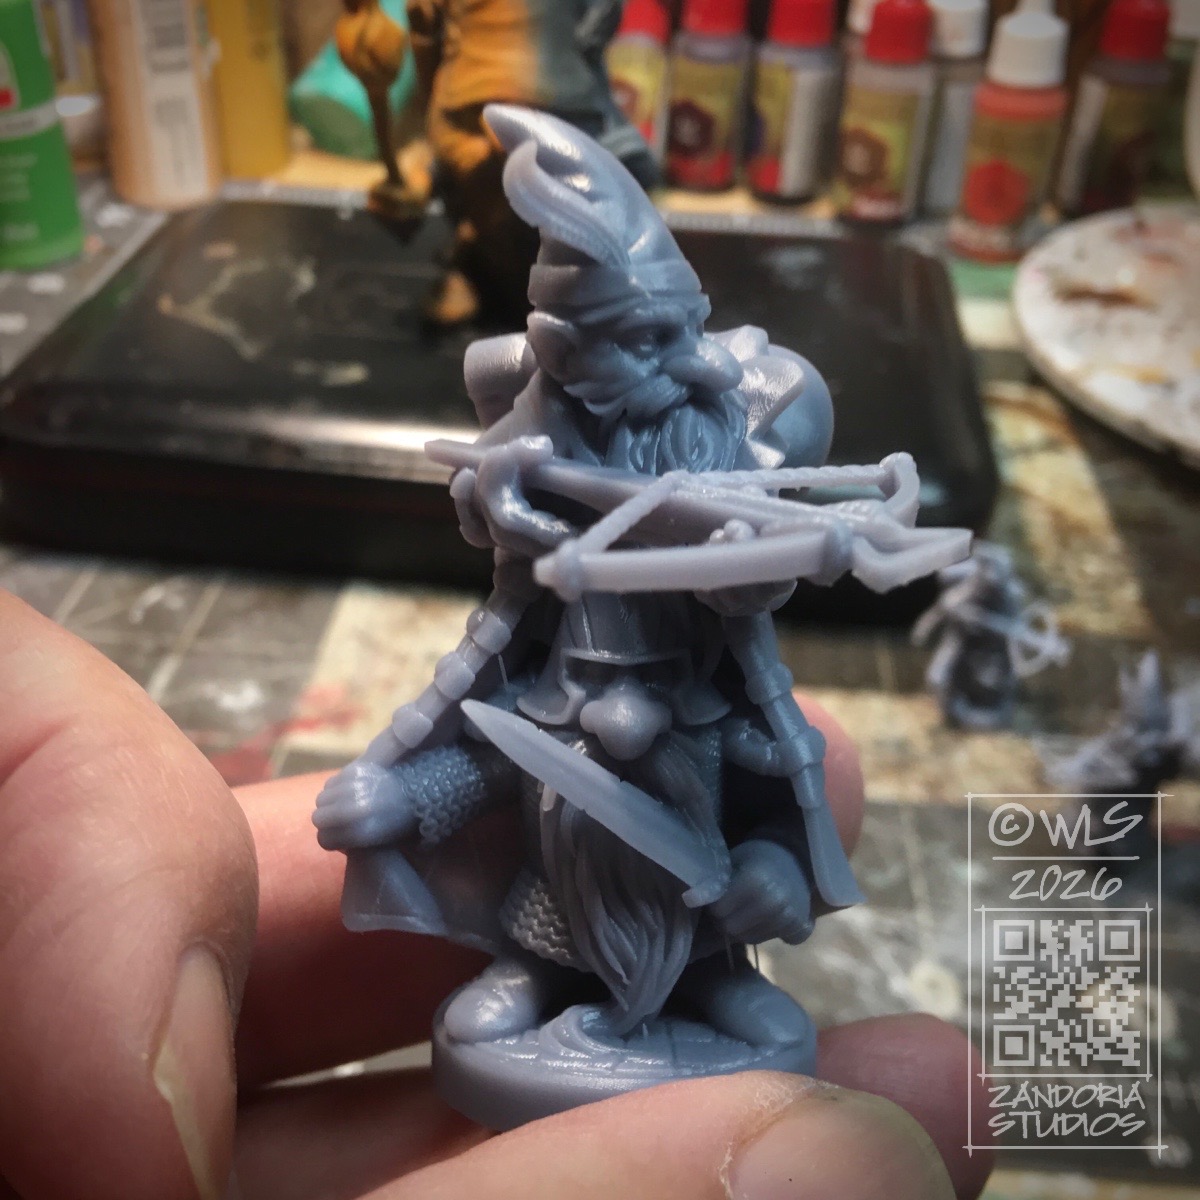
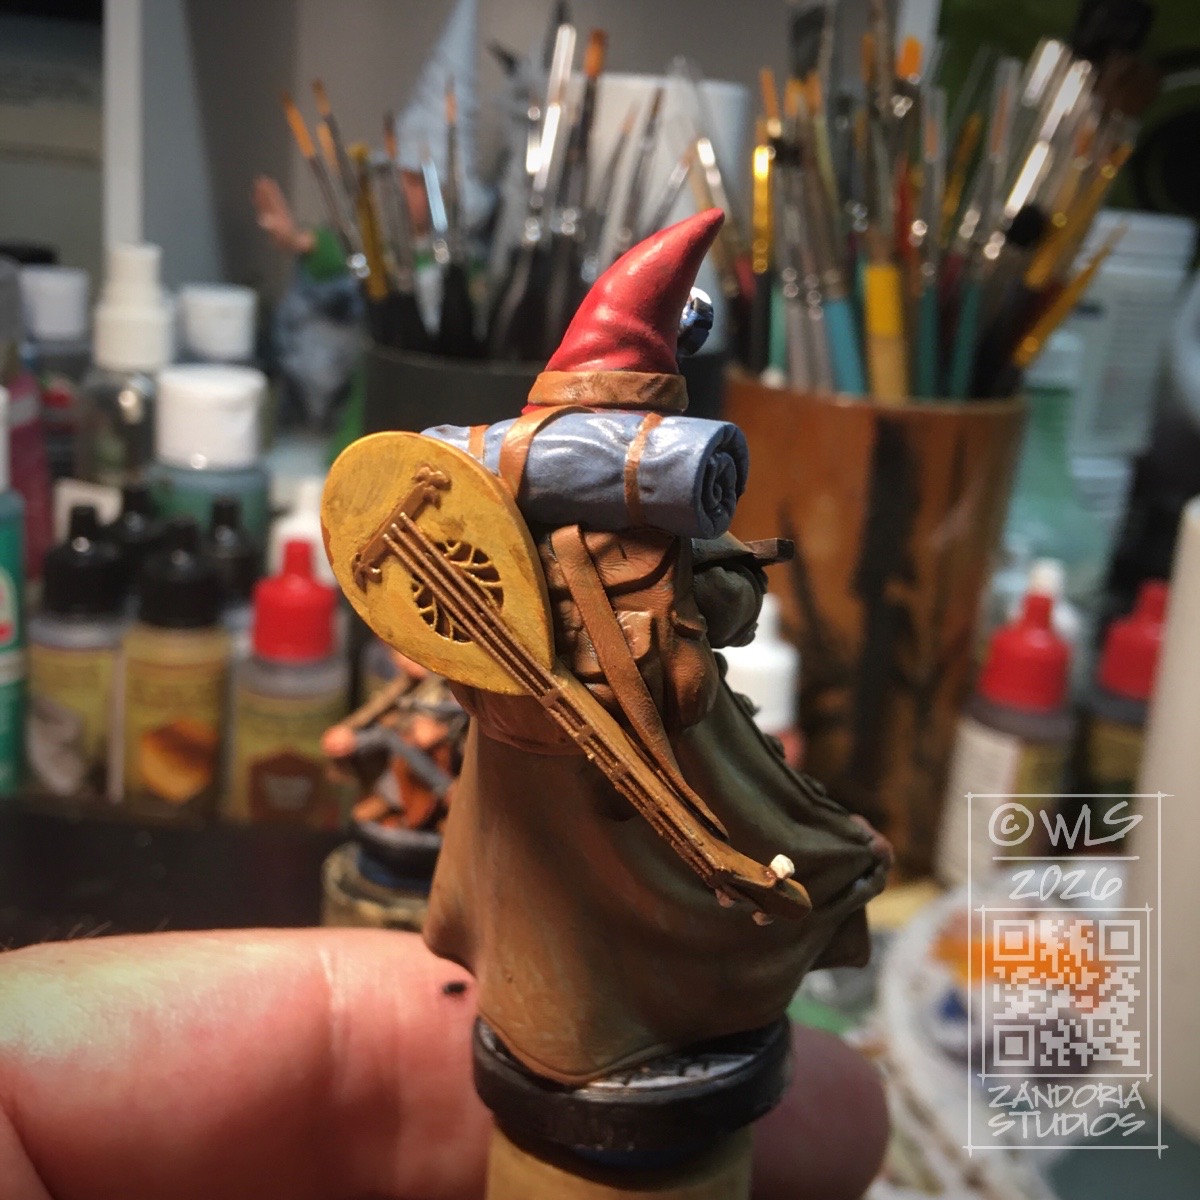
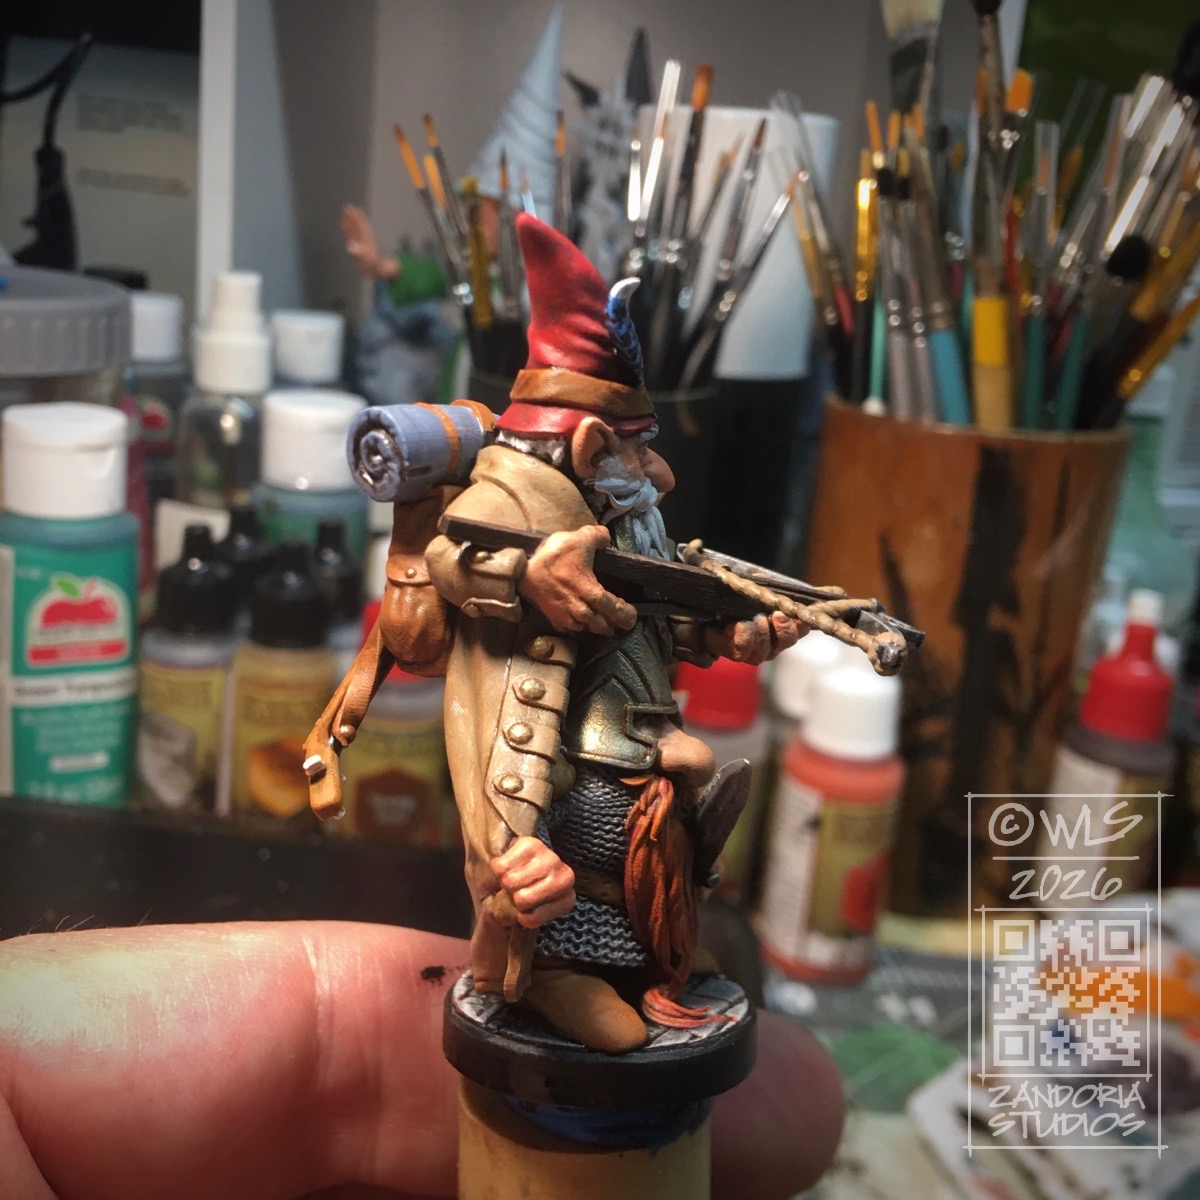
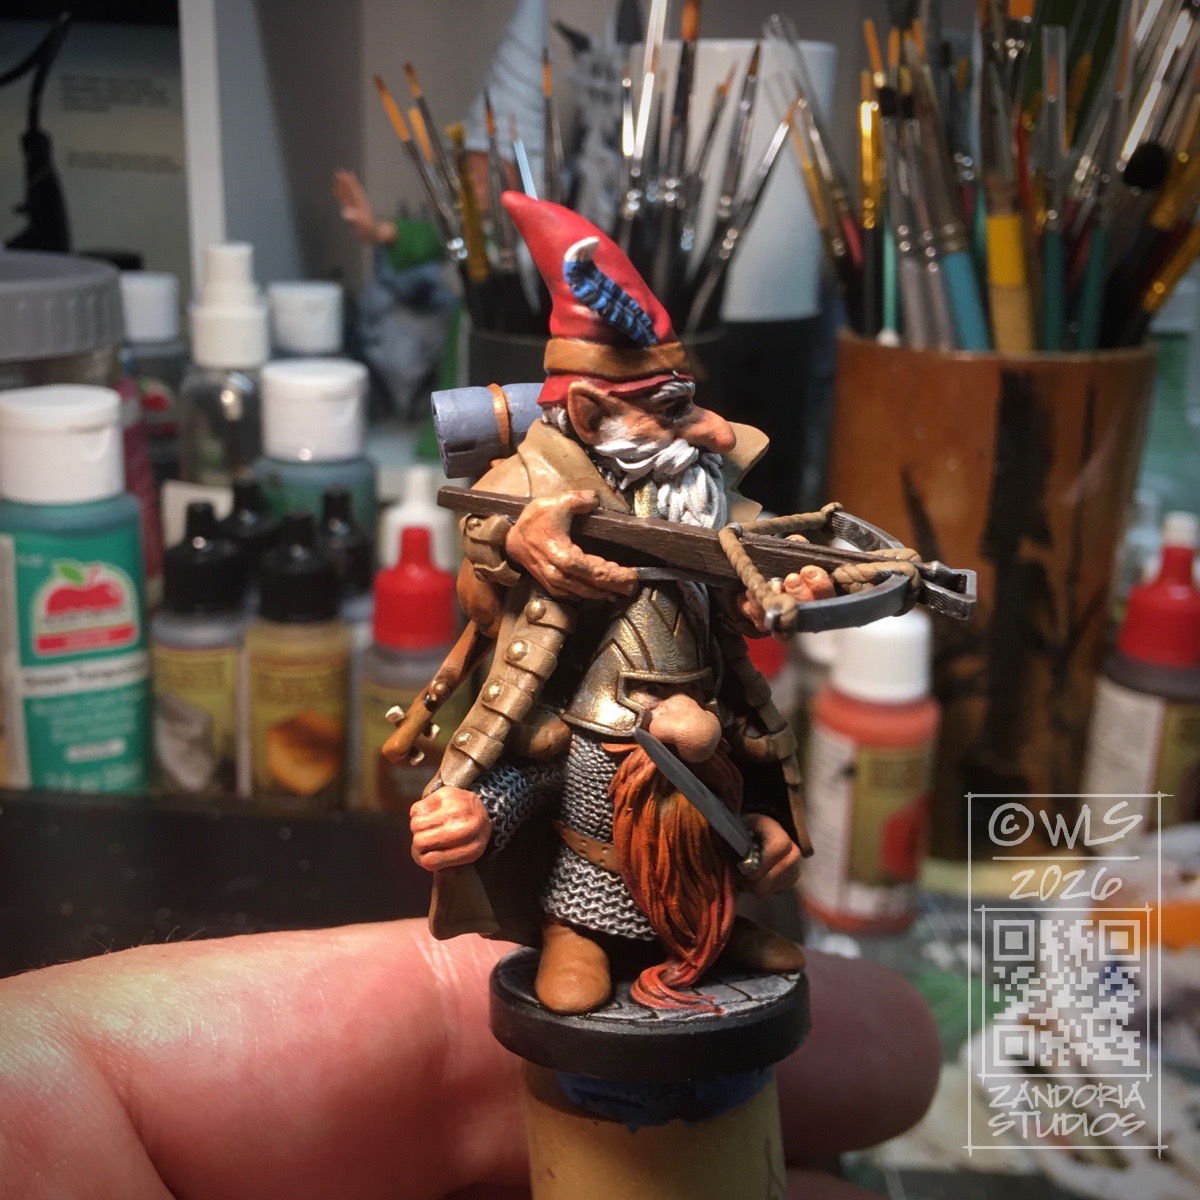
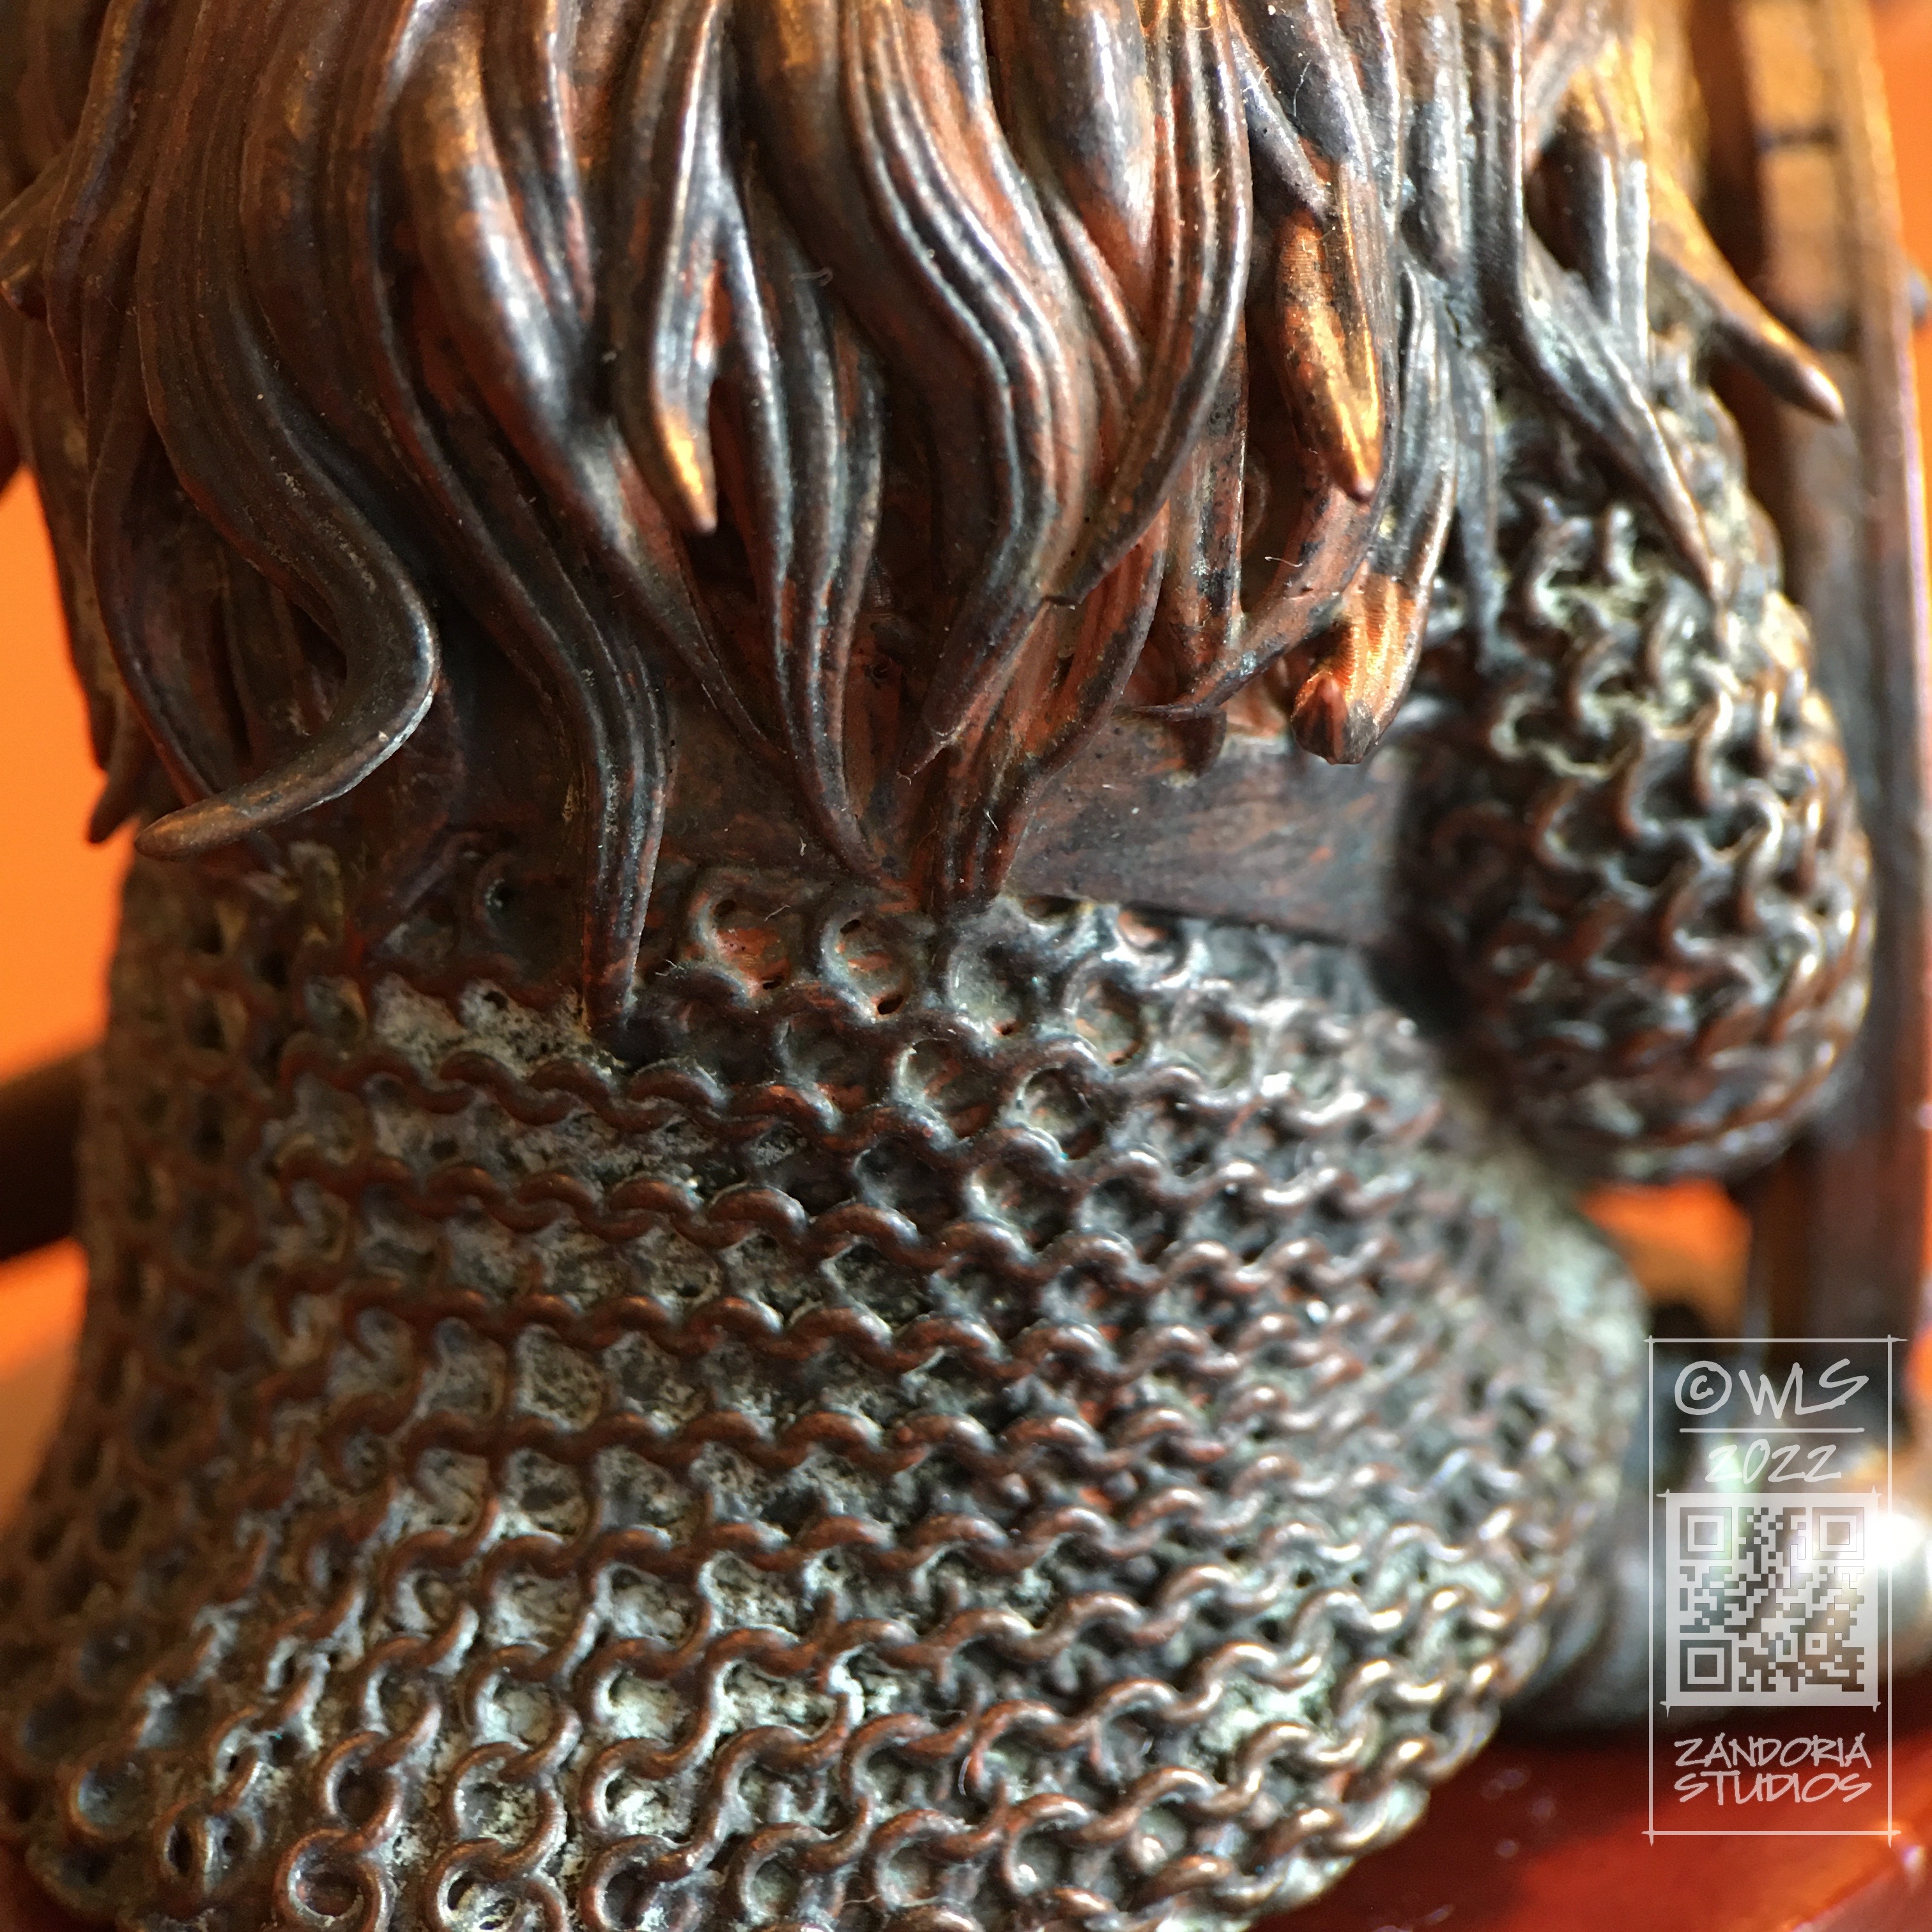
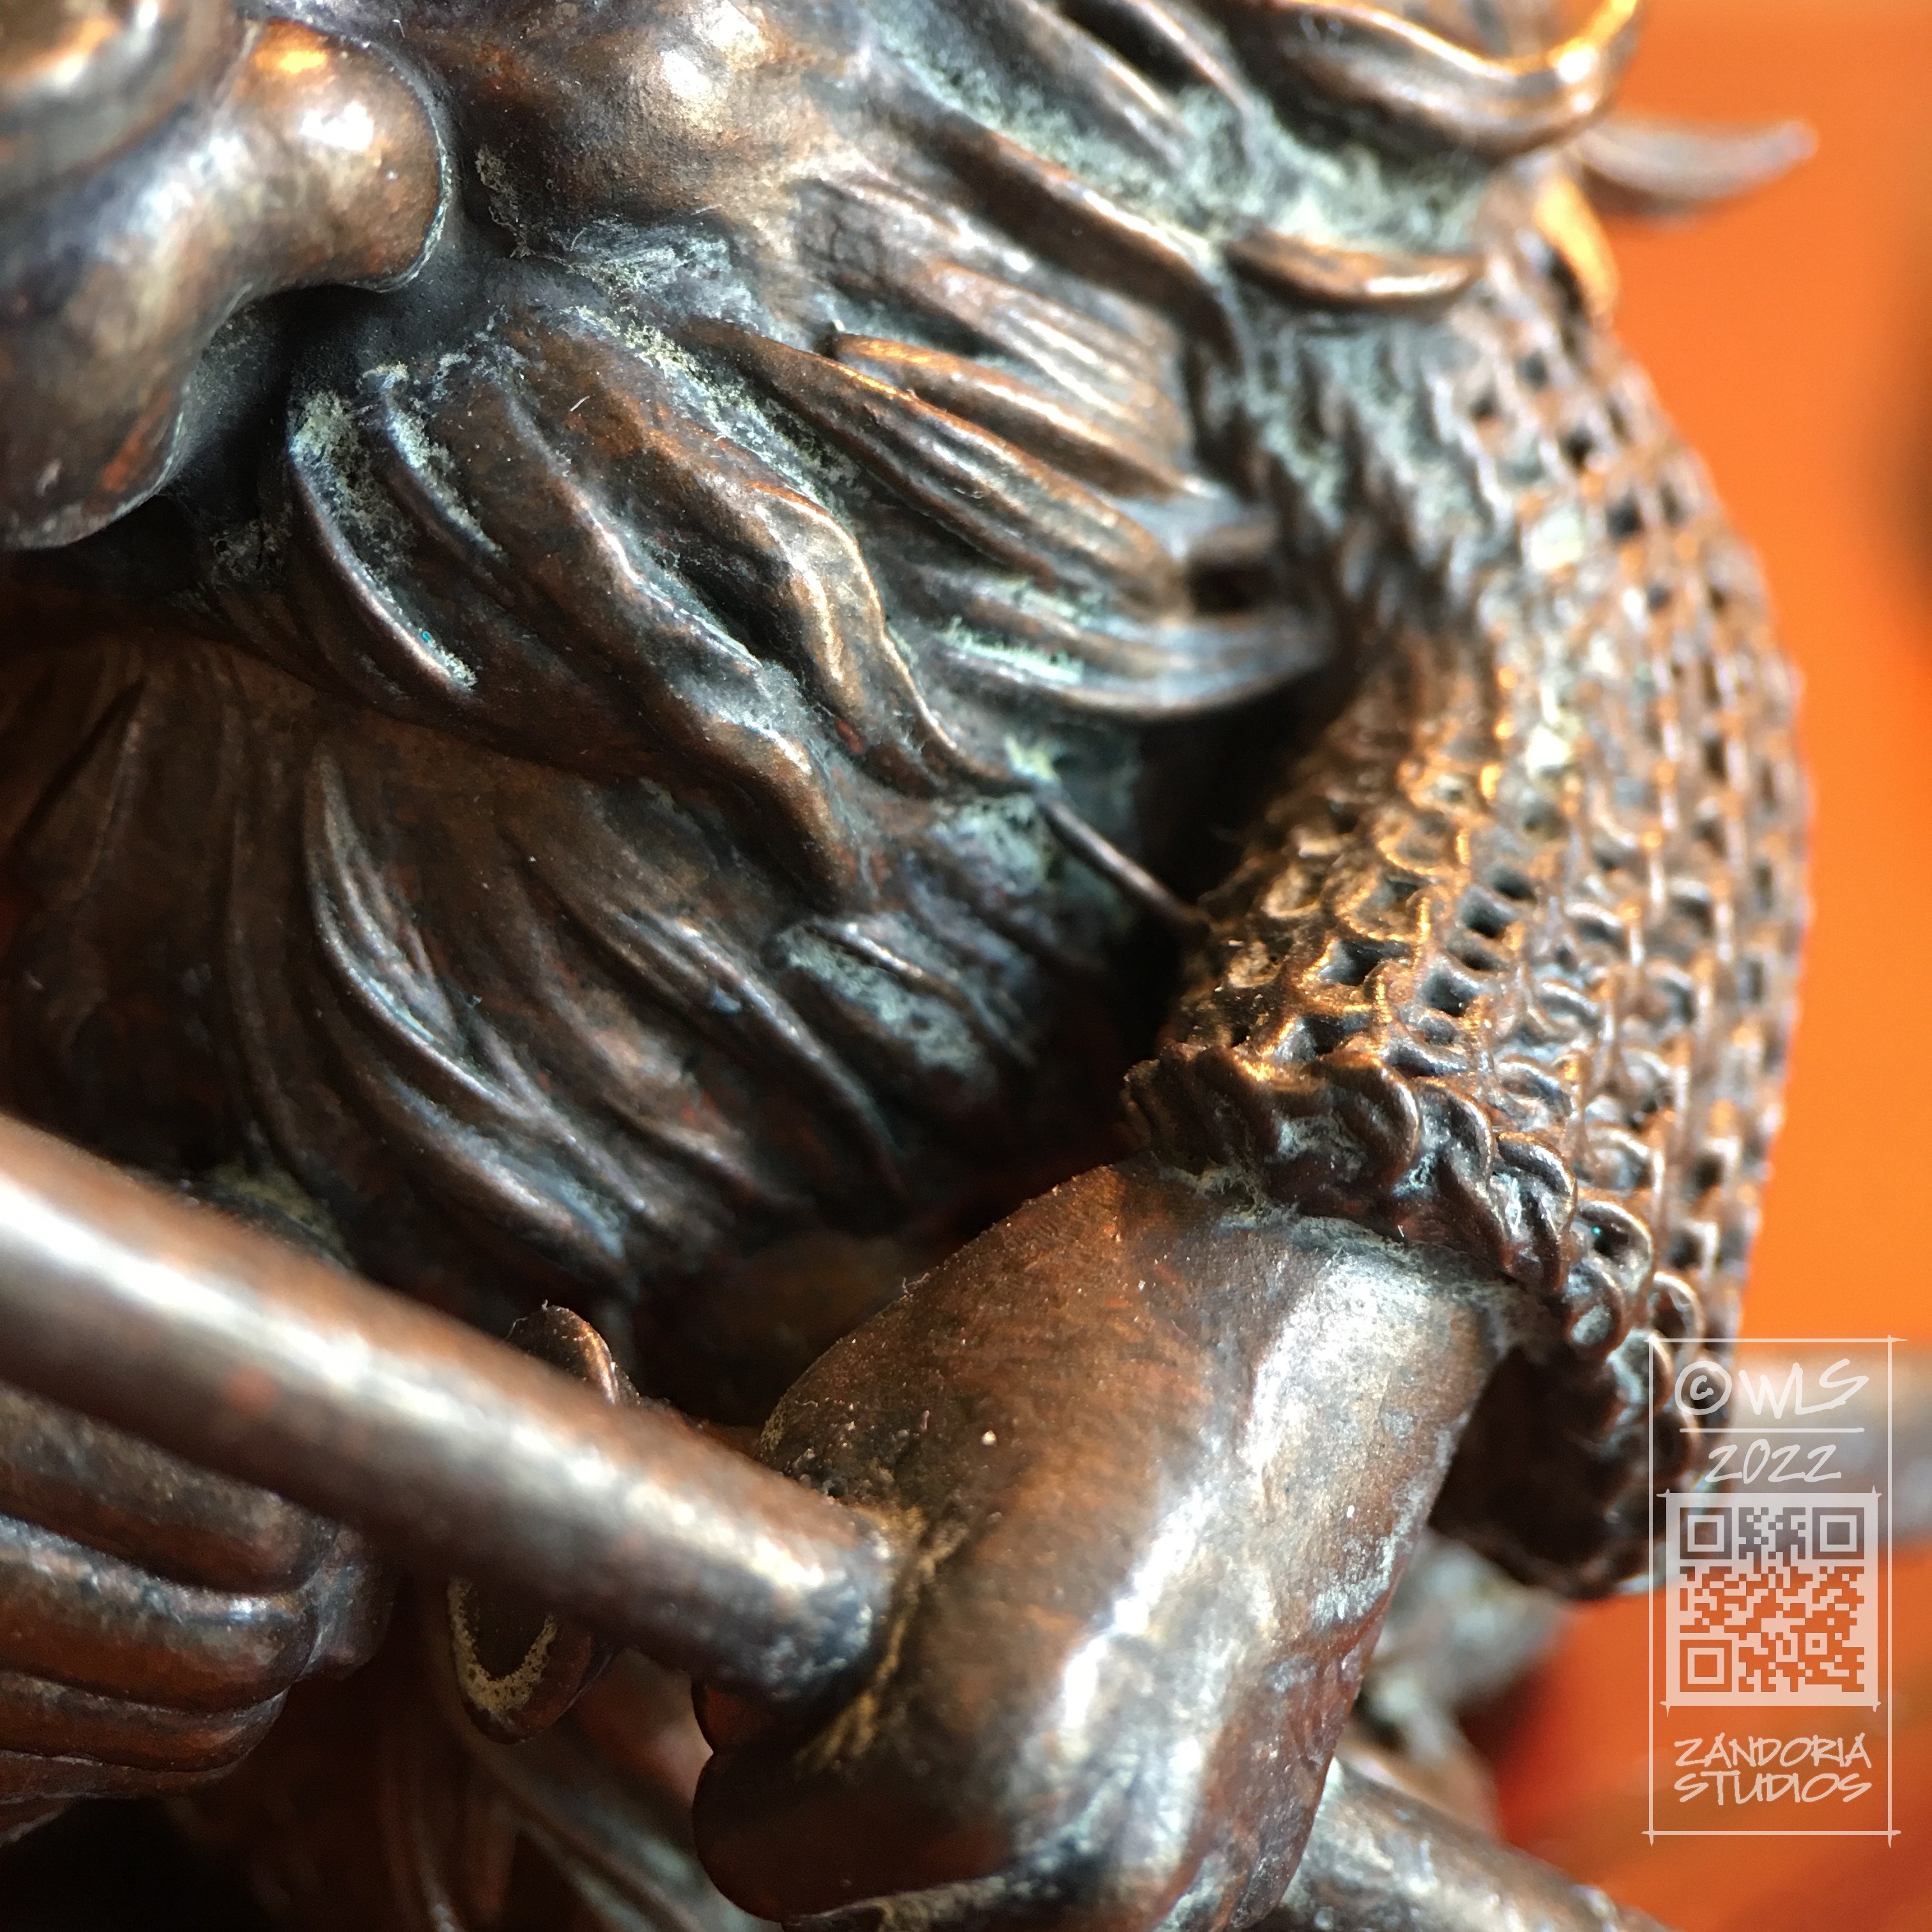
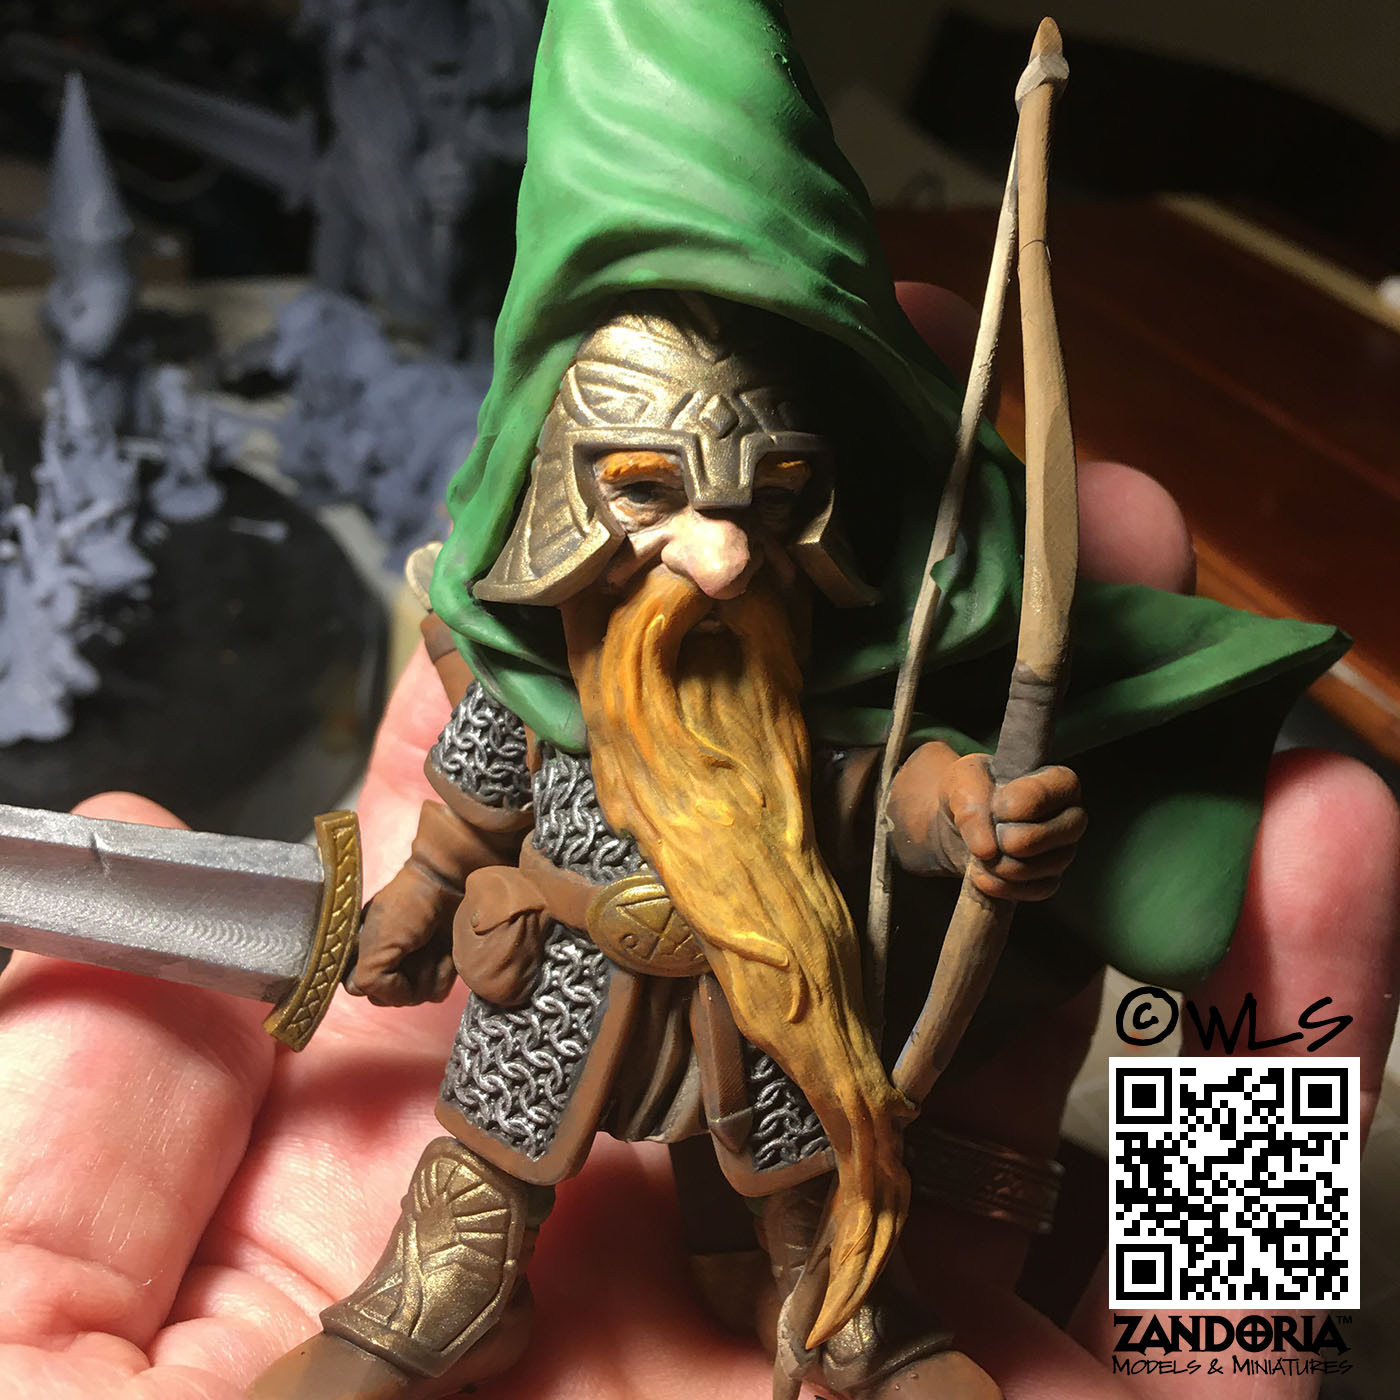
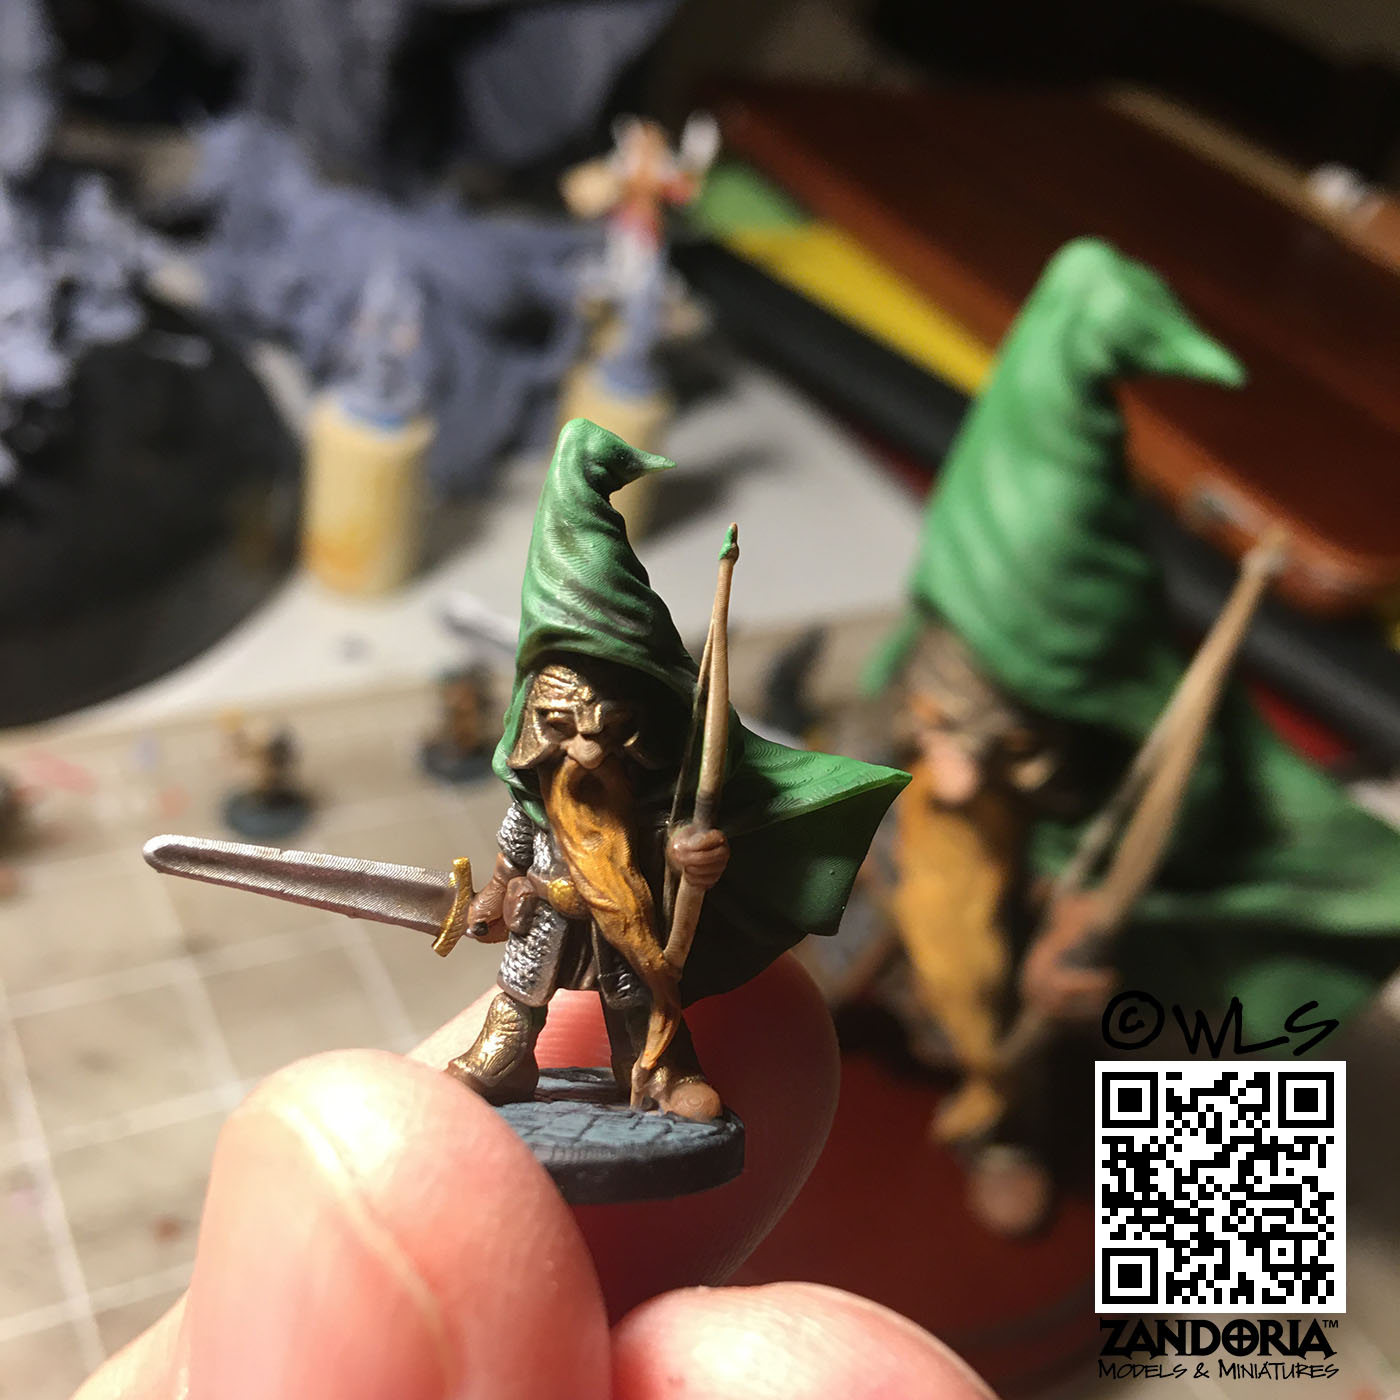
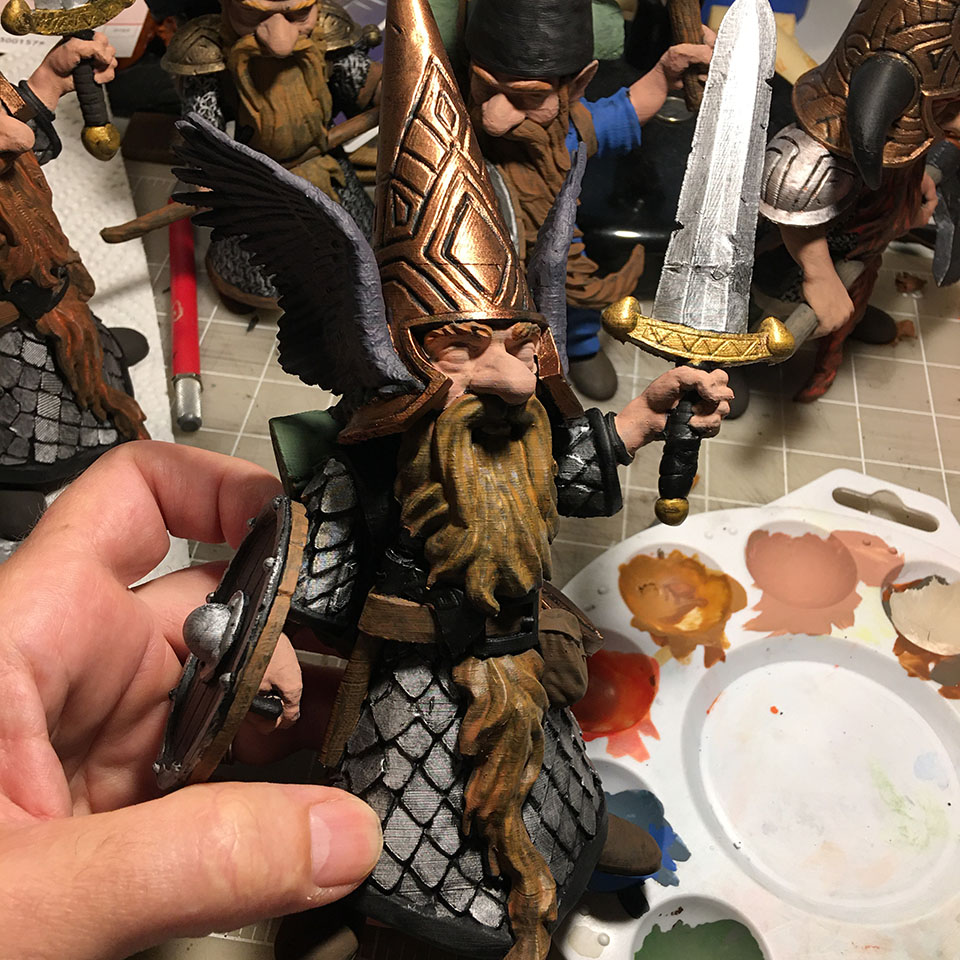
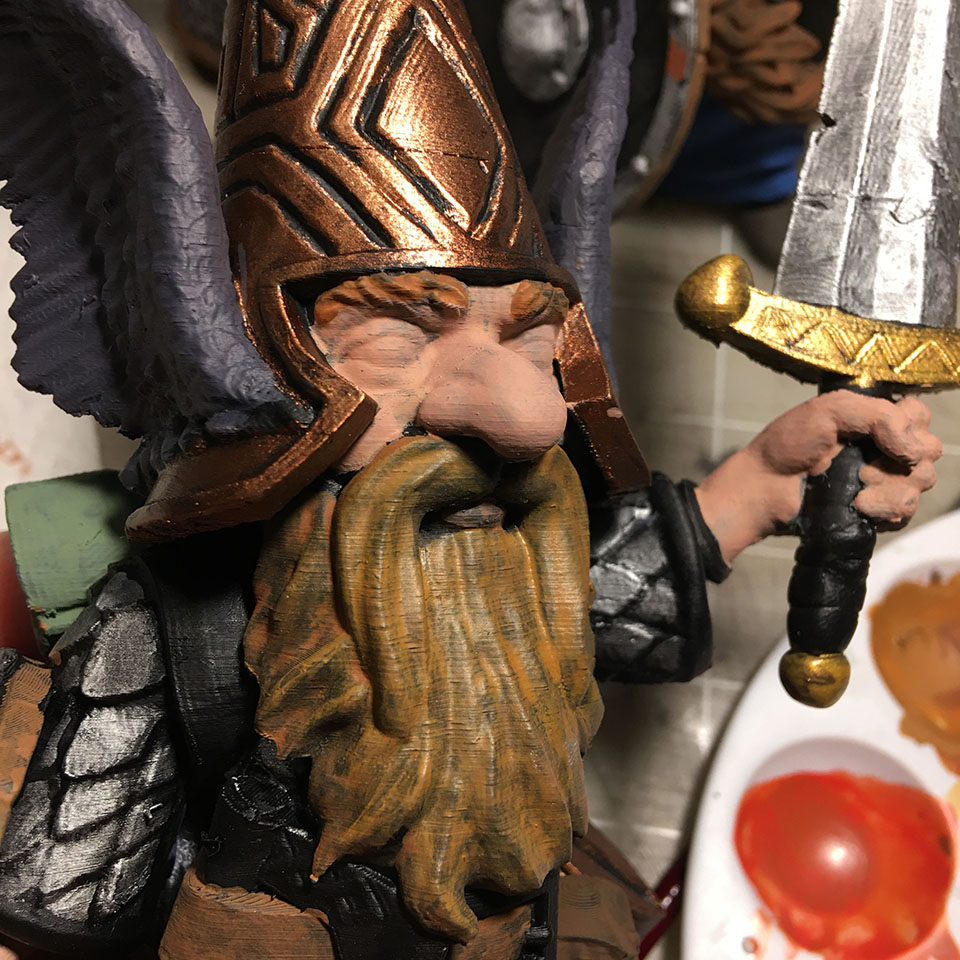
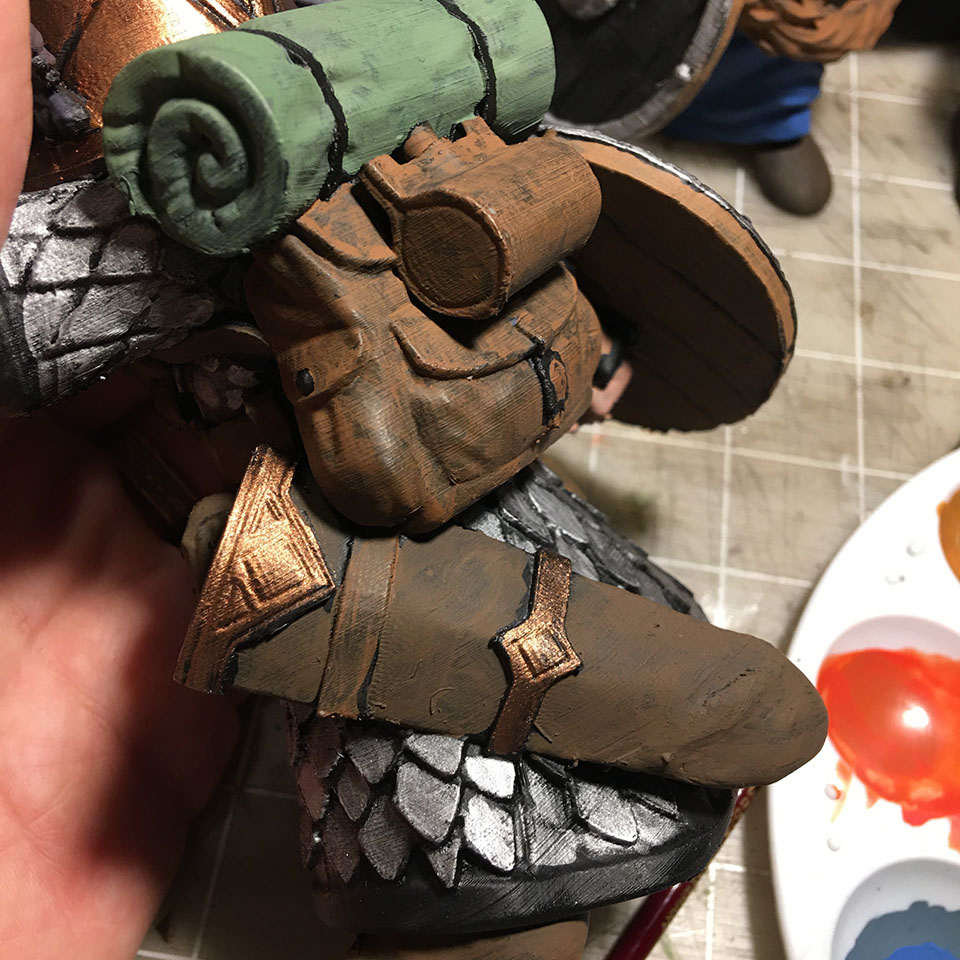
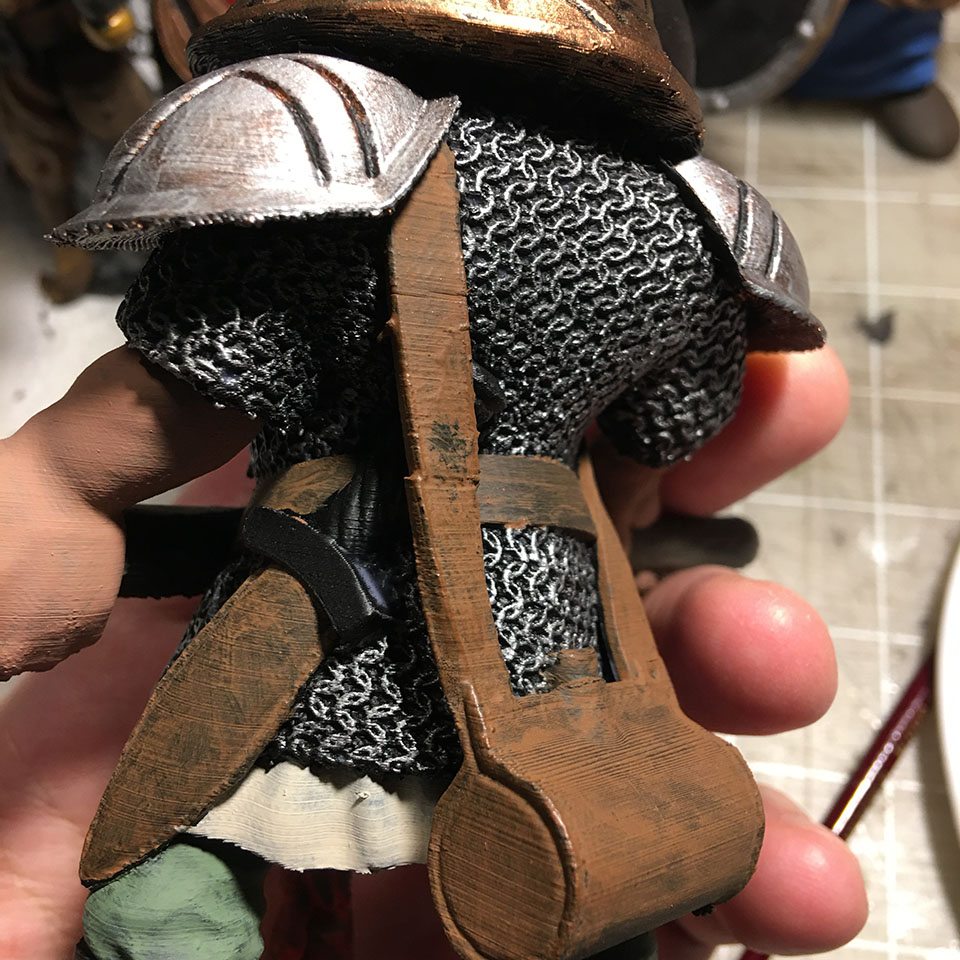
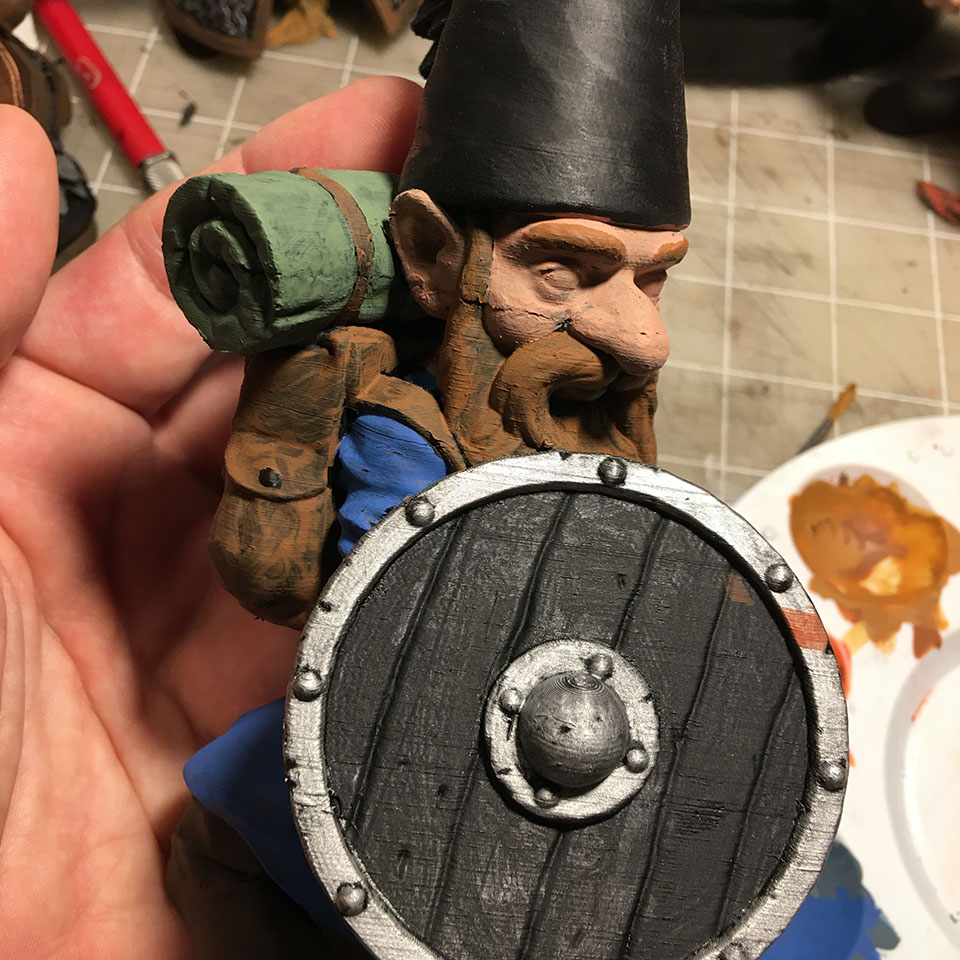
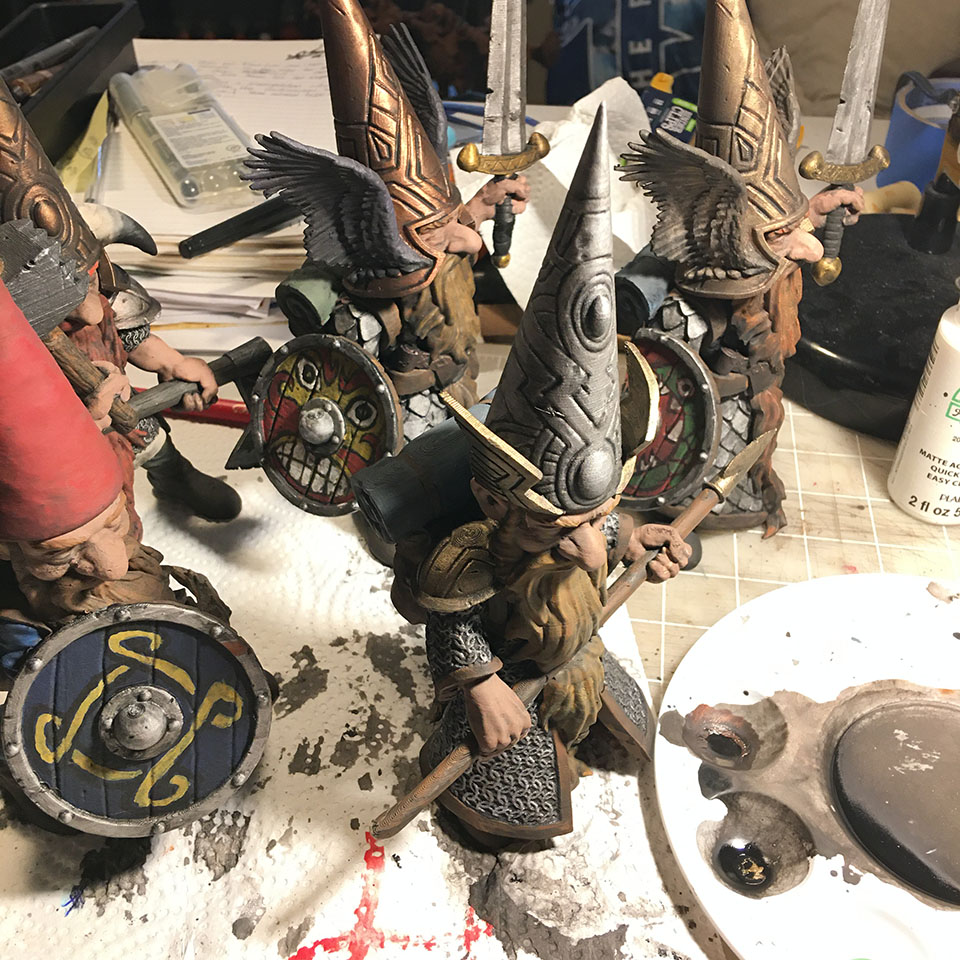
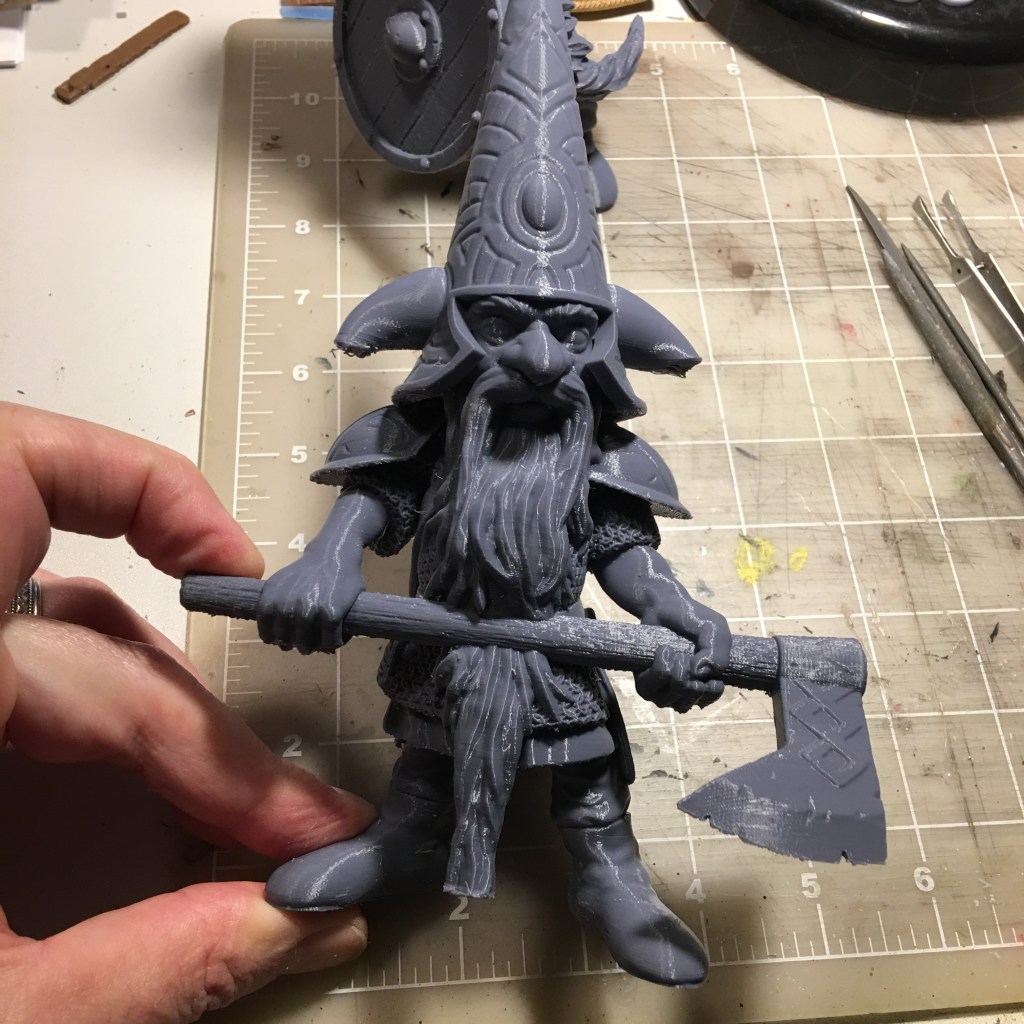
I finally sat down and painted a group of my Gnome miniatures. One of the things that I was pleasantly surprised about, was how well the micro details showed up even at 28mm scale. I put in a level of detail that enables you to print my designs at different scales and have them still look good, whether as a tabletop miniature or as a figurine.
the chainmail details hold up at different scales
I am not a professional miniature painter, but I was very happy with how they turned out. I used craft acrylics and a wash to bring out the details (as described in a previous post about painting Guardin’ Gnomes). The wash brought out details that I couldn’t even see when holding the miniatures! Similar sized miniatures that are injection molded cannot hold the same level of detail… These are printed on a SparkmakerFHD which is pretty low resolution compared to newer printers, so I can’t wait to see what they will look like on a 4K printer!
If you would like to print your own, they are available individually on Cults3D or you can get access to ALL of my models when you join my Patreon!
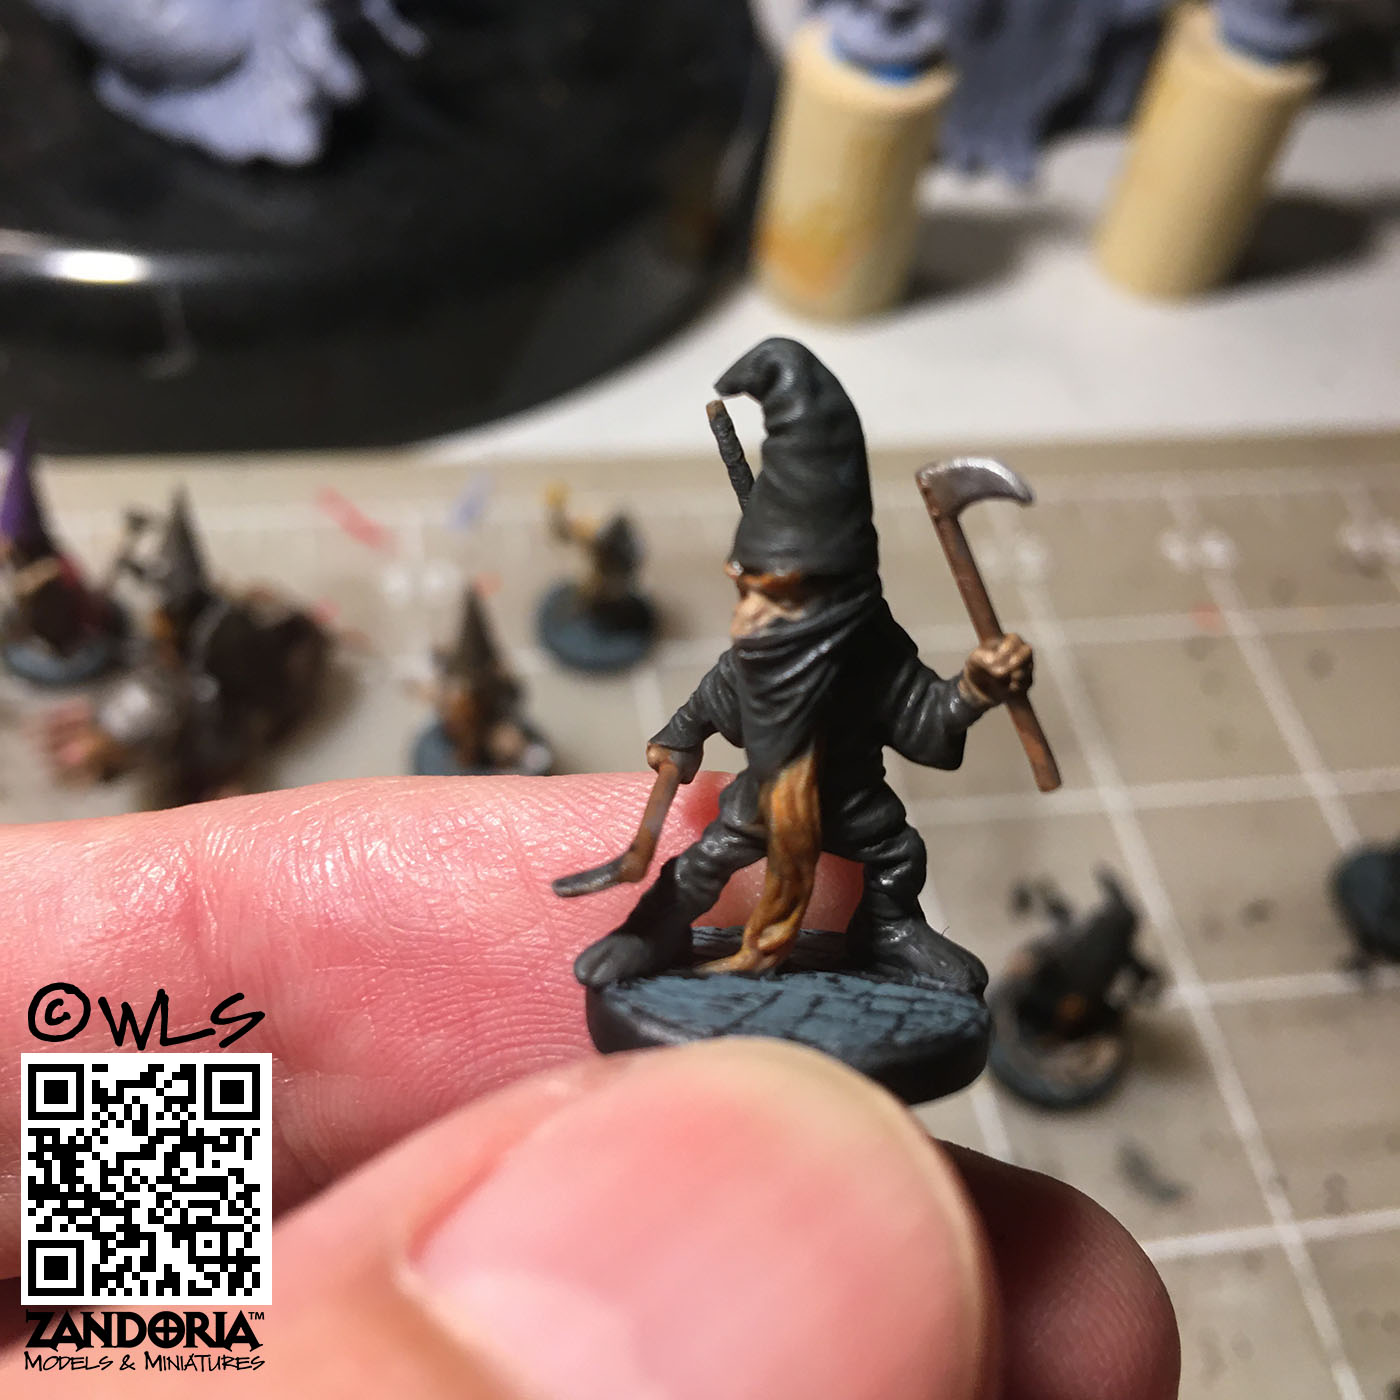
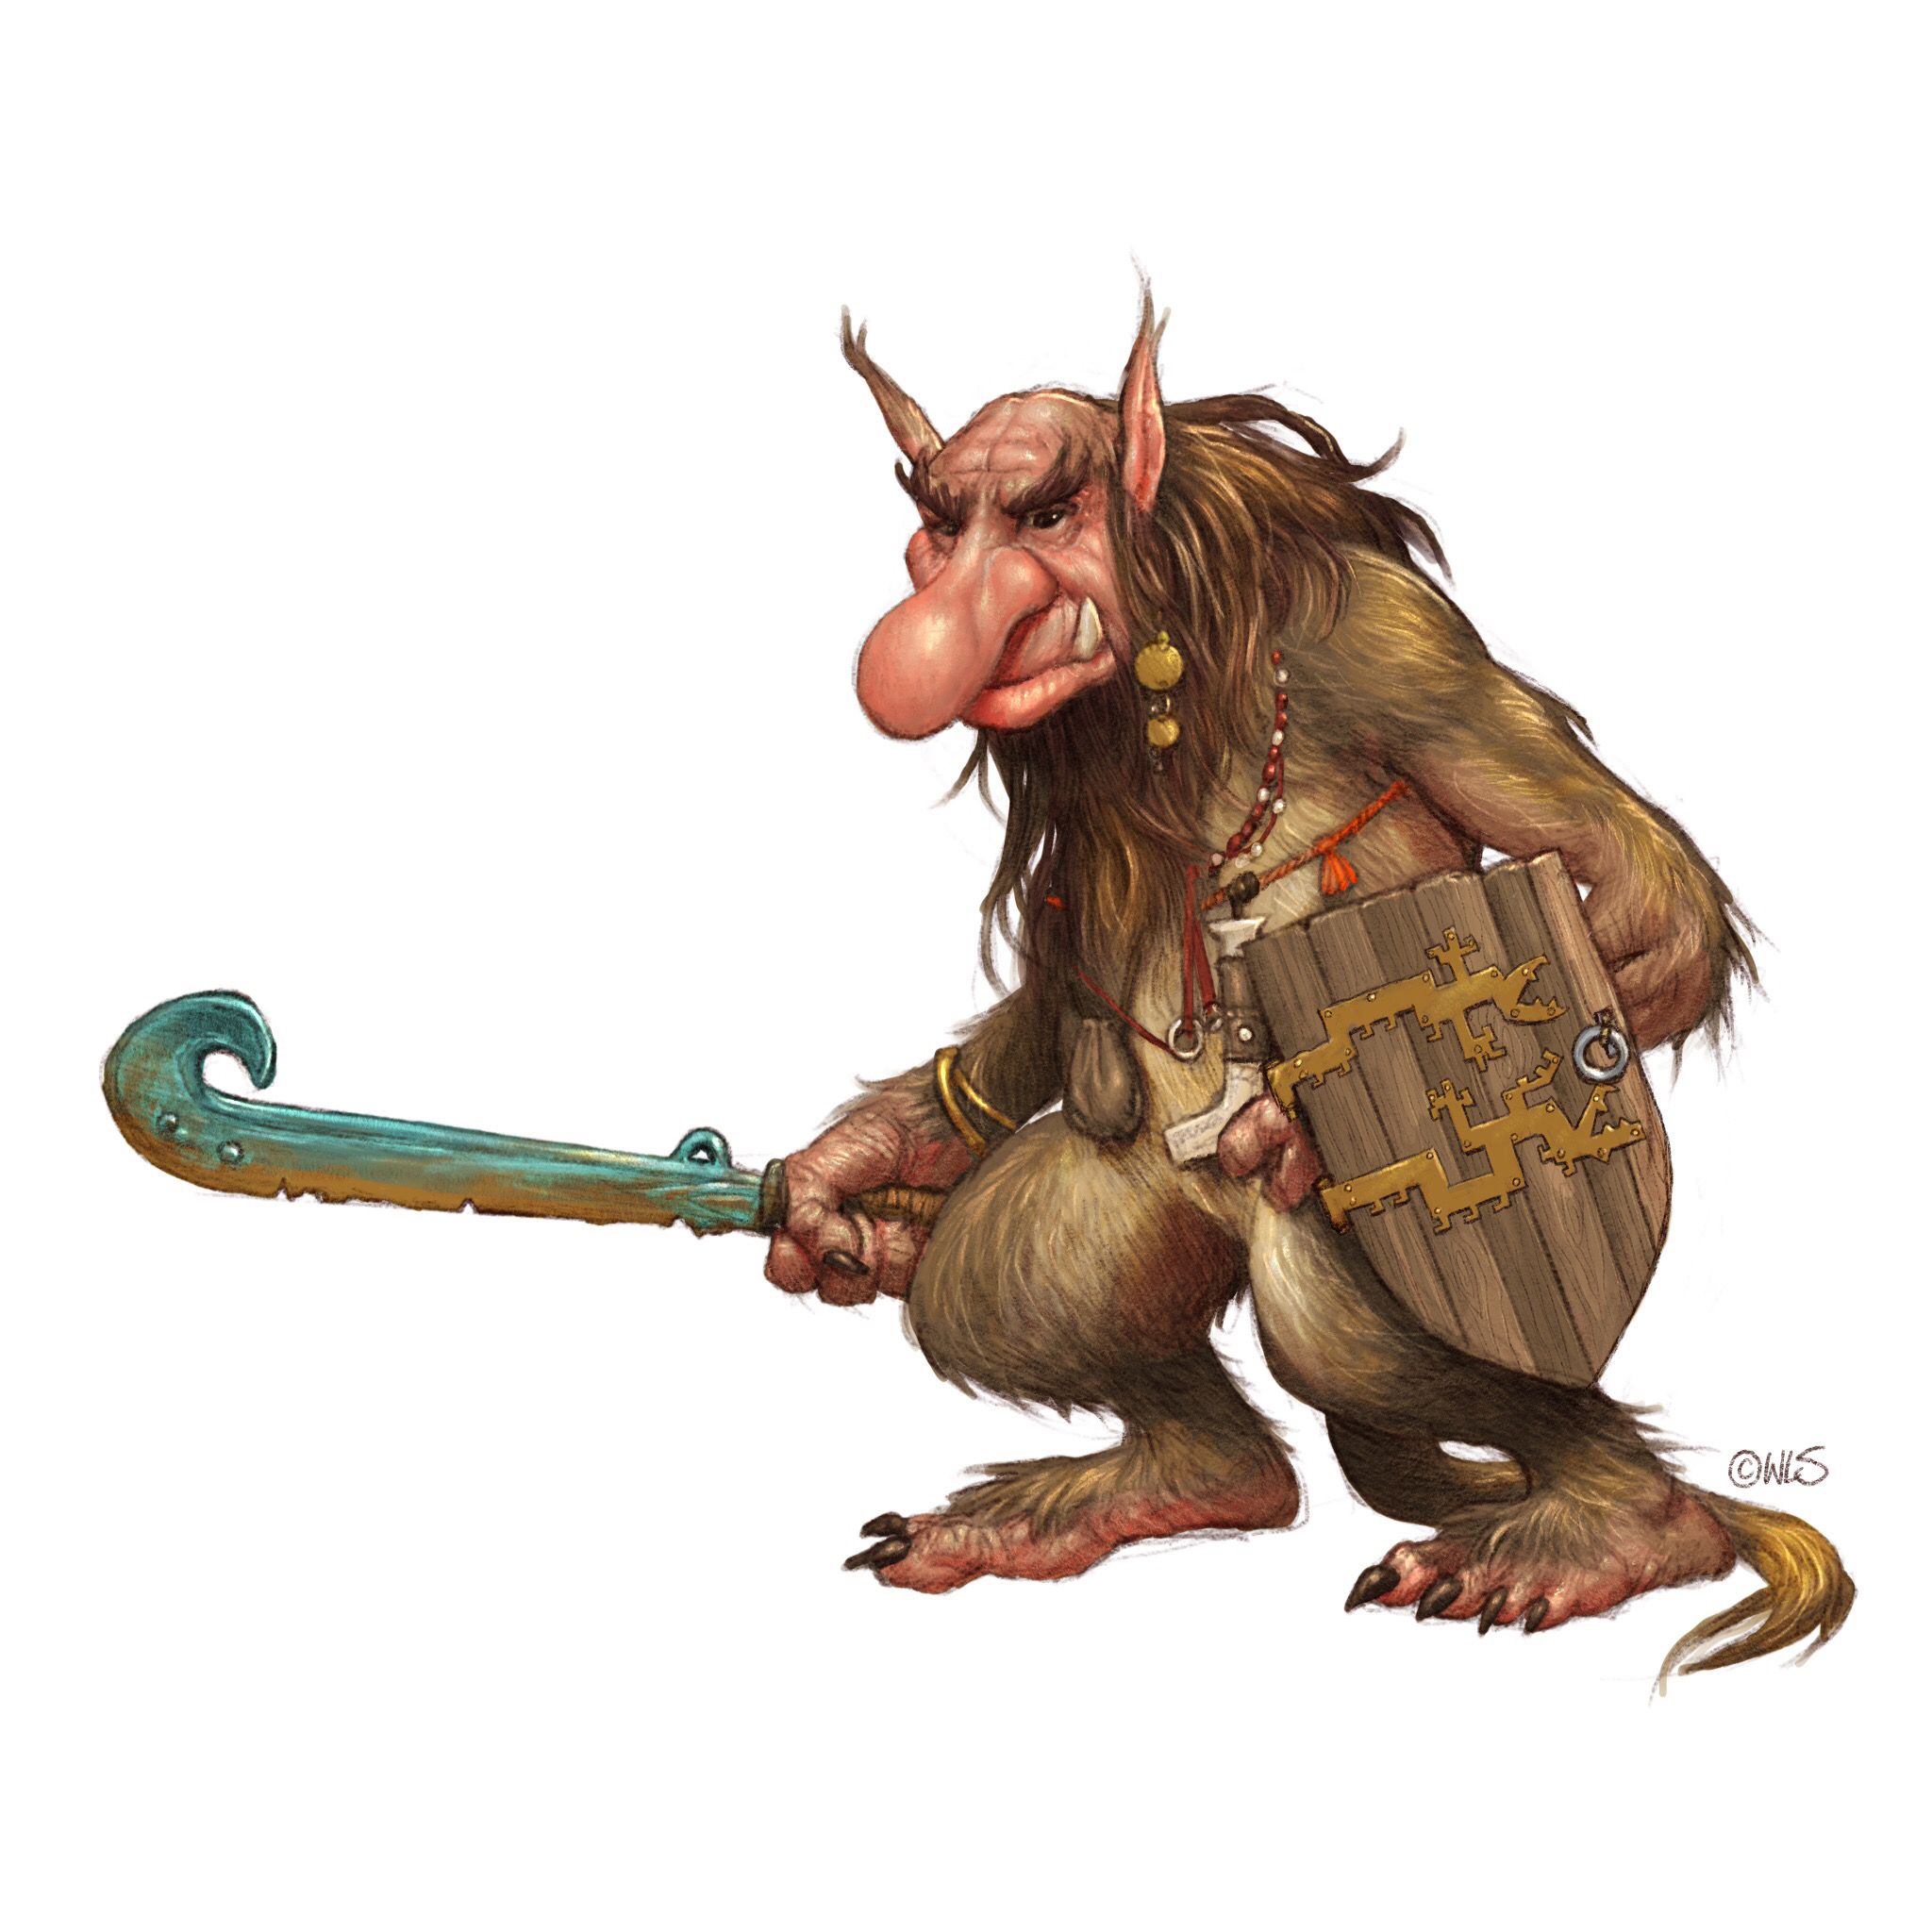
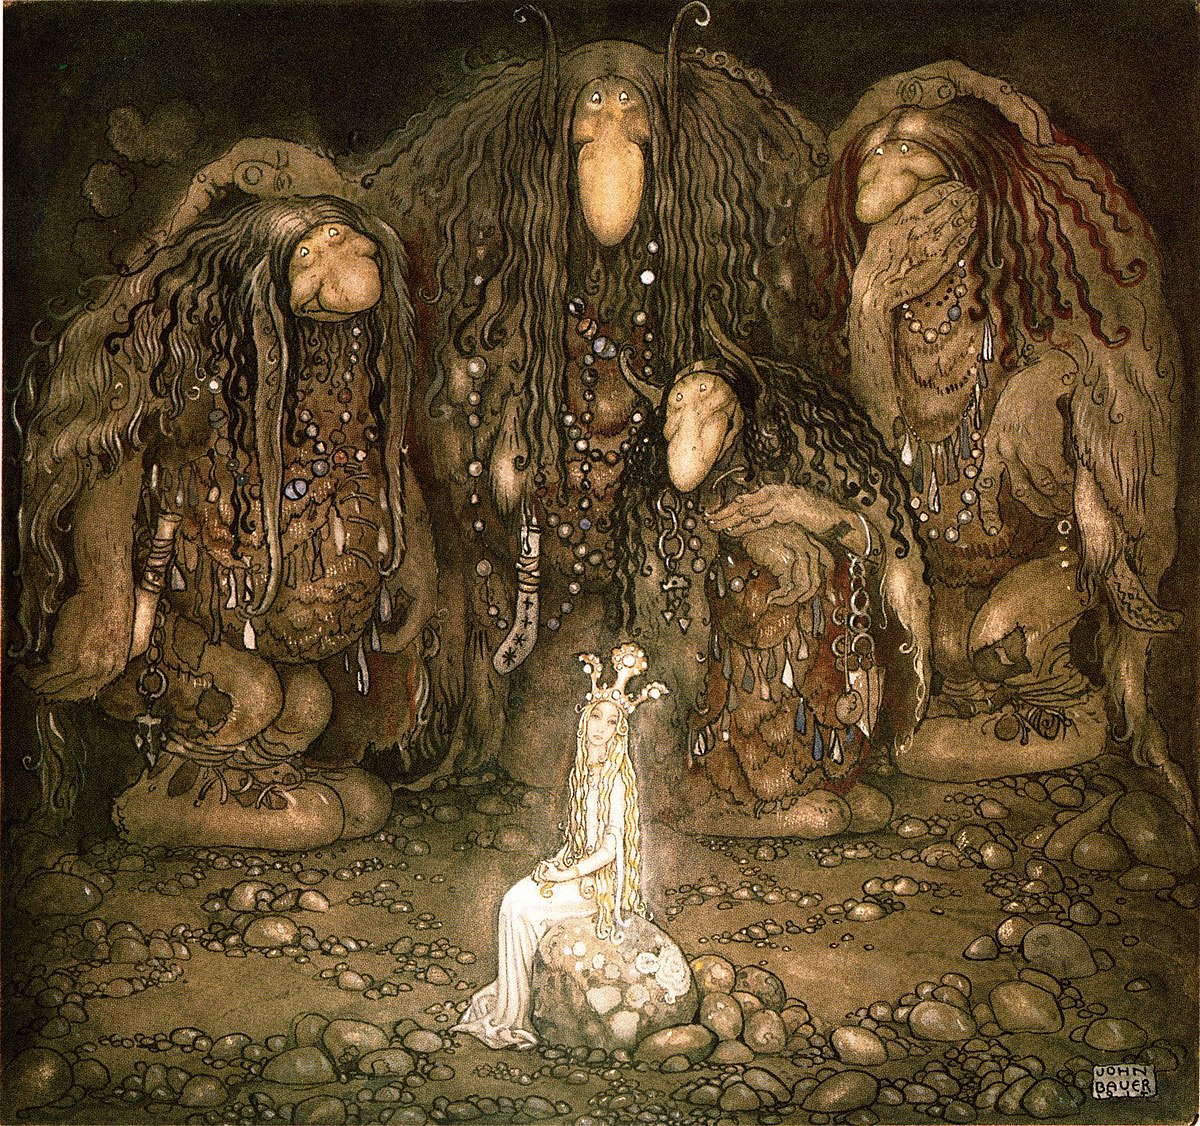
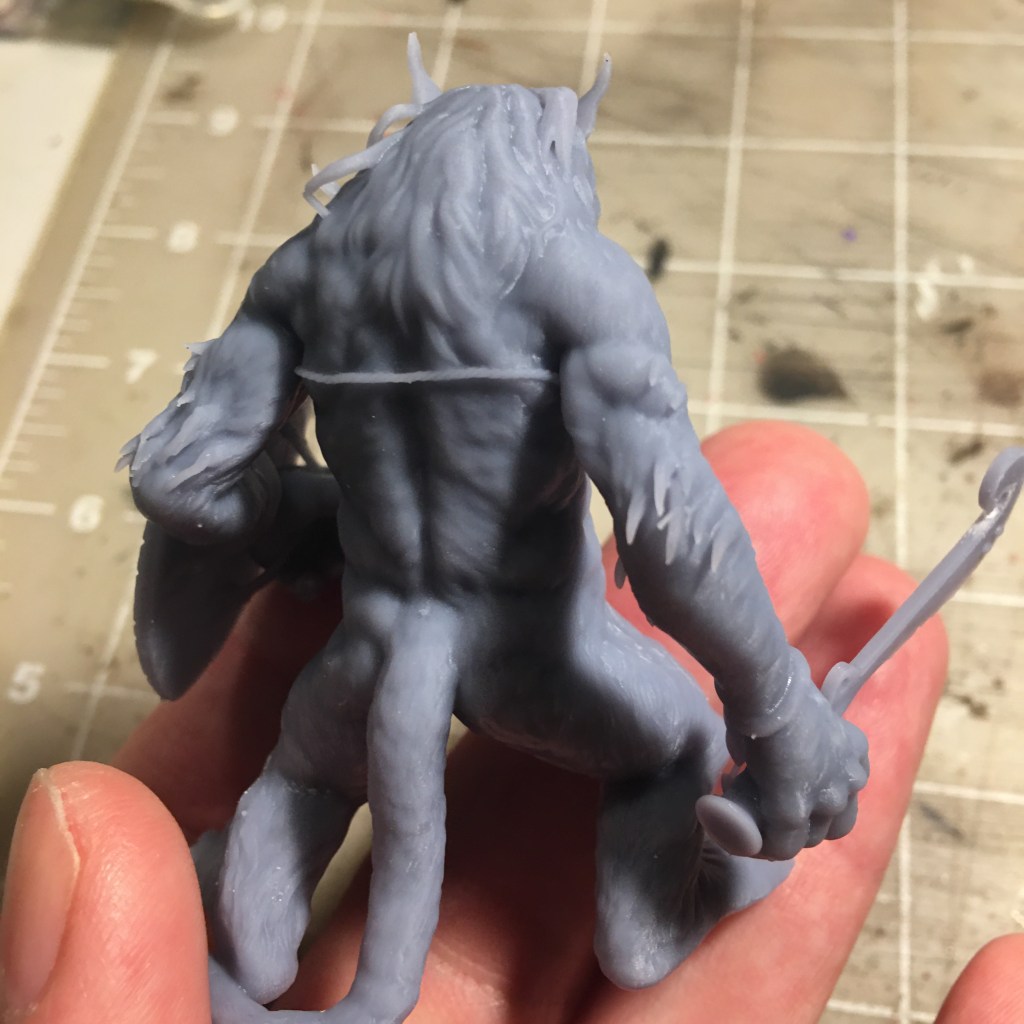
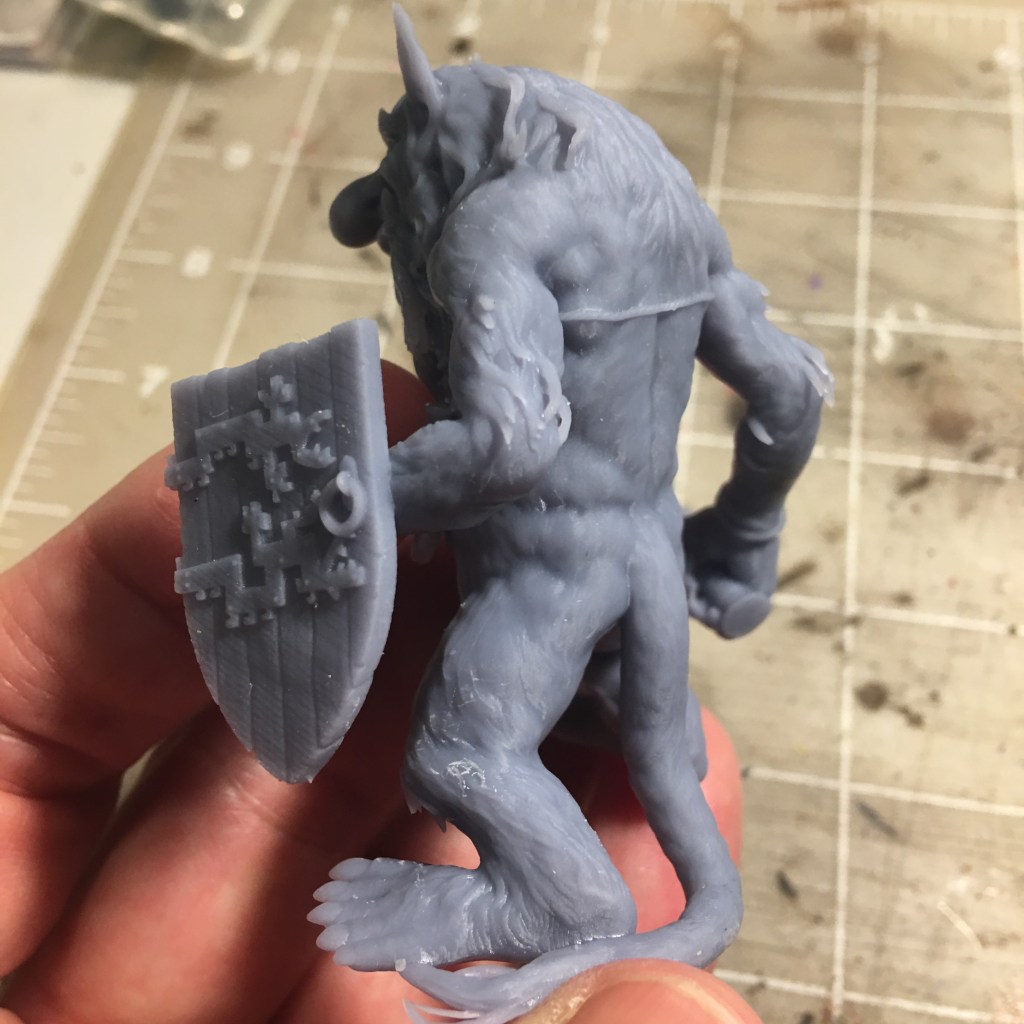
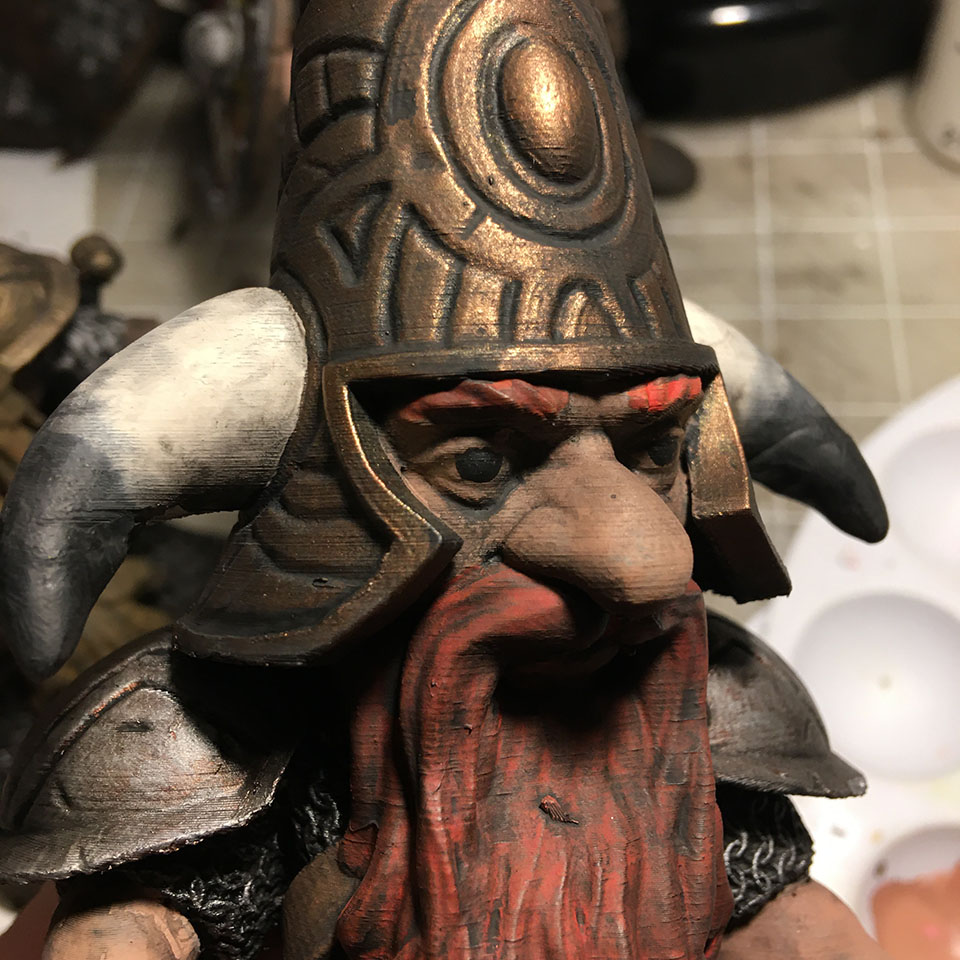
My newest theme for my 3Dprintable miniatures is Trolls. I’ve been researching a lot of artists and Scandinavian folk and fairy tales for inspiration. I think the biggest influence that I have is the fairy tale artwork of John Bauer.
I see them as big and shaggy, somewhat beastly in form… As I read some of the stories, I thought about our cousins the Neanderthals, and how they were displaced by our ancestors. The trolls seem to have retreated from the noisy humans and younger races in the same way, and I wondered if that might be a possible origin of their stories, (as well as yetis and jotun and even bigfoot!)
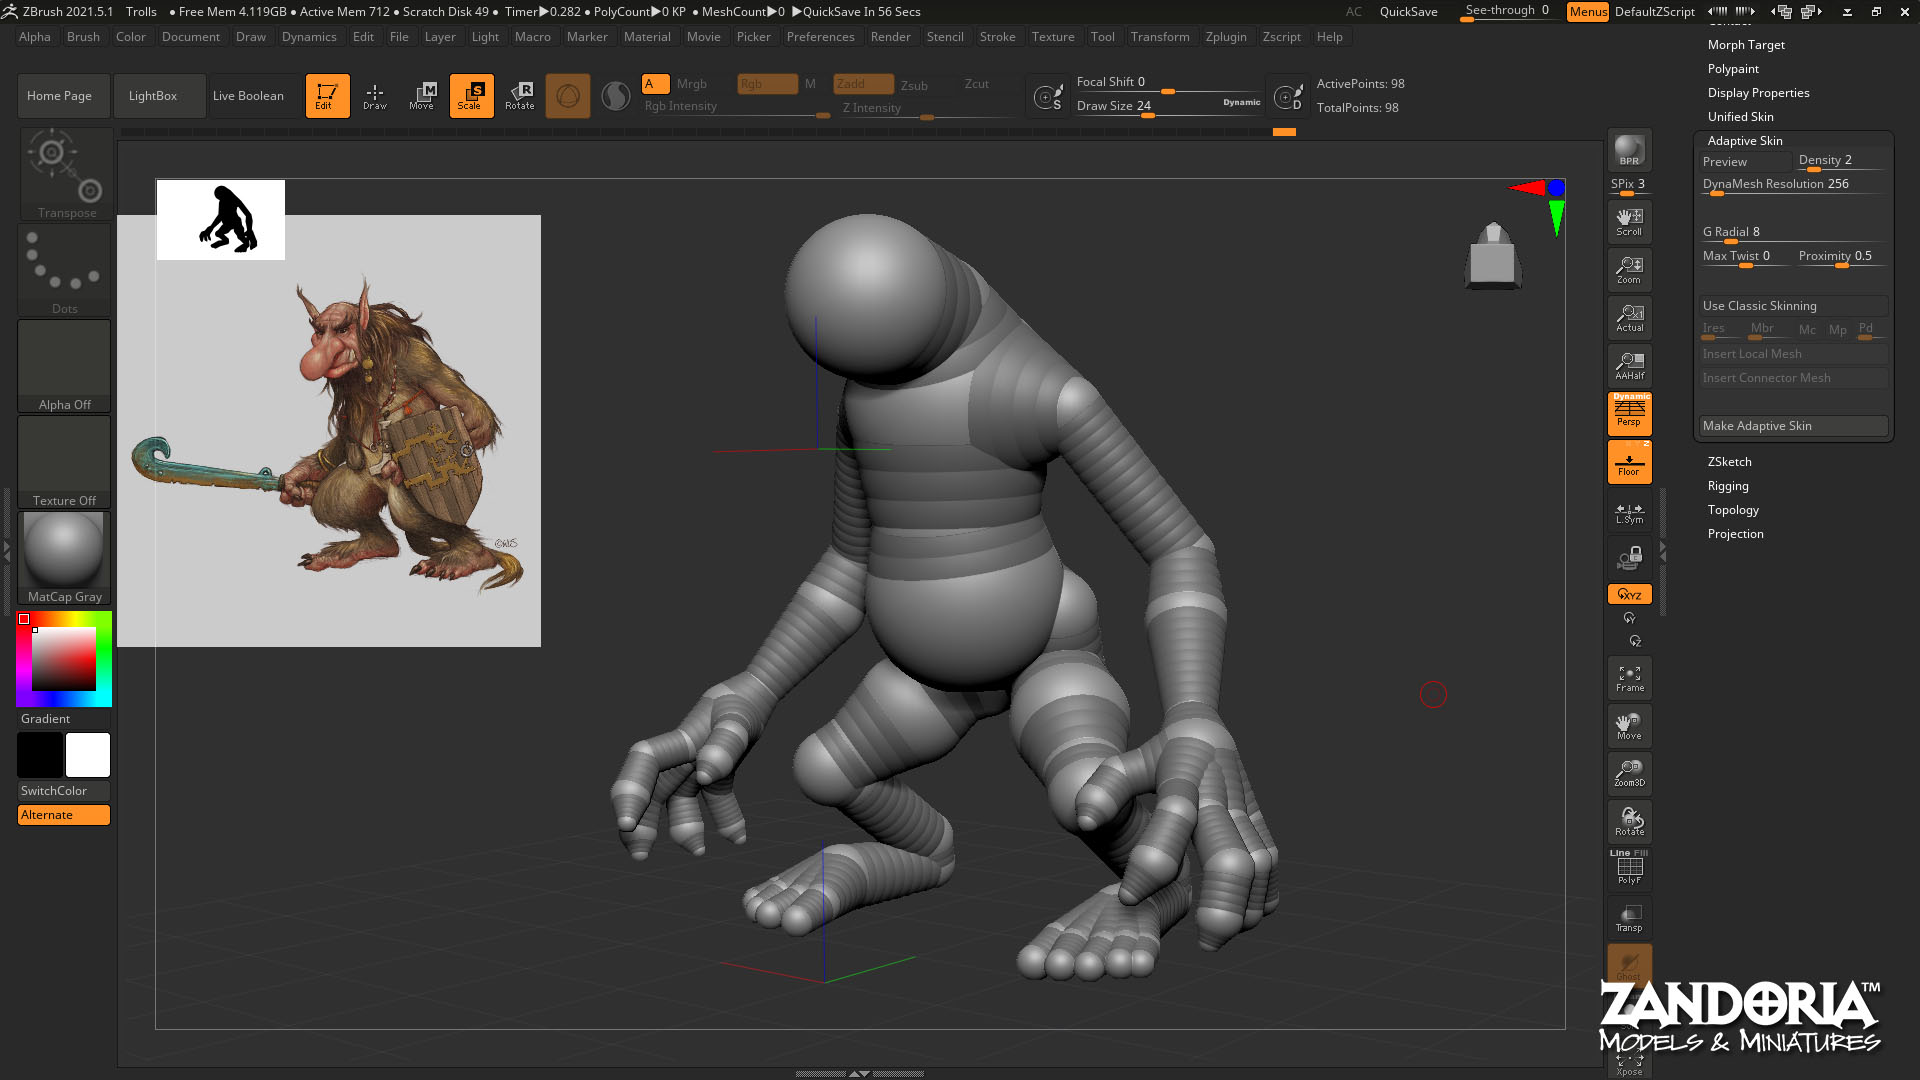
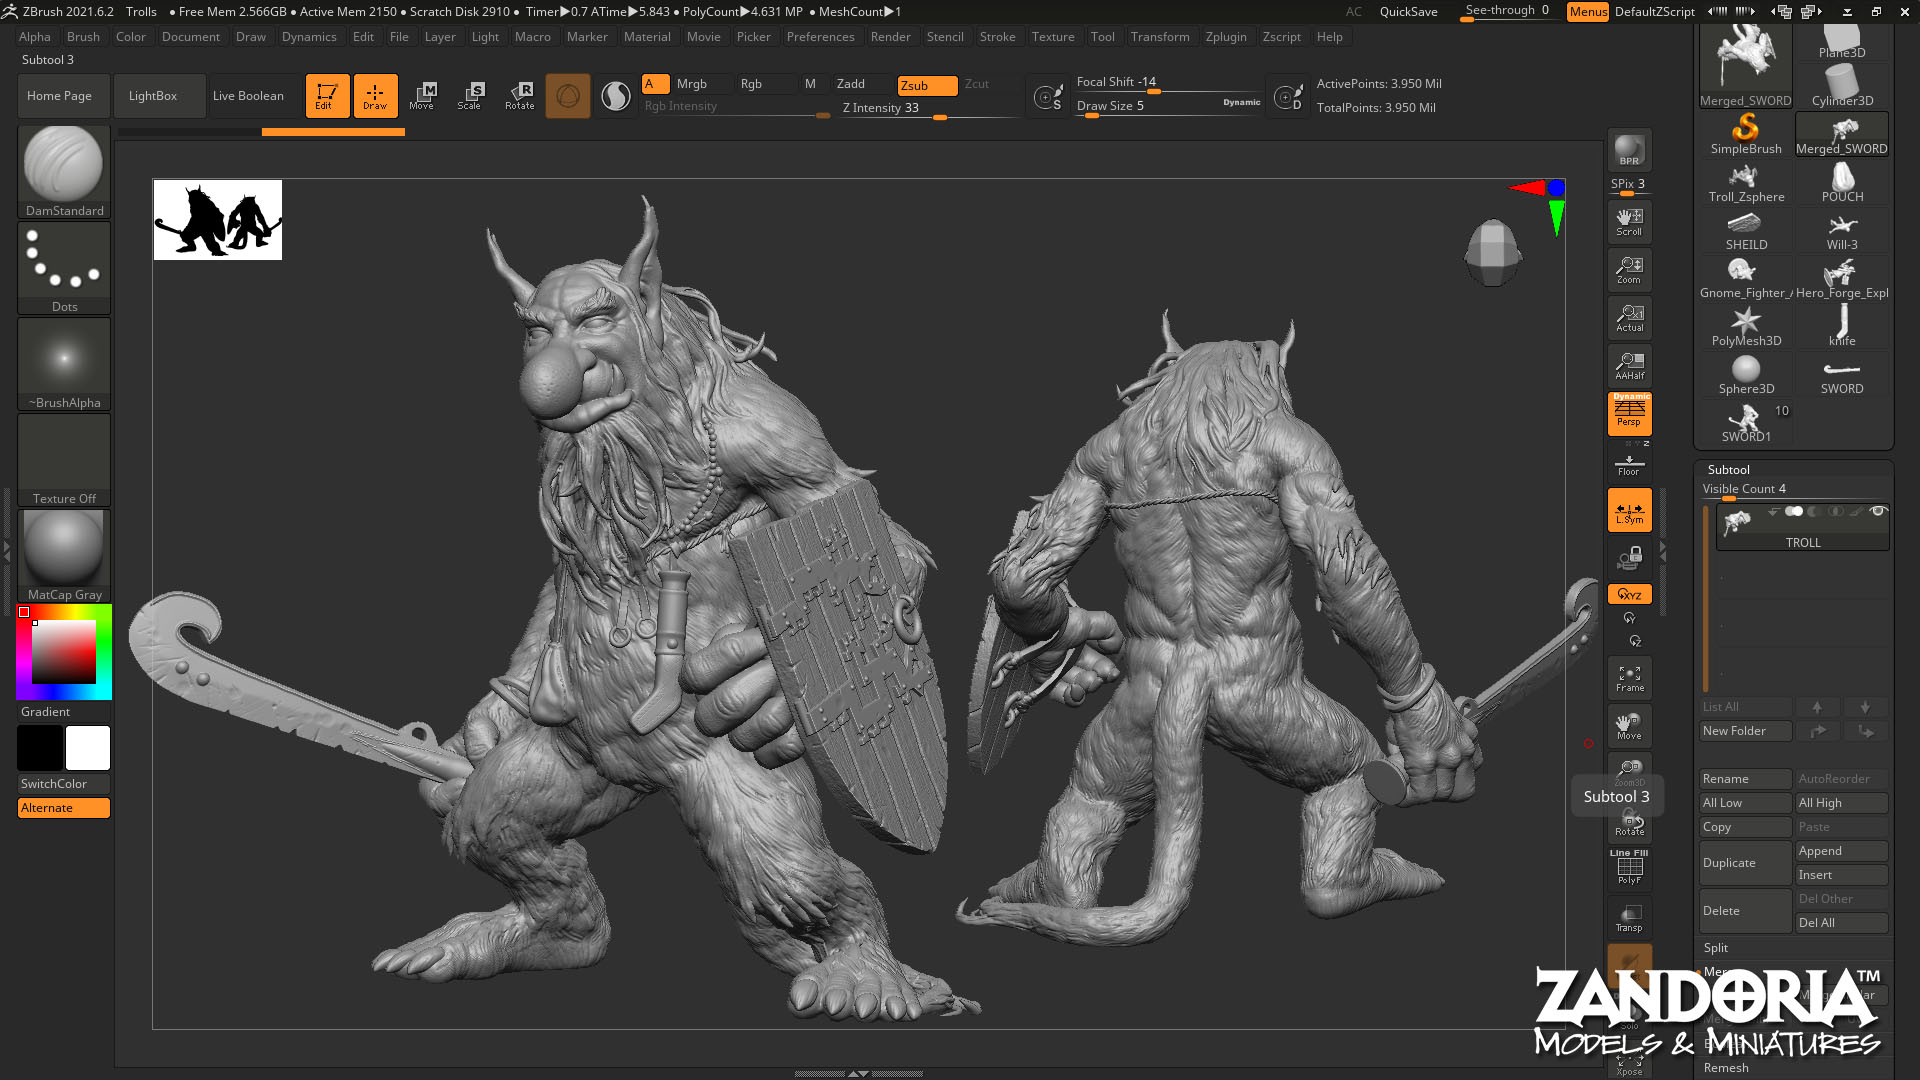
I started with a drawing in Procreate, and then a ZSphere armature in ZBrush for the basic form.
After sculpting the basic Troll body, I brought in some other 28mm scale objects as a reference, so that I could be sure my finished miniature would look good on the table after printing.
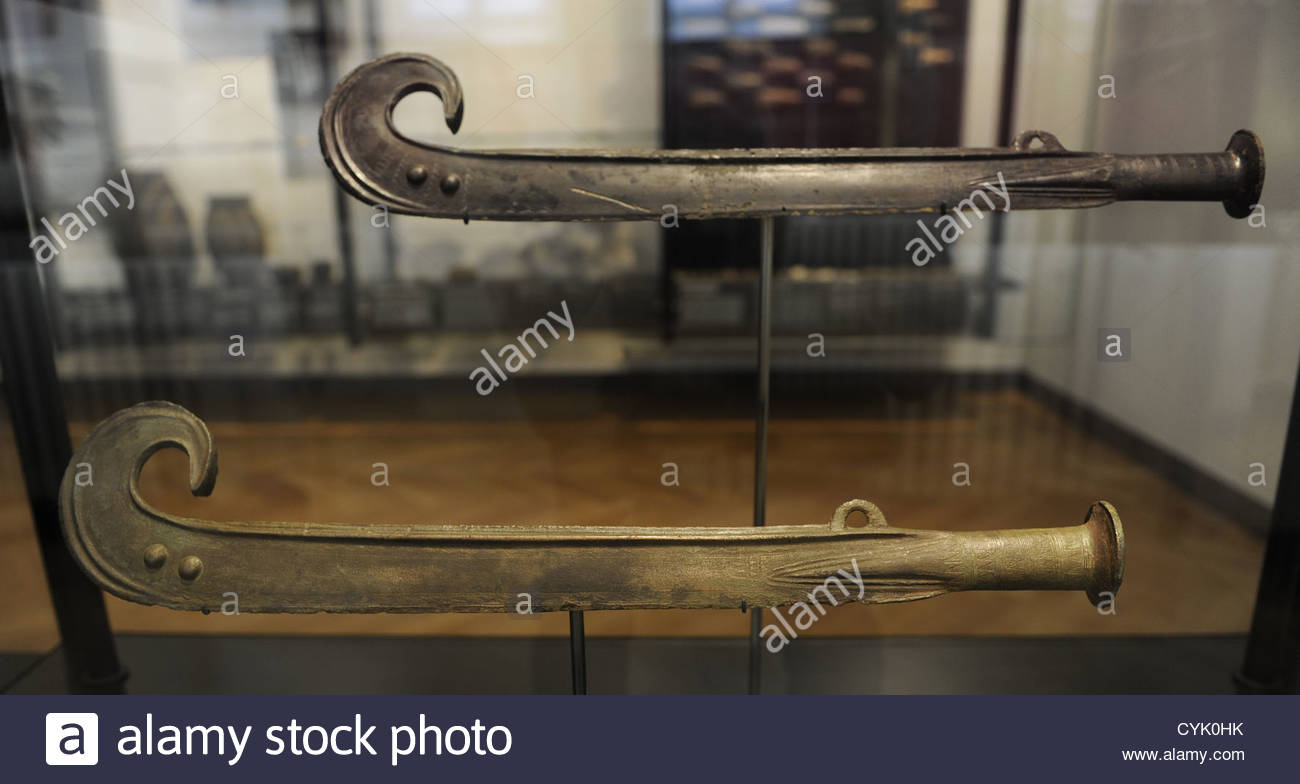
Using my drawing as a reference, I detailed the fur and the Trolls accessories. The John Bauer troll illustrations were influenced by the dress of the Sami people of Norway. So I decided that I would also draw from that, as well as relics from bronze age Scandinavia, such as the Troll’s sword:
Illustration from “The Troll Mother seeks a Wife” by John Bauer
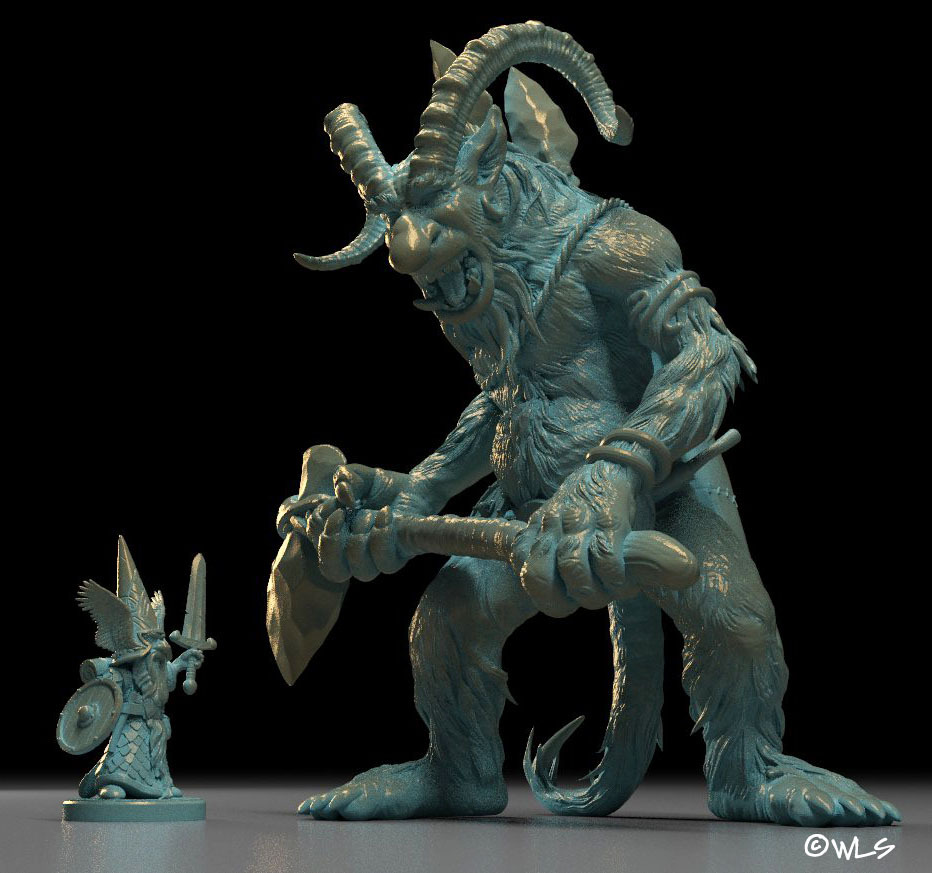
I really liked Bauer’s big noses, so I decided to use that in my interpretation. Another artist that I love, Paul Bonner, also gives his trolls big noses and cites John Bauer as an influence!
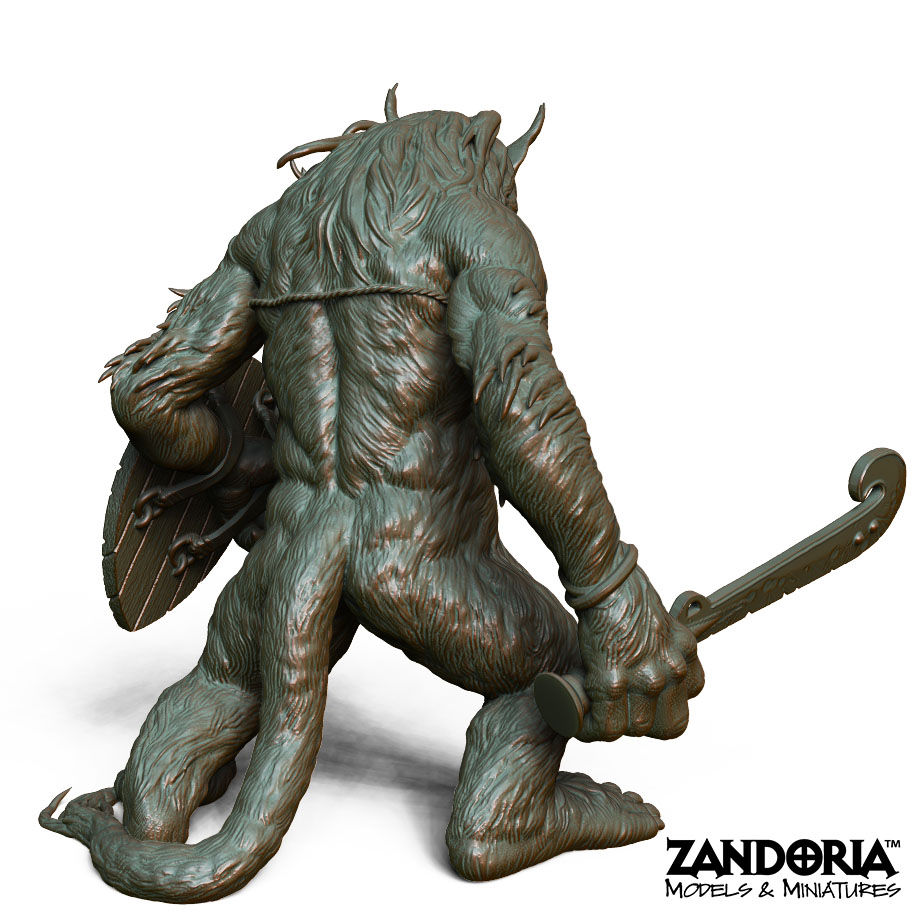
This is the finished model, rendered in ZBrush. I exported this as an .STL file for 3Dprinting for my Patreon.
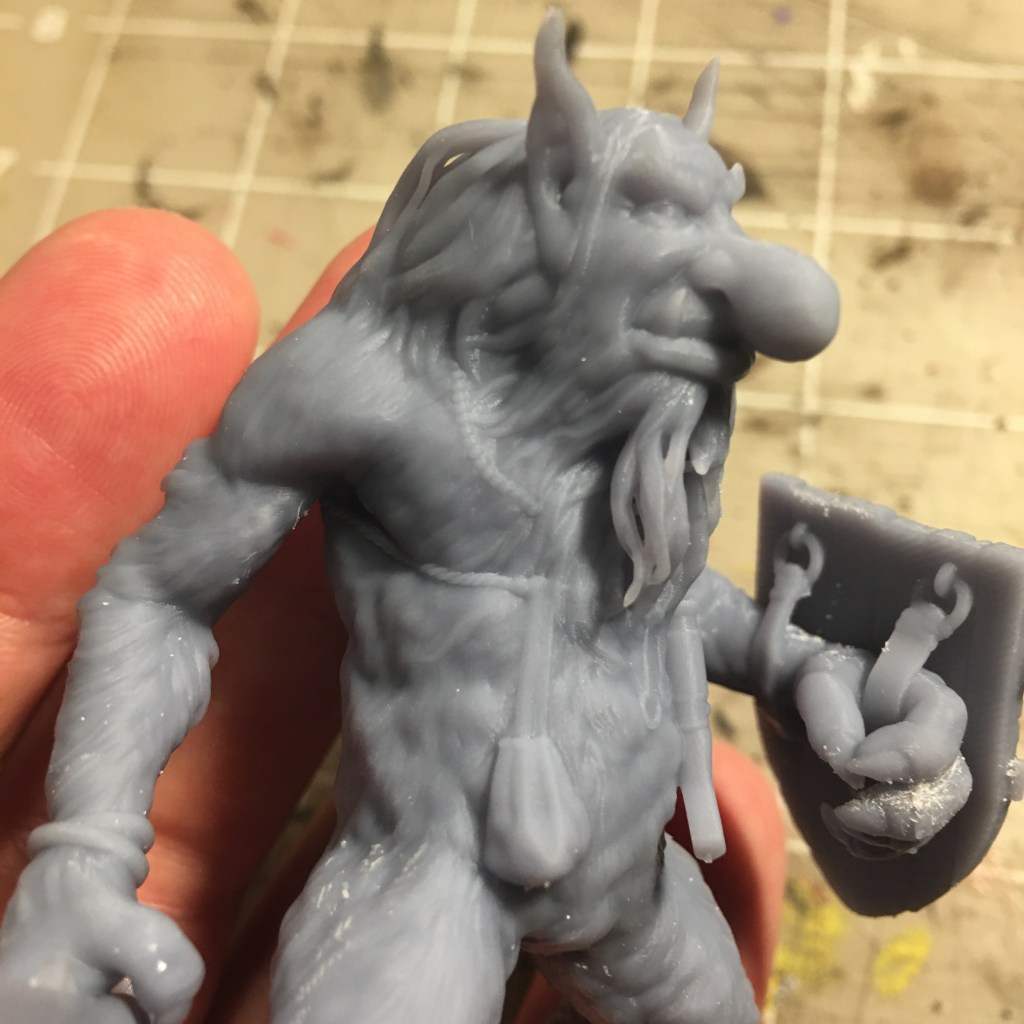
3dprinted on a SparkmakerFHD
The finished miniature printed in resin
I was very happy with how these Troll turned out, so I am planning to sculpt a few more trolls for my Patreon. If you like it, and would like to print your own, they are available exclusively at www.patreon.com/Zandoria
I had a few comments about my paint job on these gnomes, so I thought I would post some step by step pictures of the process, in case that would be helpful to you as you paint your own…
fix any printing errors with green stuff!
If you have any printing errors, the first thing you will do is fix them if you can. Sometimes you might have partial print failure (if a support gets knocked over) and it could leave you with a missing portion of your model. If you have something like a layer shift while printing, you can separate with the putty knife and glue it back together. I have even used a wood-burning tool to weld PLA pieces together or smooth out a rough print!
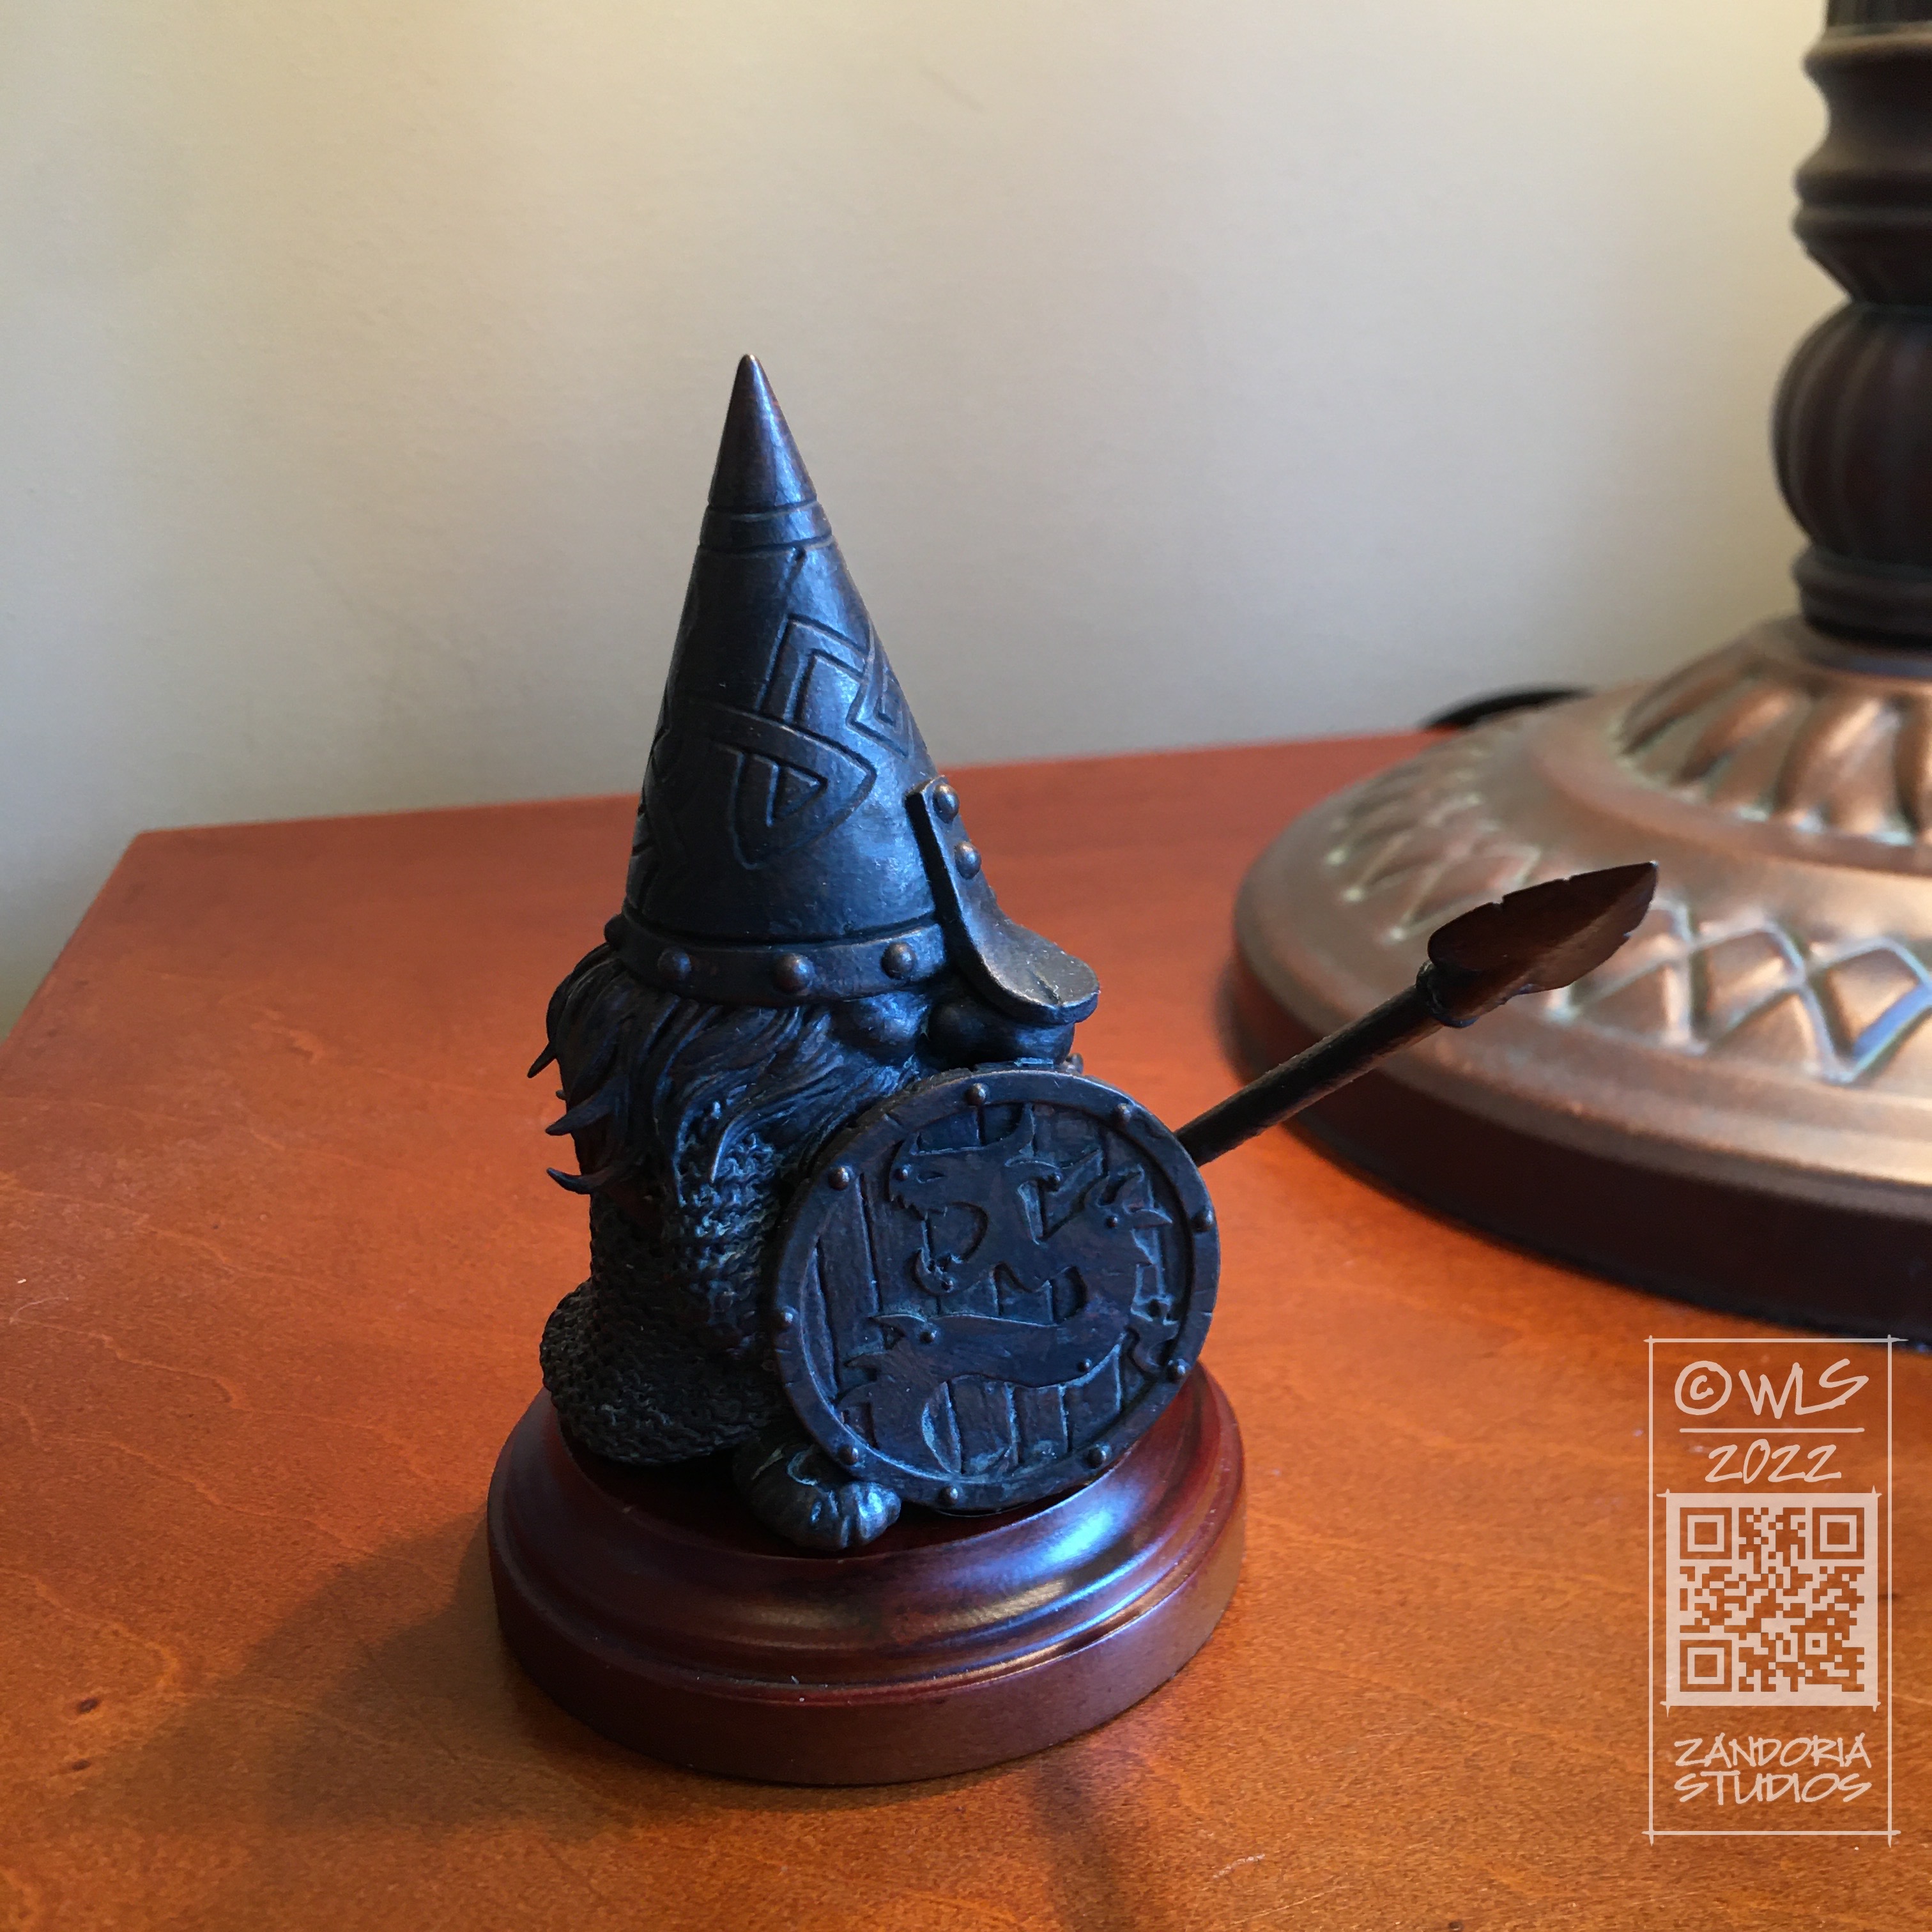
This missing portion of the shield looks like splintered wood!
Sometimes rather than fix it, it might work even with the print failure–This Gnome had a support fail, which left a portion of the shield missing. Rather than try to fix it, I thought that it looked like it could be battle damage, and decided to just go with it!
primer
The first step that I did with these gnomes was to apply a surface primer. I don’t know if it is really necessary, but since my silver metals will be drybrushed over it, I decided to use a black primer.
The chainmail texture printed very cleanly! All It needs is a little metalic paint drybrushed across the links. The goal here is to not have much paint on your brush so that it will only hit the raised areas, and leave the black showing in the crevices. This paint is Folk Art metallics–the other colors that I will use are Apple Barrel and Deco Art–It is about 50 cents for a 2 oz bottle at Walmart.
first pass with colors
I will go section by section and paint a solid color for each item. Often I will go over an area with two coats to try and get an even coverage.
a dark wash of brown and black
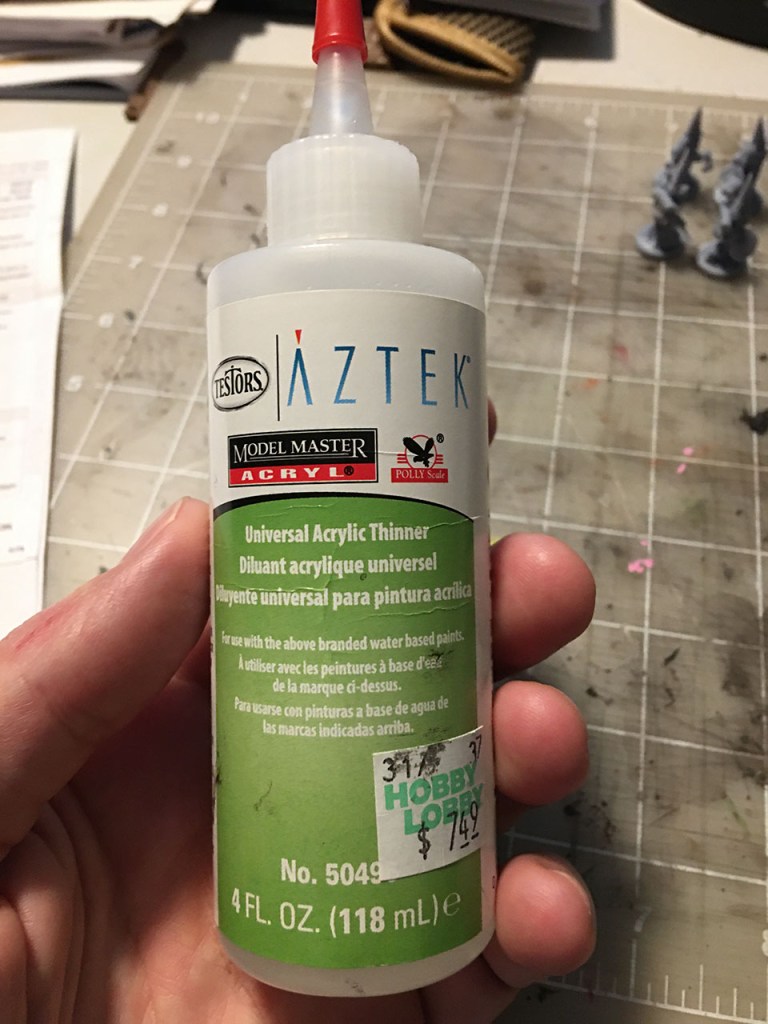
After the base colors are dry, I mix up a wash of black and brown thinned with Acrylic thinner. I think that using acrylic thinner gives a better result than just thinning with water. After the wash was dry, I painted the dark parts of the eyes with a tiny brush.
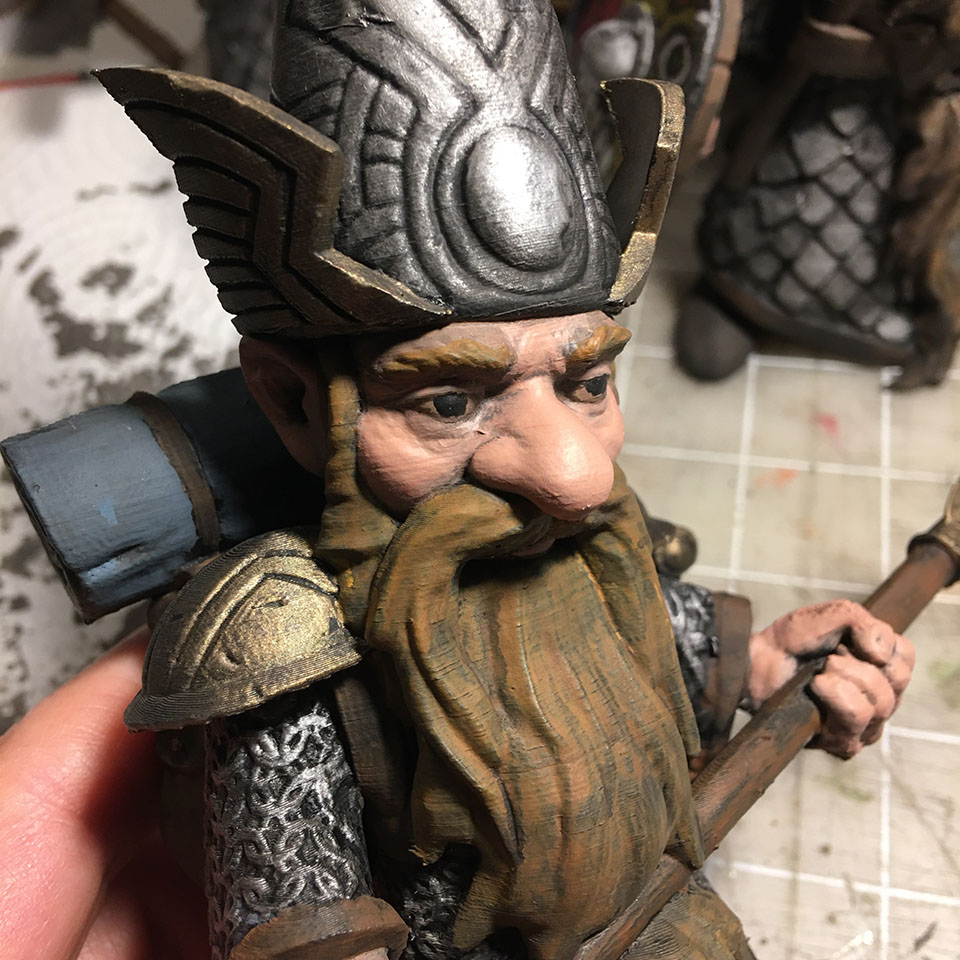
The next coat of paint is done with the same colors as the first coat. You can also add a couple of drops of glaze medium into your color to thin it, if you want to build up the color. In this step, I want to bring the color and saturation of the original color out, while leaving the recesses dark. Don’t paint over all of the wash that you’ve done, but let your bright color blend into it. You can use wet blending to soften the transition into your recesses. Even the armor and other metallic areas will get a second drybrush coat.
The second coat of color pops out from the darker wash
When I’ve finished the second pass of colors, I will go into the details like the eyes, and add the iris color and specular highlights.
details added to the eyes
The last step is to add a gloss varnish to the eyes and lips. And maybe a satin varnish to other shiny areas.
After Painting, your Gnomes are ready for the Garden!
If you would like to 3dprint and paint your own set, you can get the STL files at Cults3D
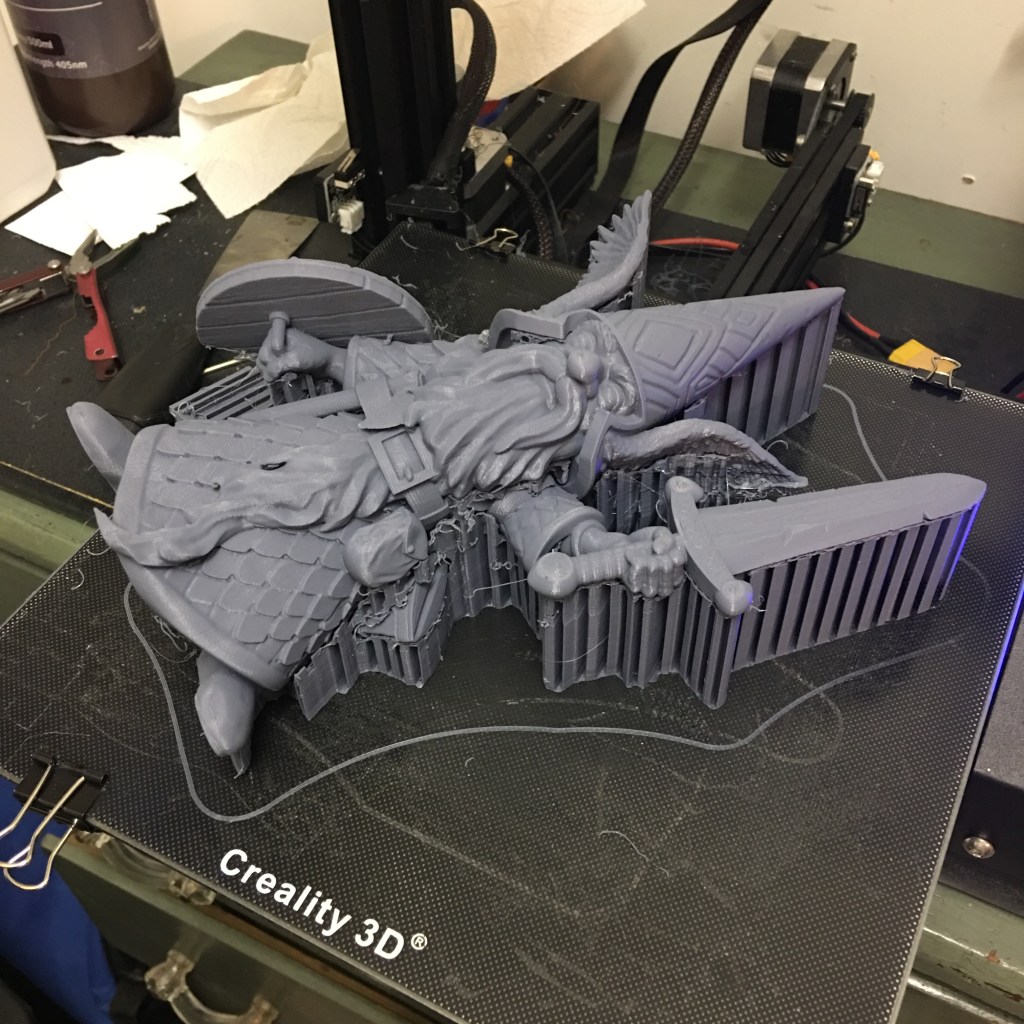
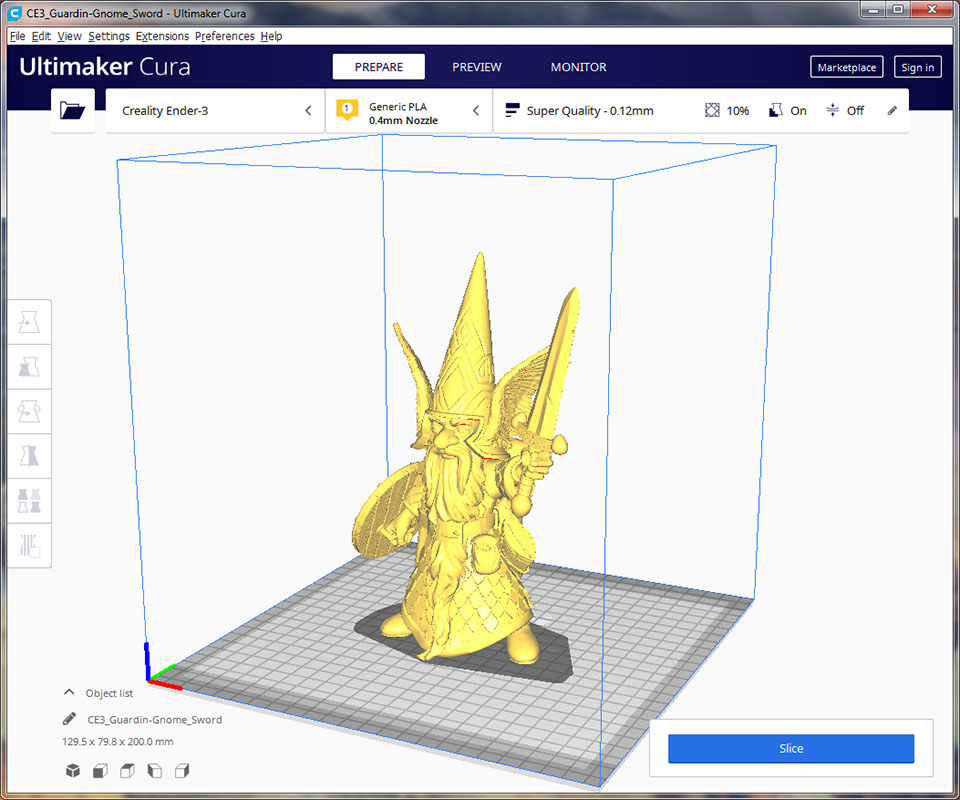
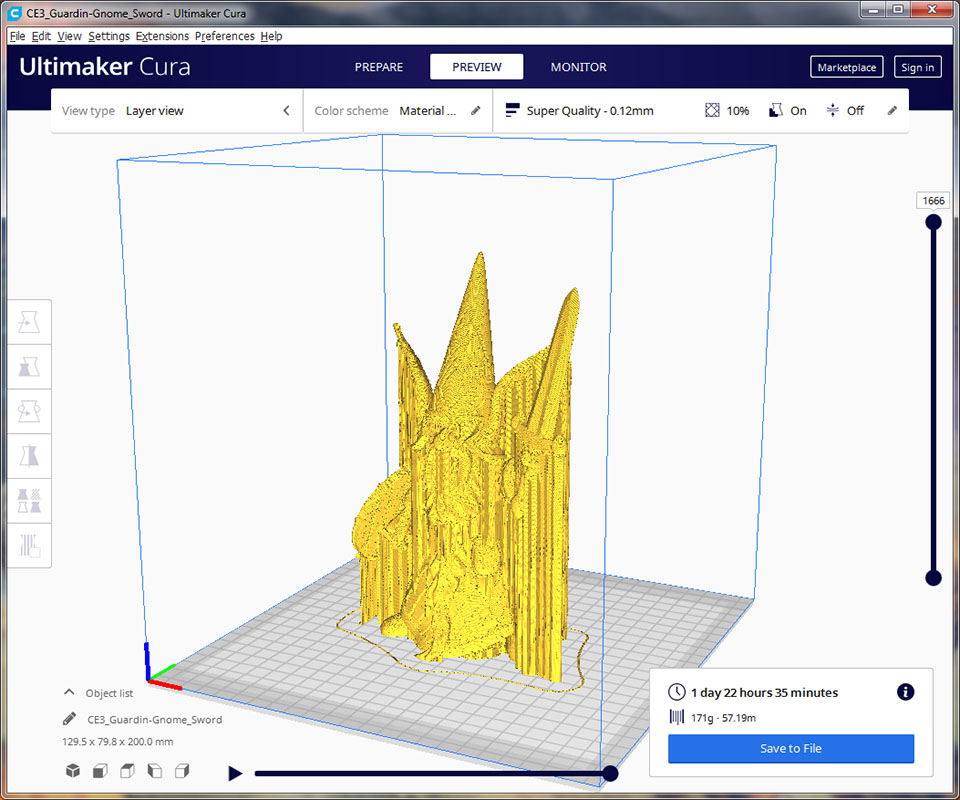
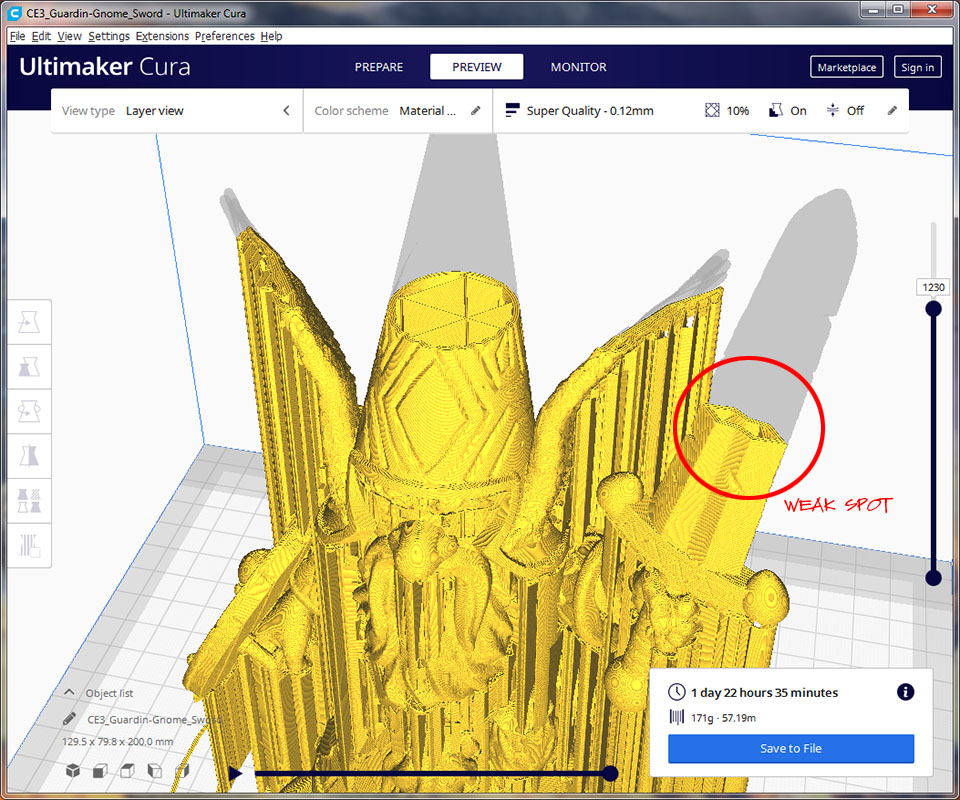
Sometimes you will wait all day for your 3D Print to finish, only to find that some areas of the geometry where parts are long and thin are weak and liable to break… In this example of my Guardin’ Gnome, the first print, though it looked great, was fragile at the sword blade. The the layer cross-section of the blade is weak because the bonds between layers are not as strong as the perimeter. [This was printed on a Creality Ender3, an FDM style printer]
the cross-section of the blade is weakThe sword blade broke removing supports, and will have to be repairedOrienting the model with the blade horizontal to the build plate
The second time that I printed this model, I oriented the blade so that it was horizontal to the build plate. As the layers are build up, the extruder lays down a perimeter of plastic that outlines the entire blade. This will make the sword very strong and not prone to breaking.
The model oriented with the sword horizontal to build plate
The Sword is now stronger. But there are some trade-offs to the surface quality on the back side…
The second print turned out much stronger for the sword. Though, because the back side had to be supported, there is a lot more cleanup and sanding required. On both versions, there were some details that failed, (due to partial support failure) that I will have to fix with a little Green Stuff (modeling putty)….
Below are some other Gnomes (The little ones (28mm scale) are printed in resin on a SparkmakerFHD).
Gnomes ready for a Garden Party!
I hope that this tip will be useful for you, if you have a long thin part that you are worried will break.
One of the most intimidating things for new users about 3Dprinting resin miniatures is adding supports. But actually it is pretty simple!
There has been a few requests on Facebook groups that artist should provide the models pre-supported, but I will try to explain why that is not a good idea and demystify the process….
Chitubox slicer
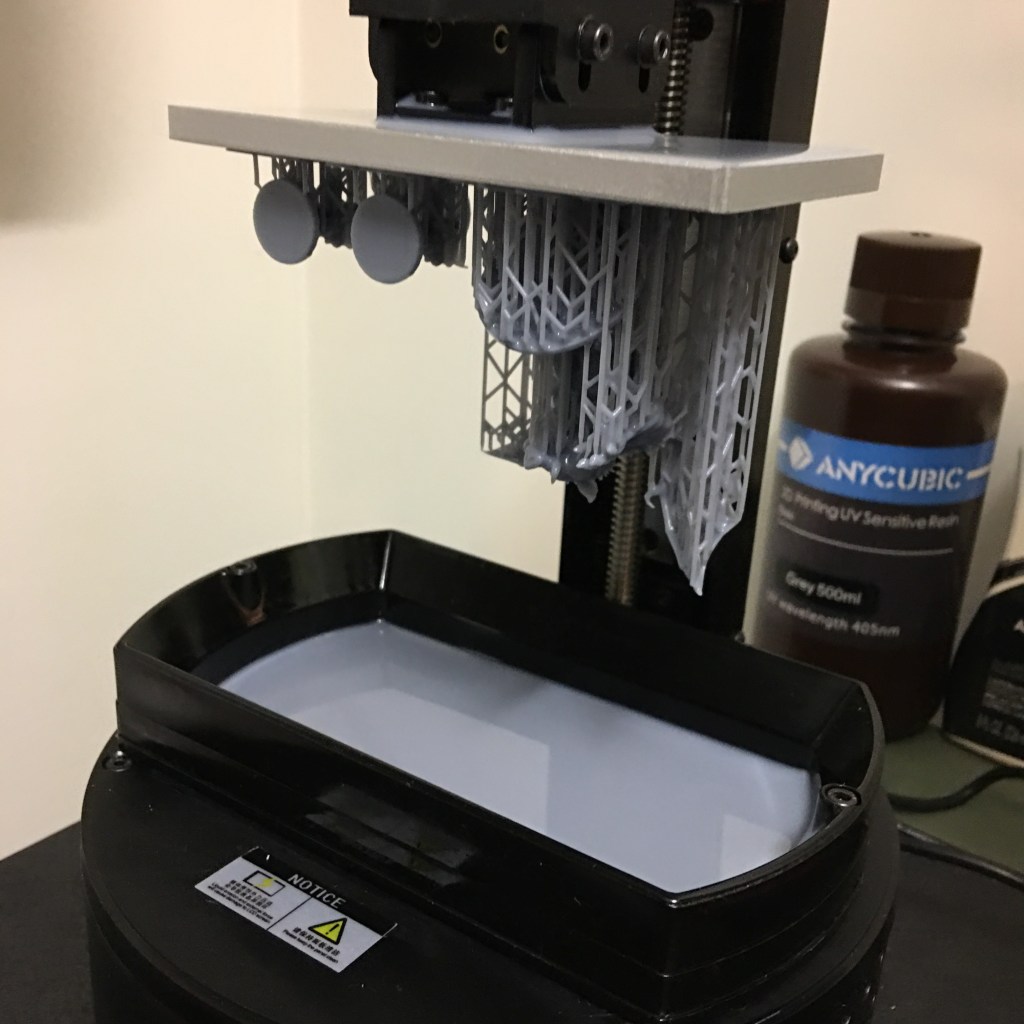
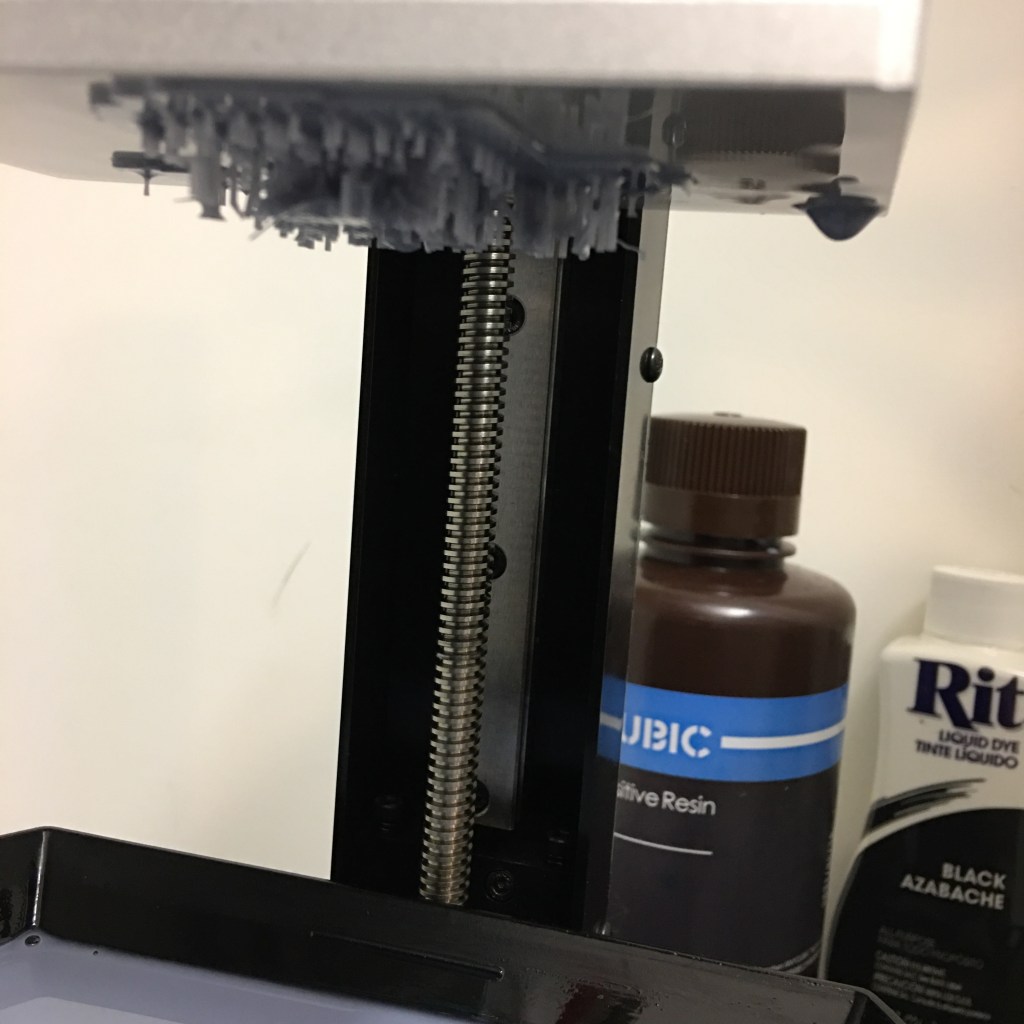
When you are 3Dprinting in resin, the model is printed upside down. The build platform dips into a vat of UV light sensitive resin, and the layers are exposed from underneath.
SparkmakerFHD
Printer cover removed
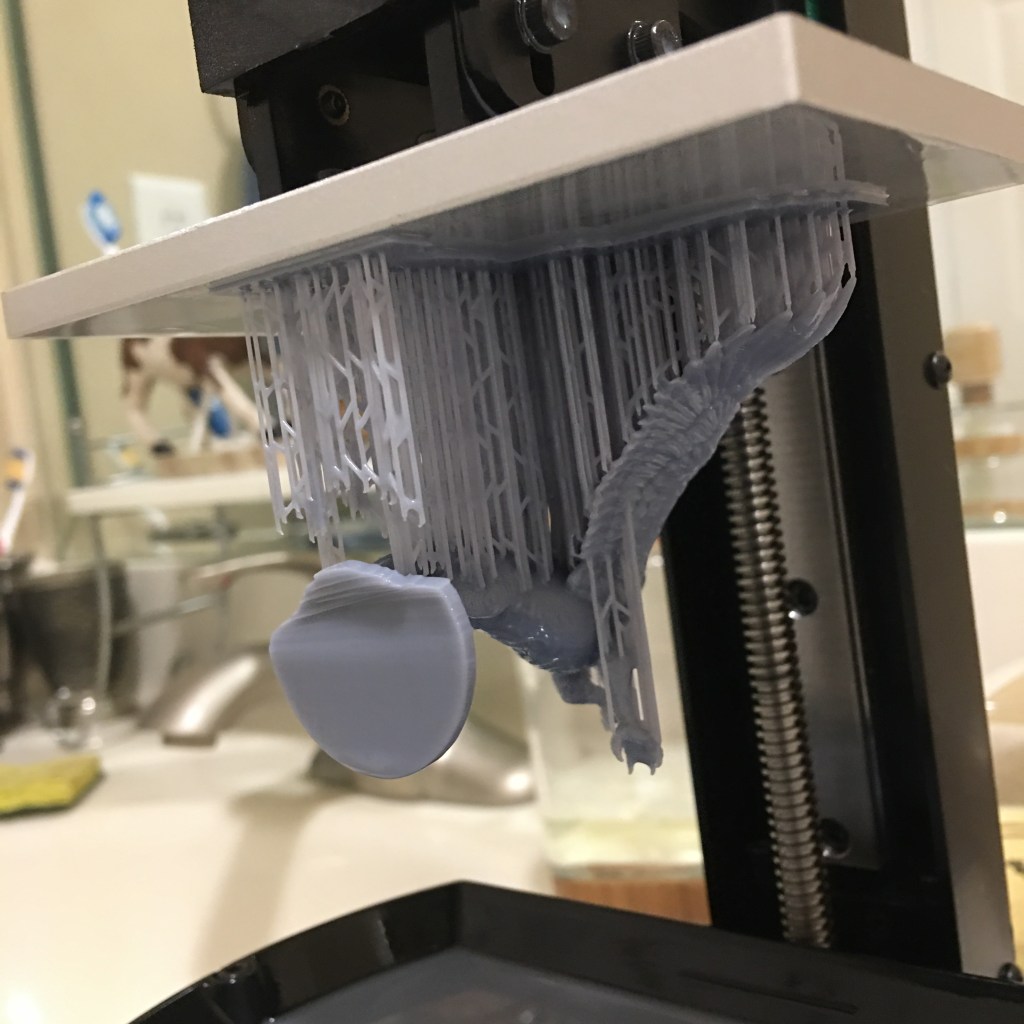
supports still attached
After supports are removed
So the trick with supports is to keep them small enough that they are easy to remove (usually with tweezers), but strong enough that they don’t break during the lifting process between layers.
If the supports don’t hold, you may find the build plate with only supports, while your miniature is just a silhouette at the bottom of the vat of resin!
A failed print!
The first thing that you may think is that the supports are too thin, and that you should use medium or heavy supports, but that is not the problem…
The reason that the support failed is the exposure setting!
The default exposure for this printer is 8 seconds/layer. But on the bottom layers on the build plate it is much higher–that is why the support raft is successfully printed, while the model was dropped. The resin was not cured enough to pull the next layer off of the FEP film (at the bottom of the vat).
Not all printers and not all resins have the same exposure settings. In this case I was using Anycubic Grey resin with a SparkmakerFHD. The default settings for exposure are calibrated to the resins that are formulated for it.
I found a table online for Anycubic resins with the proper exposure settings, and changed that setting in the Chitubox slicer.
14 seconds/layer
16 seconds/layer
Partial failure on the left example was fixed by increasing the exposure/layer
In this example, the supports are the same. But the successful print on the right had two more seconds of exposure per layer. That made the supports strong enough to hold on to the model.
Editing “Auto Supports”
“Dex” miniature after running “auto supports”
Adding supports is as easy as one-click! But after Chitubox generates supports, you need to look at the result to see if you like it. There could be areas that still require support or there may be supports that are not needed.
Though I have set this to Light Supports, I have modified the diameter of the supports to be even smaller… The default diameter is .8mm with .3mm contacts. This is still too heavy for 28mm miniatures, so I have been experimenting with .6 (or .5) diameter with .2 contacts!
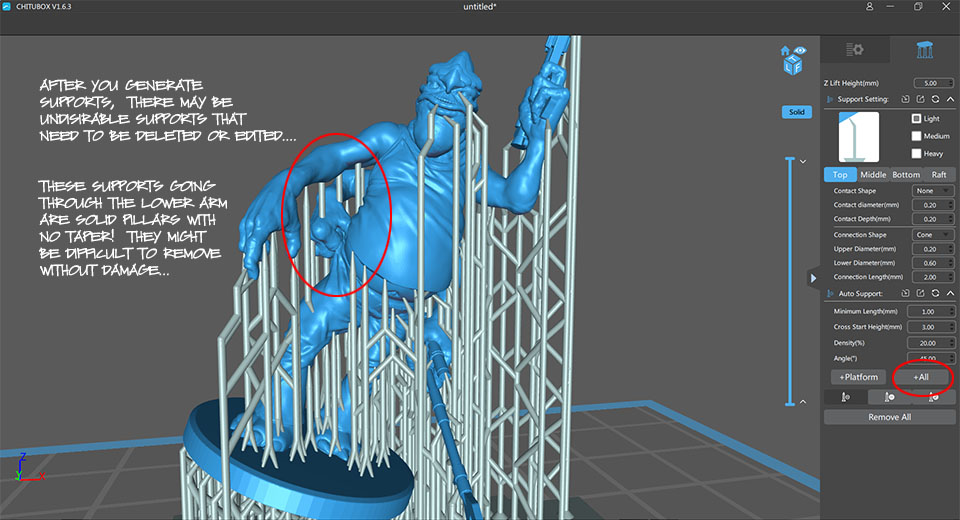
These “auto” supports between the arms are going to be hard to remove…
There are some heavy pillars running between the arms in this example. for some reason, there is no taper, and they are going to be difficult to remove without damaging the miniature… So, I have selected the removesupport button and selected them–clicking the button again removes them.
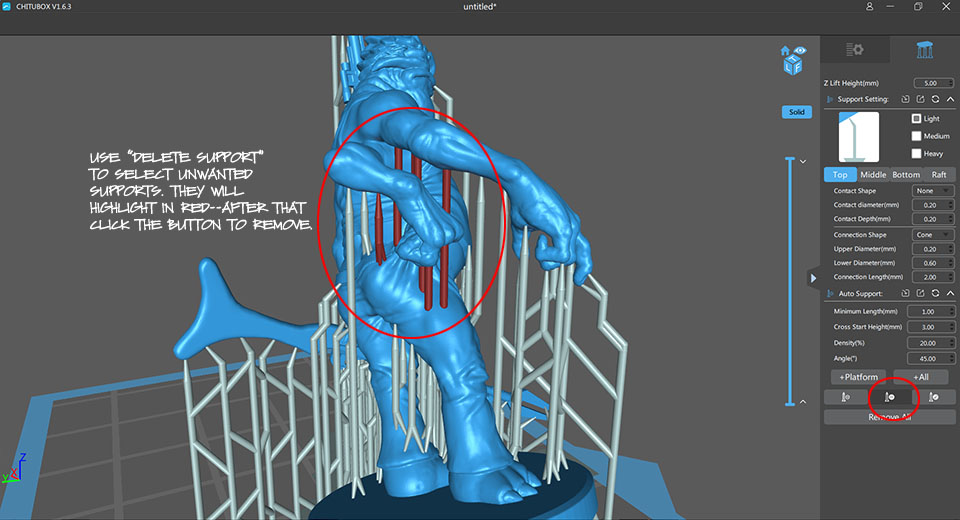
Using Add and Edit Support to add additional supports
After deleting the supports that I didn’t like, I used the Add button to create some new ones. If you only click the same spot, it will give you the same result as Auto… Instead, Add the new support to an existing support pillar–then use Edit support to drag it to a new spot, adjust the height, and drag the tip to a new target!
miniature after removing from build plateMiniatures with supports removed
With this delicate balance between resins, support diameters and exposure settings, calibrating your printer requires a few experiments to get it “just right”. But once you have figured it out, supporting a model is very simple.
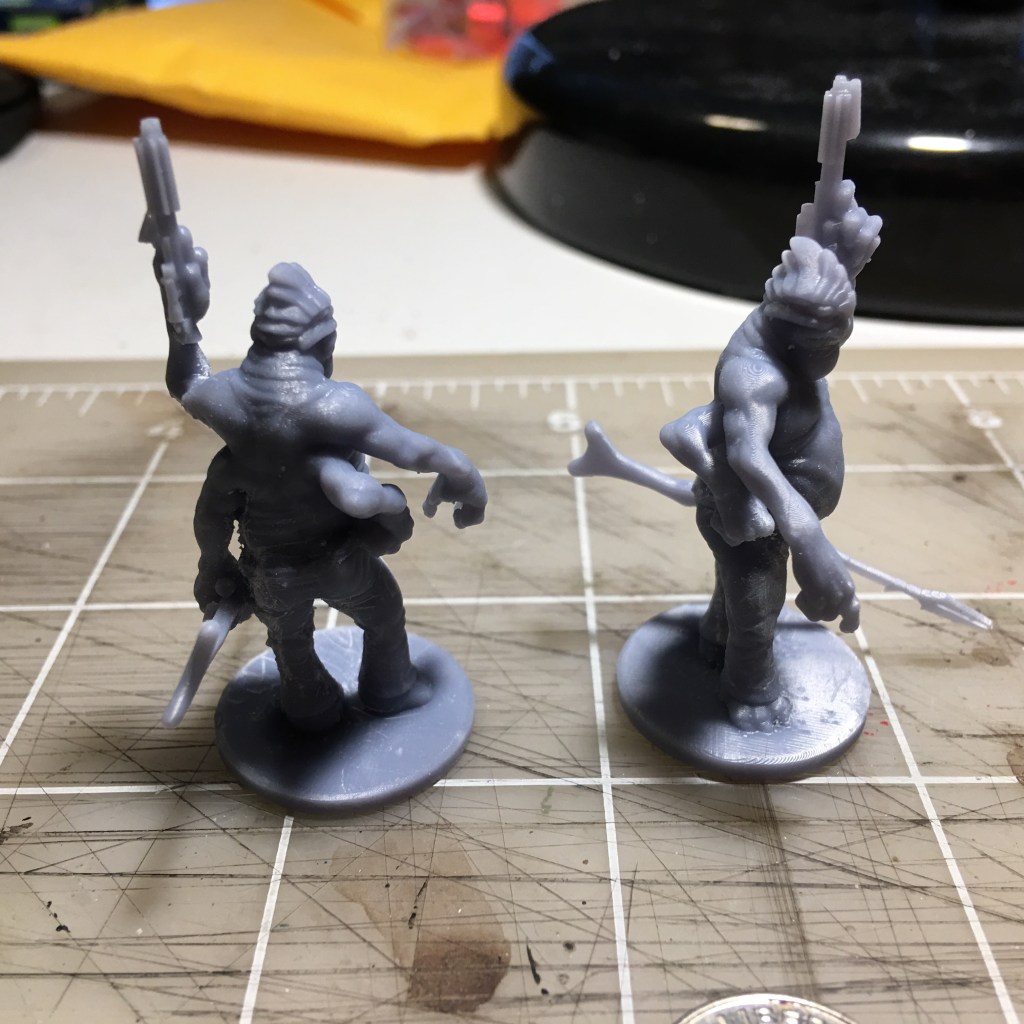
Miniatures printed at different scales
Here is an example of a miniature printed at different scales. One size is for tabletop play, and the other is for display. If the model were pre-supported, the supports would be much thicker and heavier when scaled up! In my opinion, it is better to scale the model and support it in your slicer. It also gives you the freedom to print with FDM or SLA style printers.