3Dprinting for Artists

When I started using 3Dprinting, I saw it as a potential market for selling files that users could print themselves. Over the last couple of years, I have watched the field explode with artists thinking the same thing–all jumping in with their latest Kickstarter or Patreon, seeing this technology as a “gold rush”. There are now thousands of Patreons offering 3dprintable miniatures now!
There are so many STL files being released each month, that you could never print them all (much less paint them…). Many patrons just collect the files, with a fear of missing out driving them. Artist’s are joining this churn trying to offer more and more files/month at lower and lower prices. Most of the files make it onto Telegram or other pirate sites, which drives the value of the STL files even lower. It is a frustrating rush to the bottom…

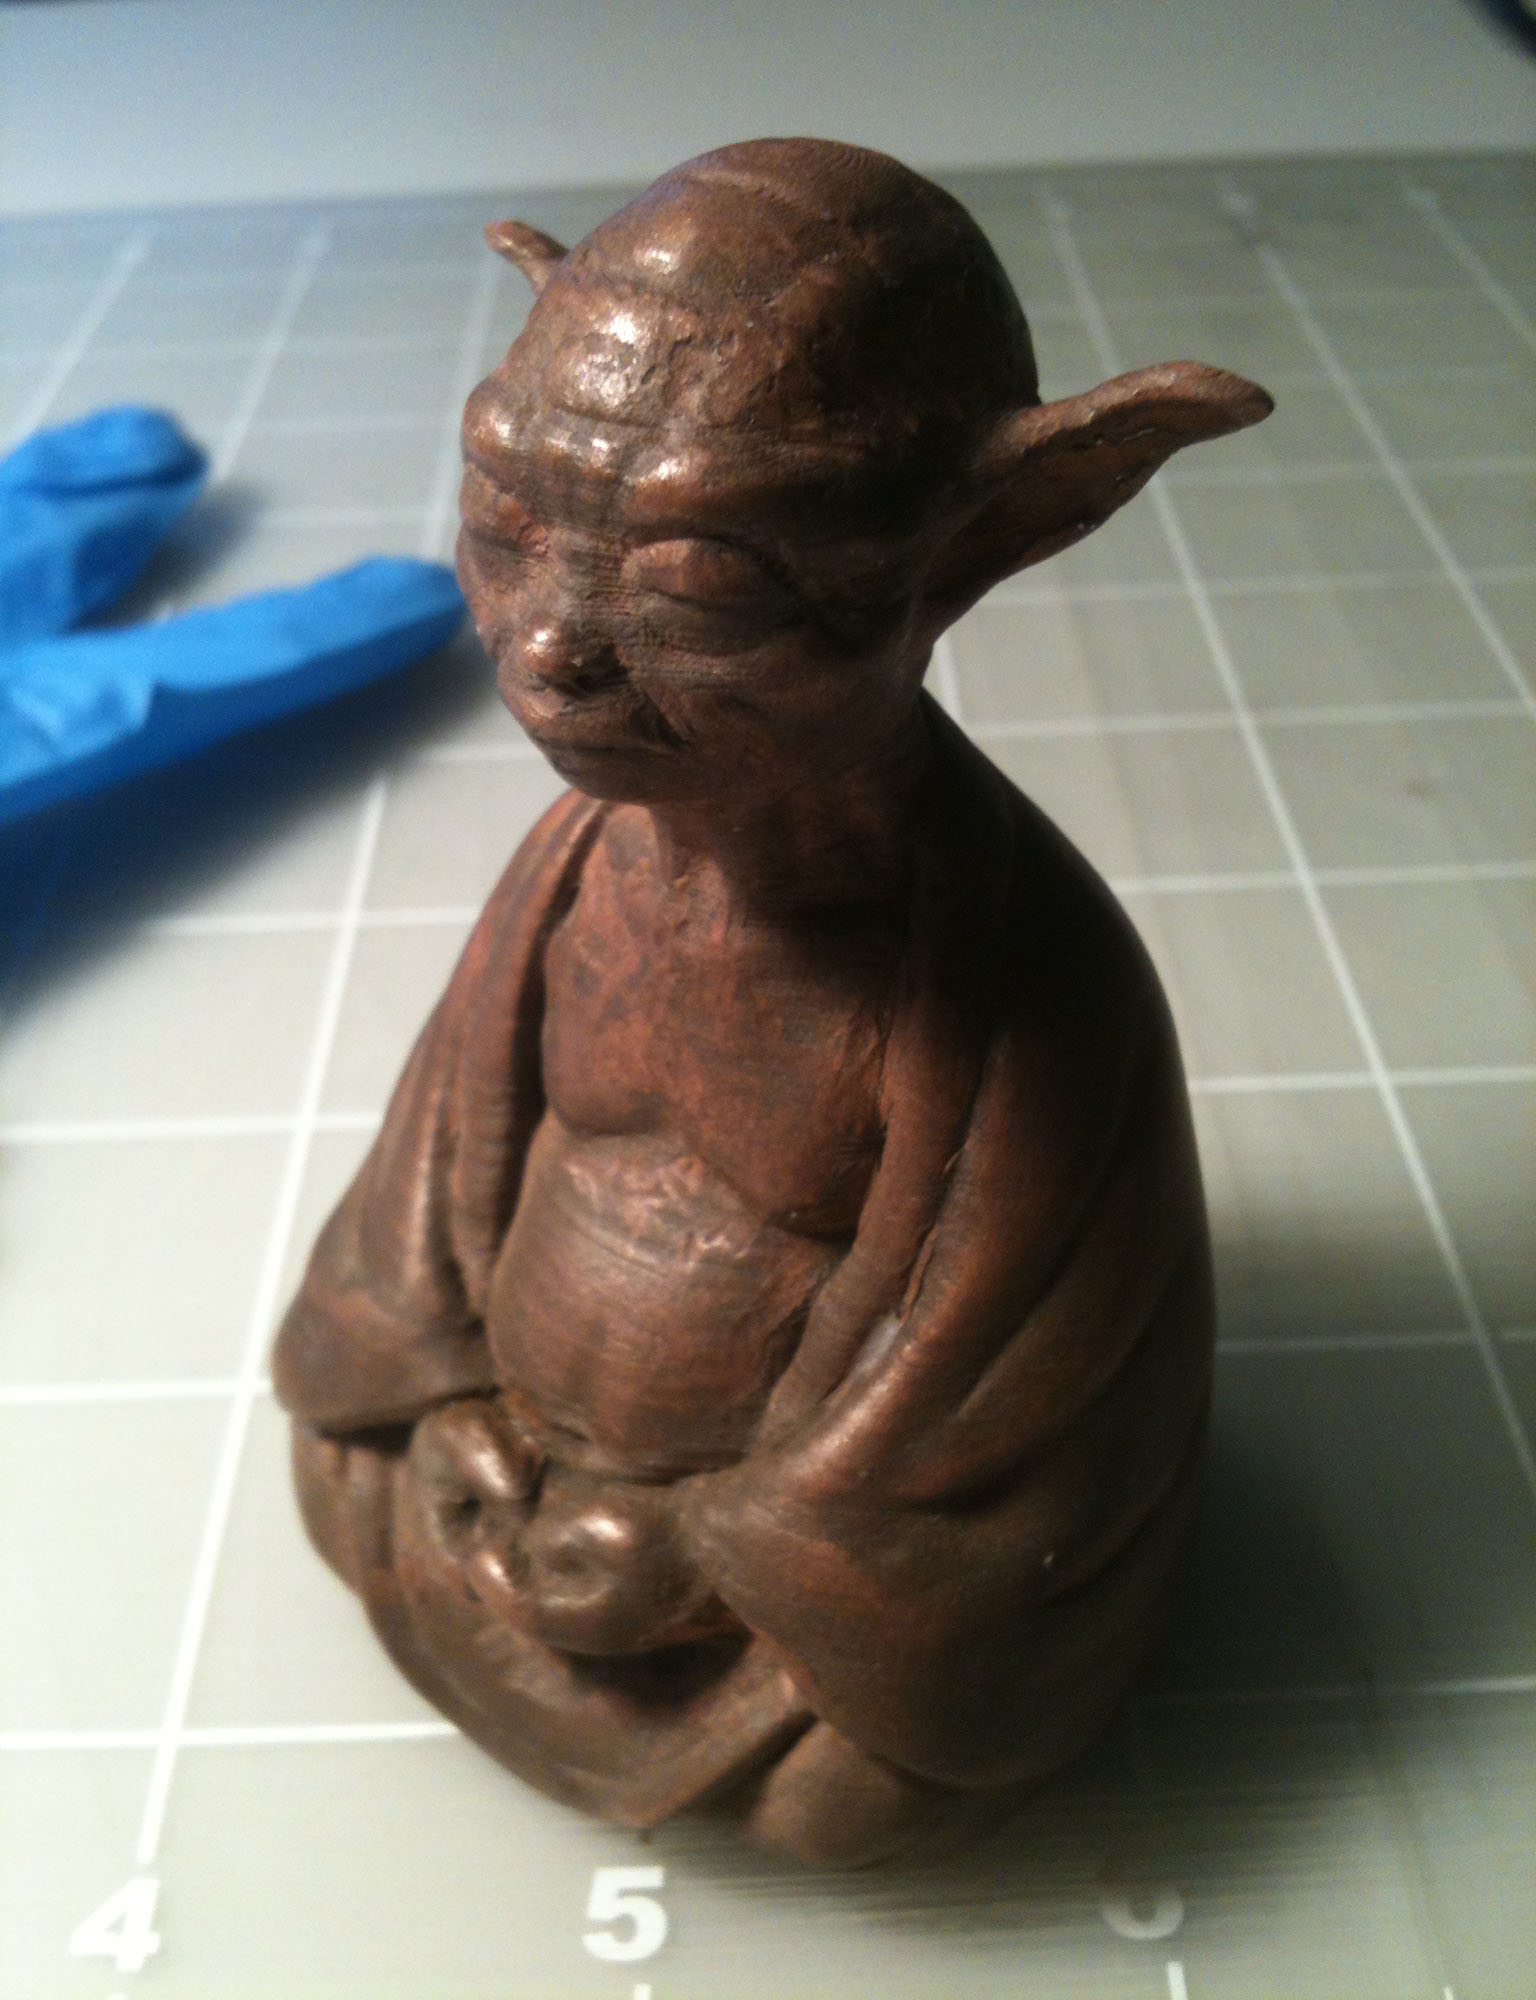
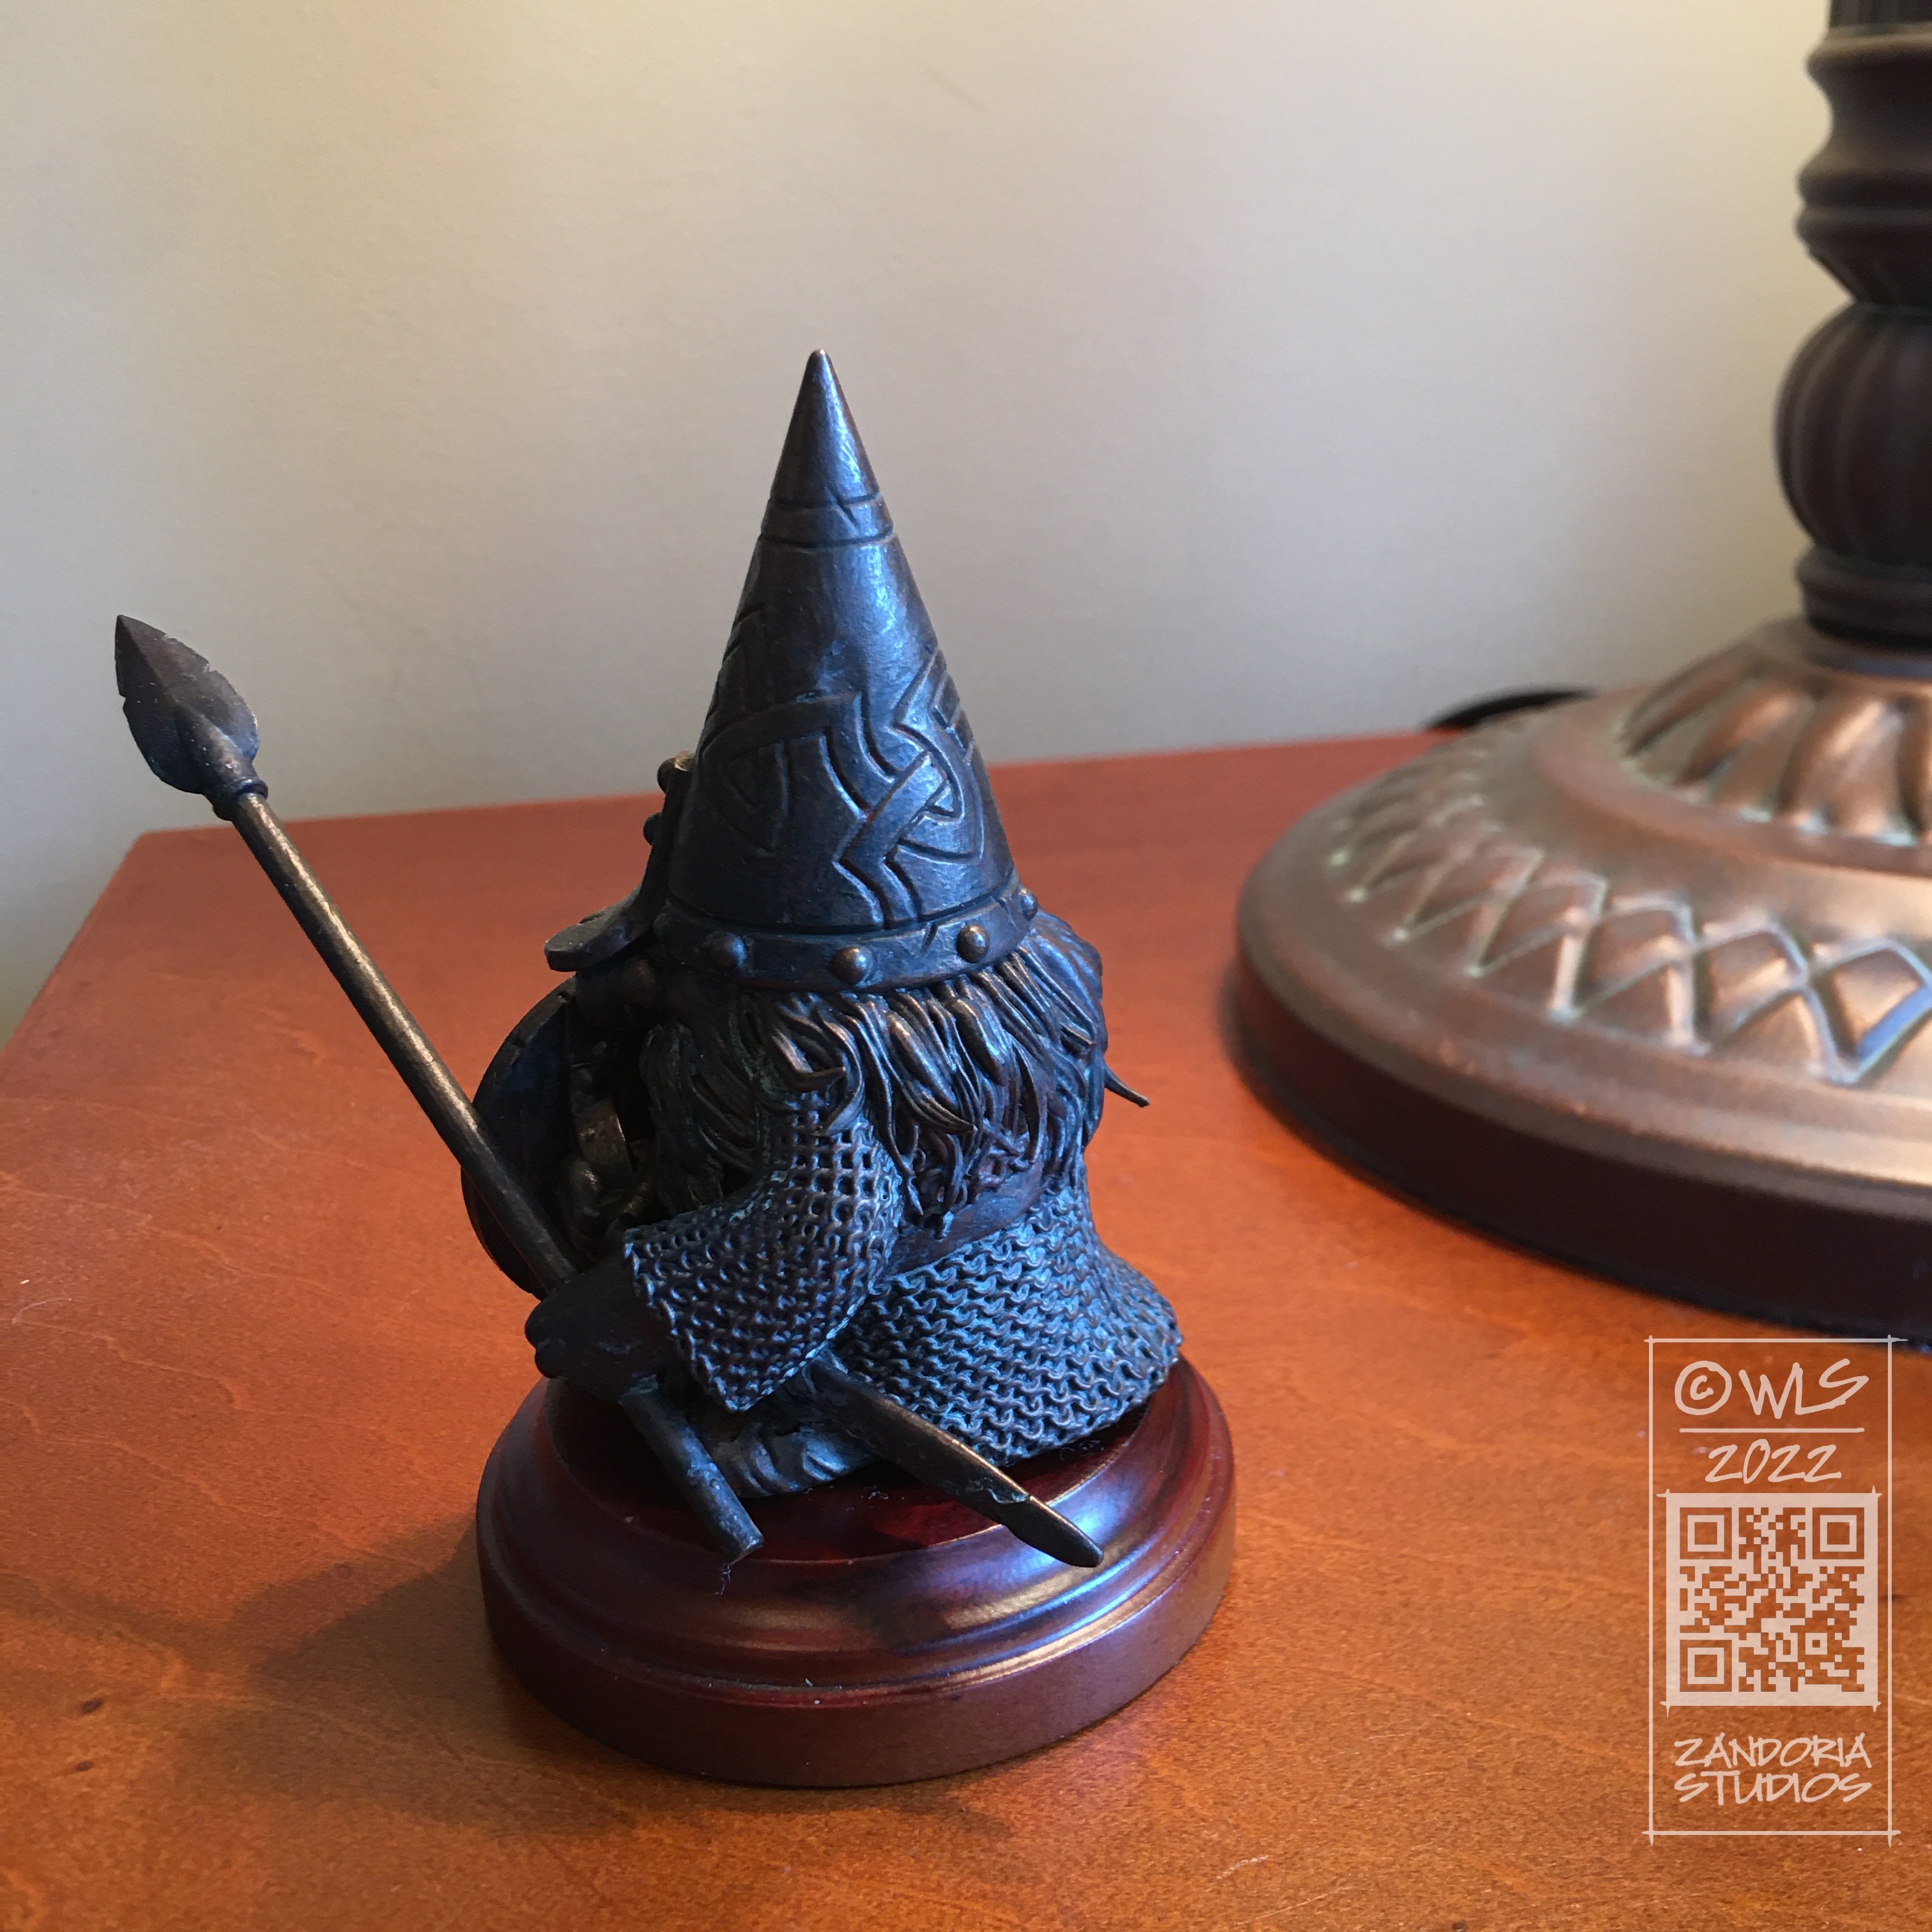
But what about using the 3Dprinter as the means of production? Not selling a merchant license for other people to sell their prints of your work, but producing your own miniatures and figurines?
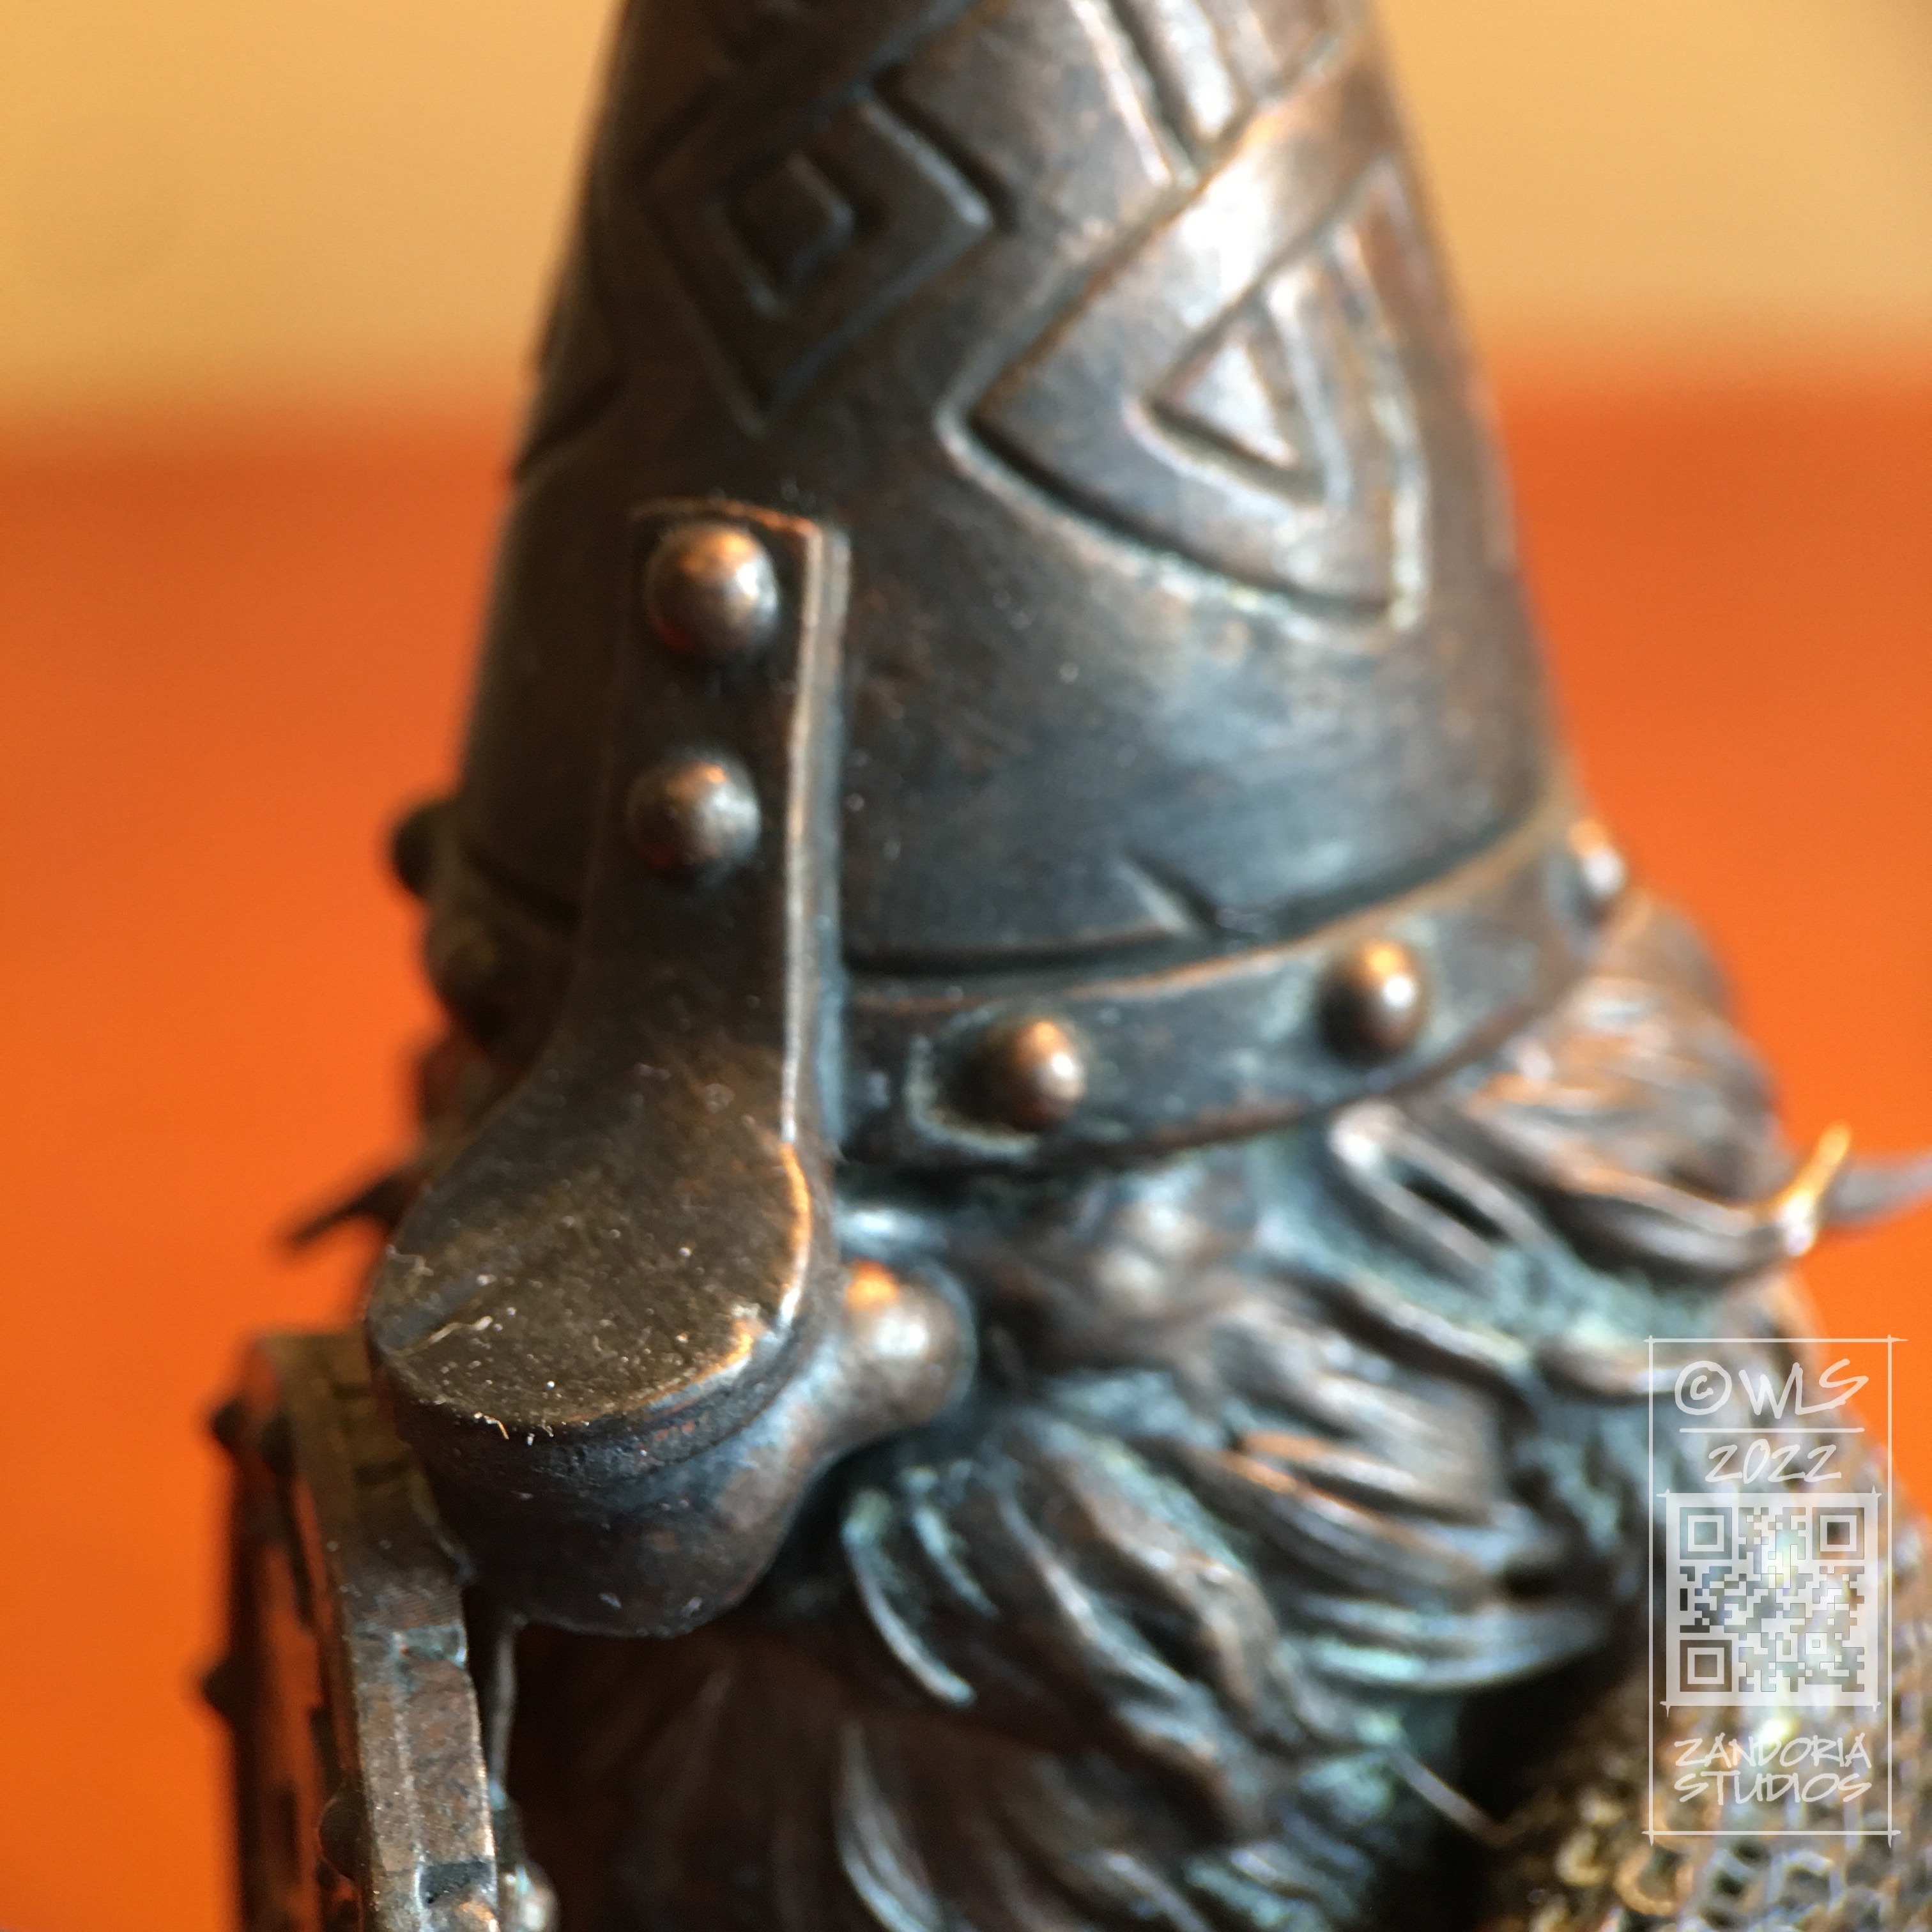
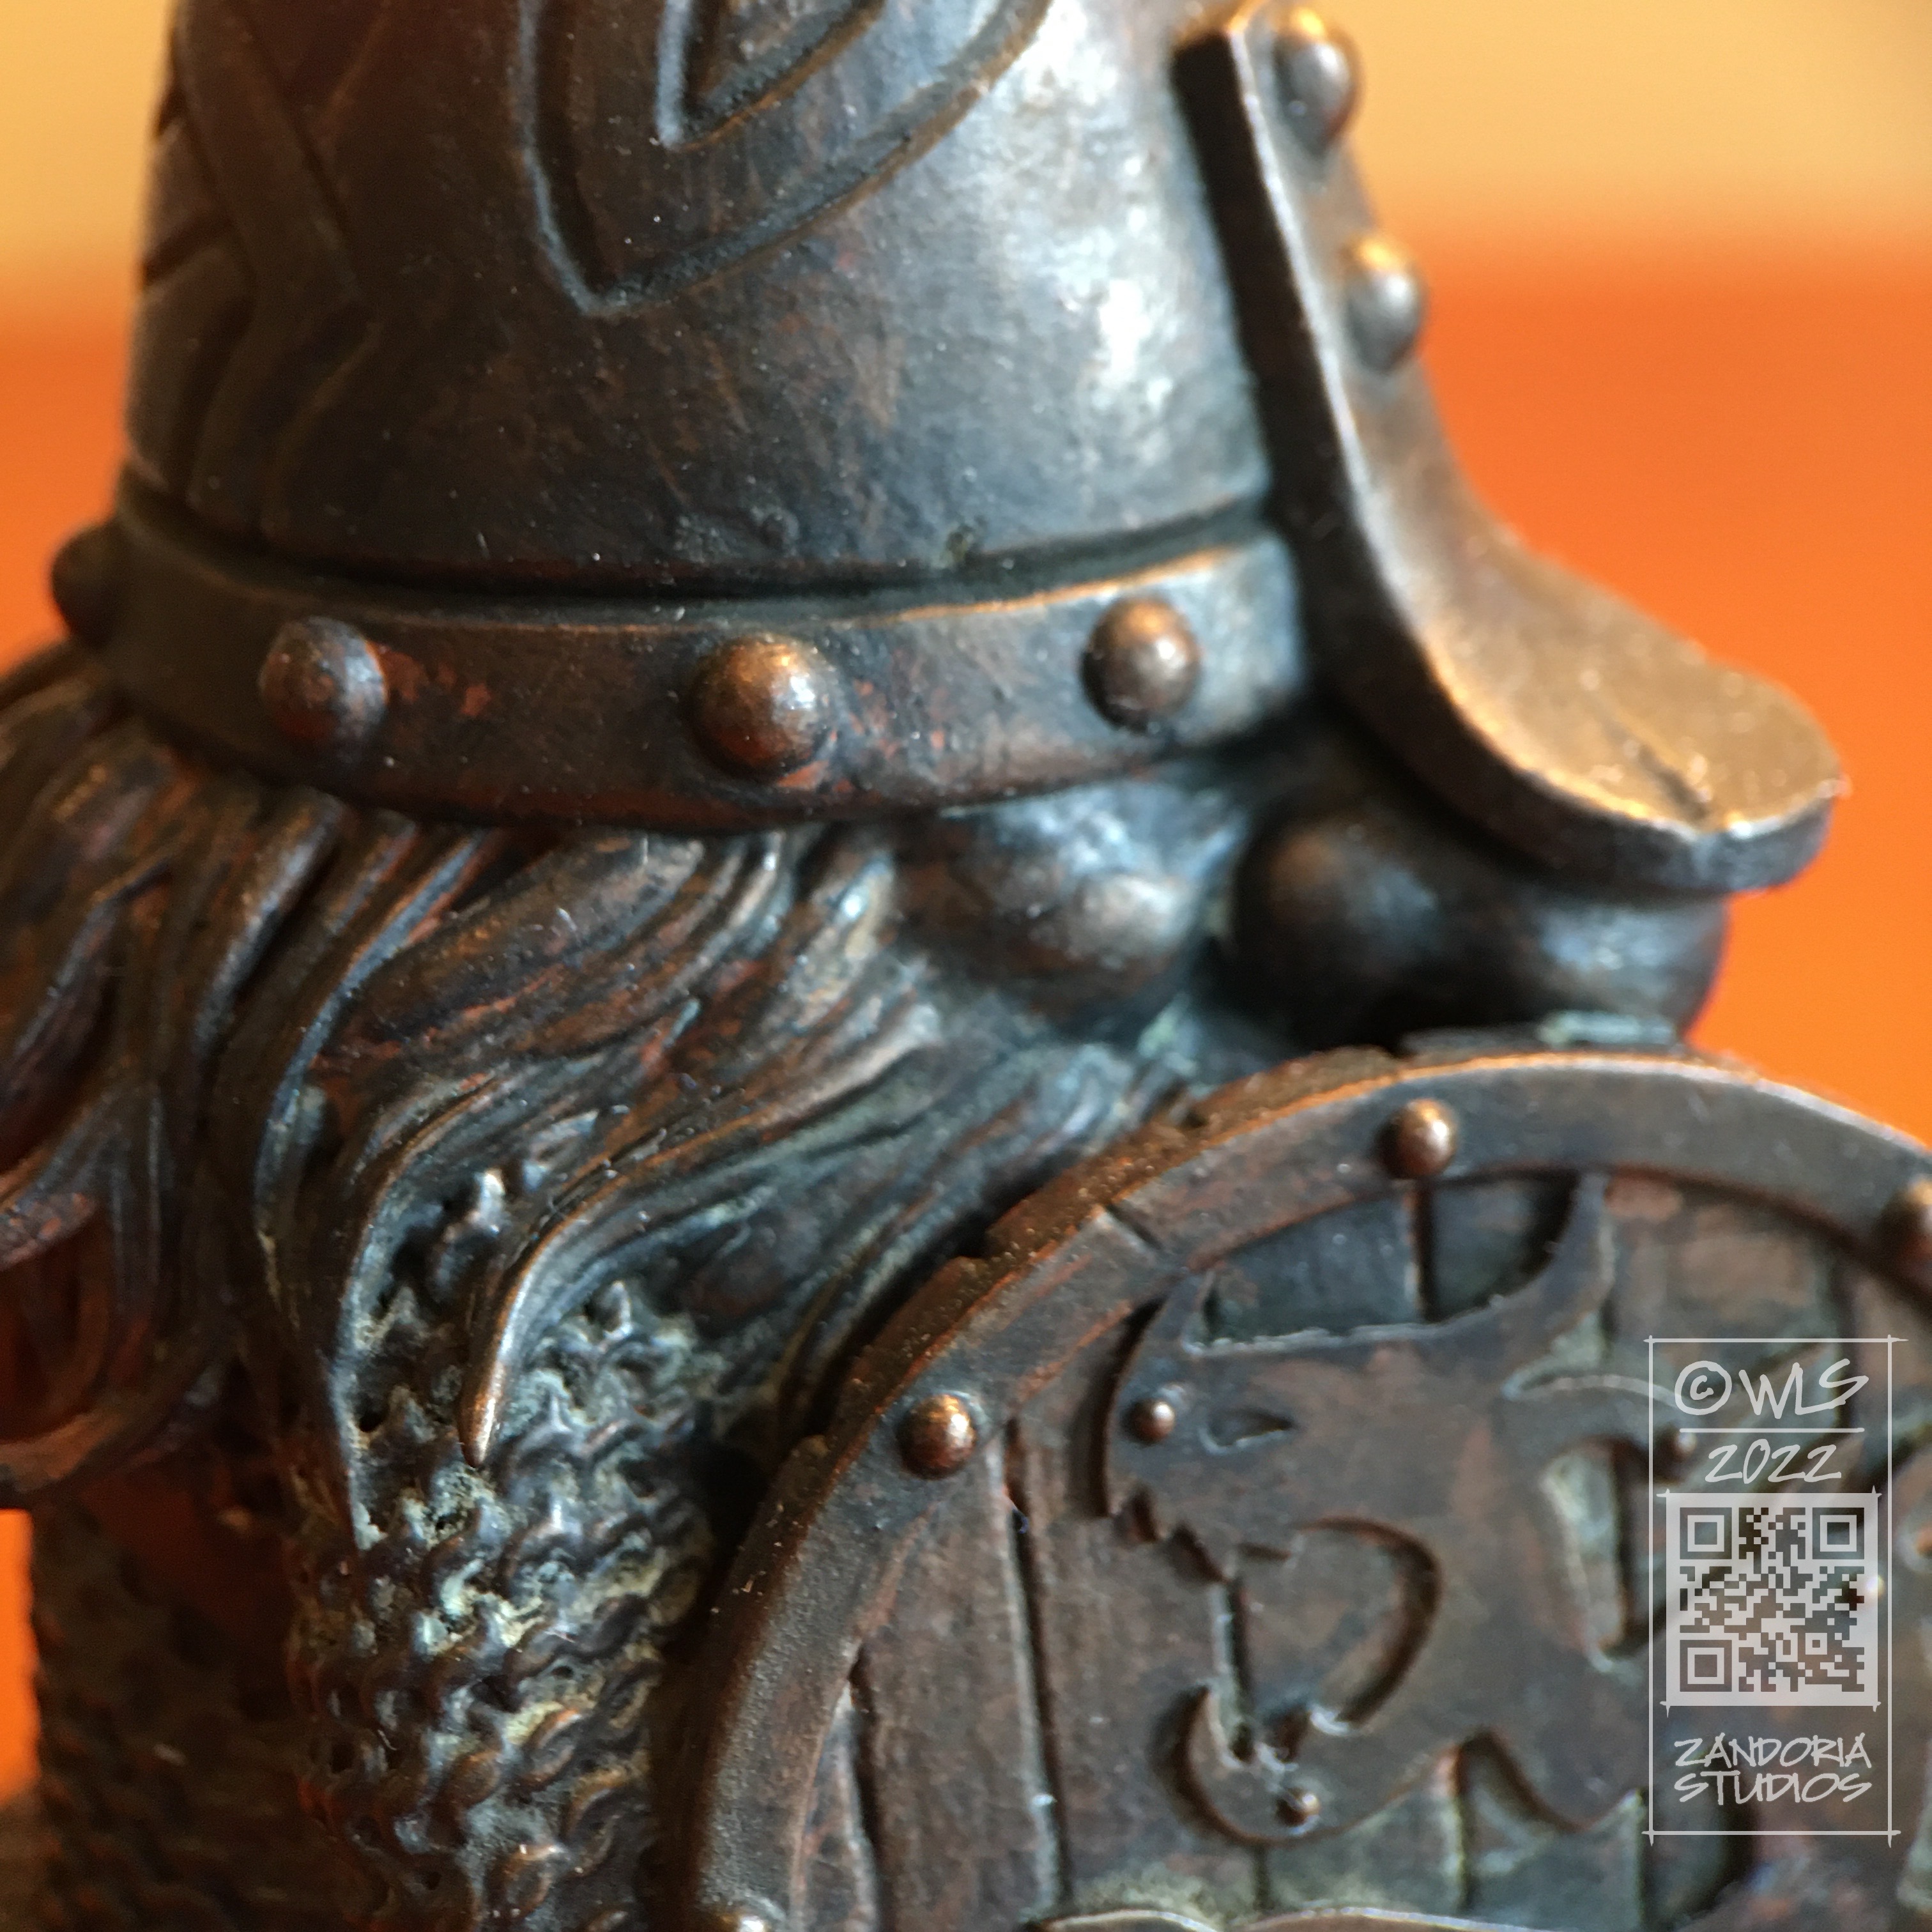
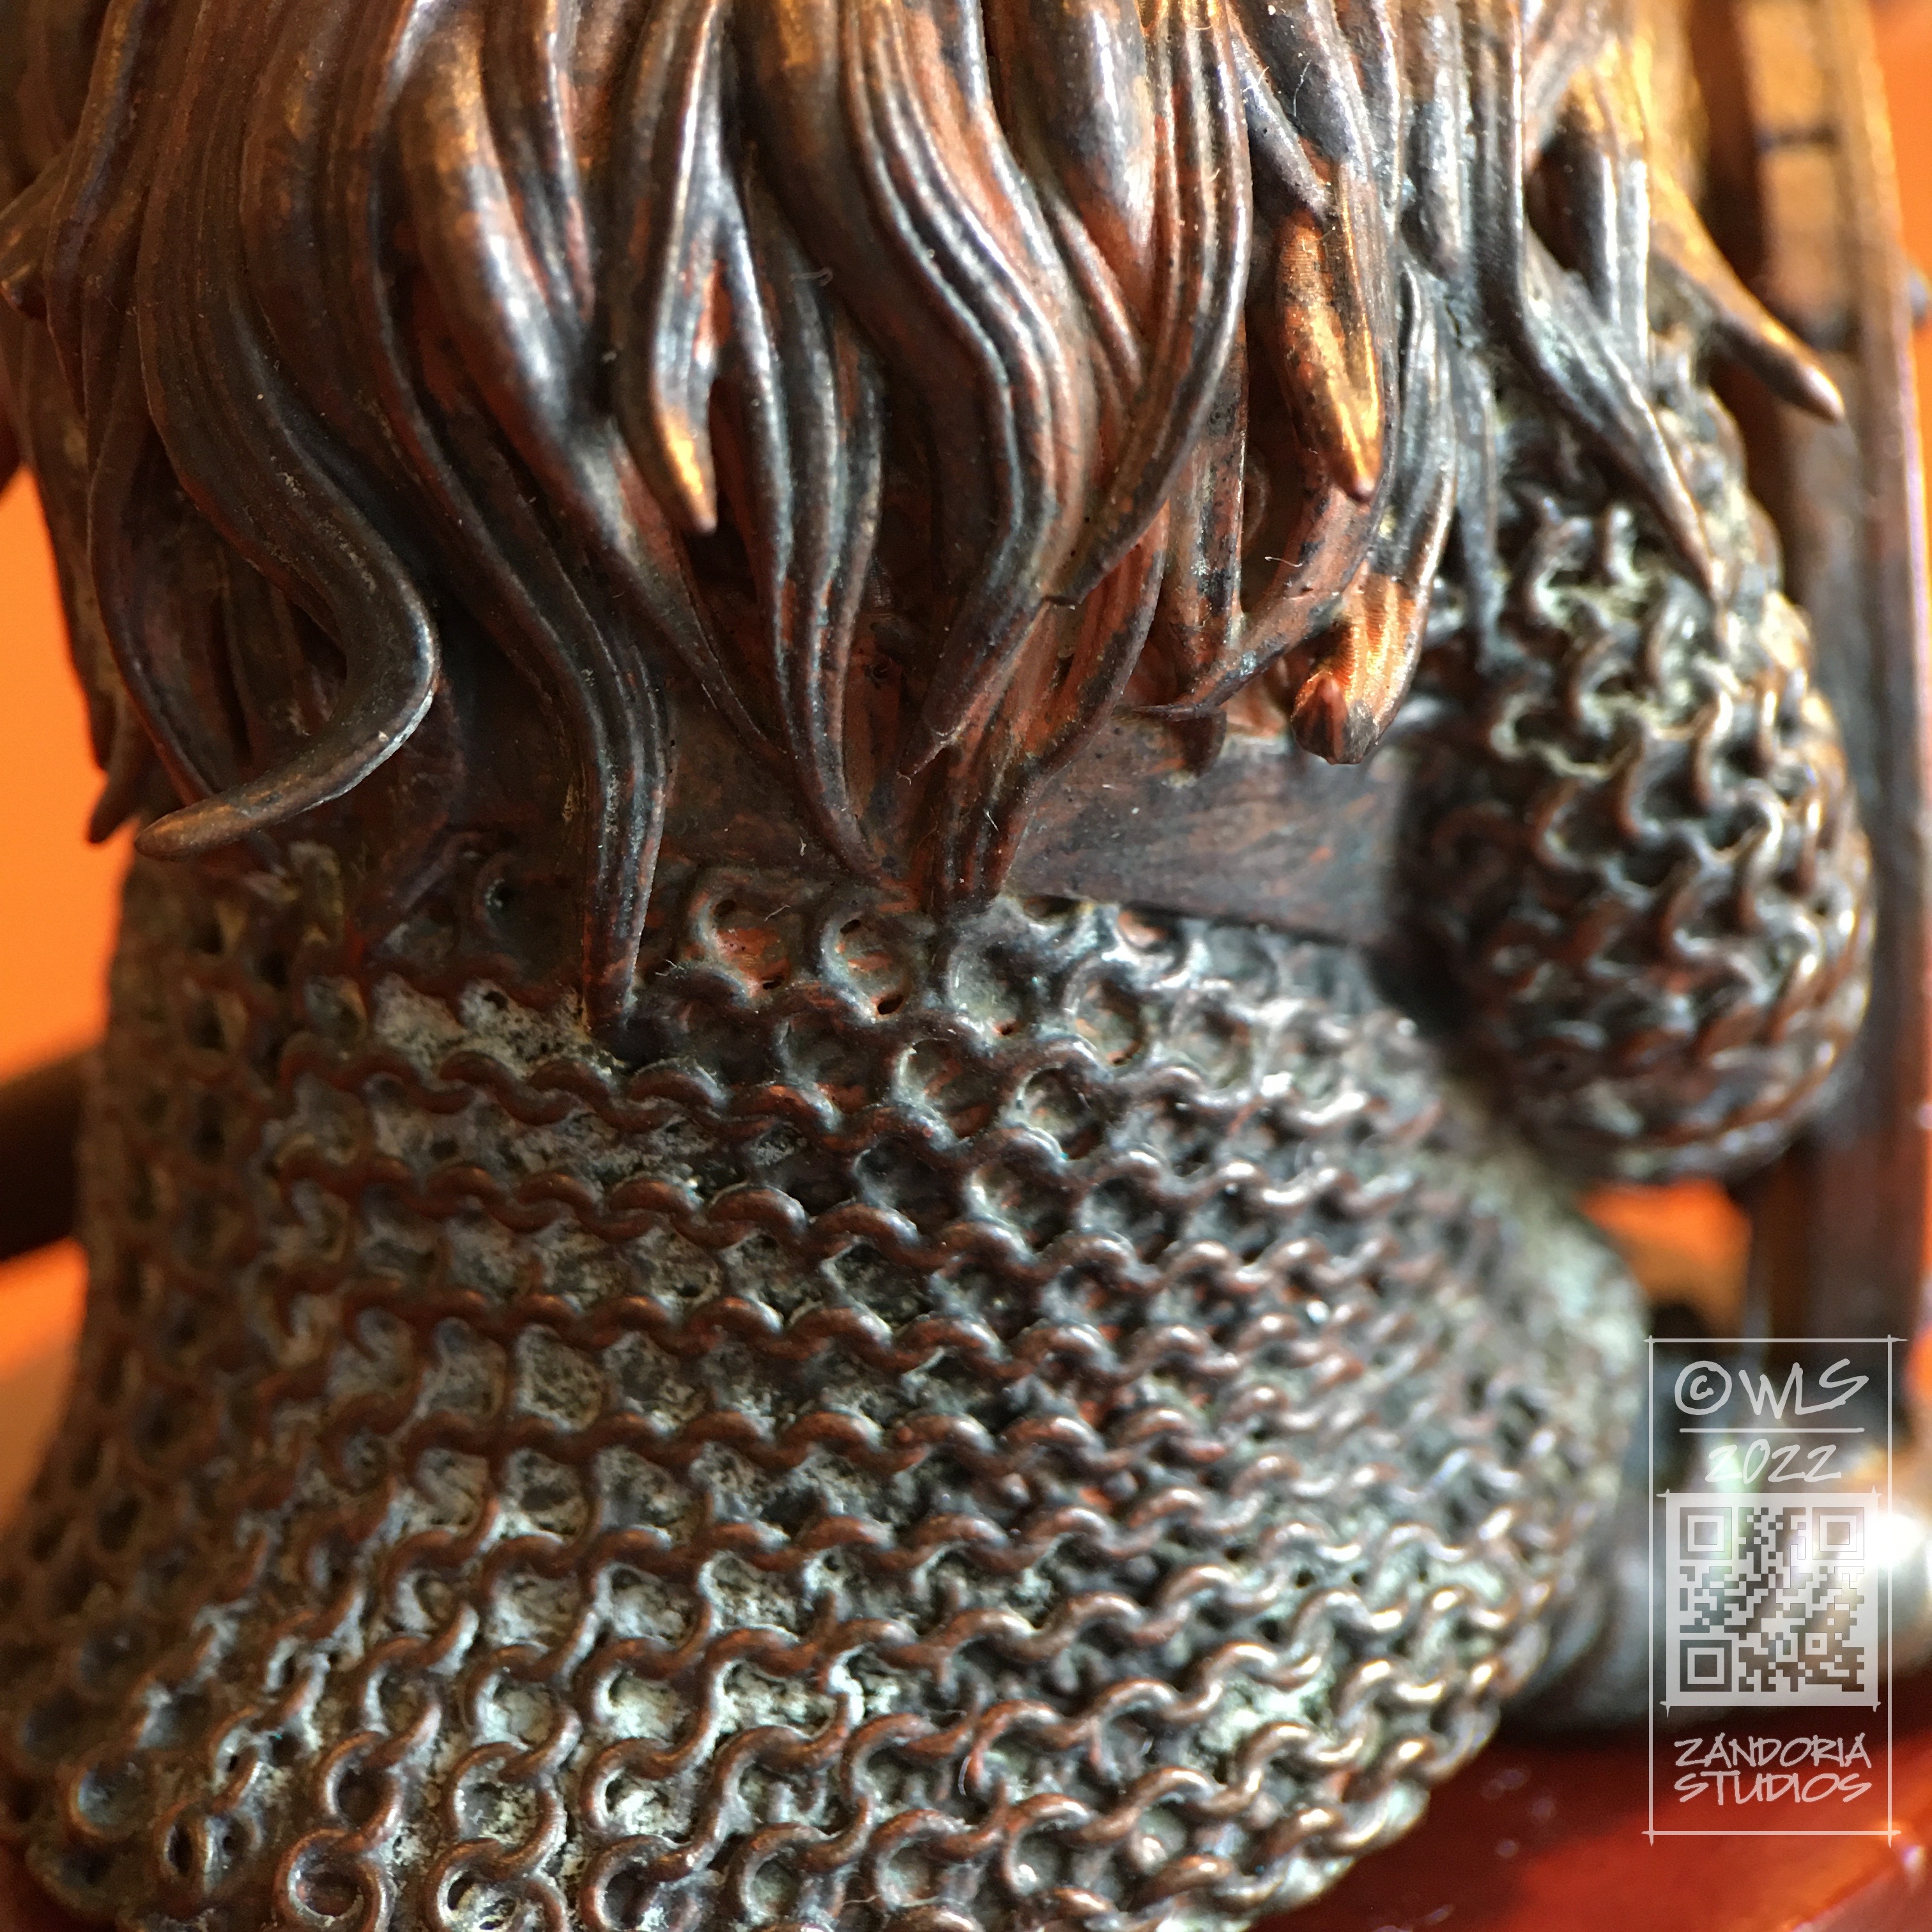
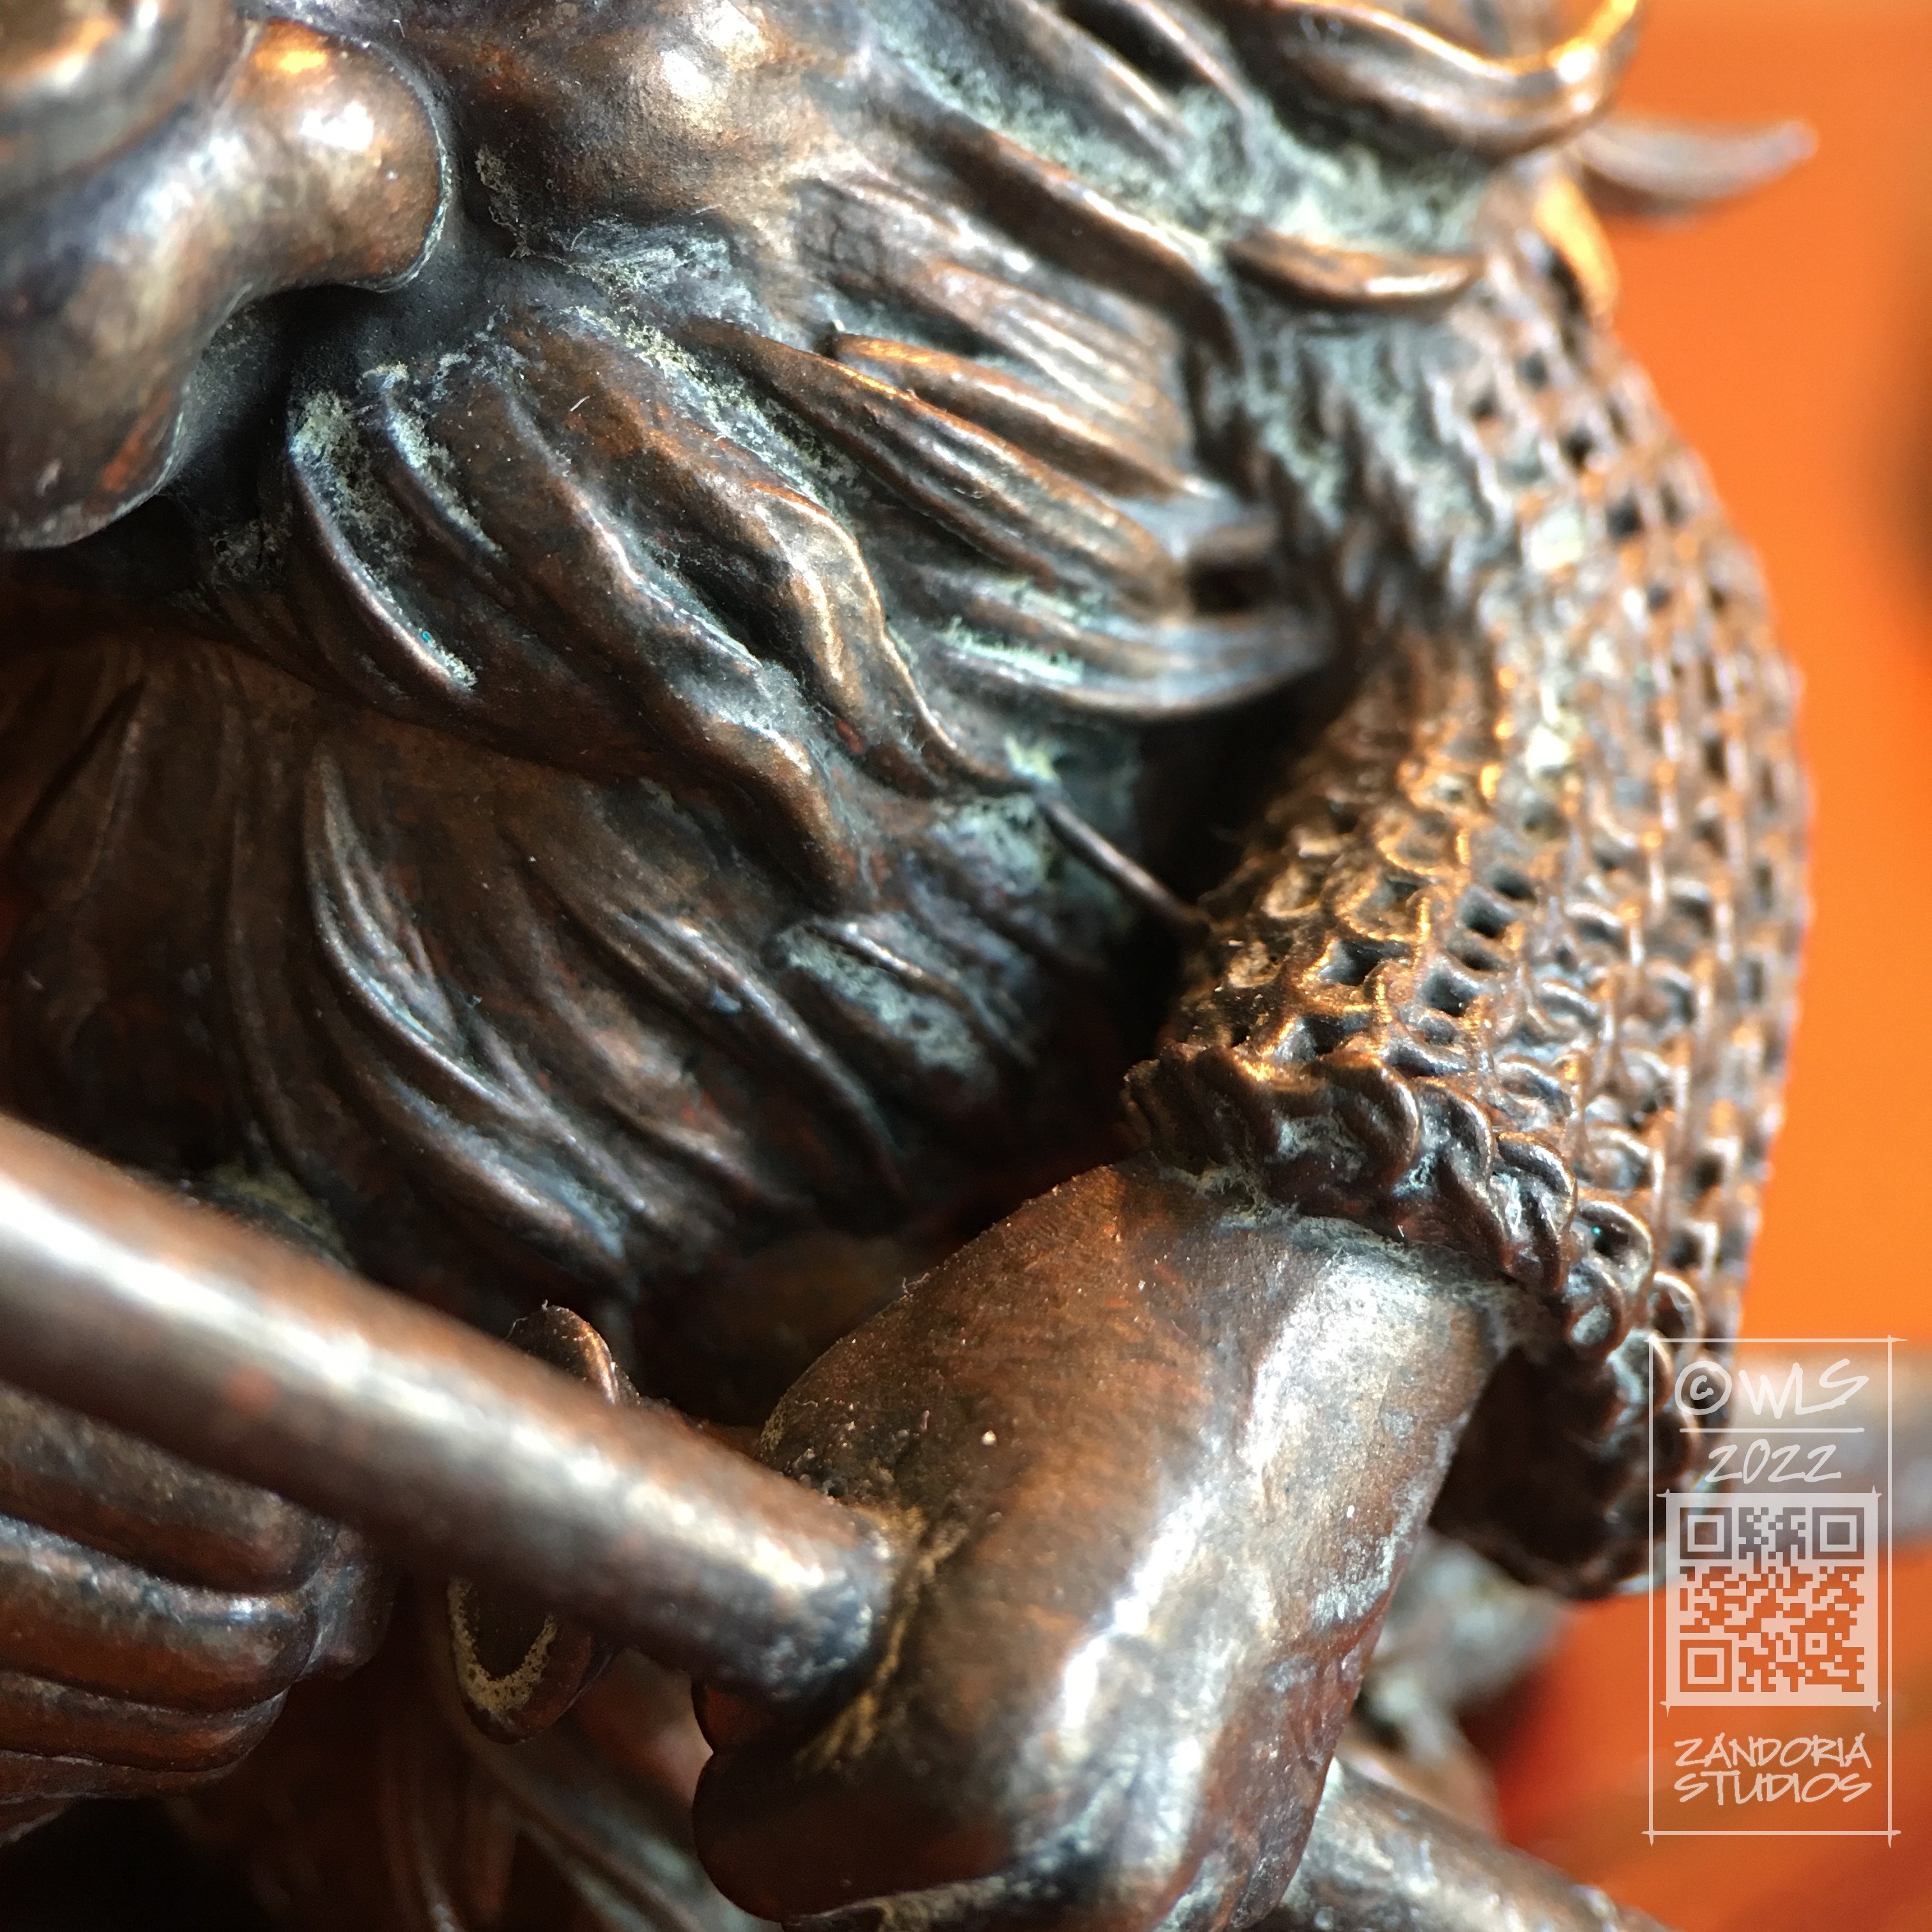
There are a number of advantages to this. When you are doing the printing, you remain in control of the quality of your work. Your intellectual property can not be shared or pirated, if you are only selling physical items. 3Dprinting allows for details as fine as a human hair, and geometries that would be impossible for recasters to duplicate.
Another advantage is that there are a LOT more customers who might like your art, than there are hobbyists using 3dprinters themselves.

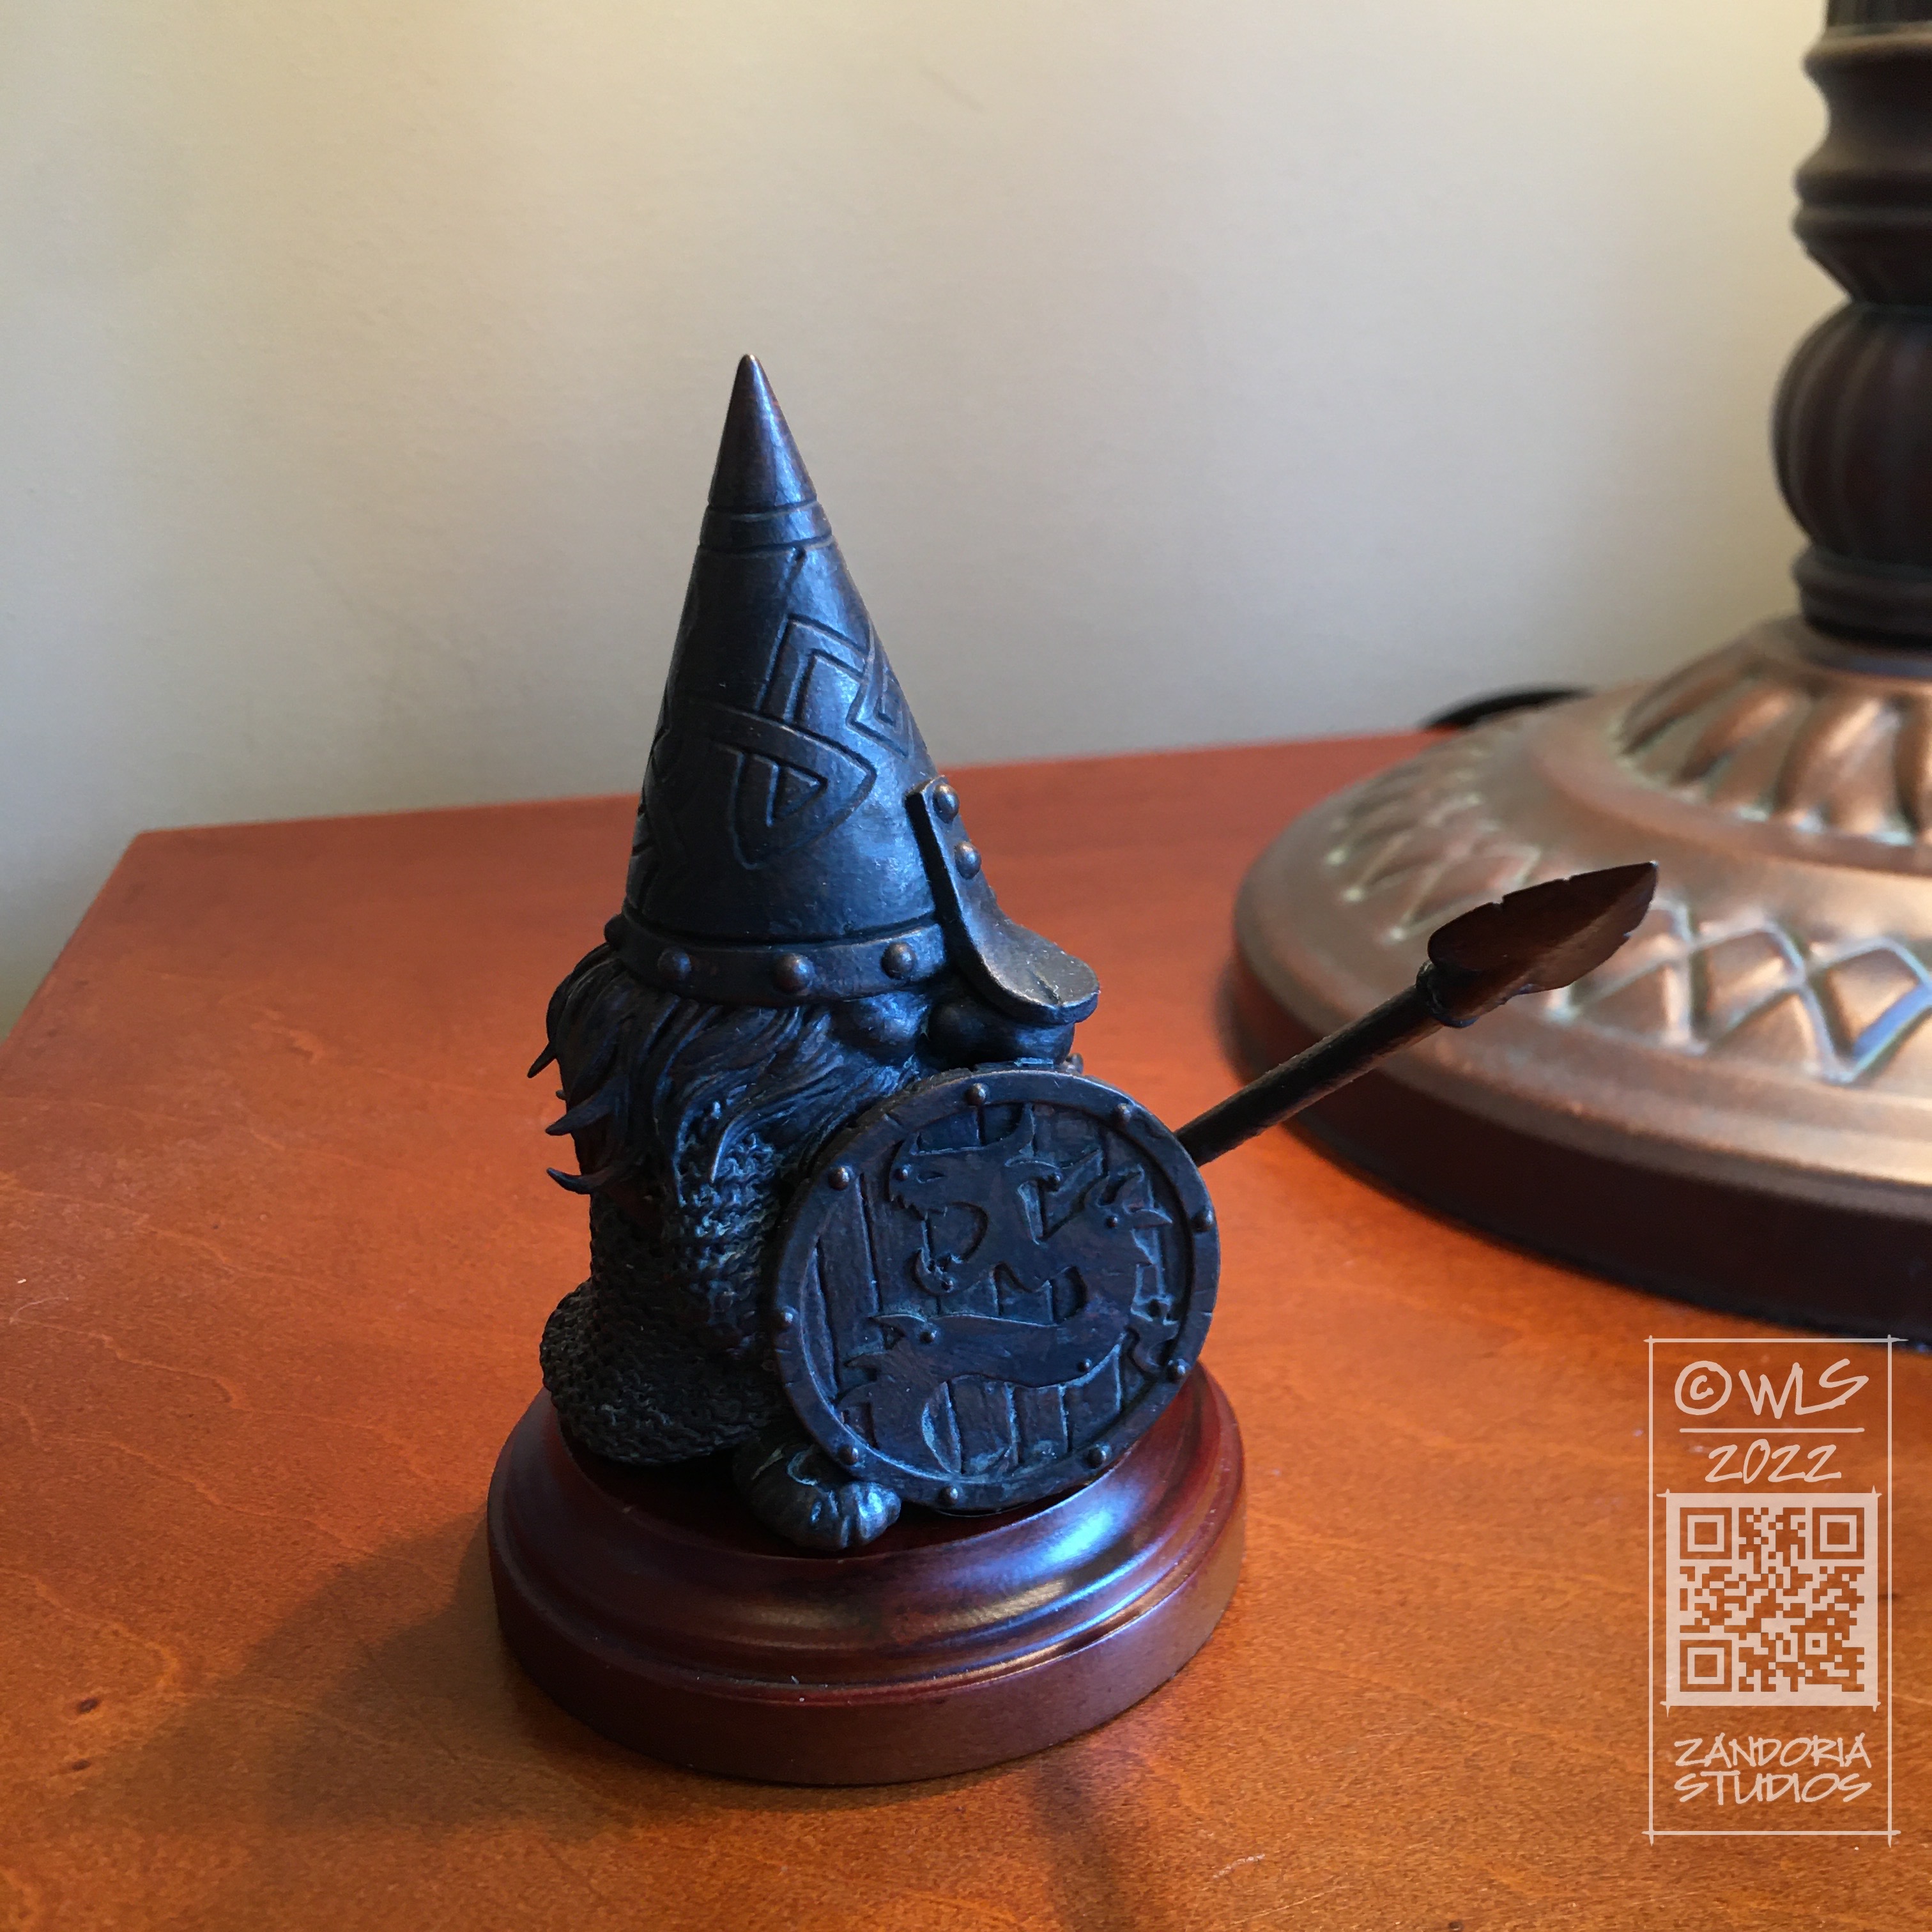
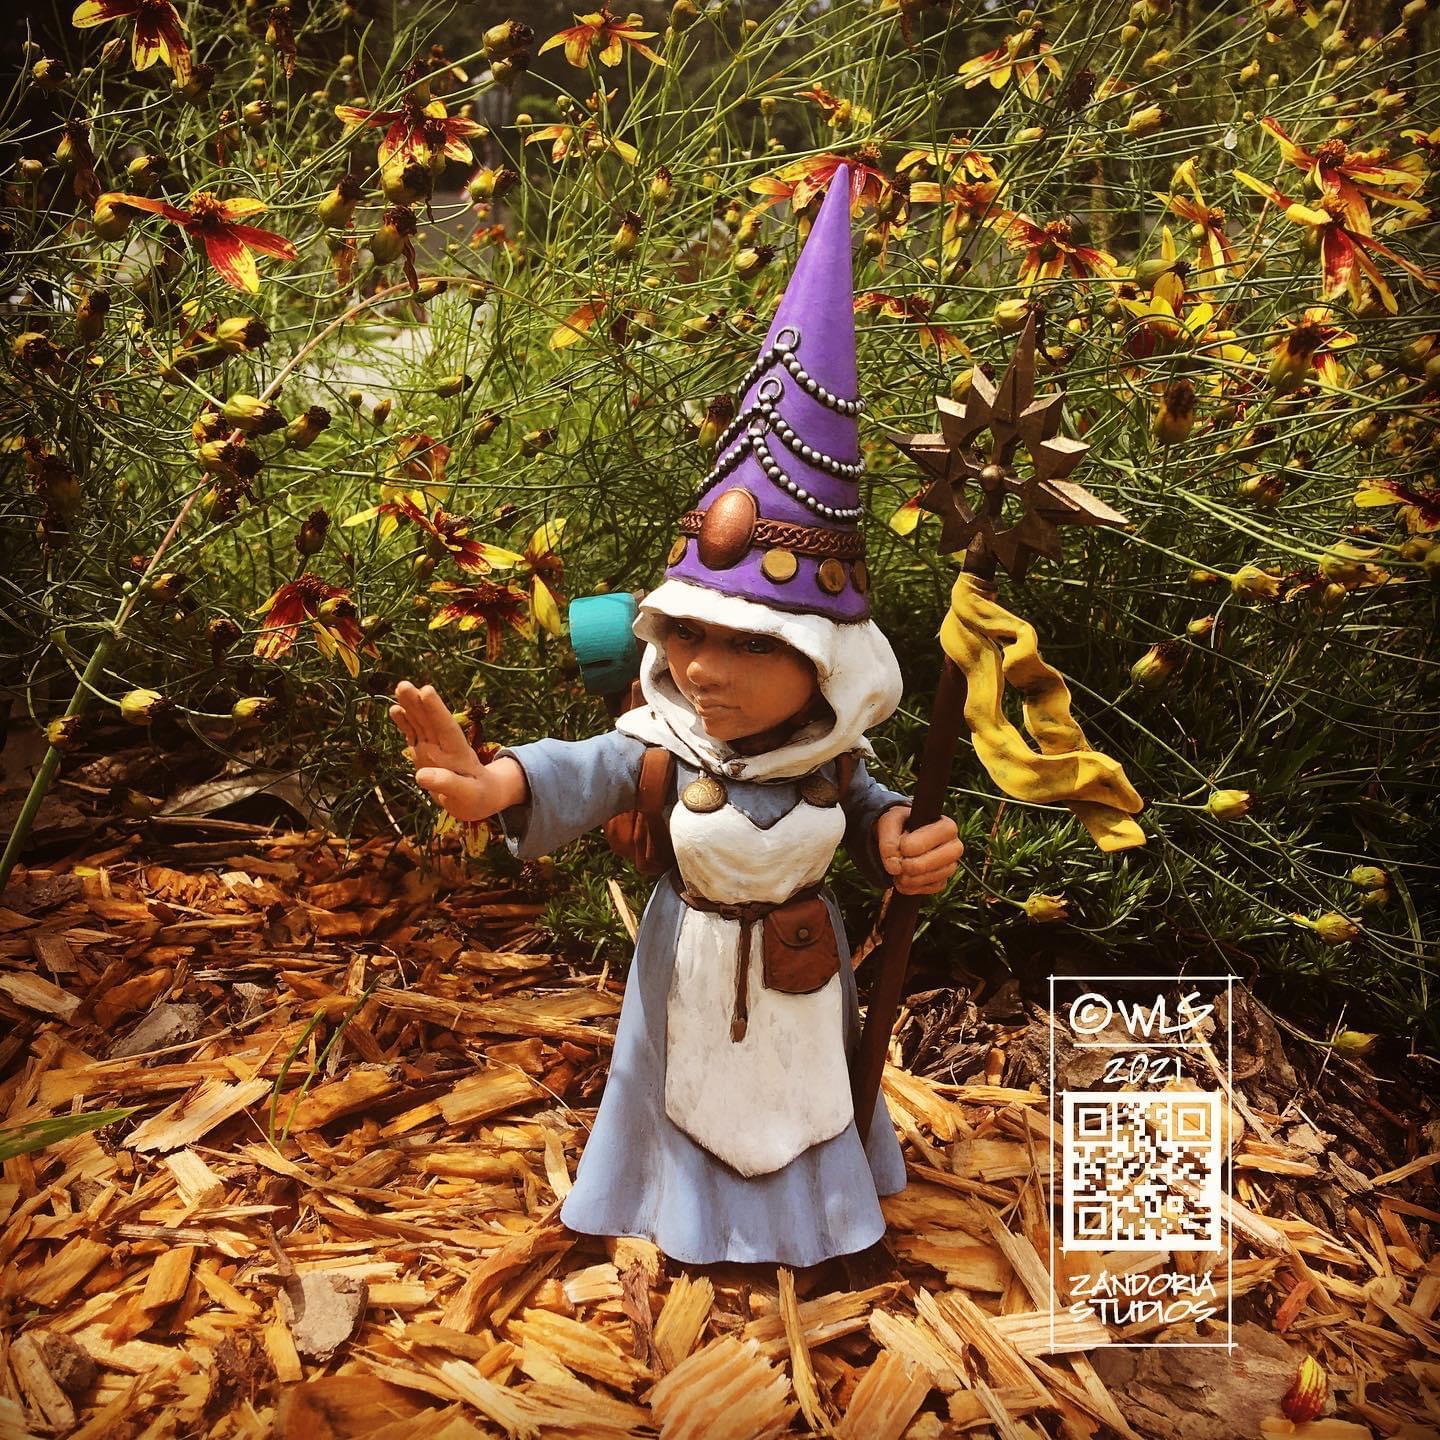
Using a 3Dprinter to reproduce your work is more efficient than mold-making and casting, and will allow you to offer multiple sizes of the same sculpture.
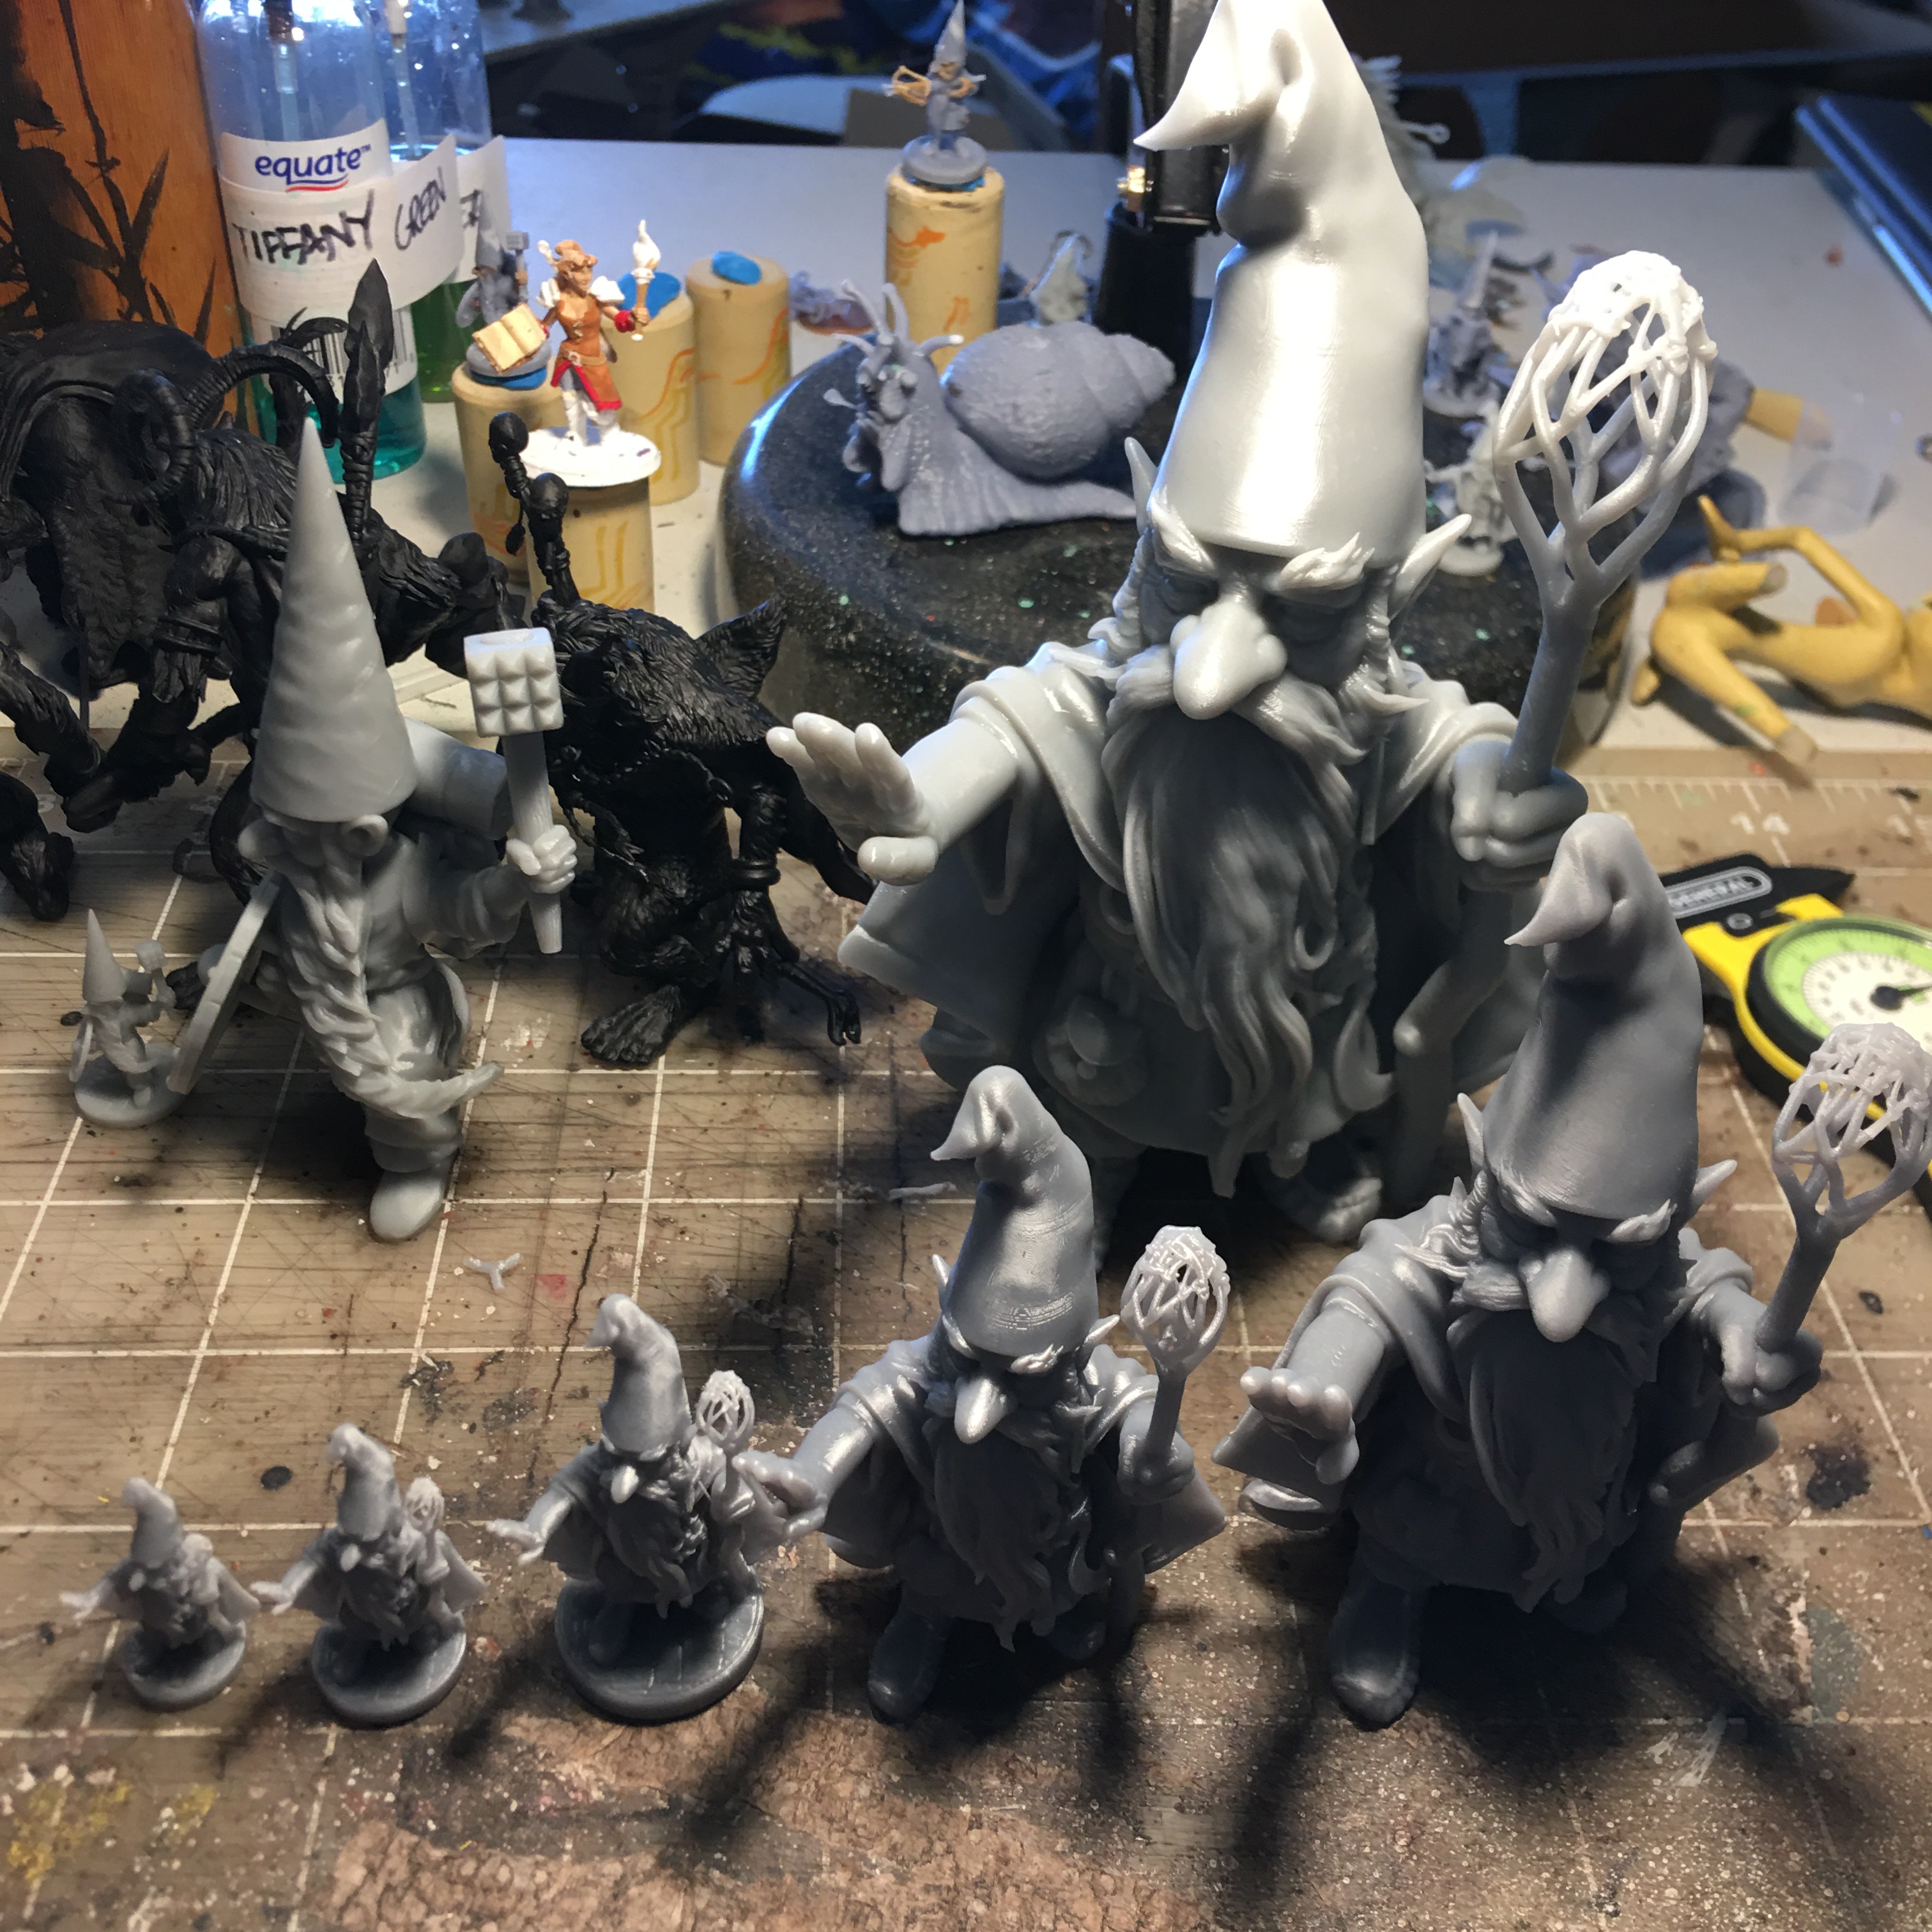
The learning curve is not that difficult, if you are already sculpting digitally, consider adding a 3dprinter to your studio!