Landscapes
I have been a little torn between using somewhat realistic CG landscapes or digital paintings for this project. After doing a number of tests each way, I felt that a hybrid matte painted look was going to be better for the introduction of this character…
I started with a Digital Elevation Map (DEM) and exported a greyscale image from MicroDEM. The DEM files and software are available for free here.

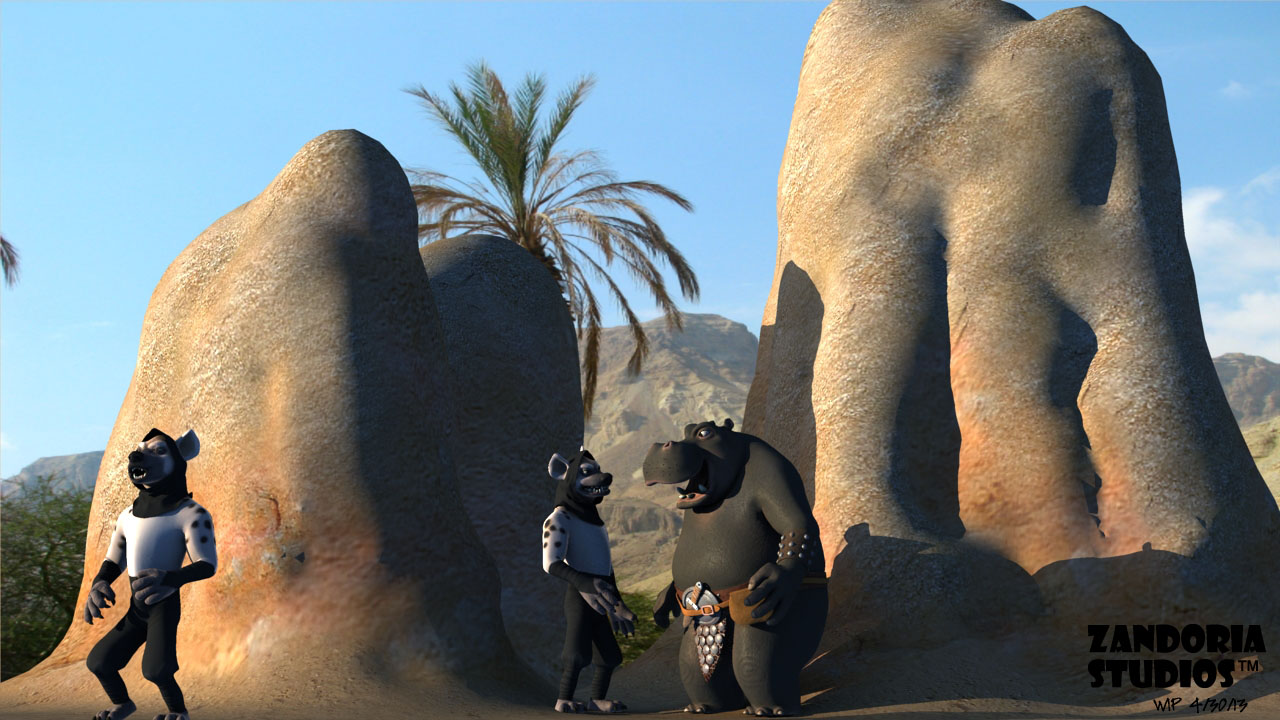
Using the greyscale values, it is pretty simple to generate a terrain mesh. In this case, I used Zbrush to generate the geometry, but I exported it to Sculptris to work on the detail and textures. The reason I wanted to use Sculptris is that I could use the Reduction brush to simplify the geometry in the distance. The detailed rocks in the pass is where the main action of the scene is, so I figured that I could just drop the landscape in as a PROP and render everything in A:M…

Unfortunately, the maximum texture resolution in Sculptris was too pixelated when rendering up close. So I decided to render the landscape by itself to get the lighting, and retouch it in Photoshop to create matte paintings to use as background rotoscopes in A:M.
I added the dunes in the distance, and the sky, as layers underneath the rendering. Then I added extra detail of the rocks and scrub as an overlay layer.

I set the ground plane to Front Projection Target and Flat Shaded.

Now the only object in the shot is TAR. The dust particles are Sprites emitted with each step, and are drifting off to the right as though blown by the wind (actually there is a fan Force Emitter creating the wind).
I started rendering the shot (in HD, 1280 x 720), The first couple of frames took over 1-1/2 hours! With over 400 frames in just this shot, that was way too long…I knew that I was going to have to make some compromises…. I eliminated global illumination, ambient occlusion, and multipass–relighted the scene with Z-buffered shadows instead of ray-tracing. The new render time was only 2 minutes per frame!