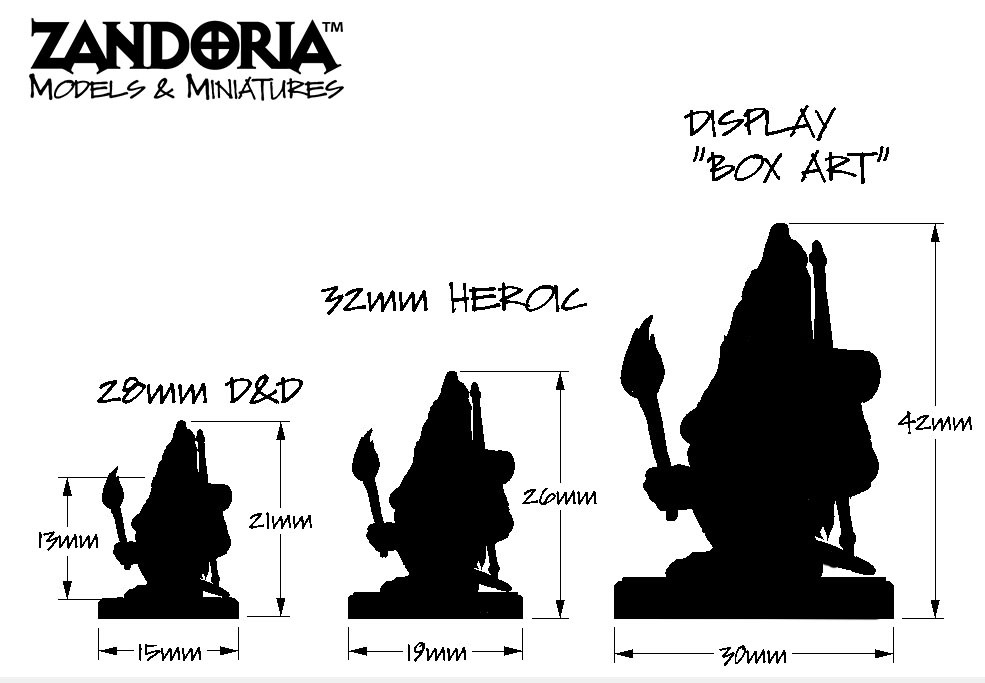
How big are they?

I’ve added these dimensioned drawings to all of the miniatures in my shop, because there can be a lot of confusion about scale when it comes to miniatures.
D&D is nominally 28mm scale, but what does that mean when it comes to miniature gnomes? The grid for D&D is 1″ squares, and each square represents 5′ (60 inches). So the actual scale is 1:60.
A 6′ tall (72″) human would be 1.2 inches (30.5mm) at this scale. Because of the history of wargaming, some people would measure from the bottom of the foot to the eyeline (ignoring hats and helmets) and see that is was around 28mm, while others might measure the whole figure and see it around 32mm…However, the true scale for the game is still 1:60
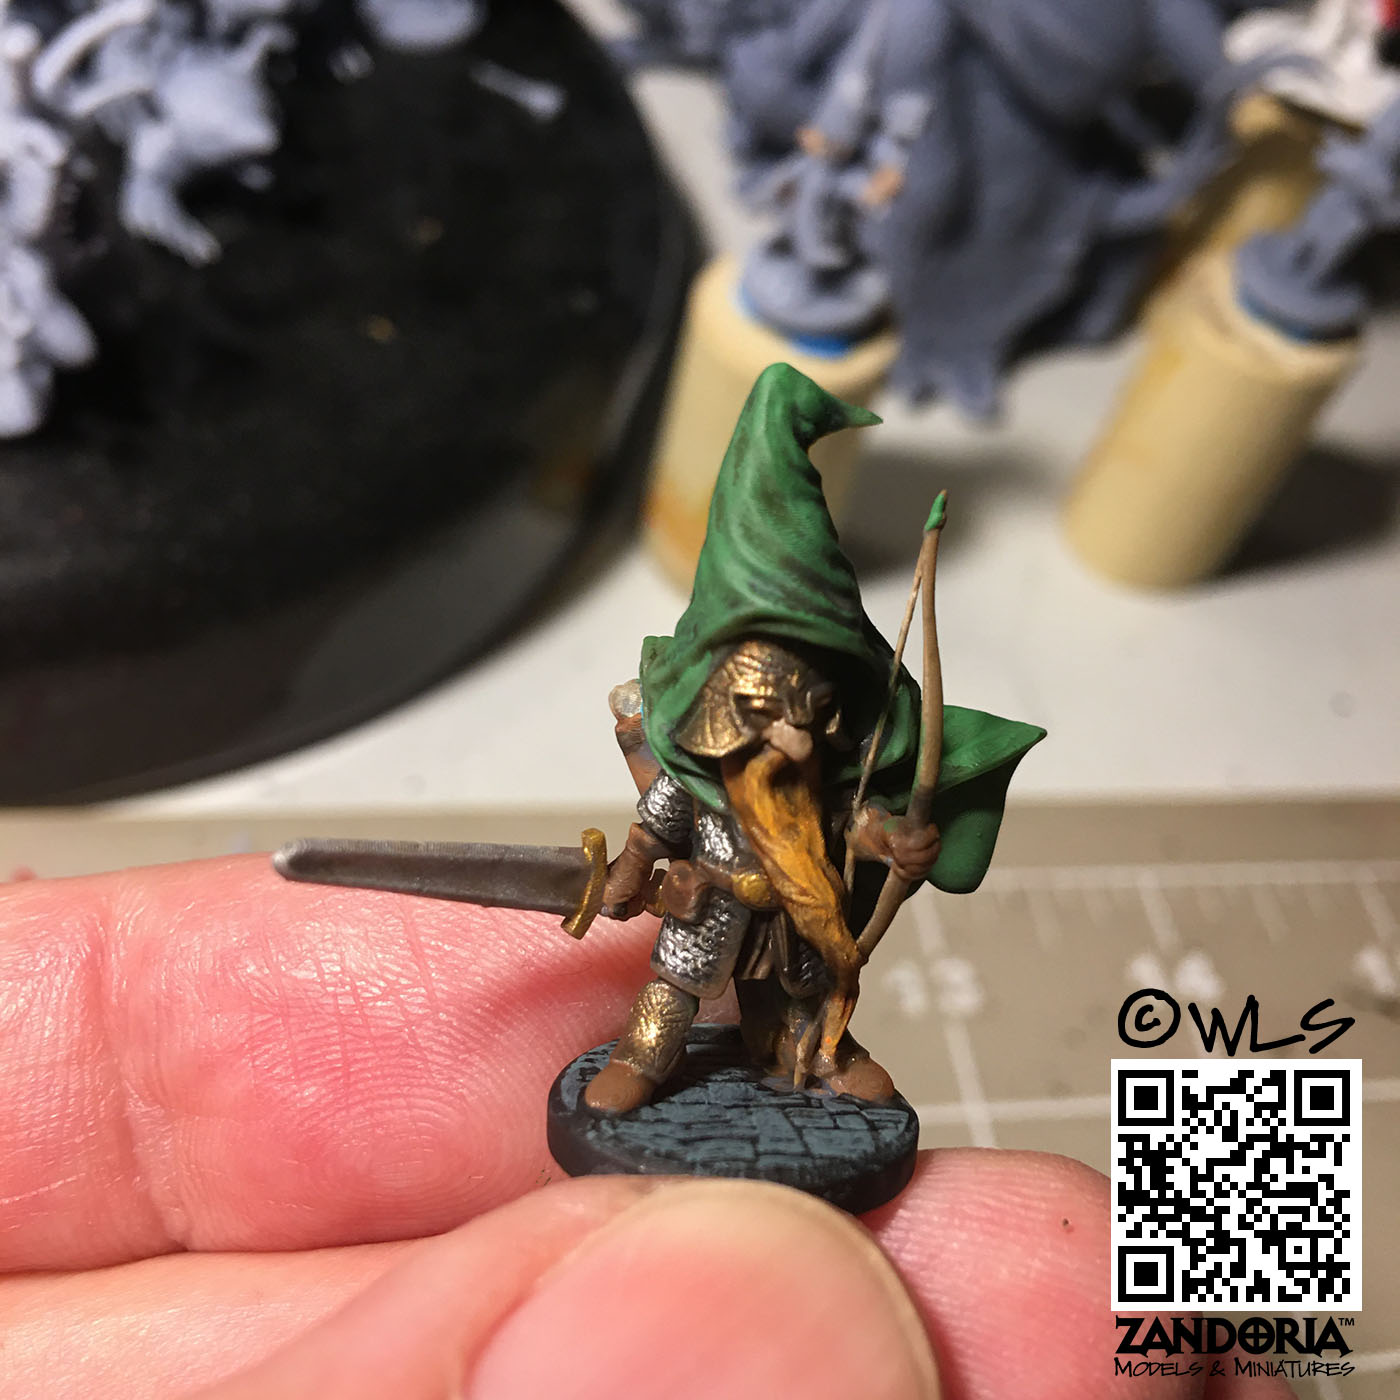
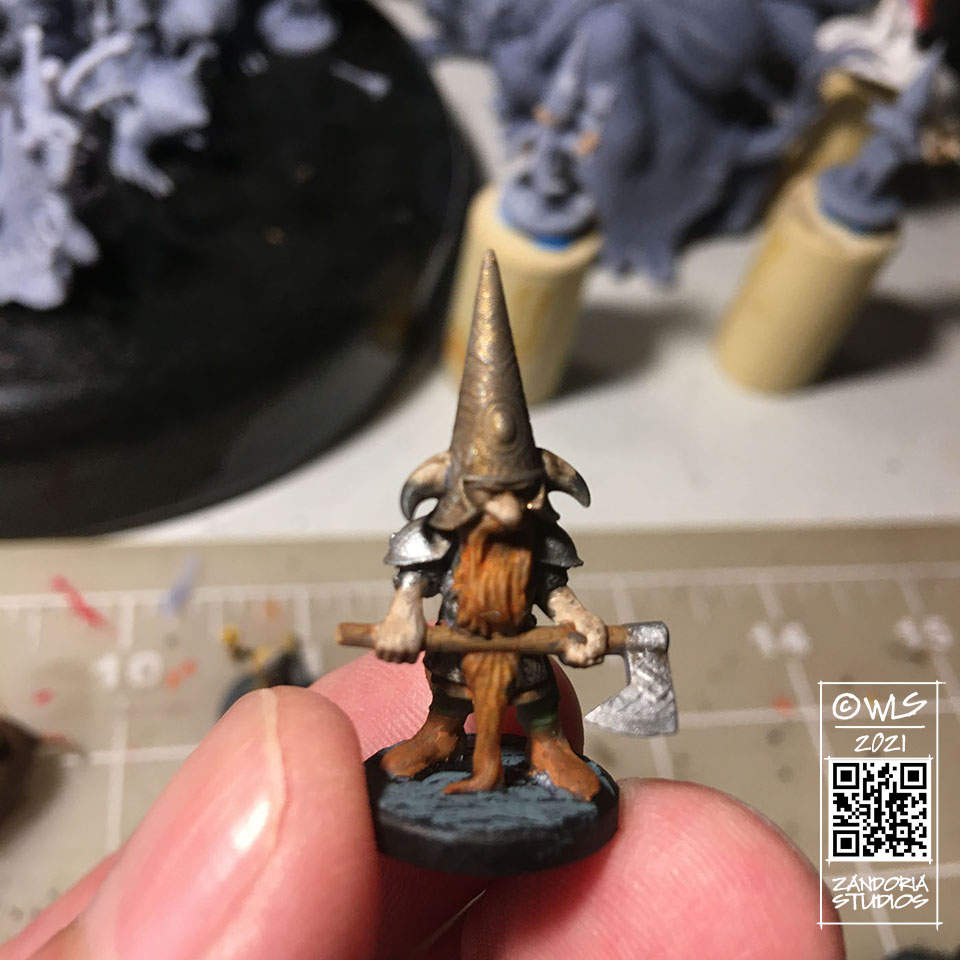
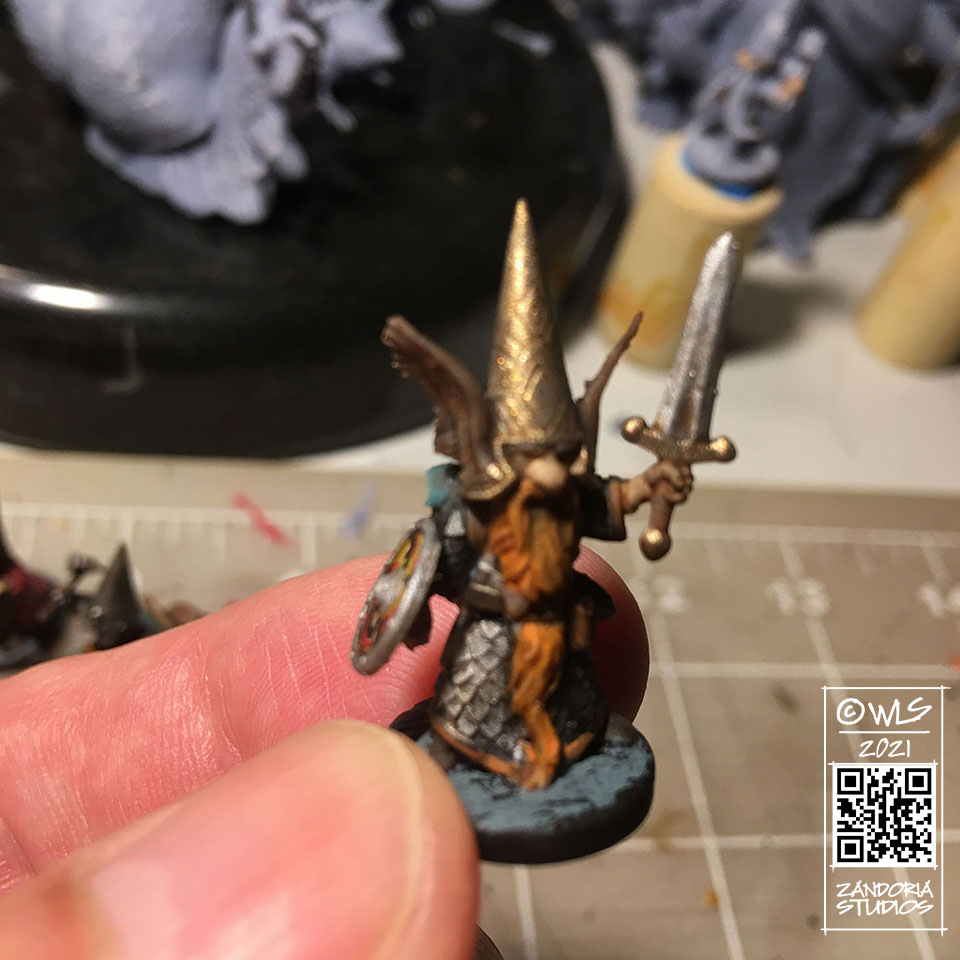
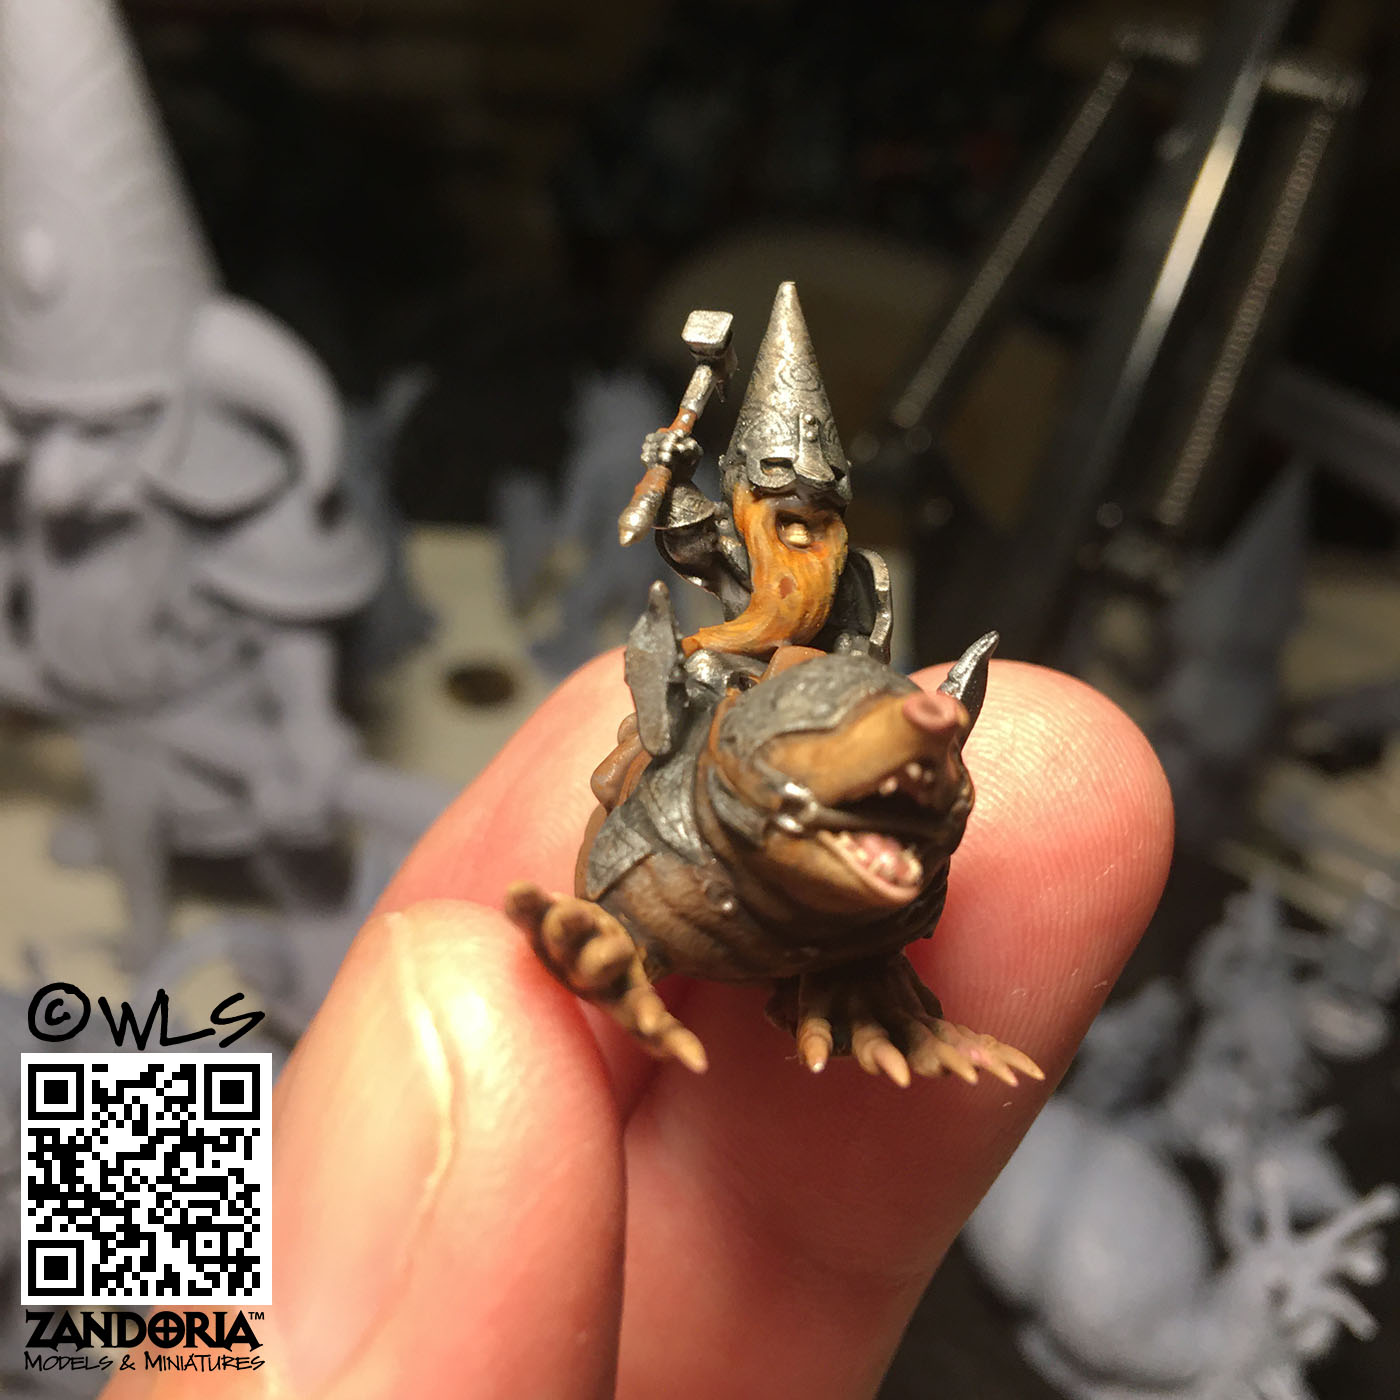
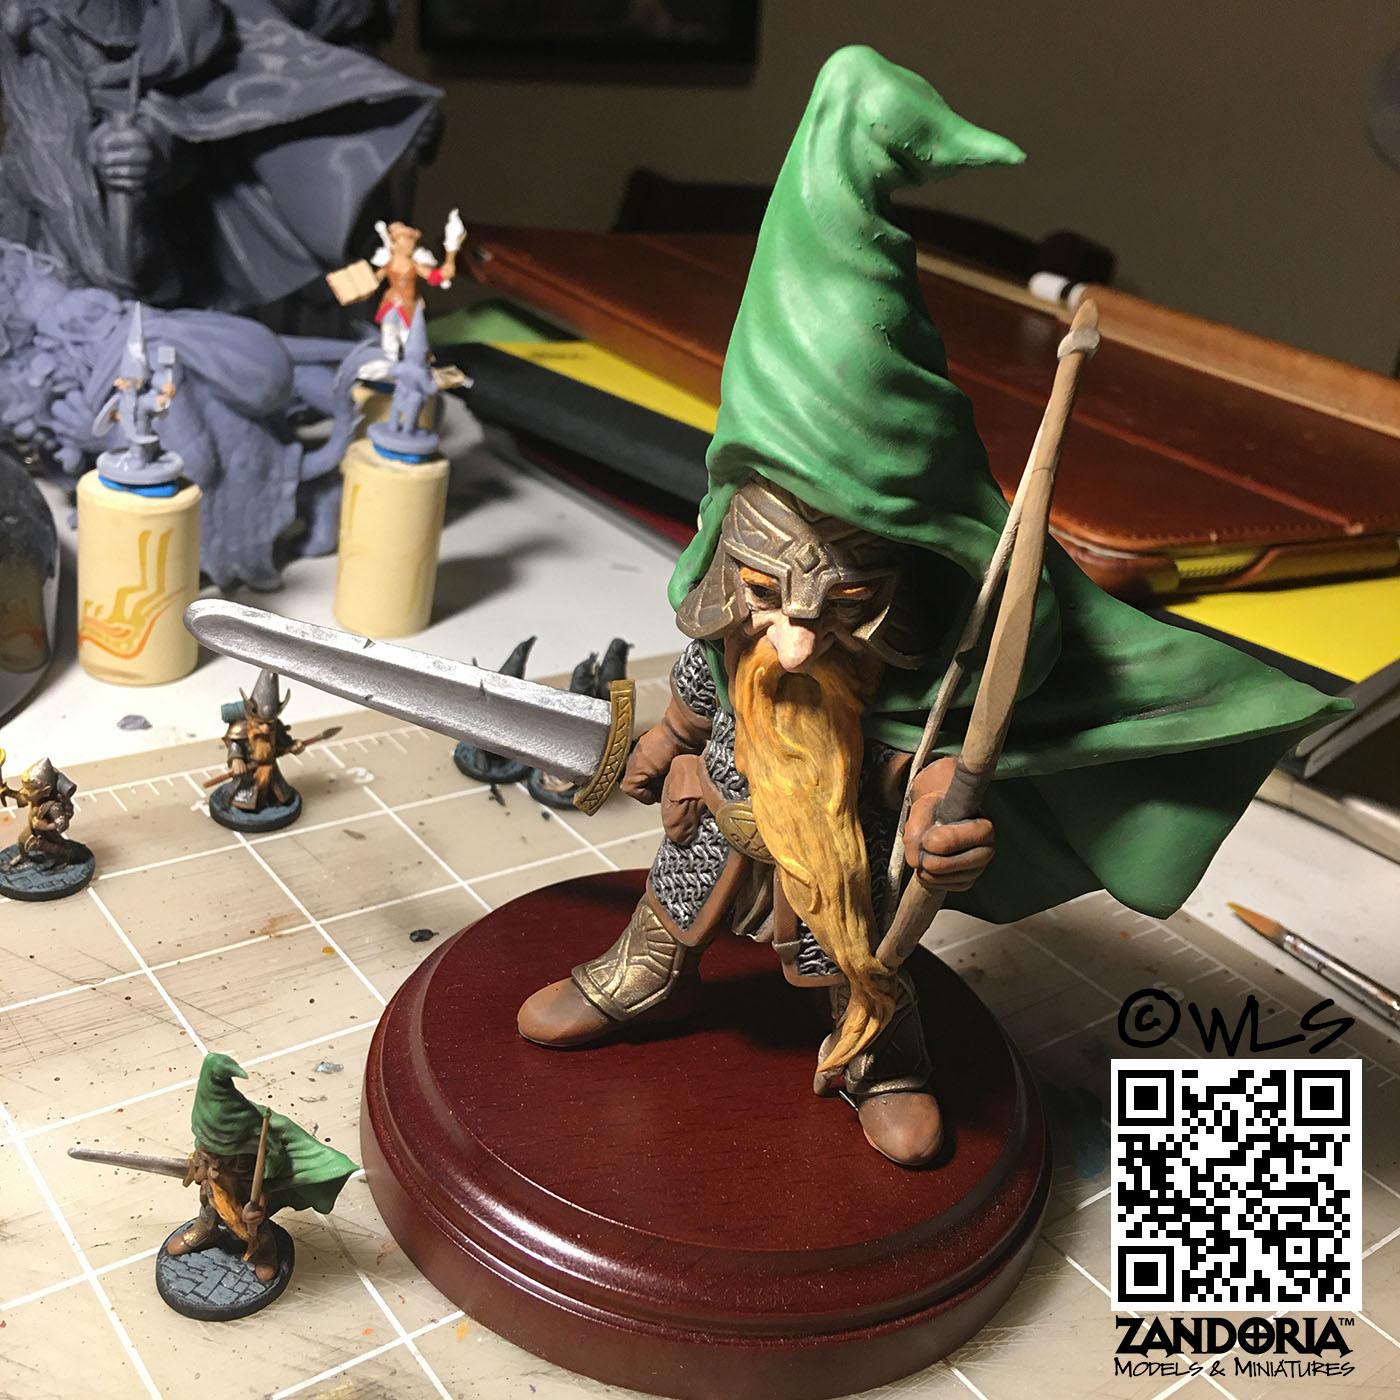
A Gnome is only around 3′ tall in D&D, and a Gonk Gnome maybe 2′-3′ which will mean that they are a lot shorter than a human. At 1:60 scale, a gnome might stand between 15-18mm tall (not including his cap)! A Gonk would be a little shorter, about 12-15mm without a cap.
Now what gets confusing is the “Scale creep” where the miniatures started getting bigger, and called “28mm Heroic”–which itself is not actually any scale! and then the oversized minis started to be called 32mm scale. And since the advent of 3Dprinting, the sizes of the minis has gotten all over the place!
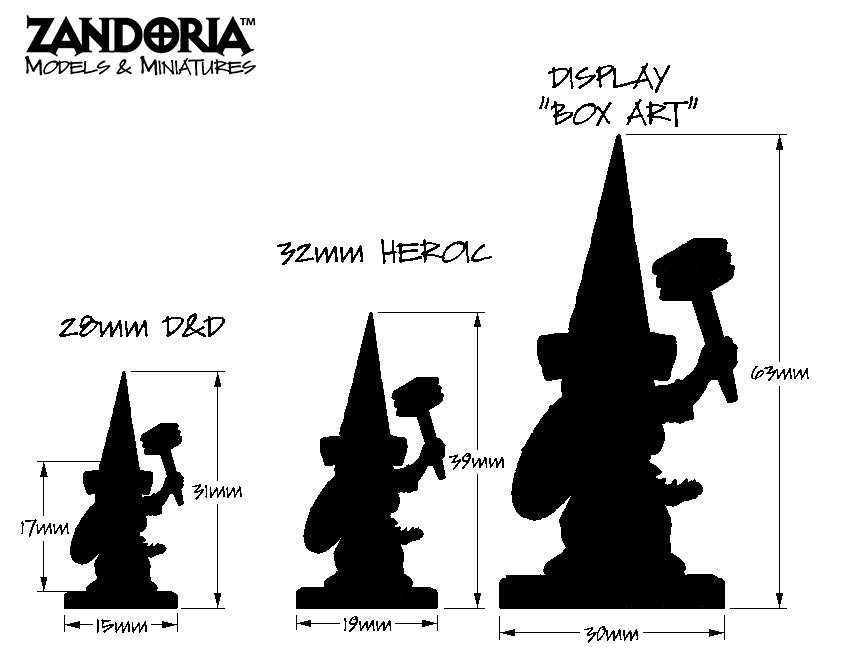
This is the reason for the dimensions in my shop. The 28mm D&D is the default, which is true to 1:60 scale to match the grid. I am also selling the 32mm Heroic size (which is 125% of the original), and a Display/”Box Art” size which is 200% of the original–This is for miniature painters, and collectors who want to be able to see more details, rather than for playing the game.