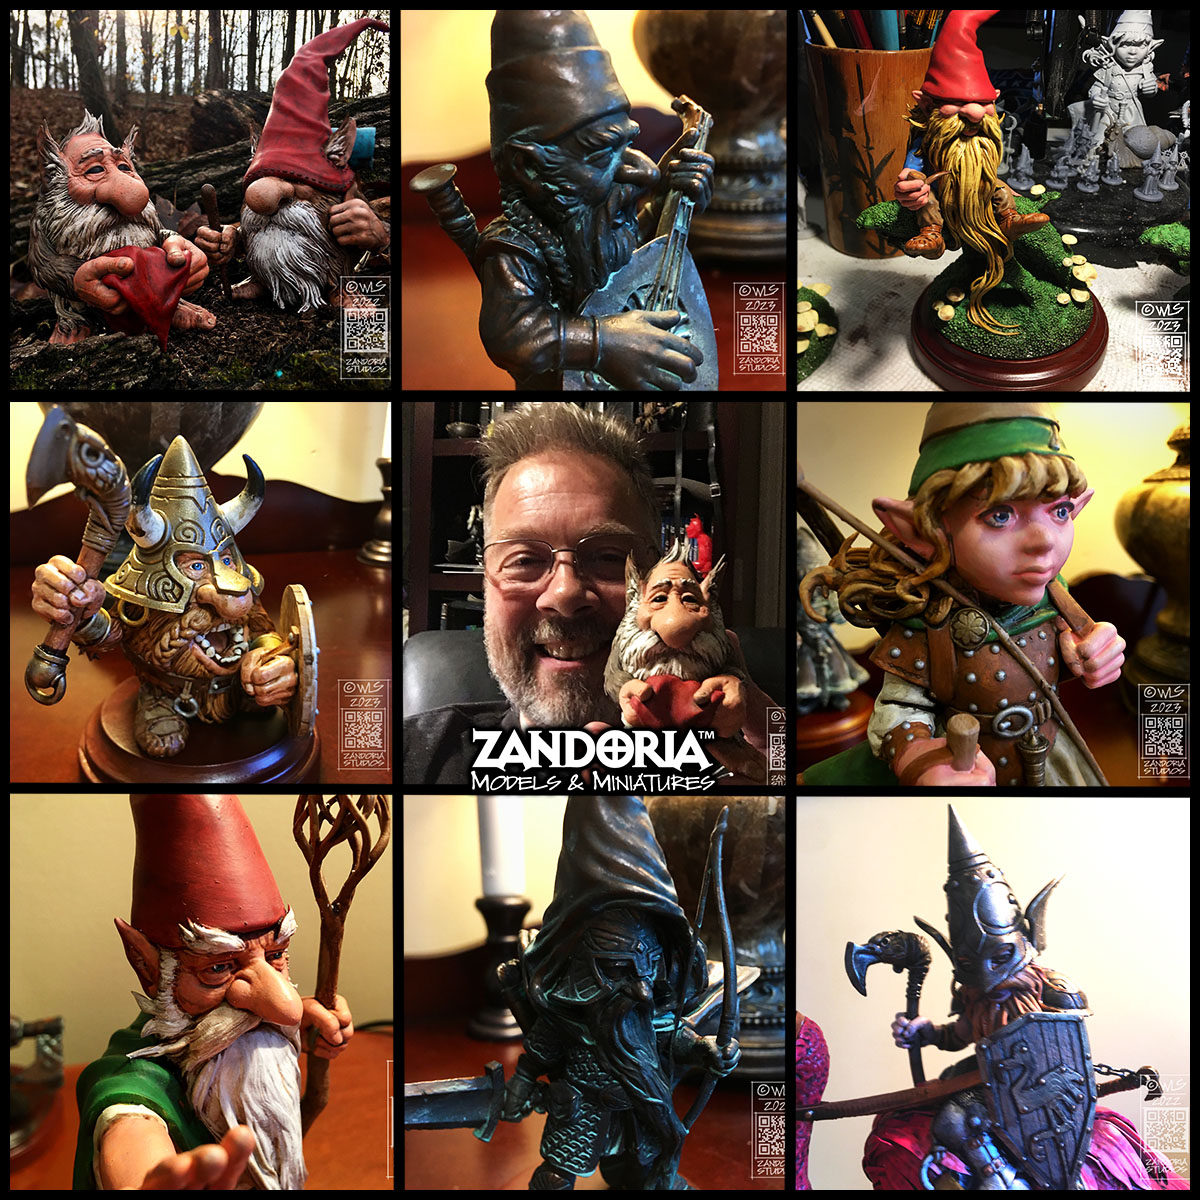
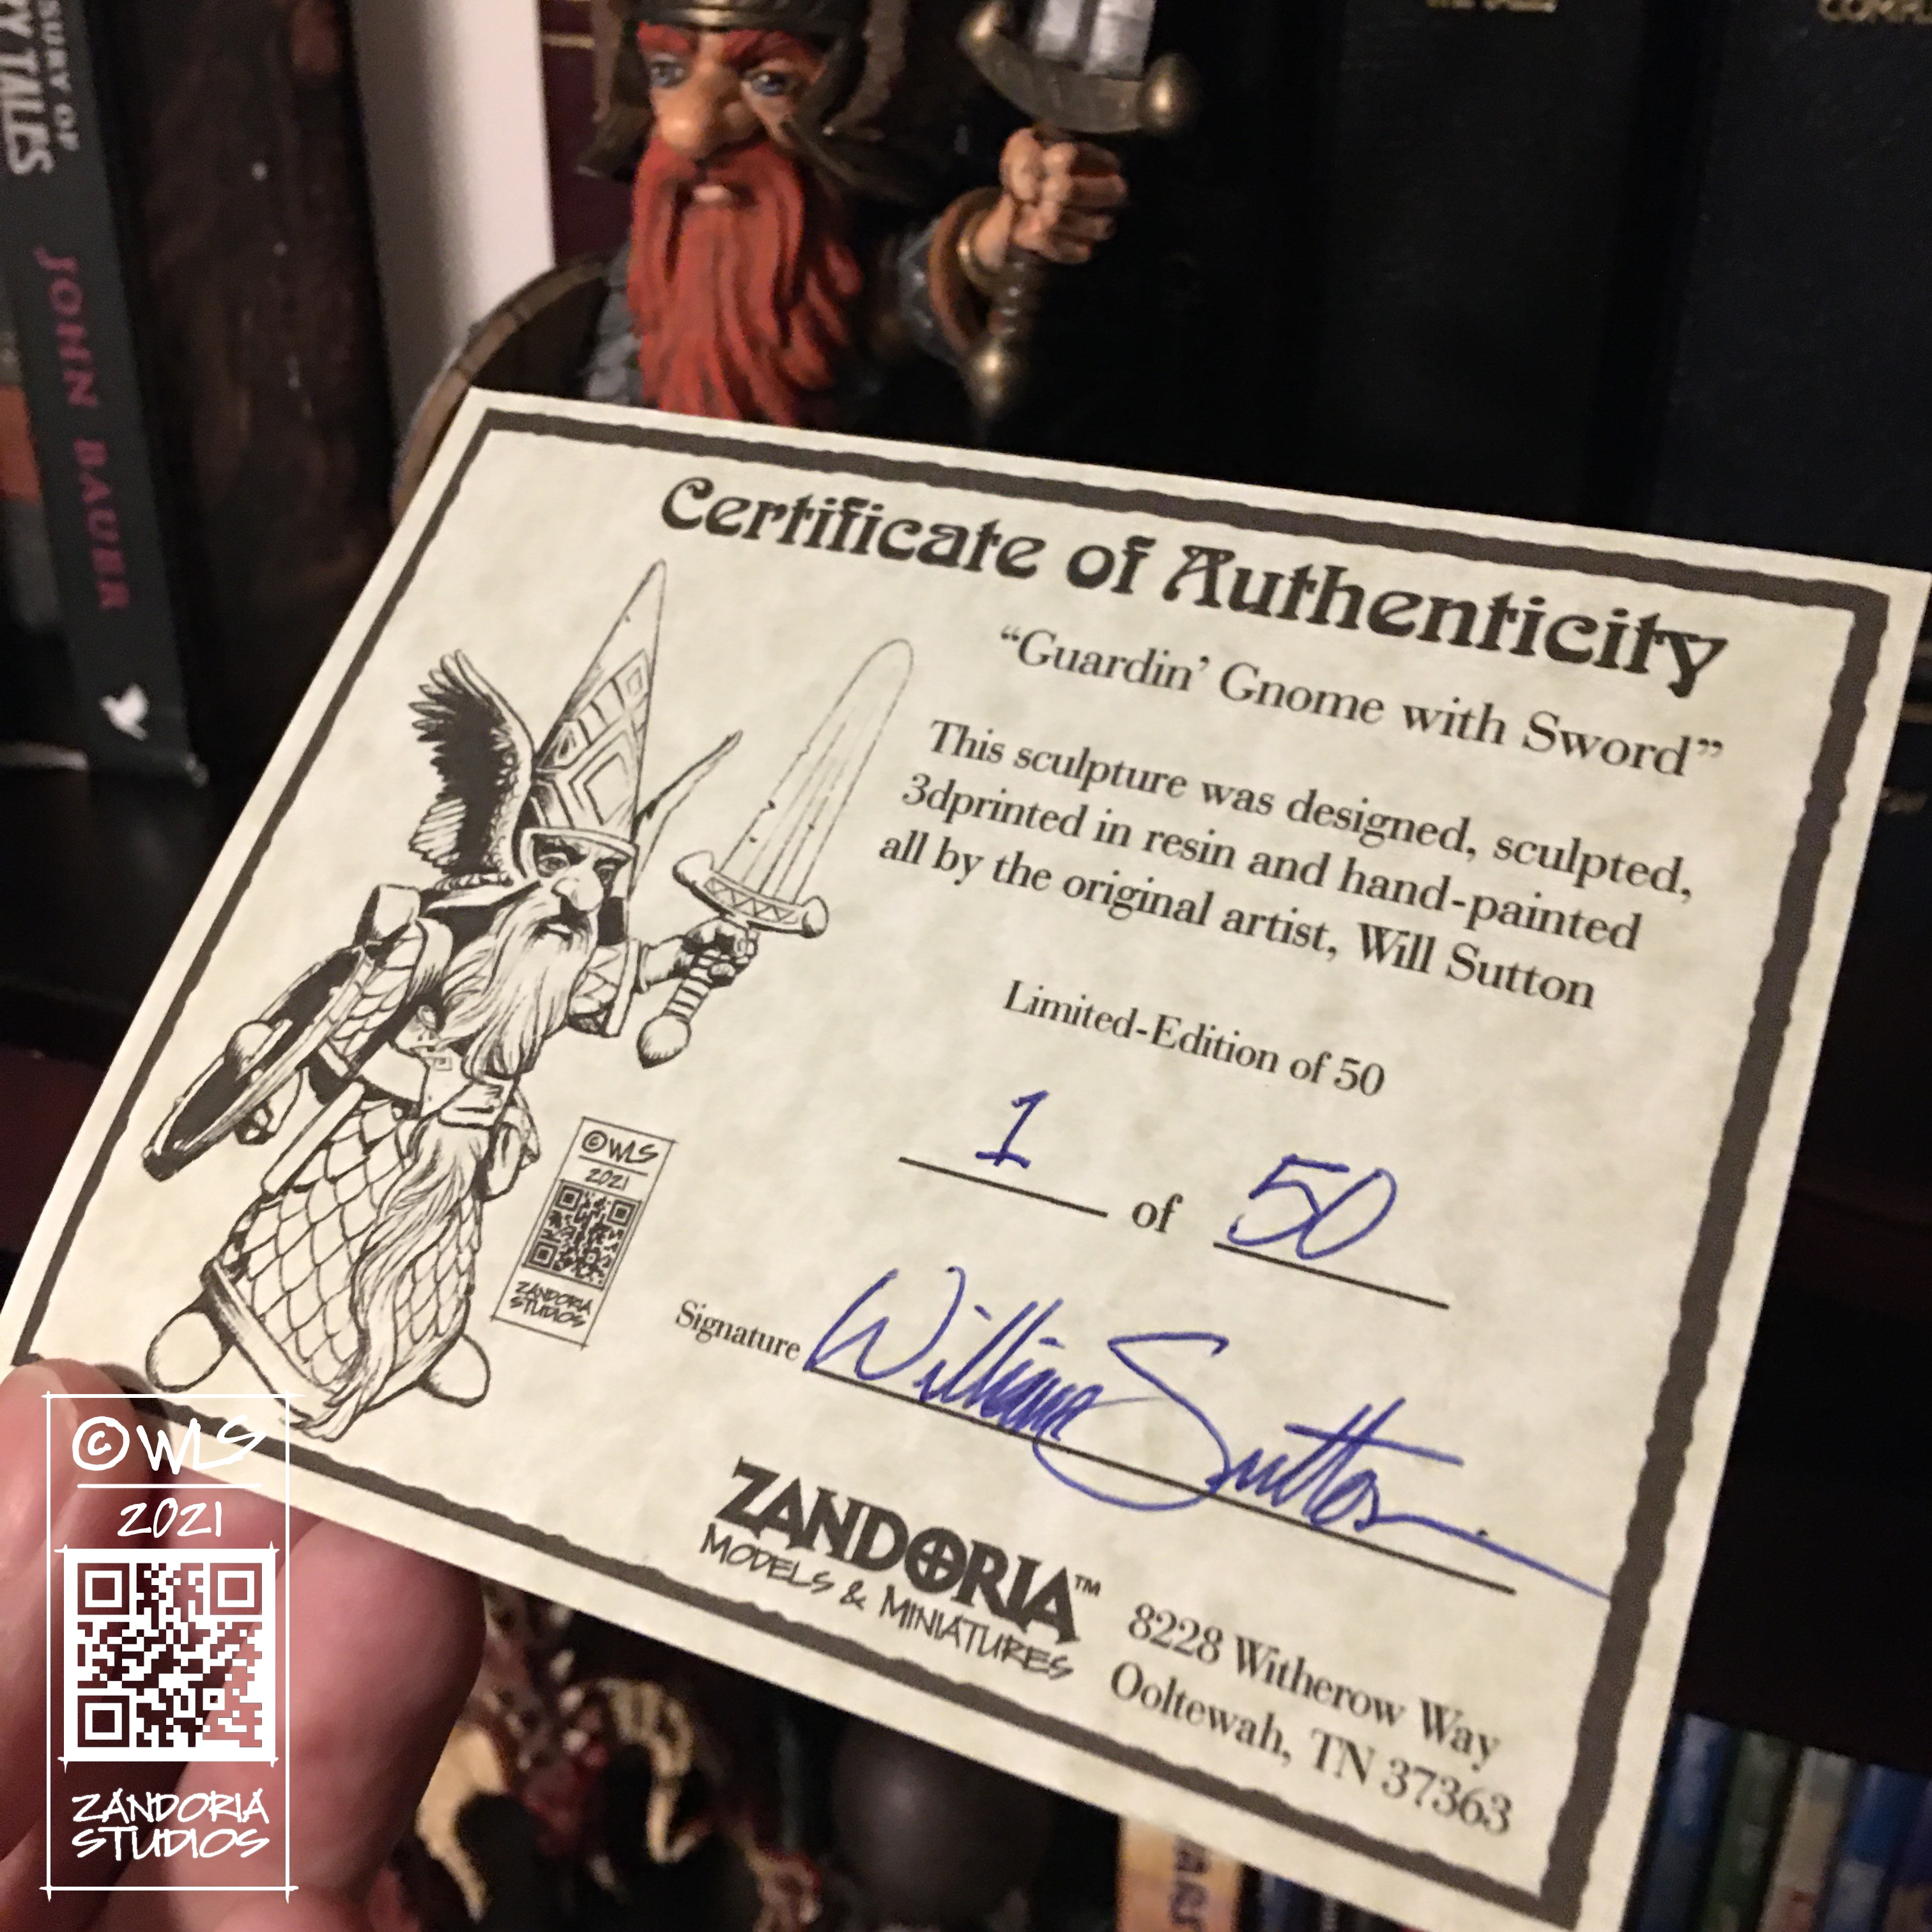
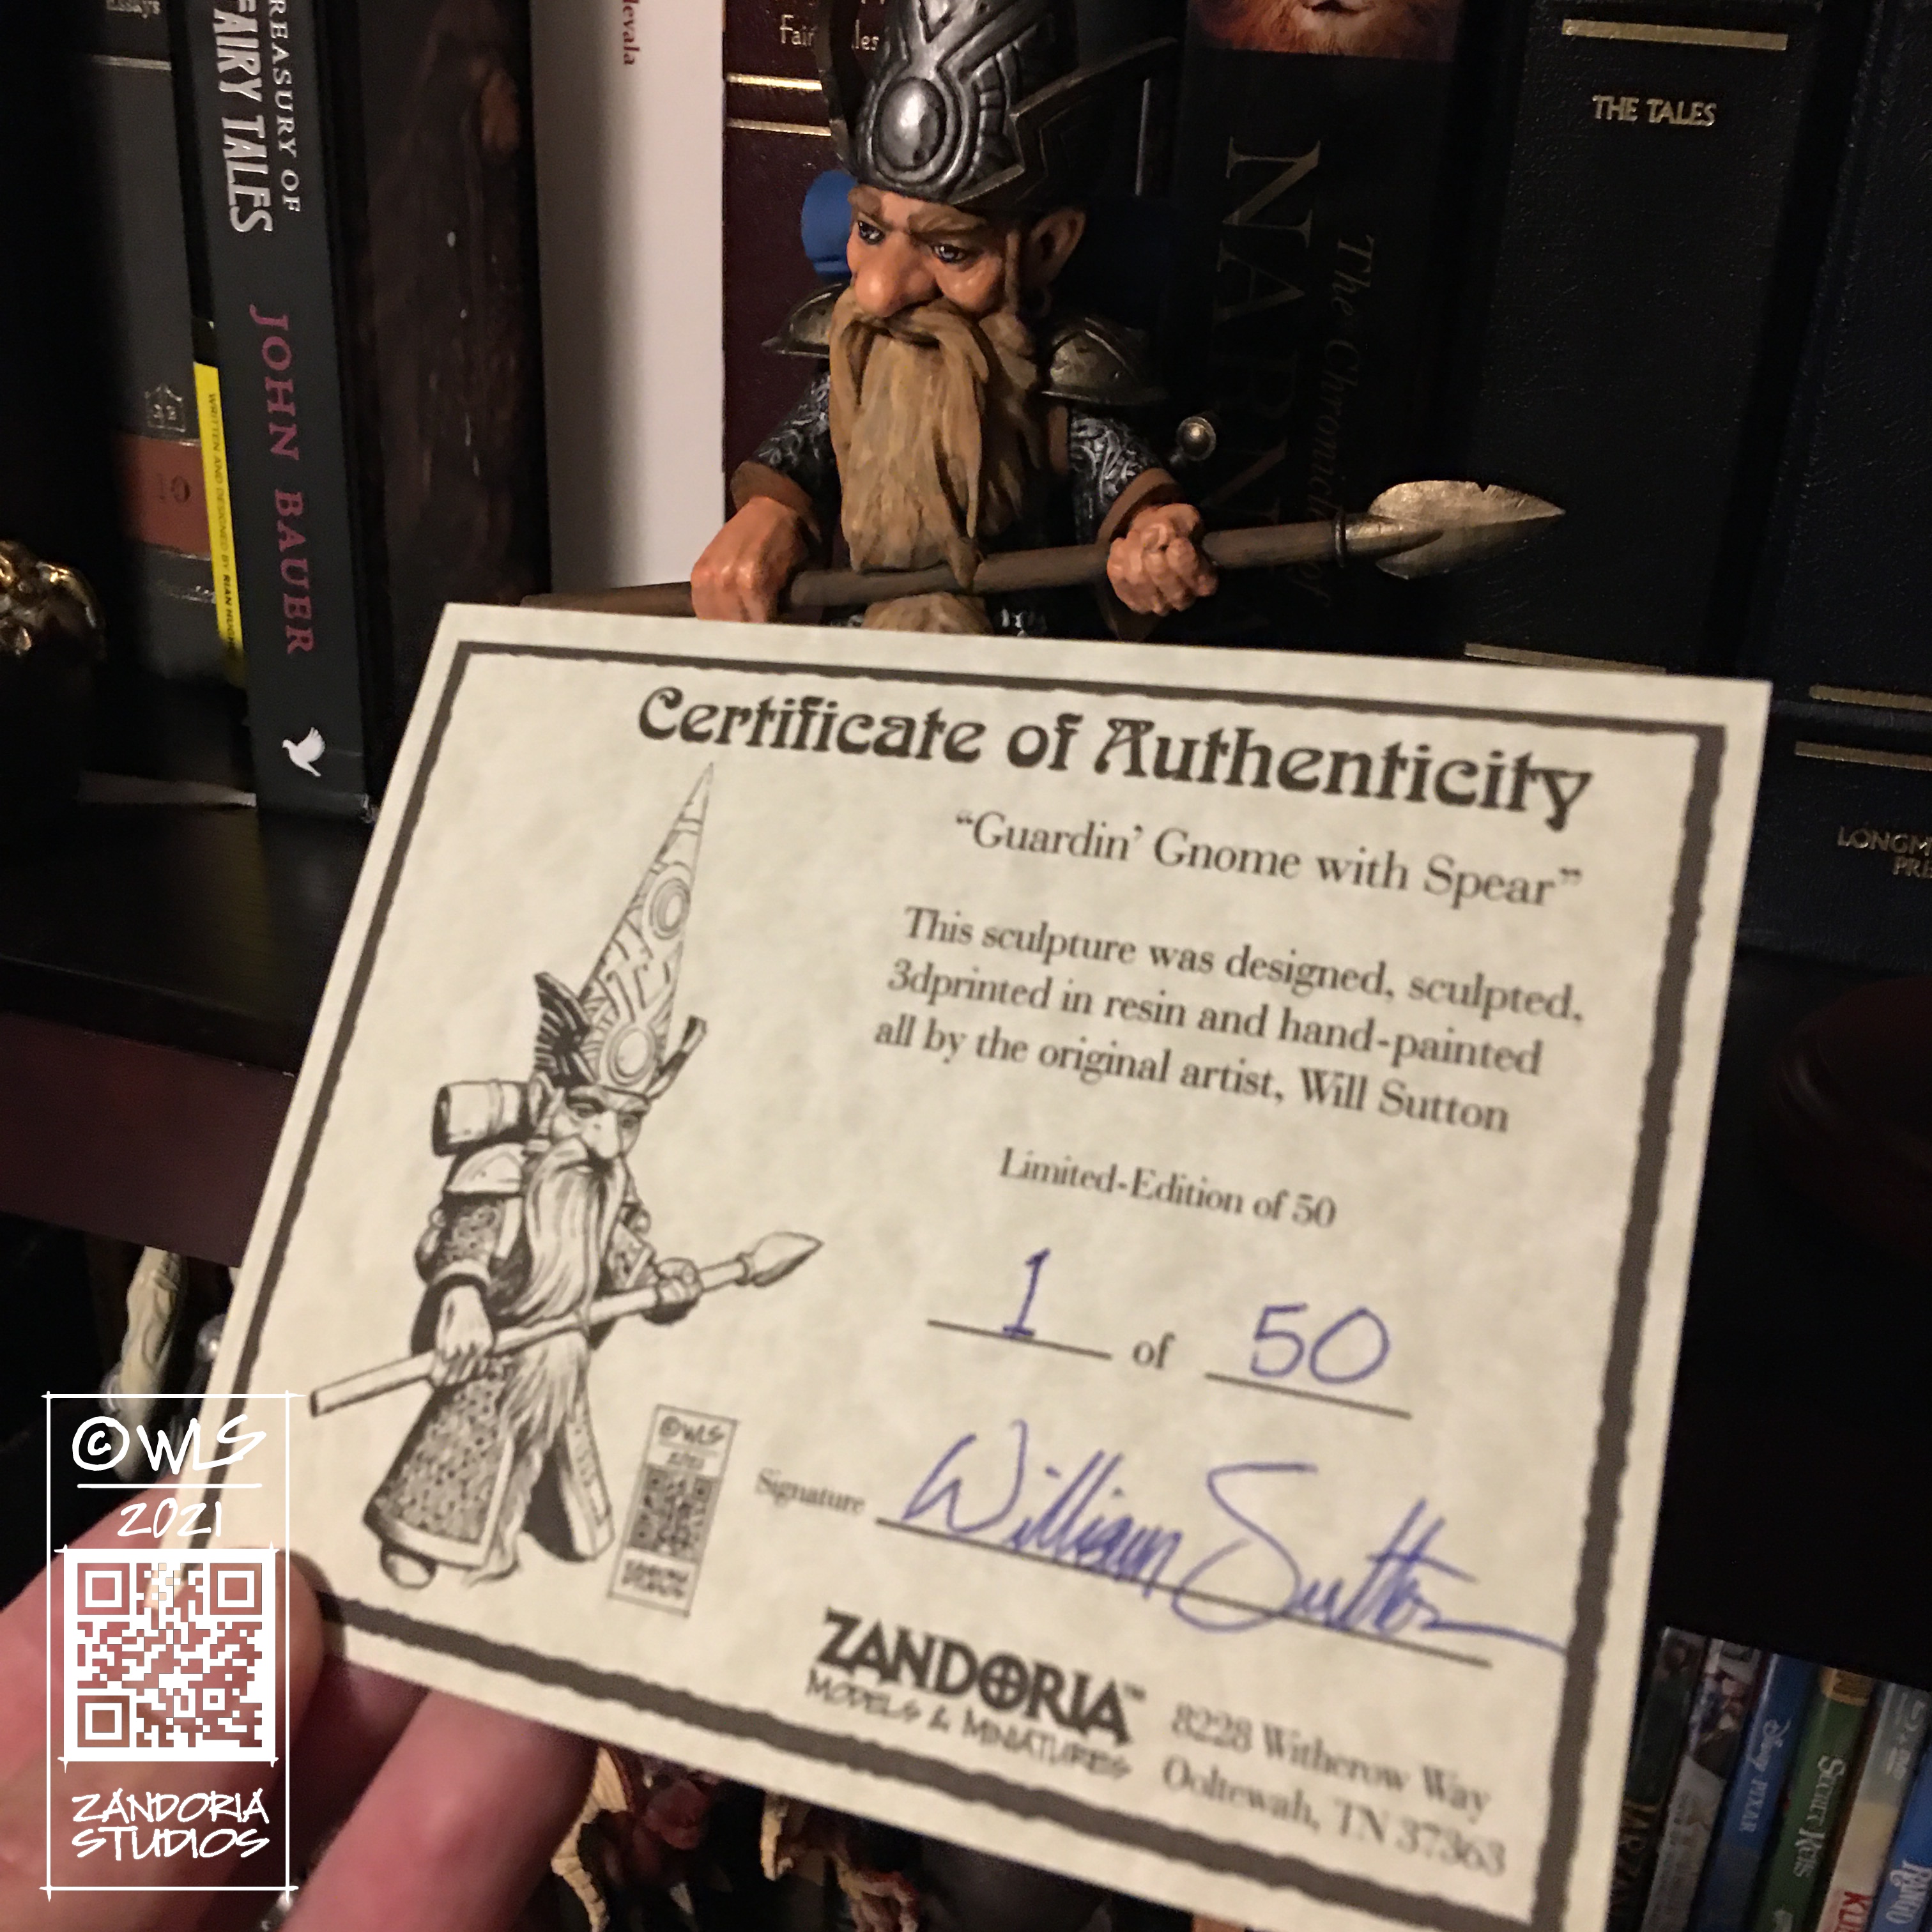
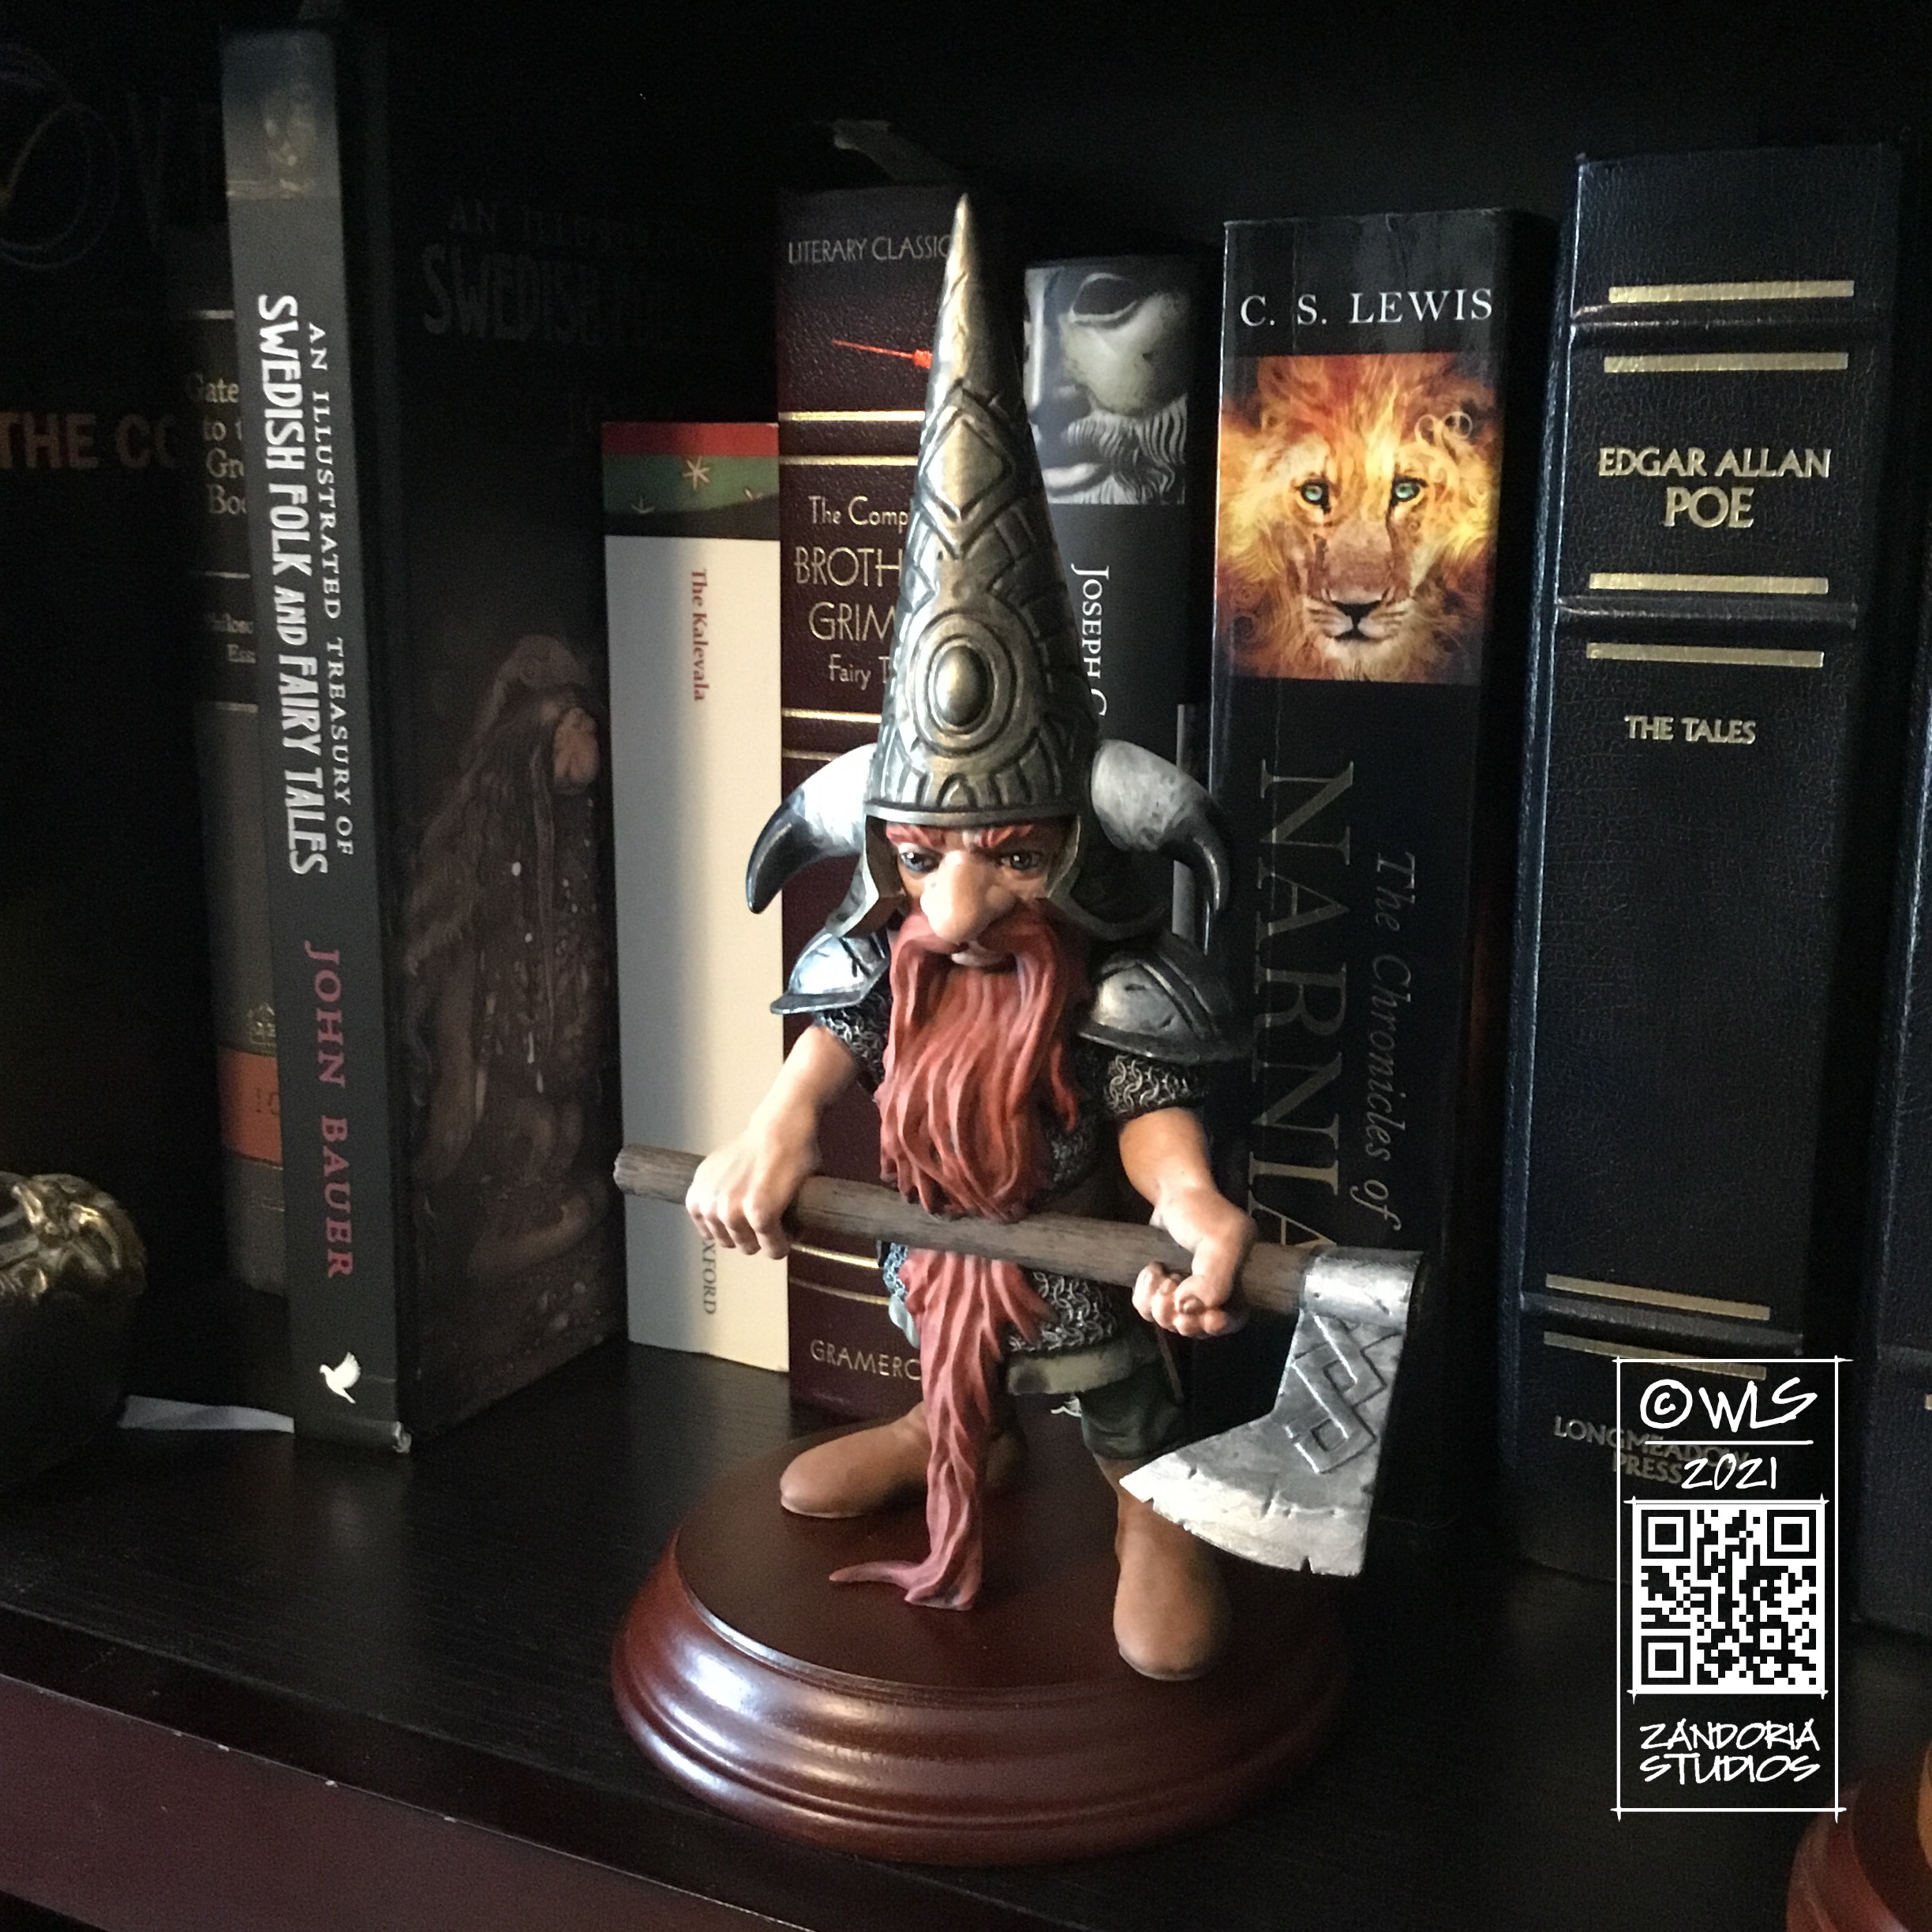
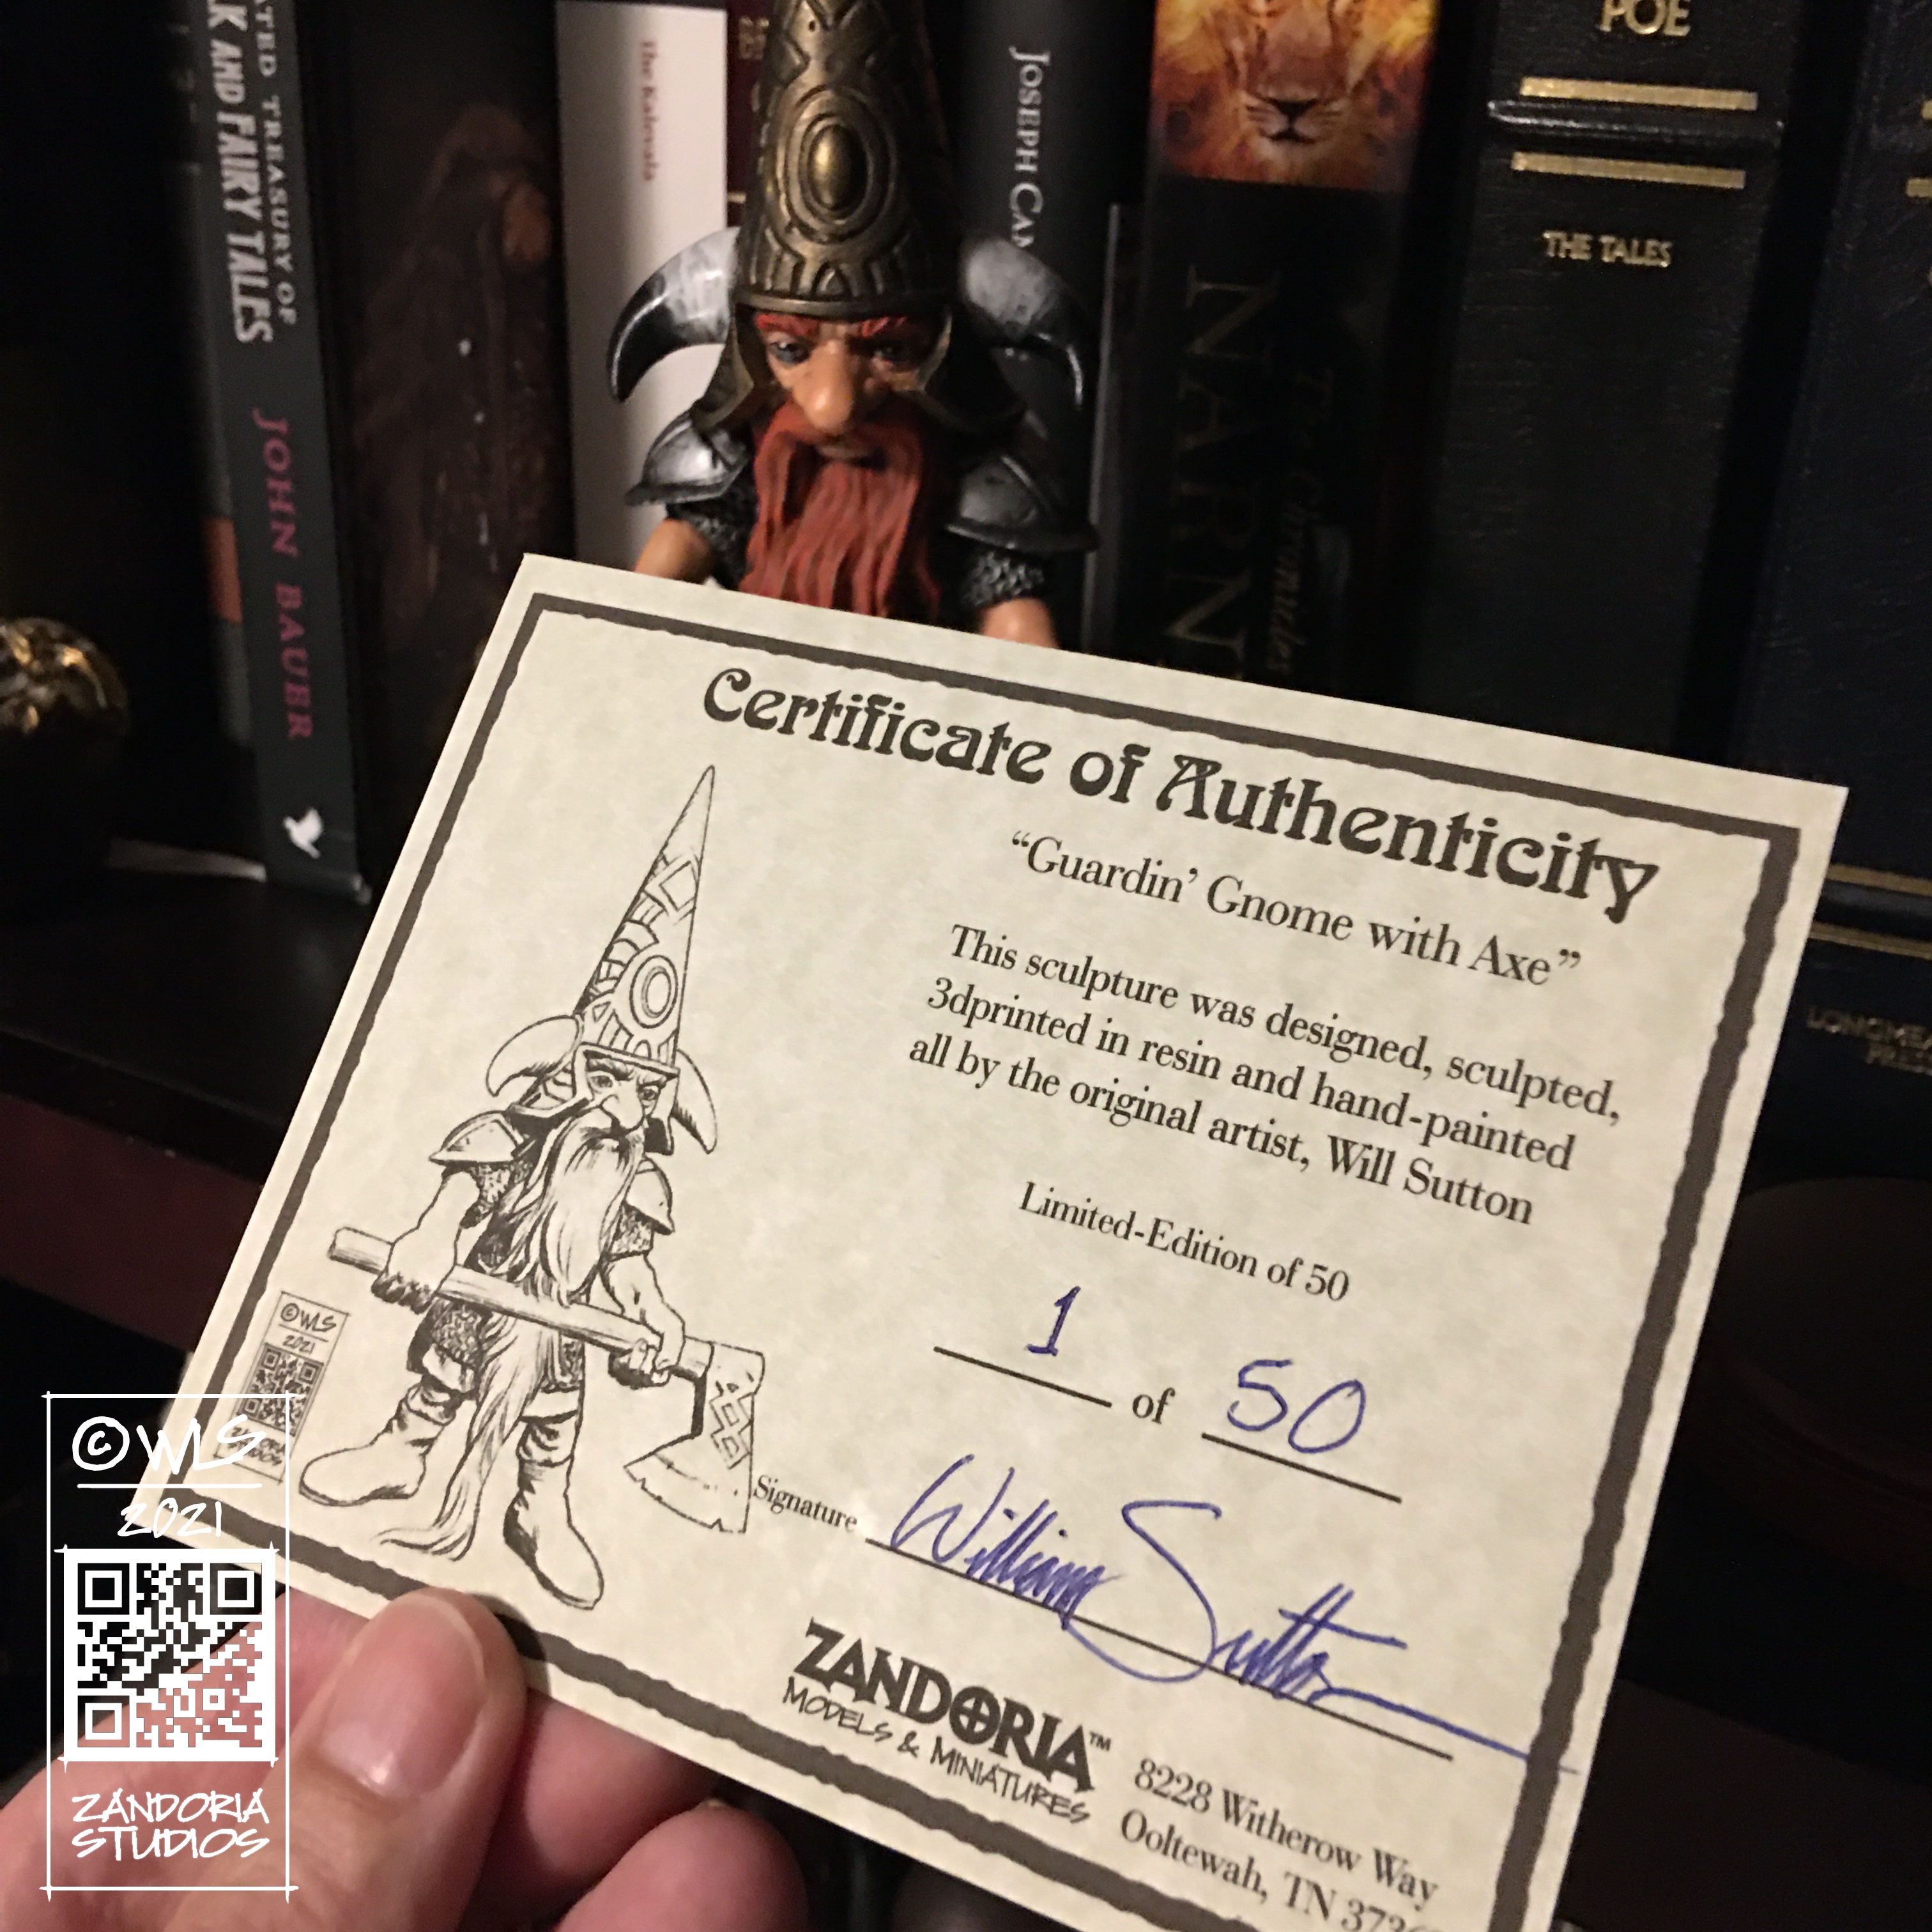
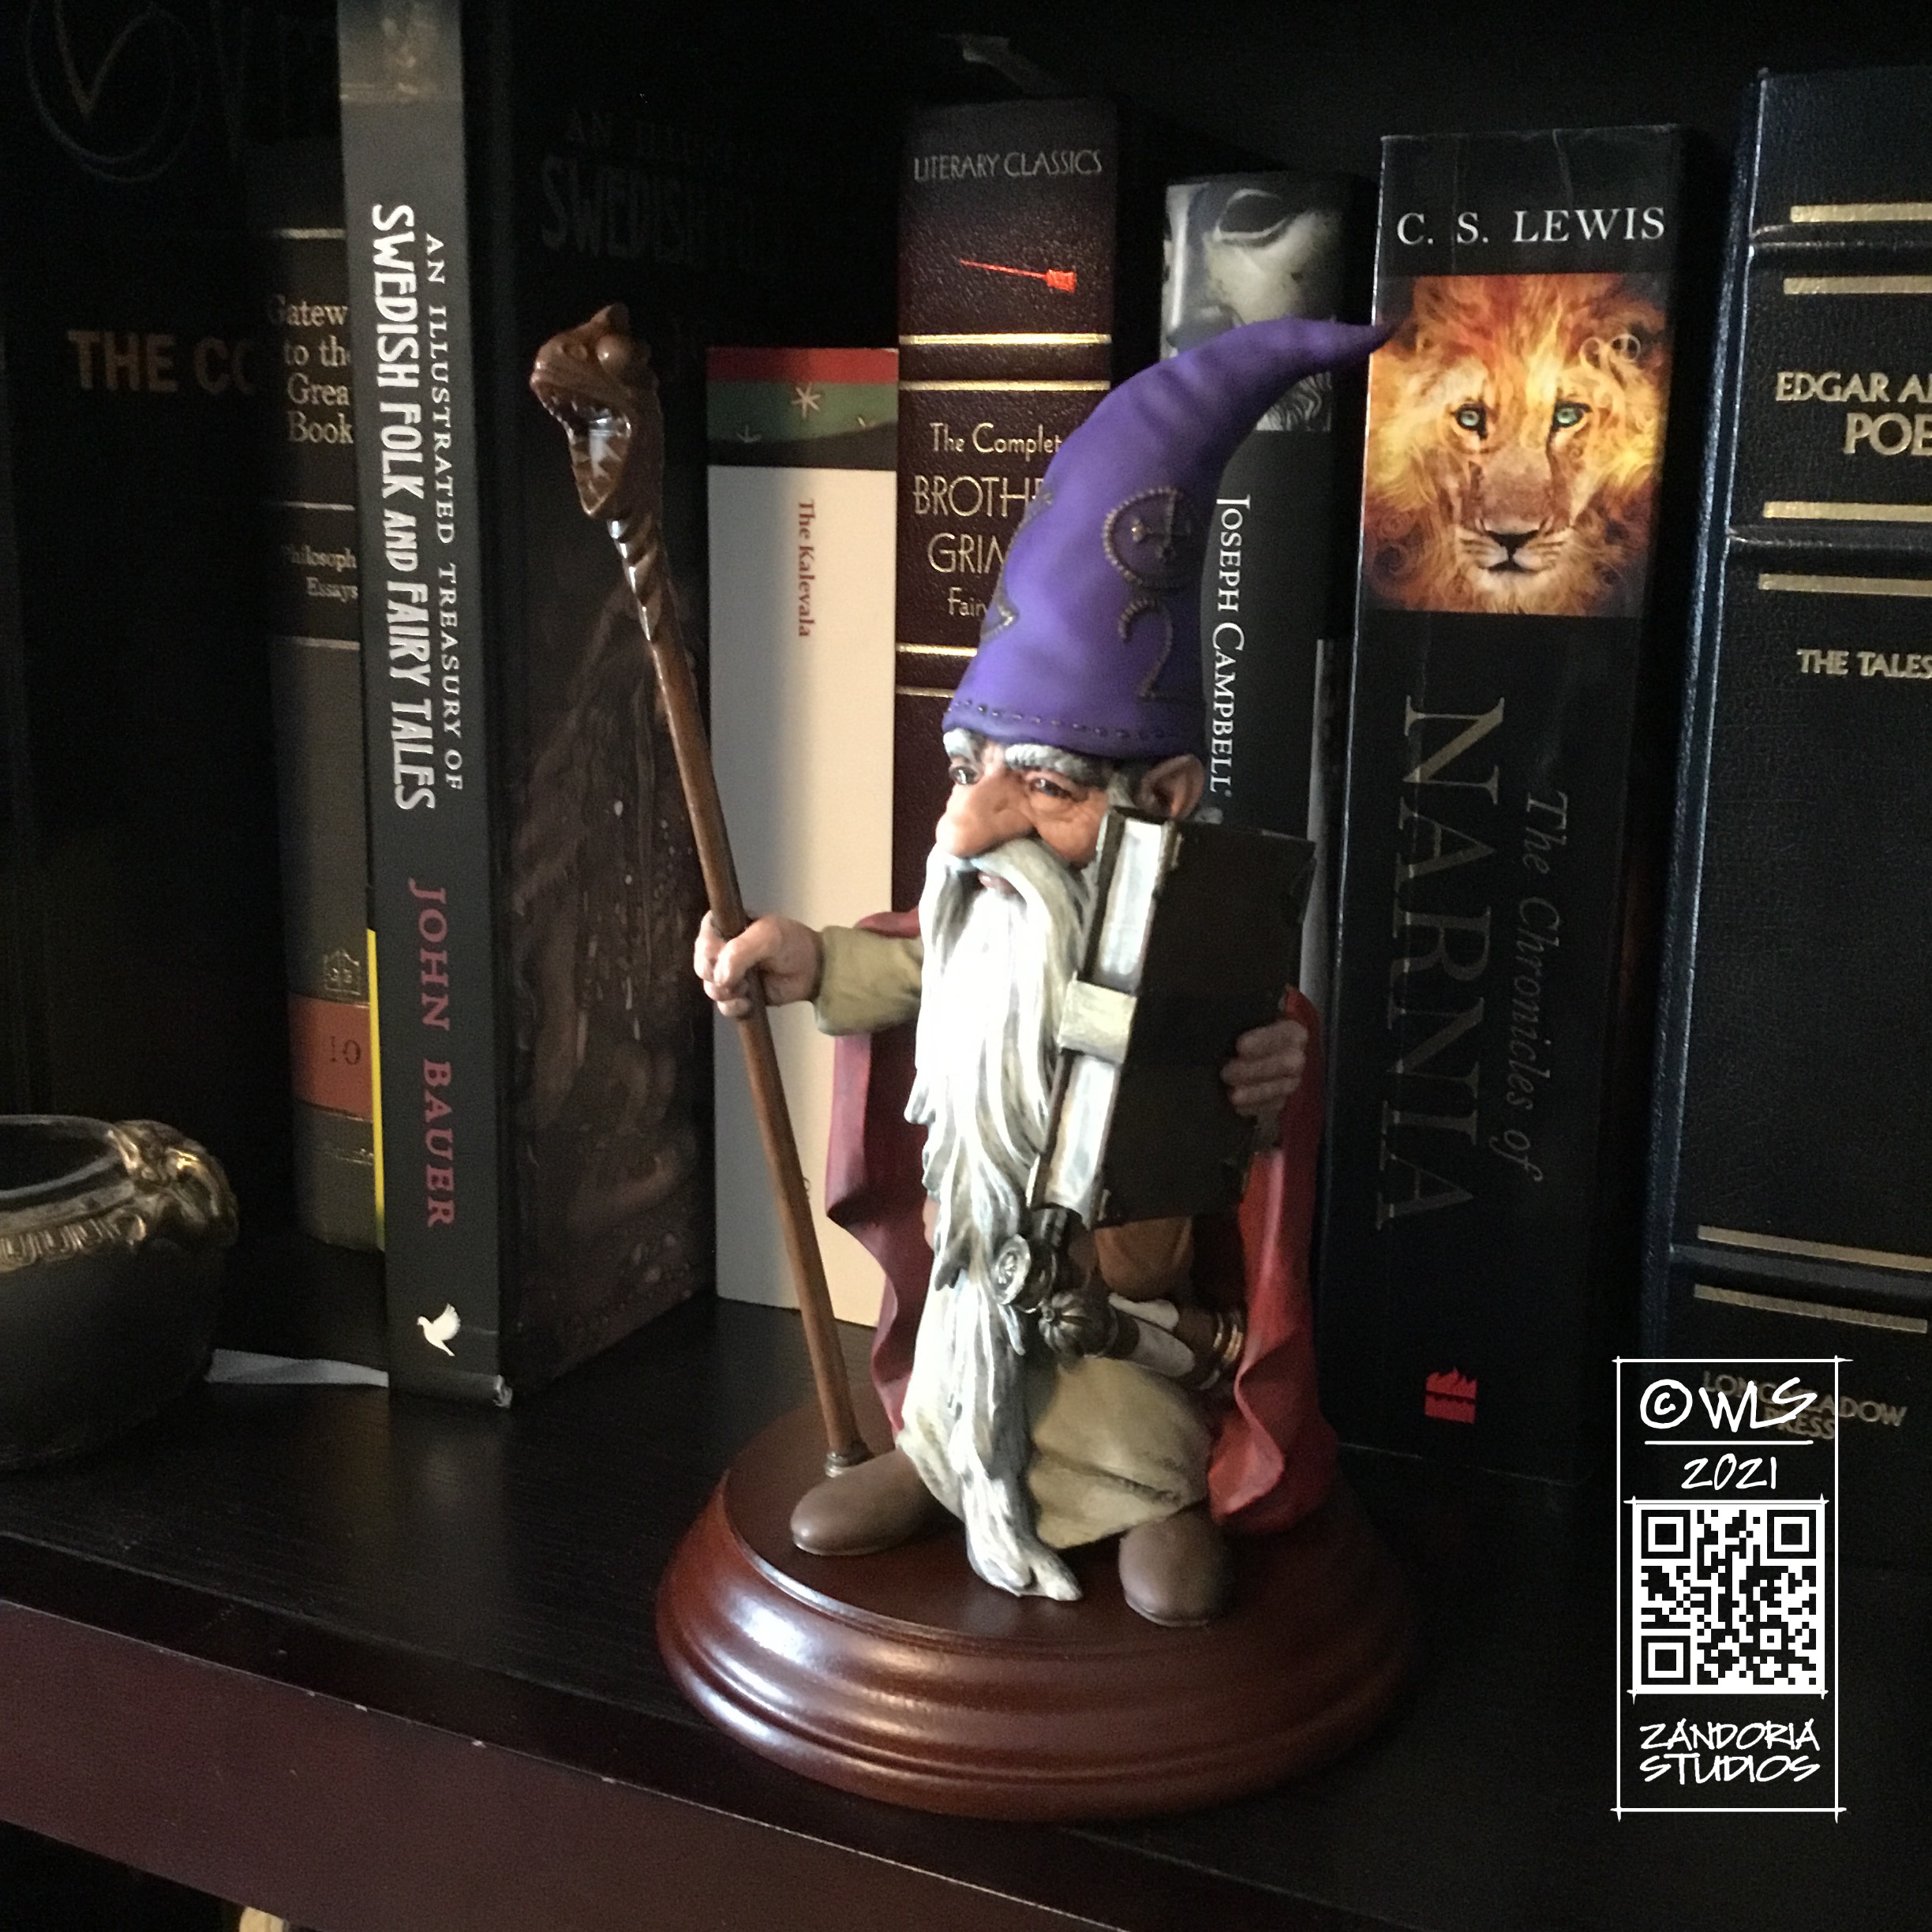
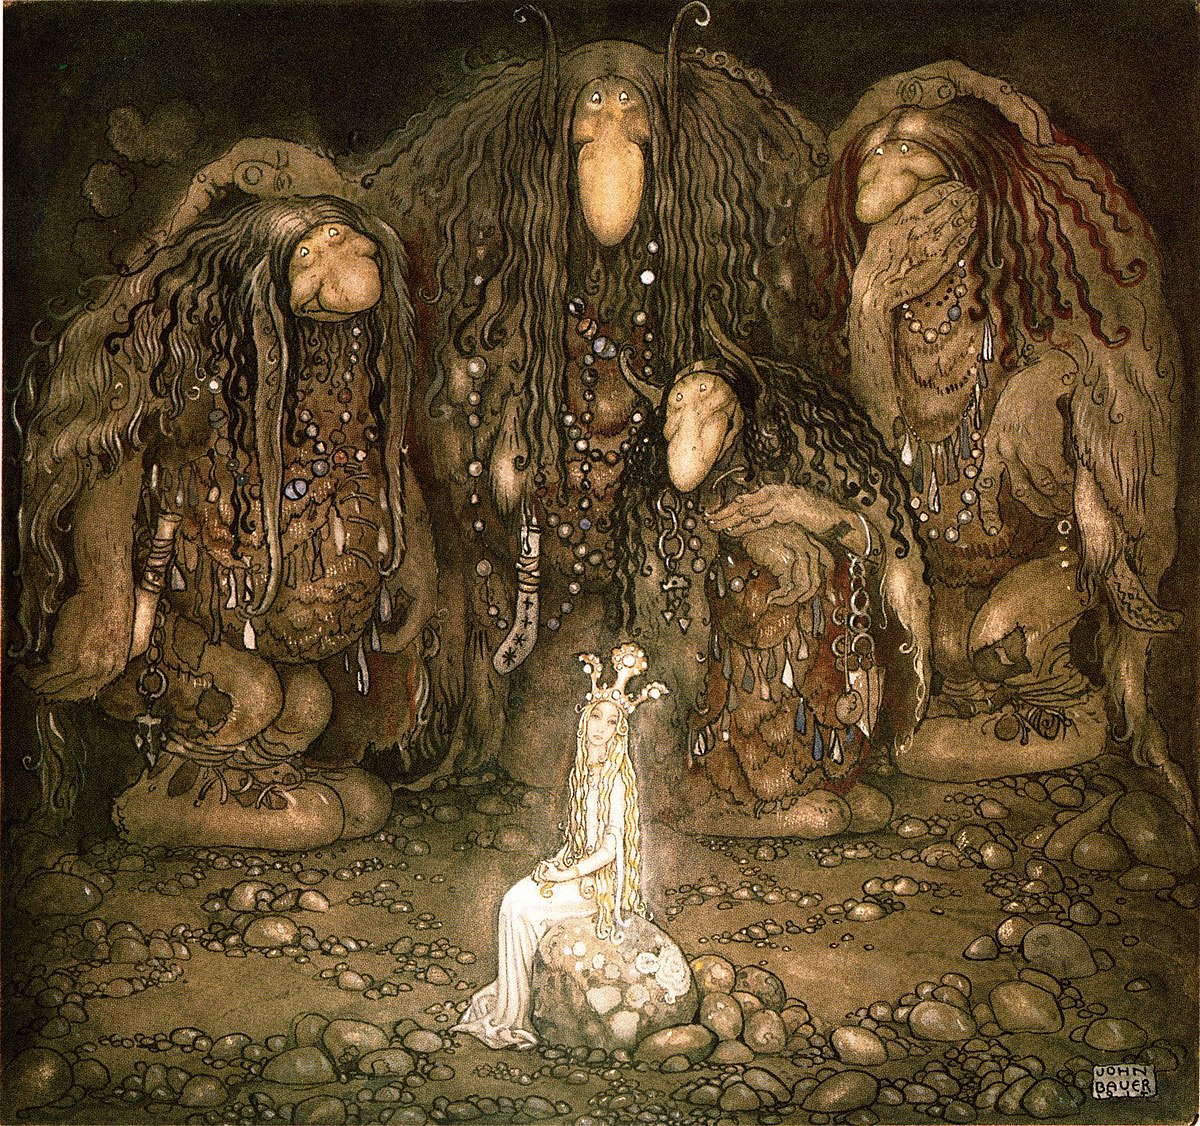
Gnomes and Gonks as D&D Characters
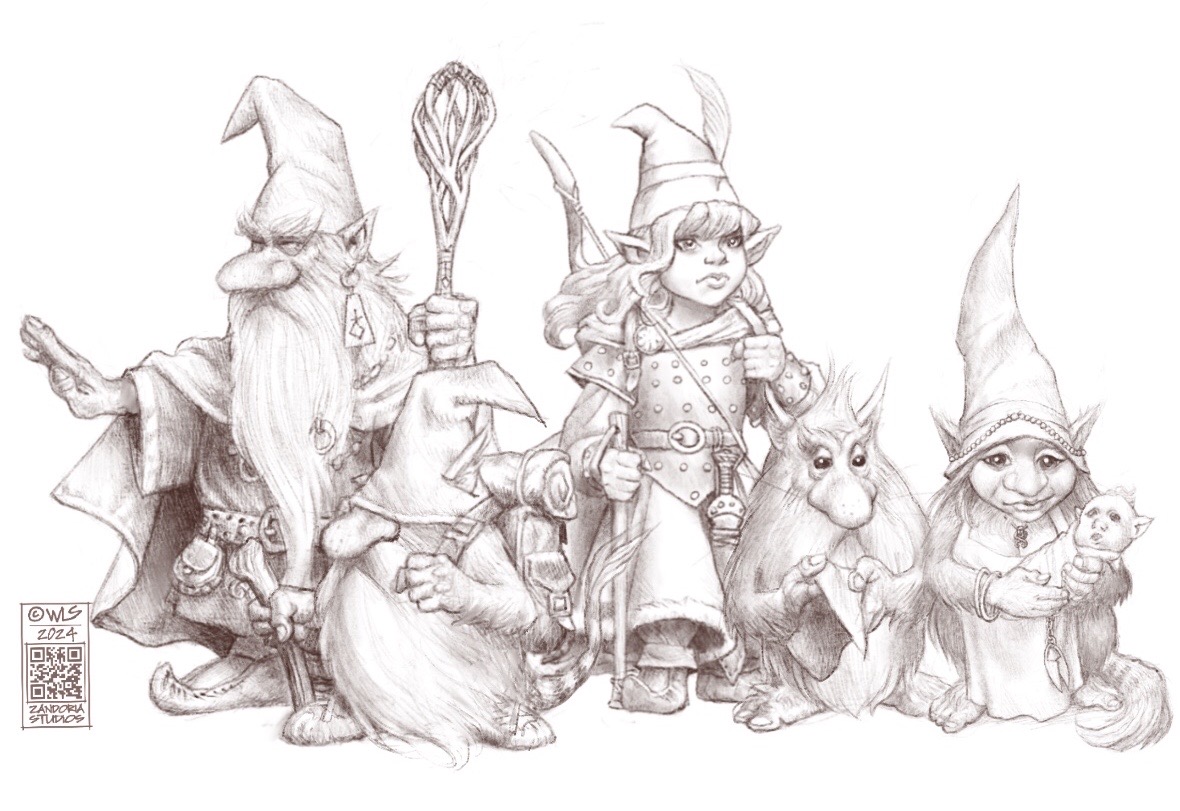
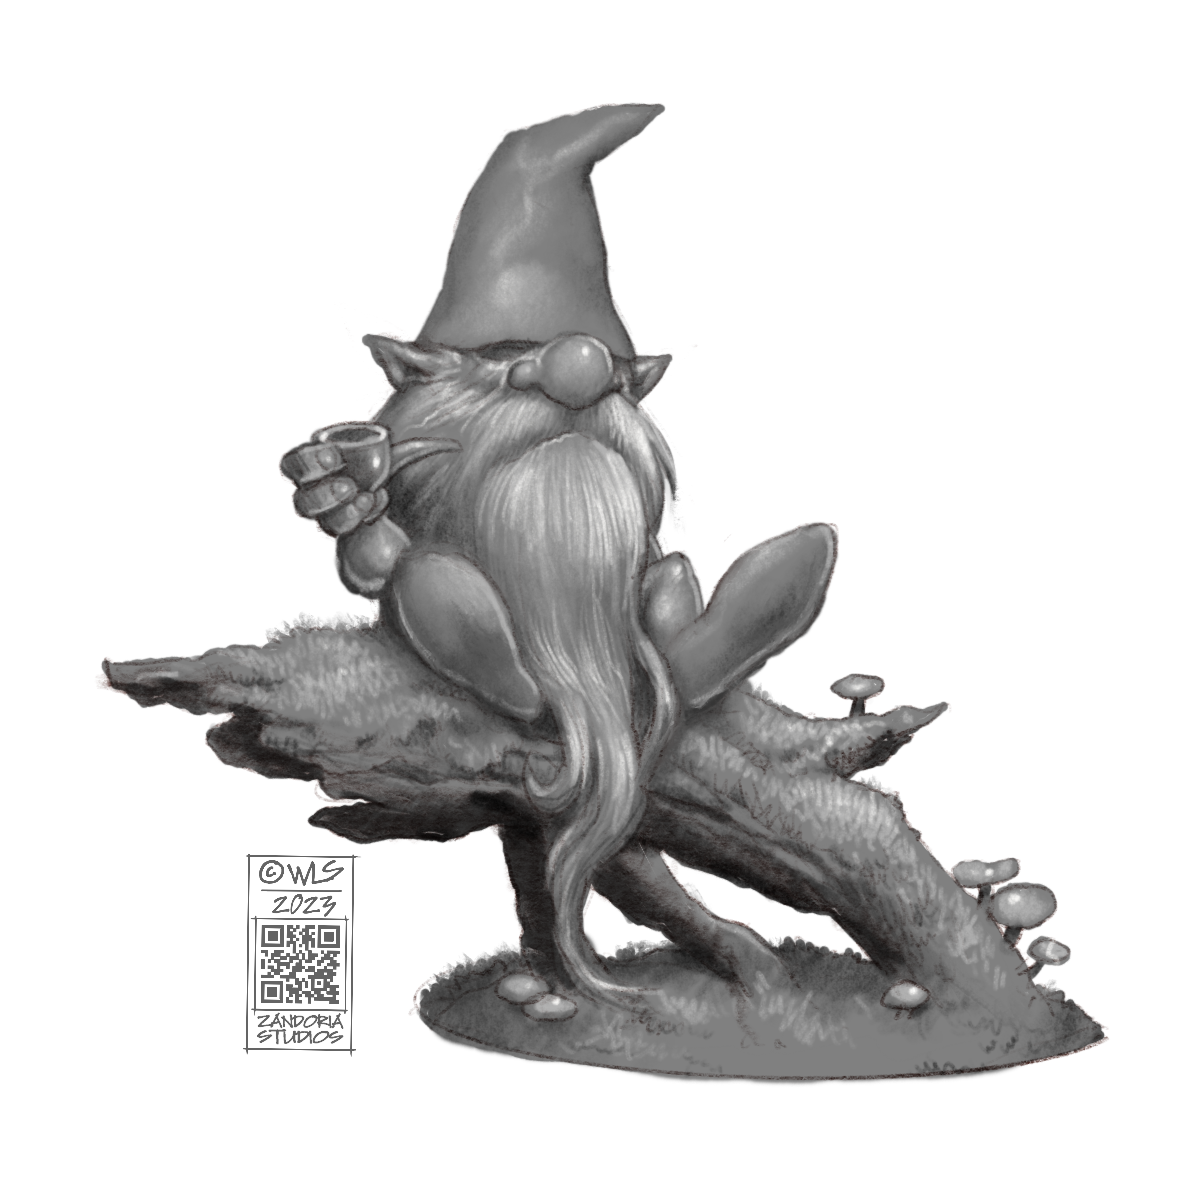
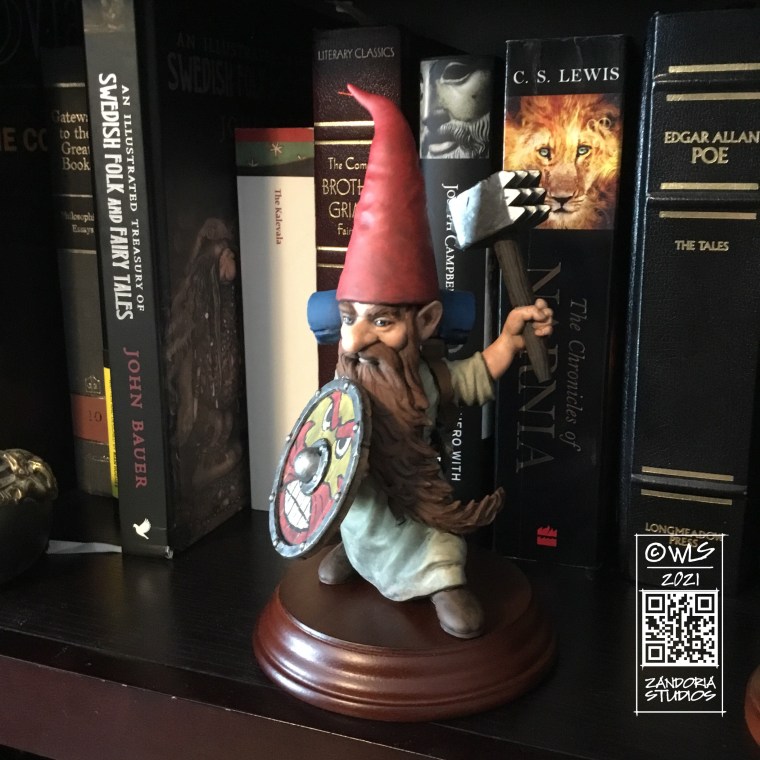
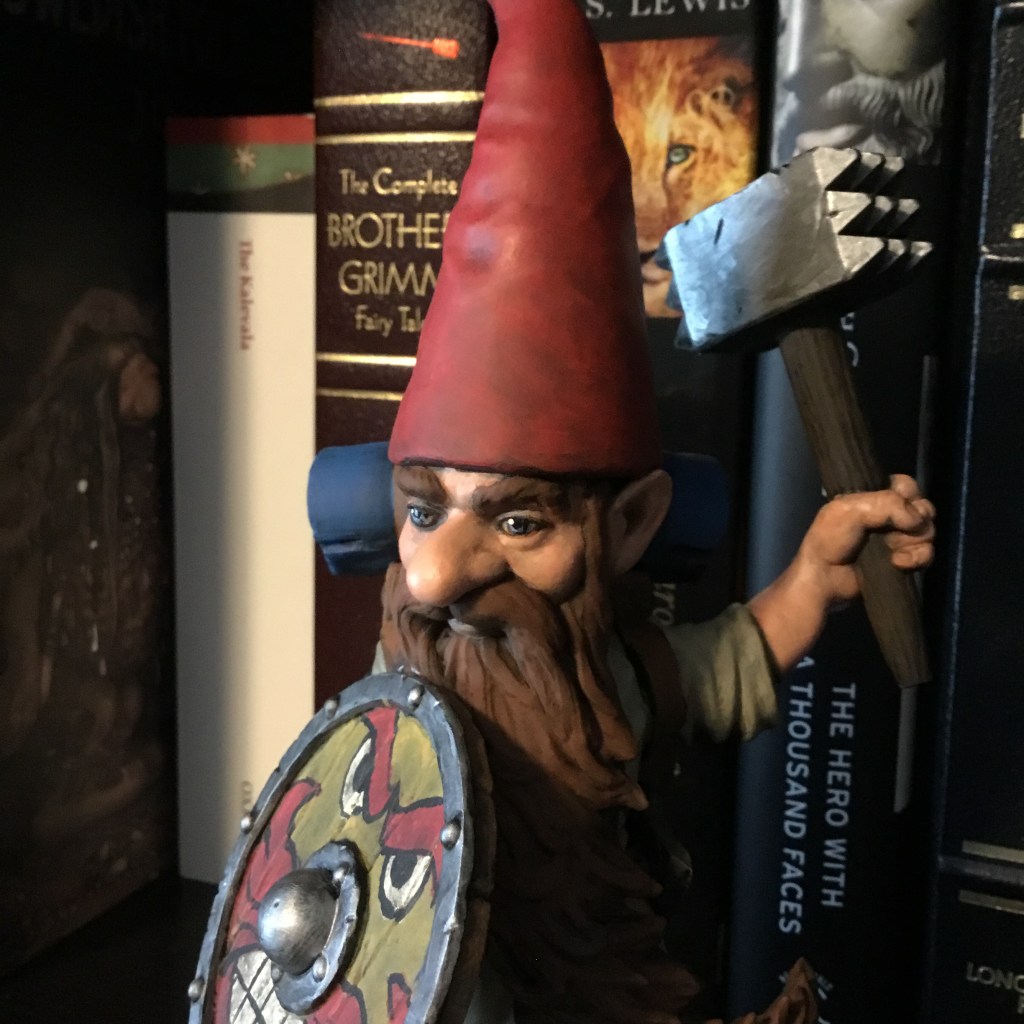
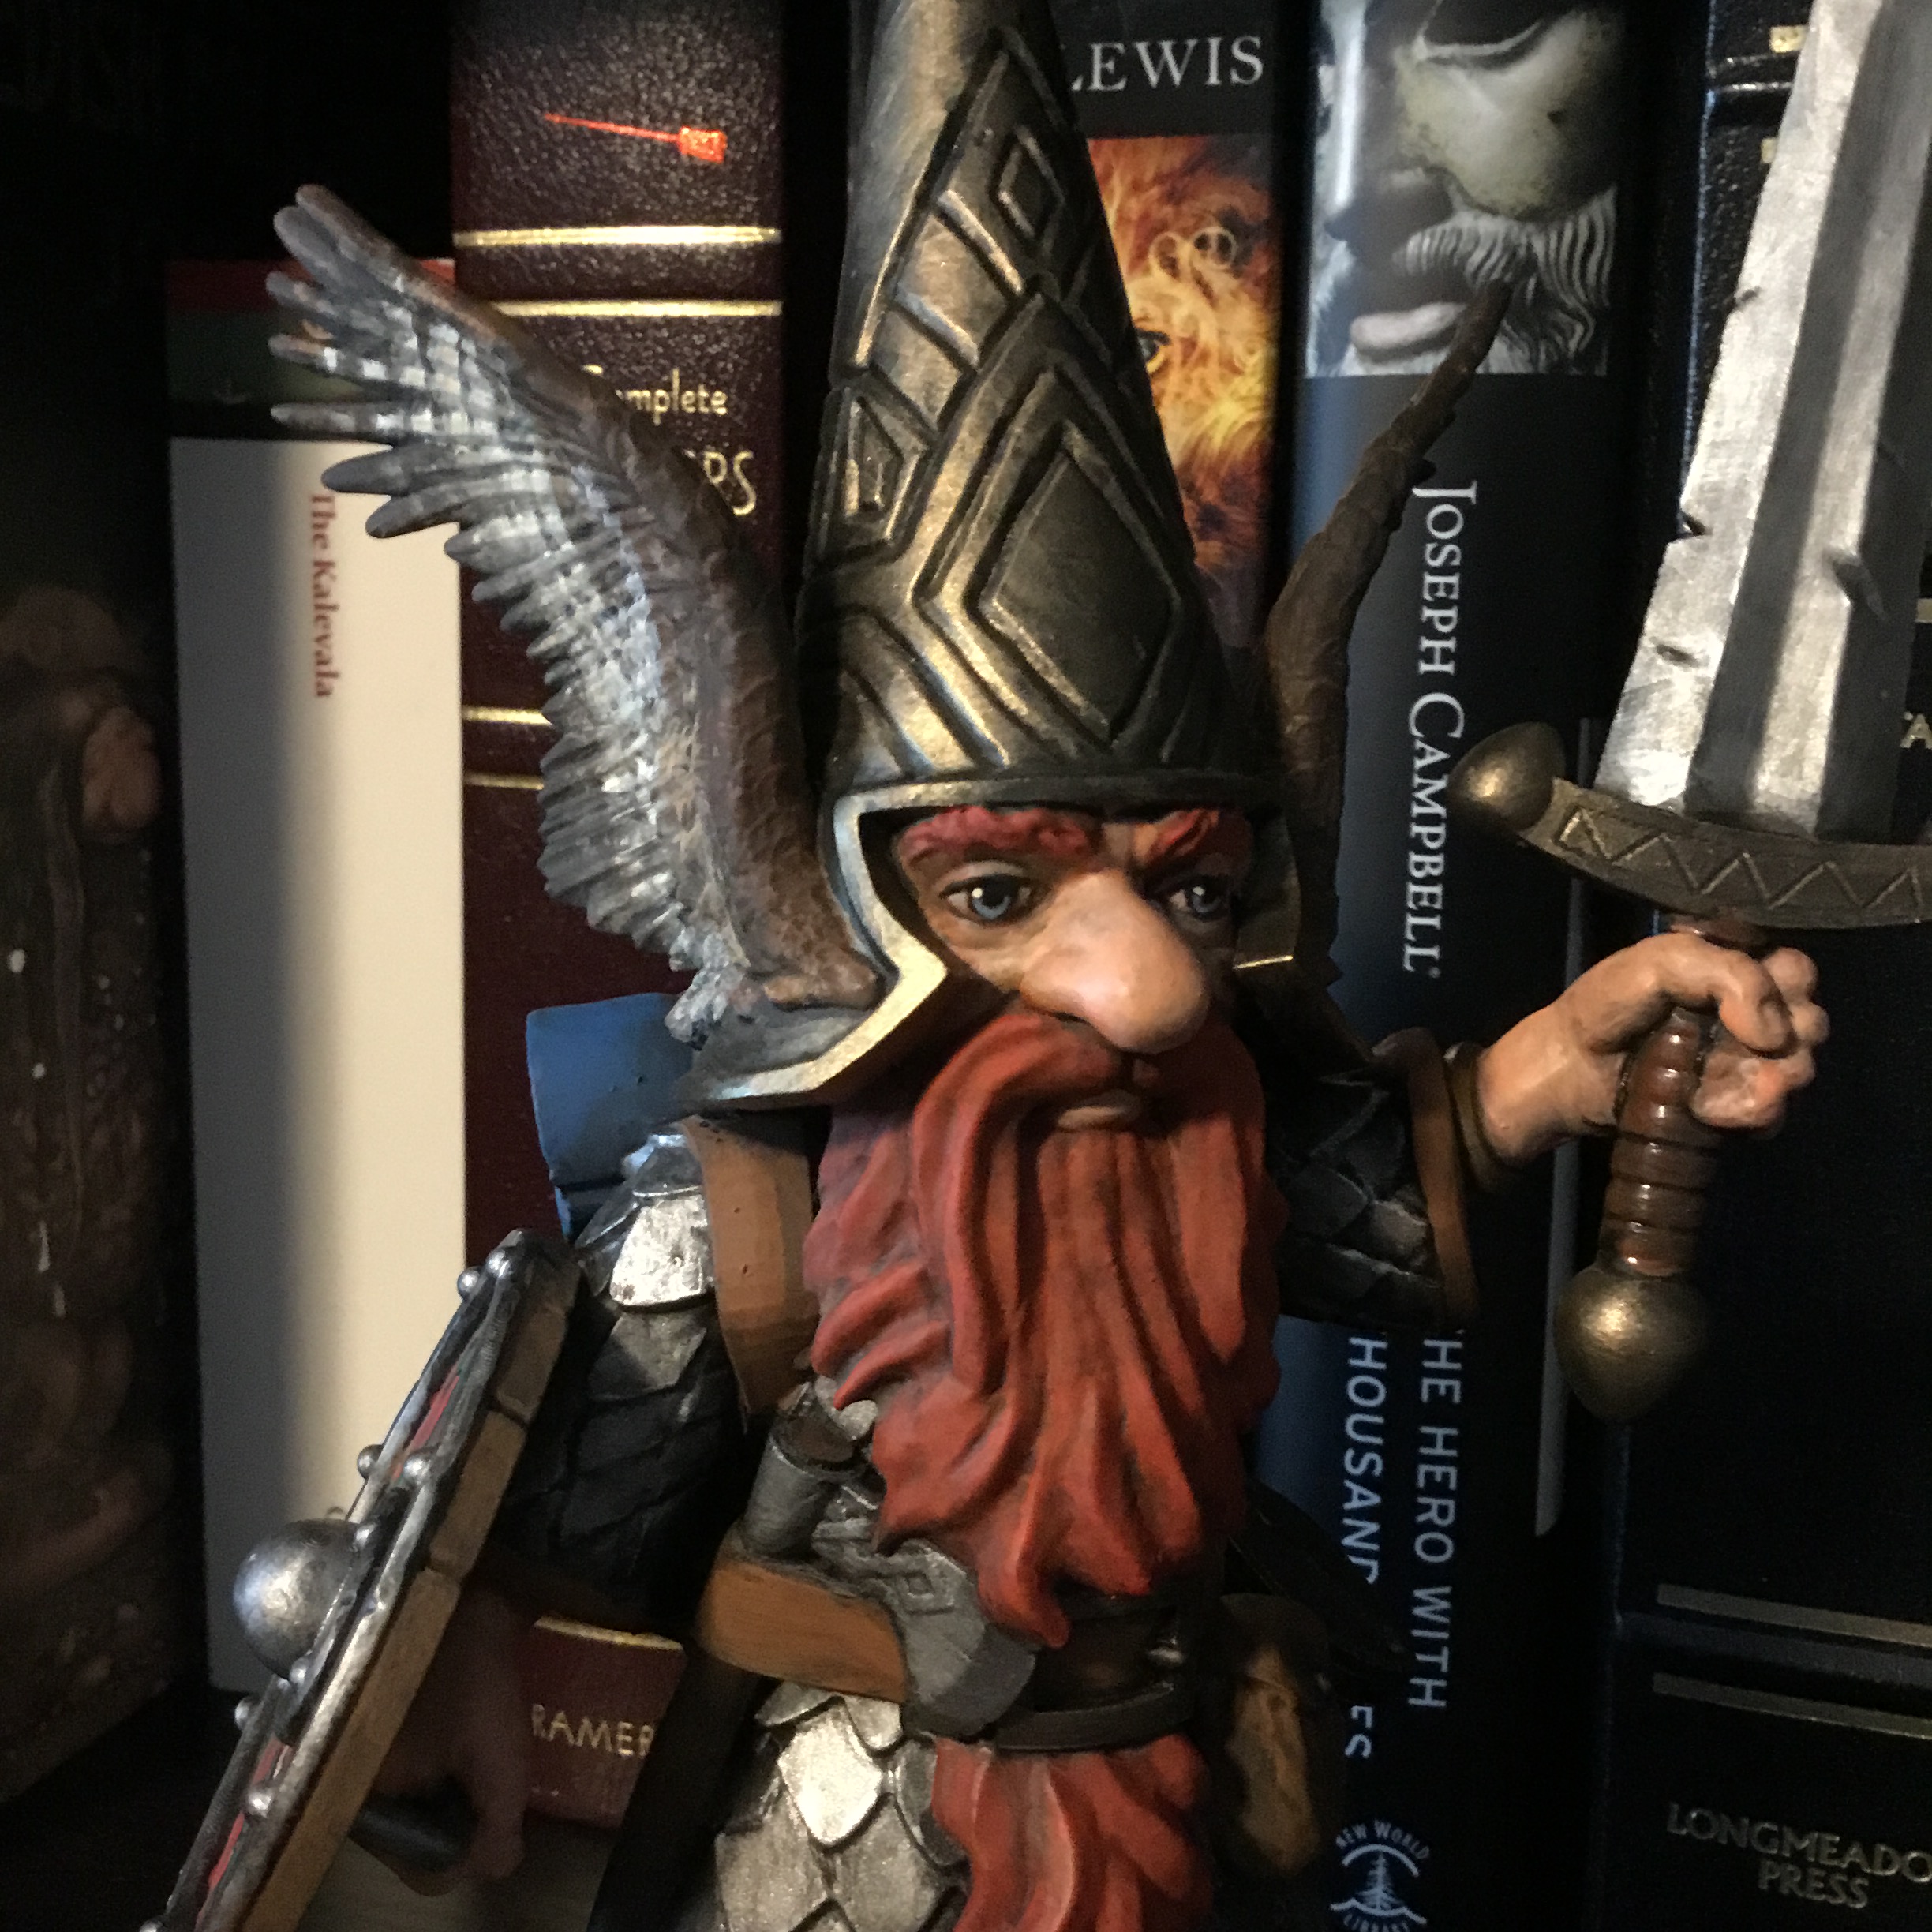
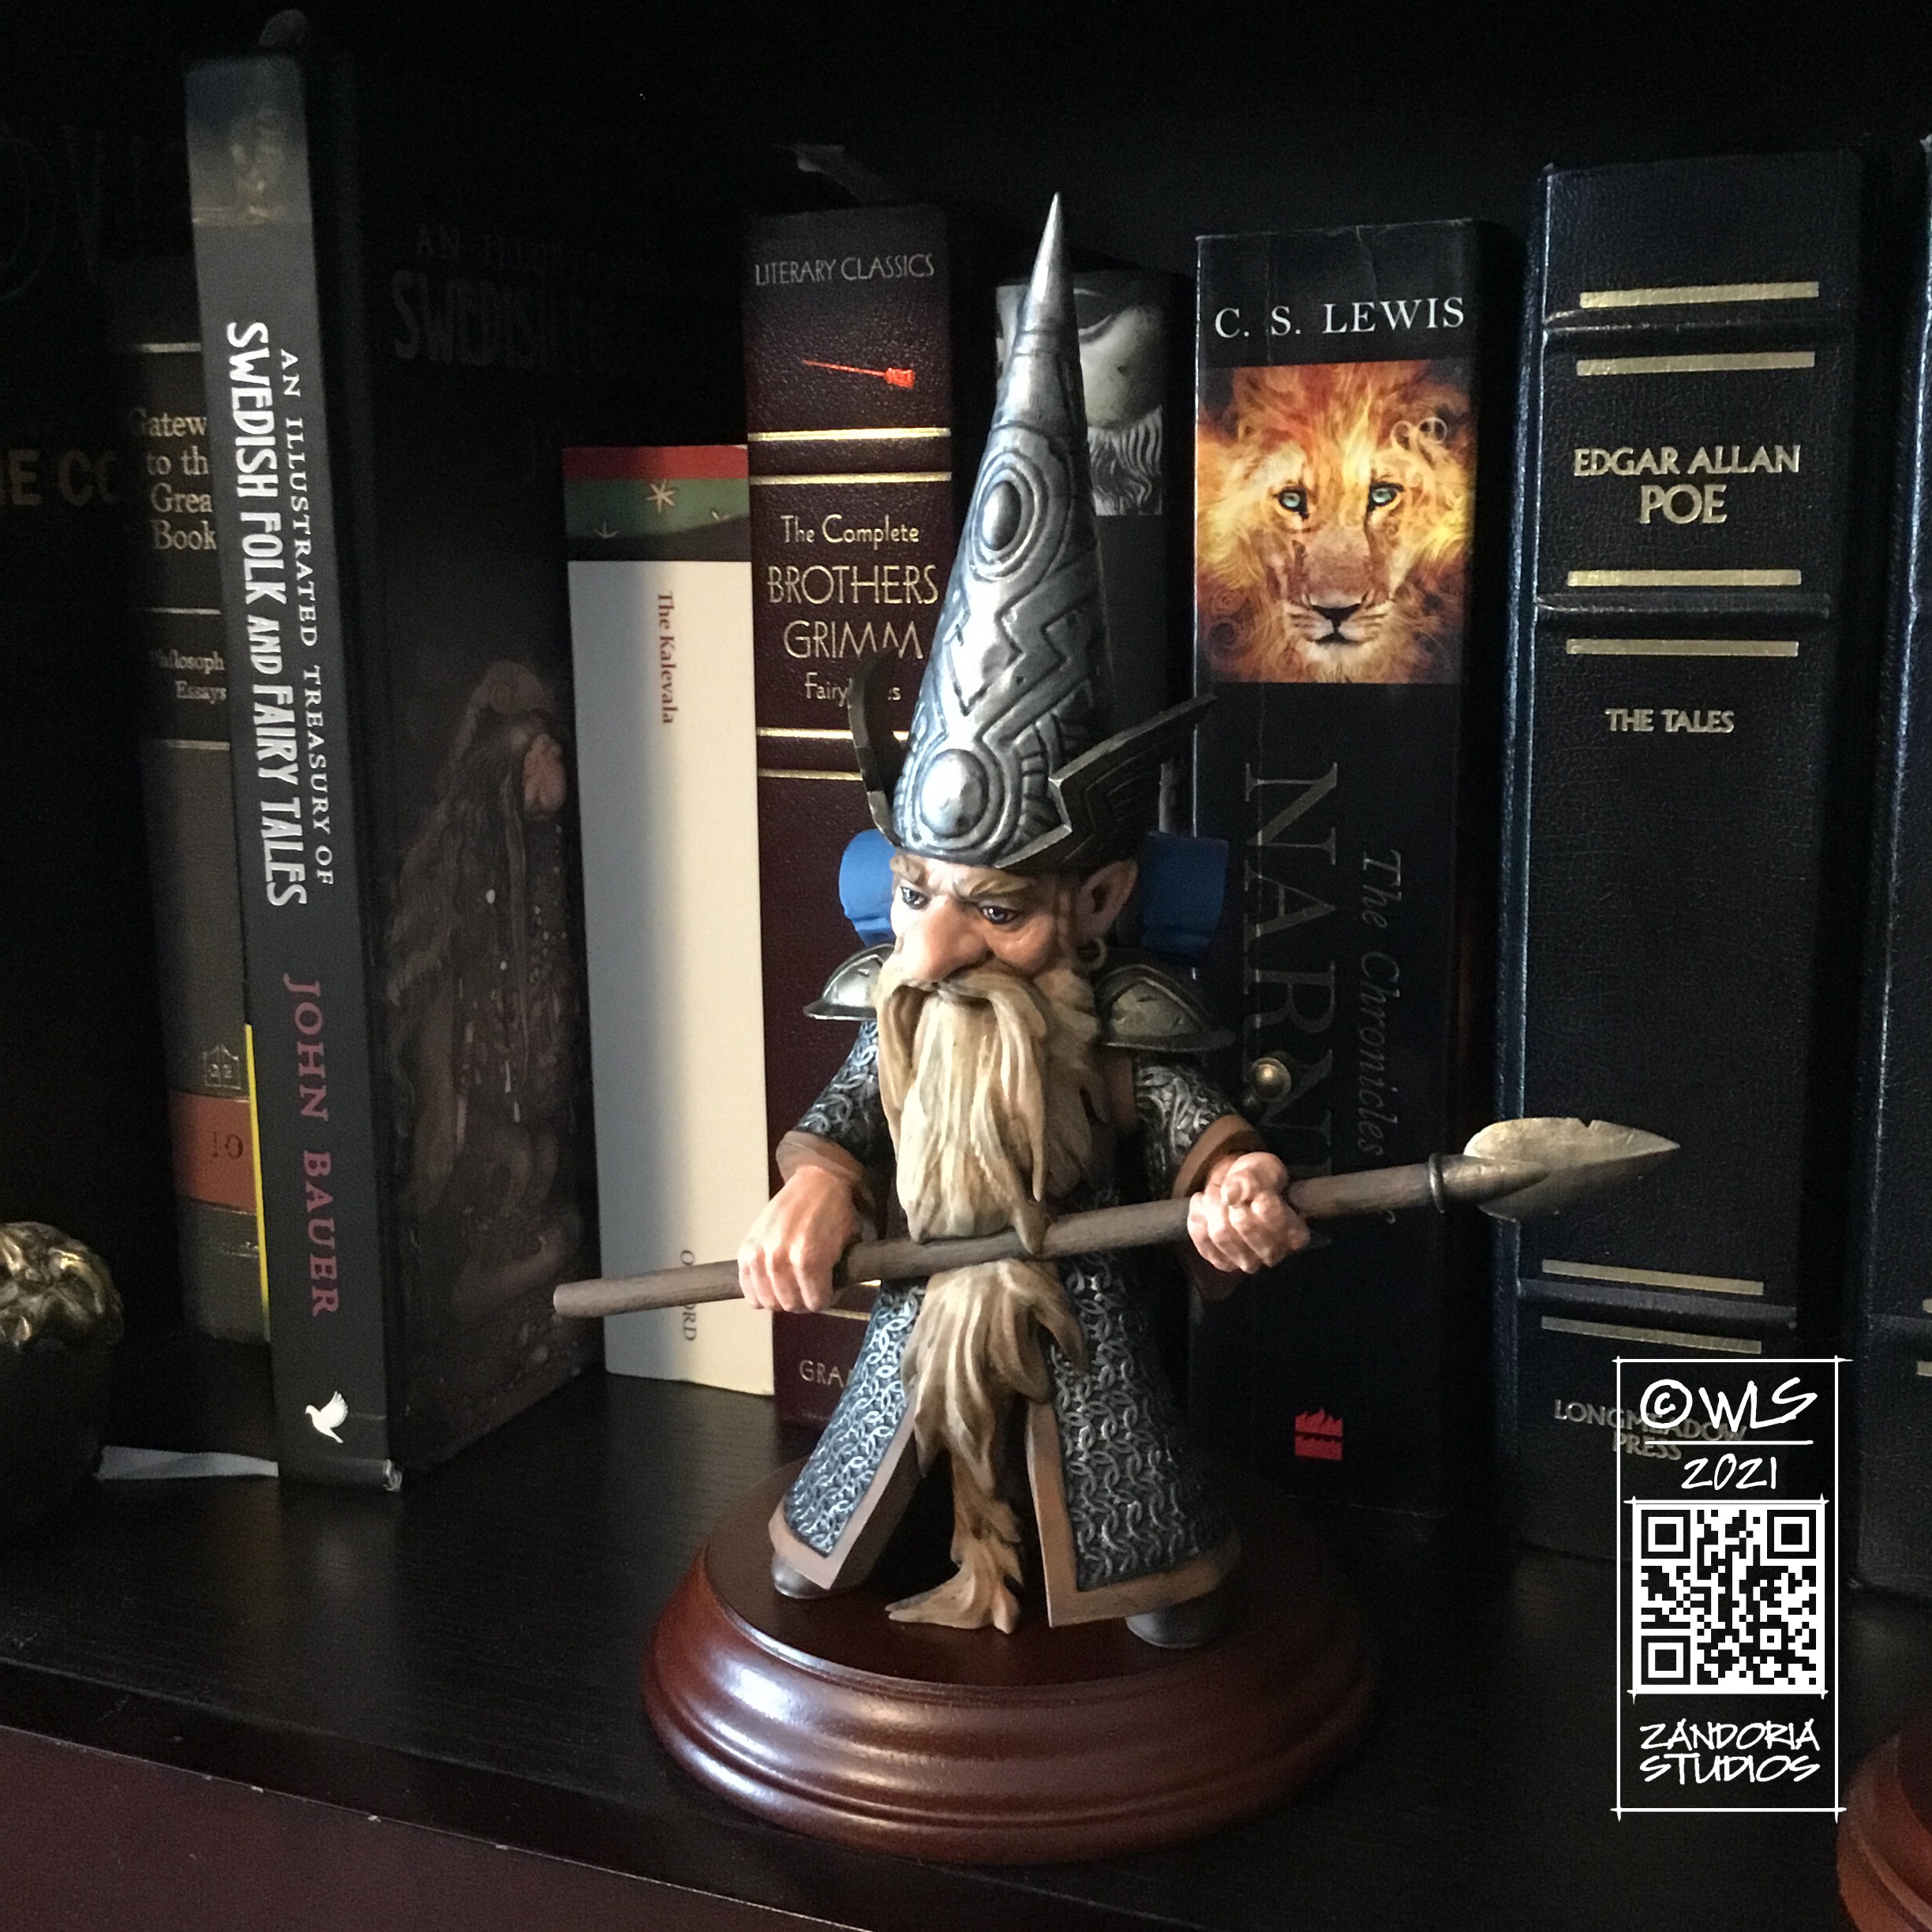
A Gnome is a mythological creature: A small, ageless dwarf in European folklore who lives underground and guards treasure. The 16th-century Swiss alchemist Paracelsus popularized the term, describing gnomes as able to move through solid earth like fish in water. They are known as Nisse or Tomte in Scandinavian folklore, where their long beards and pointed caps originates. They were also guardians of the home and farm, and popularized as Garden Gnomes in the 18th century. The modern style of “Gonk” Gnome, used as a home decoration, is essentially all beard with only a nose and large cap–They may get their name from a novelty toy from the 1960’s called a Gonk.
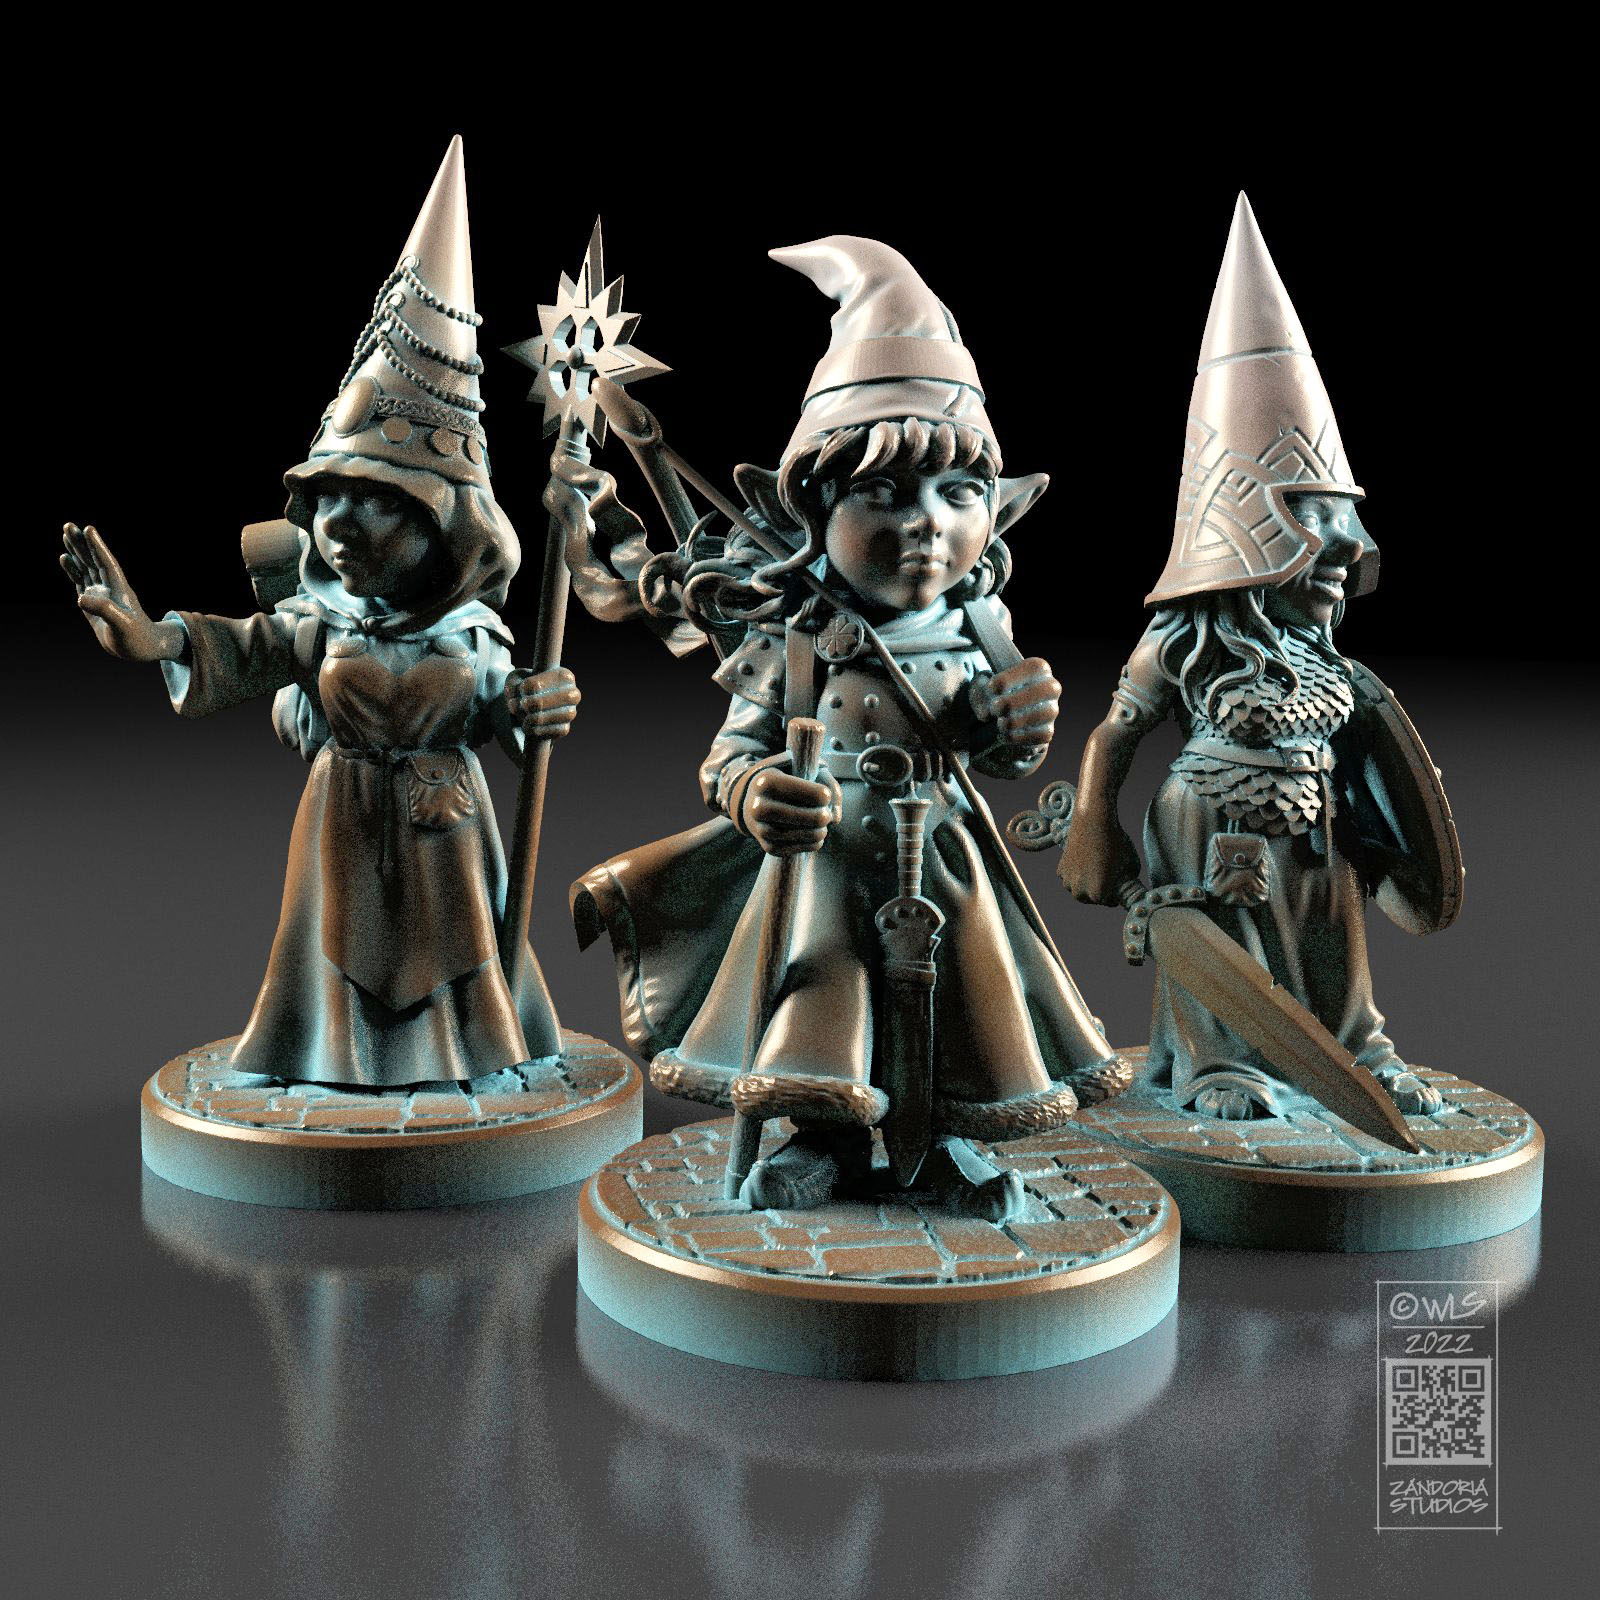
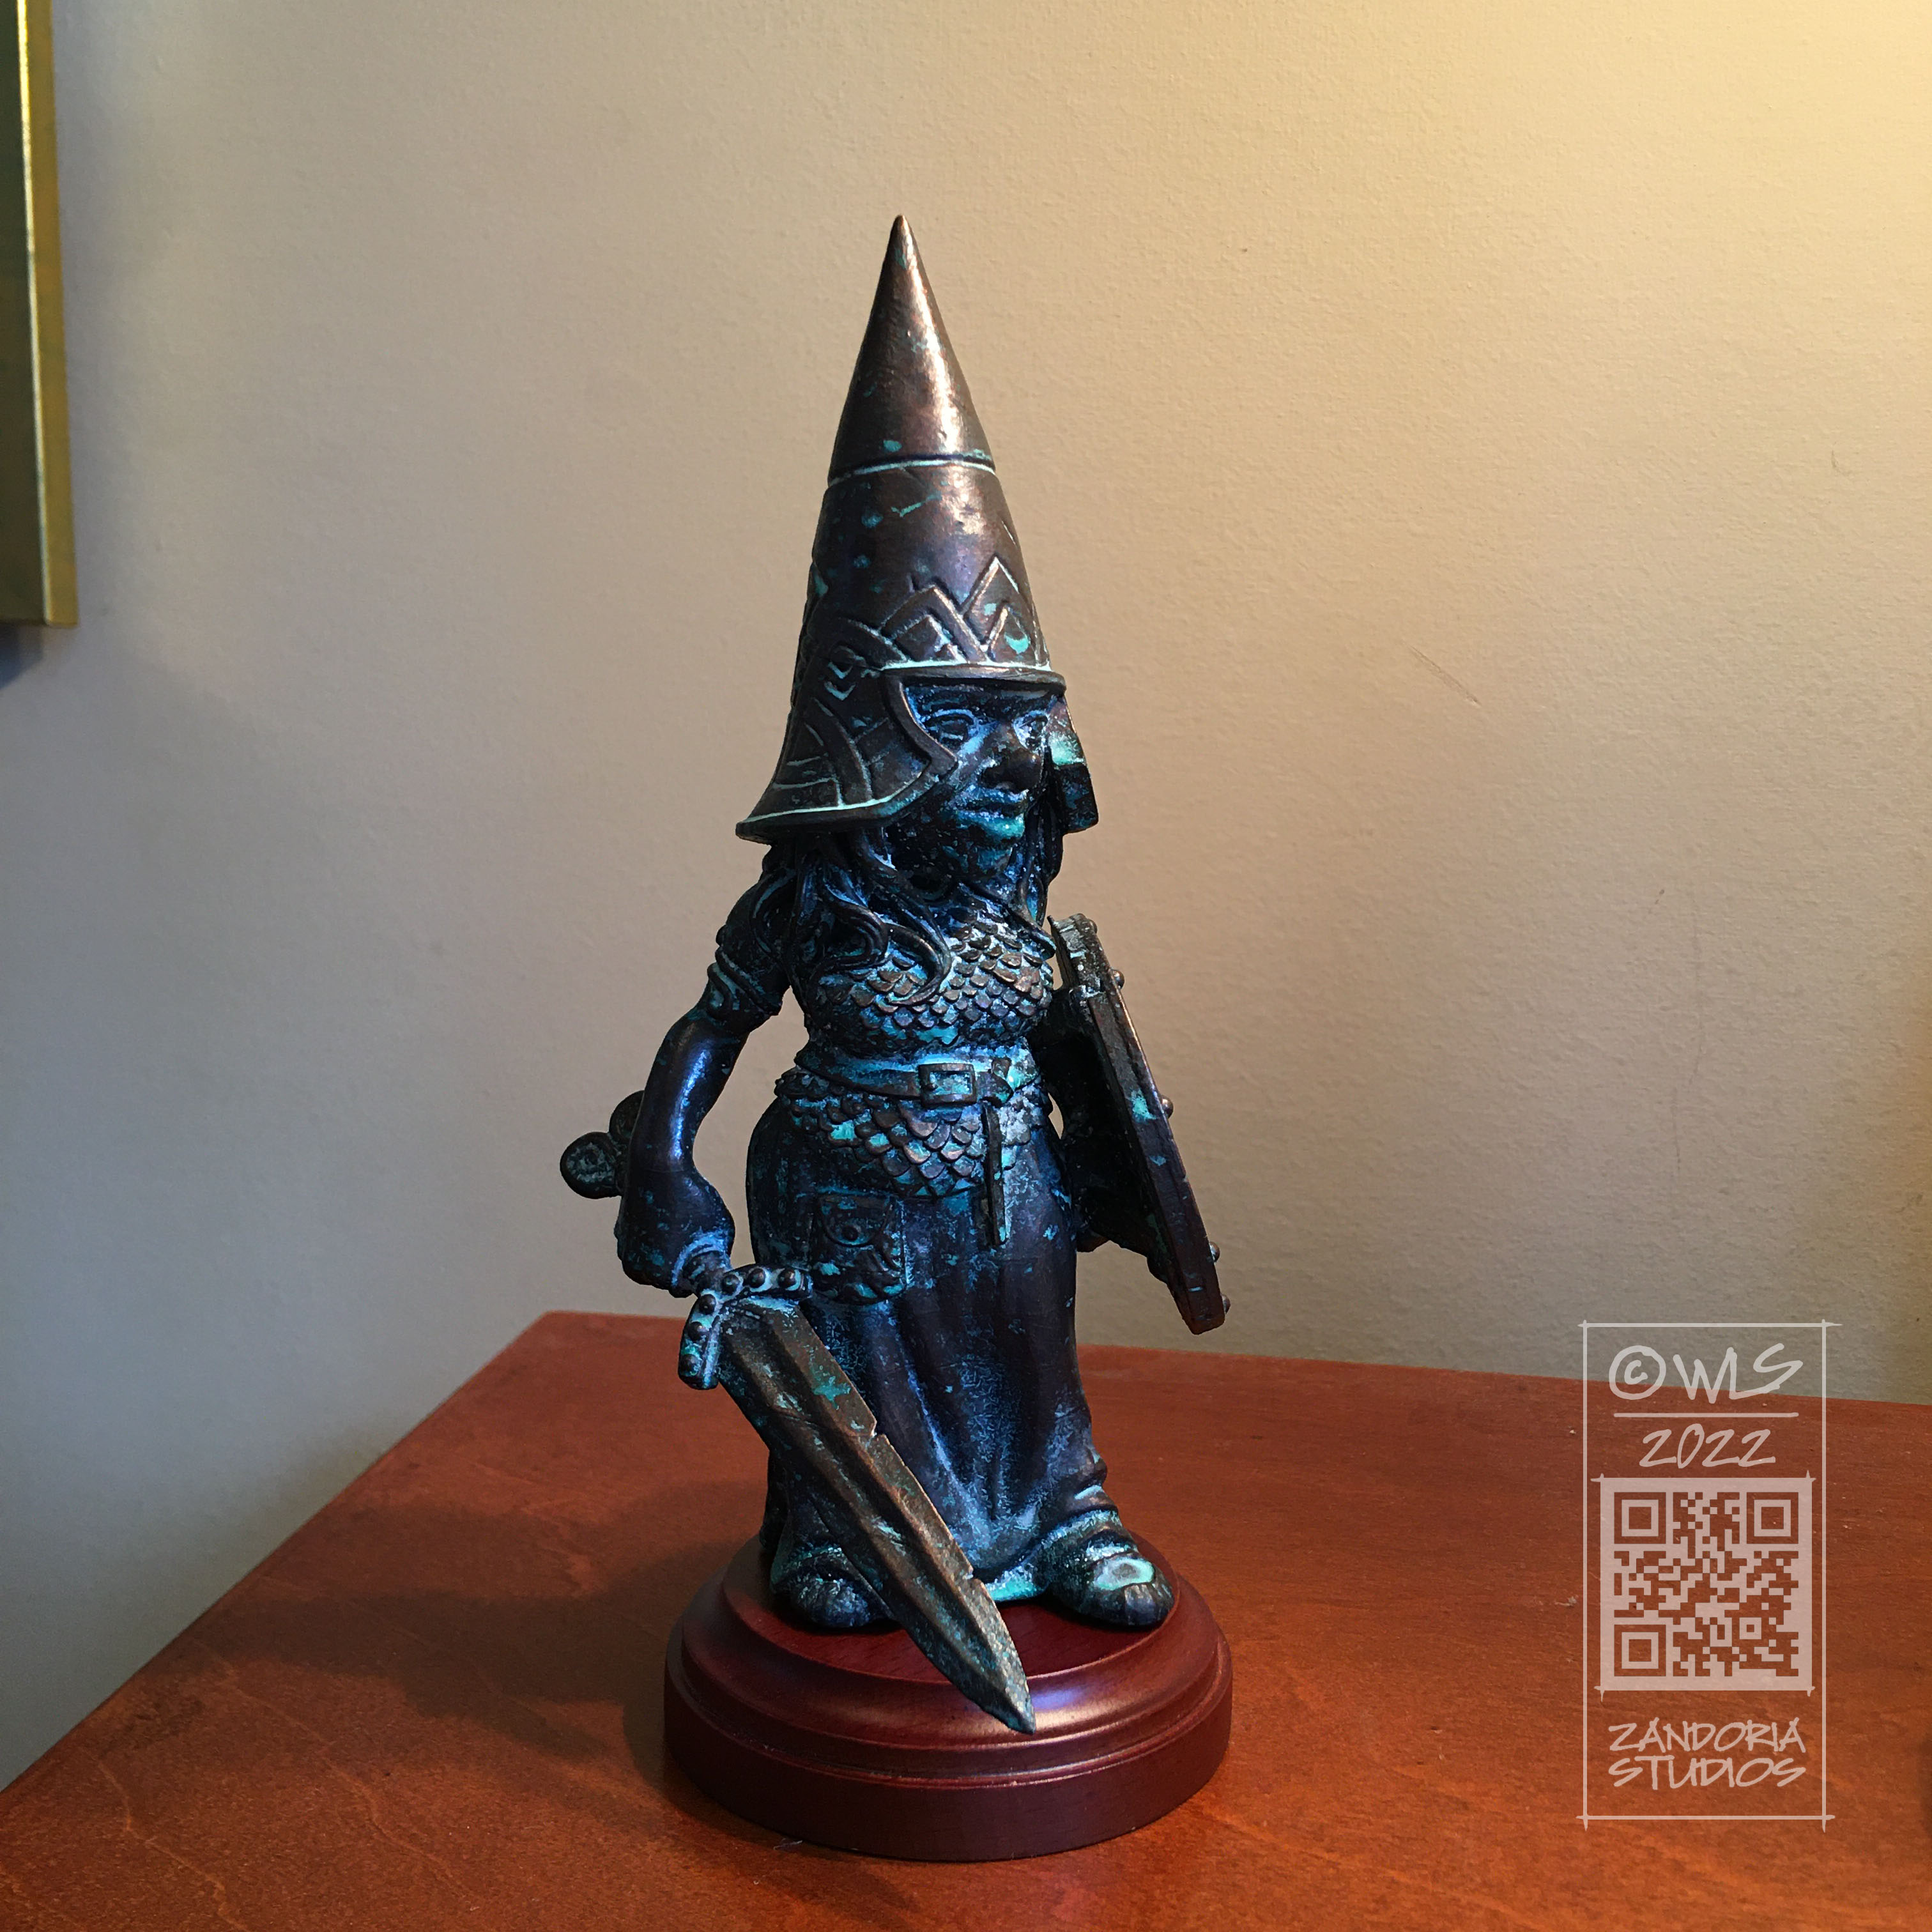
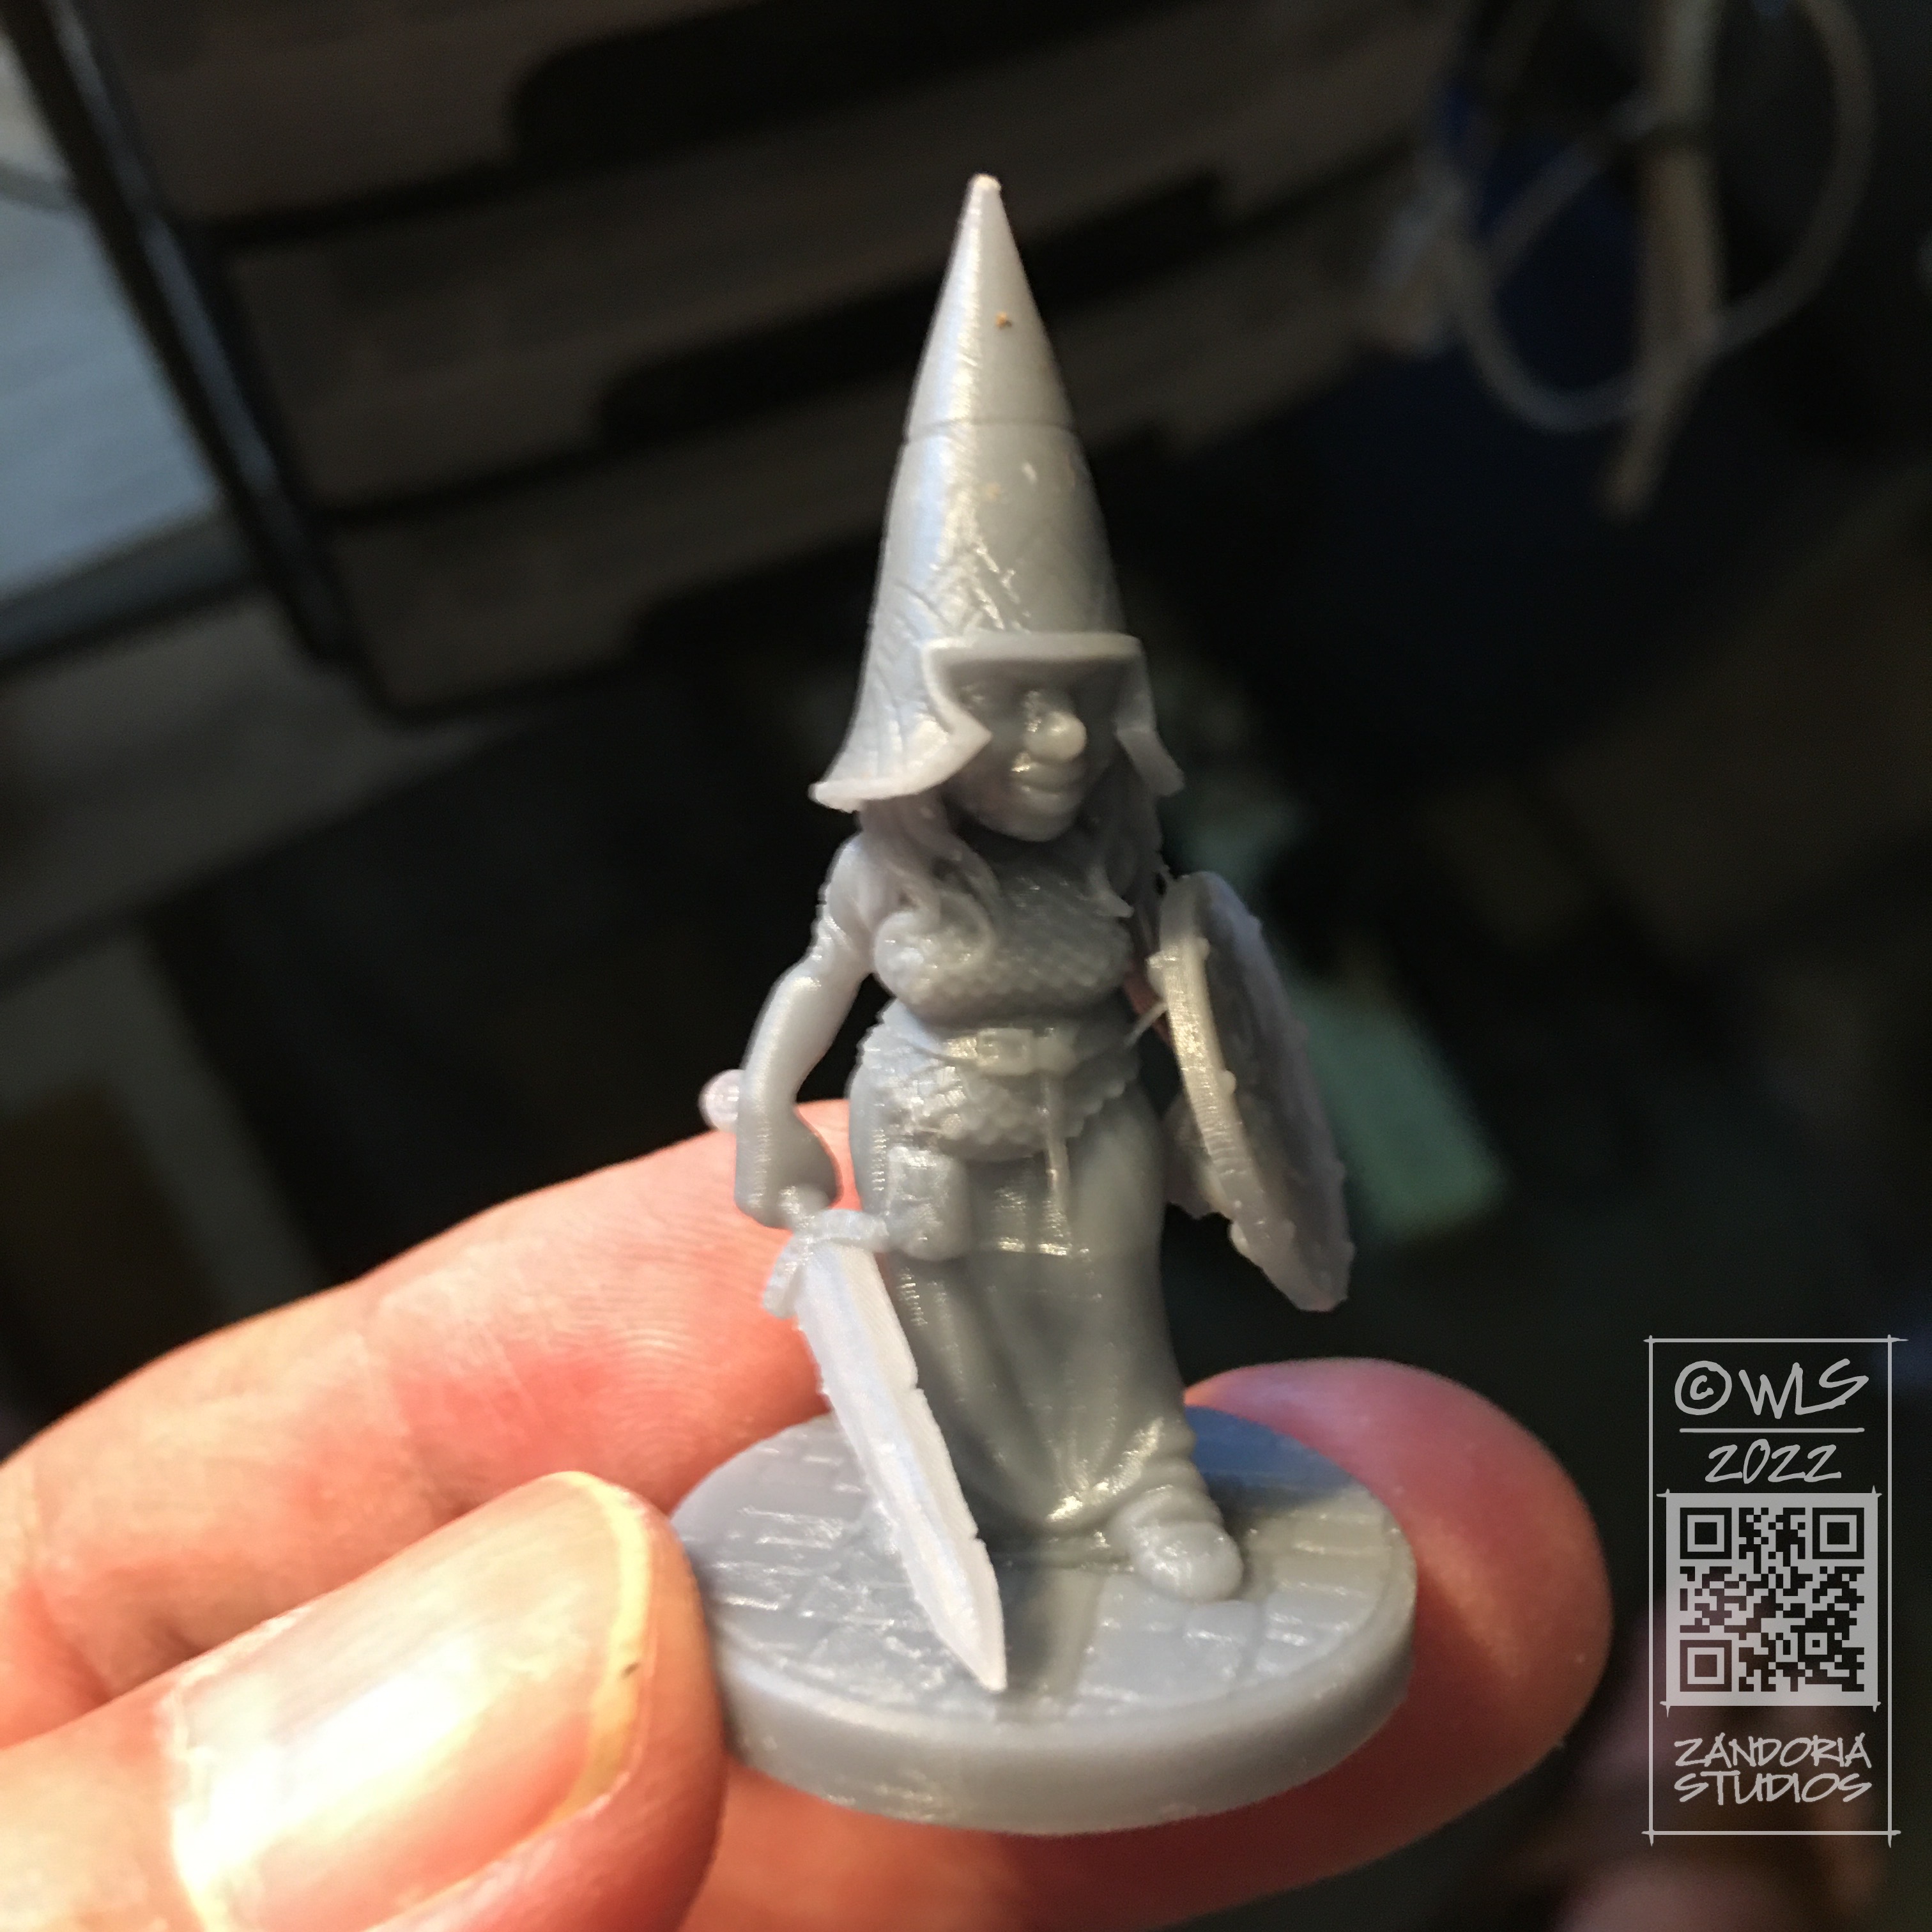
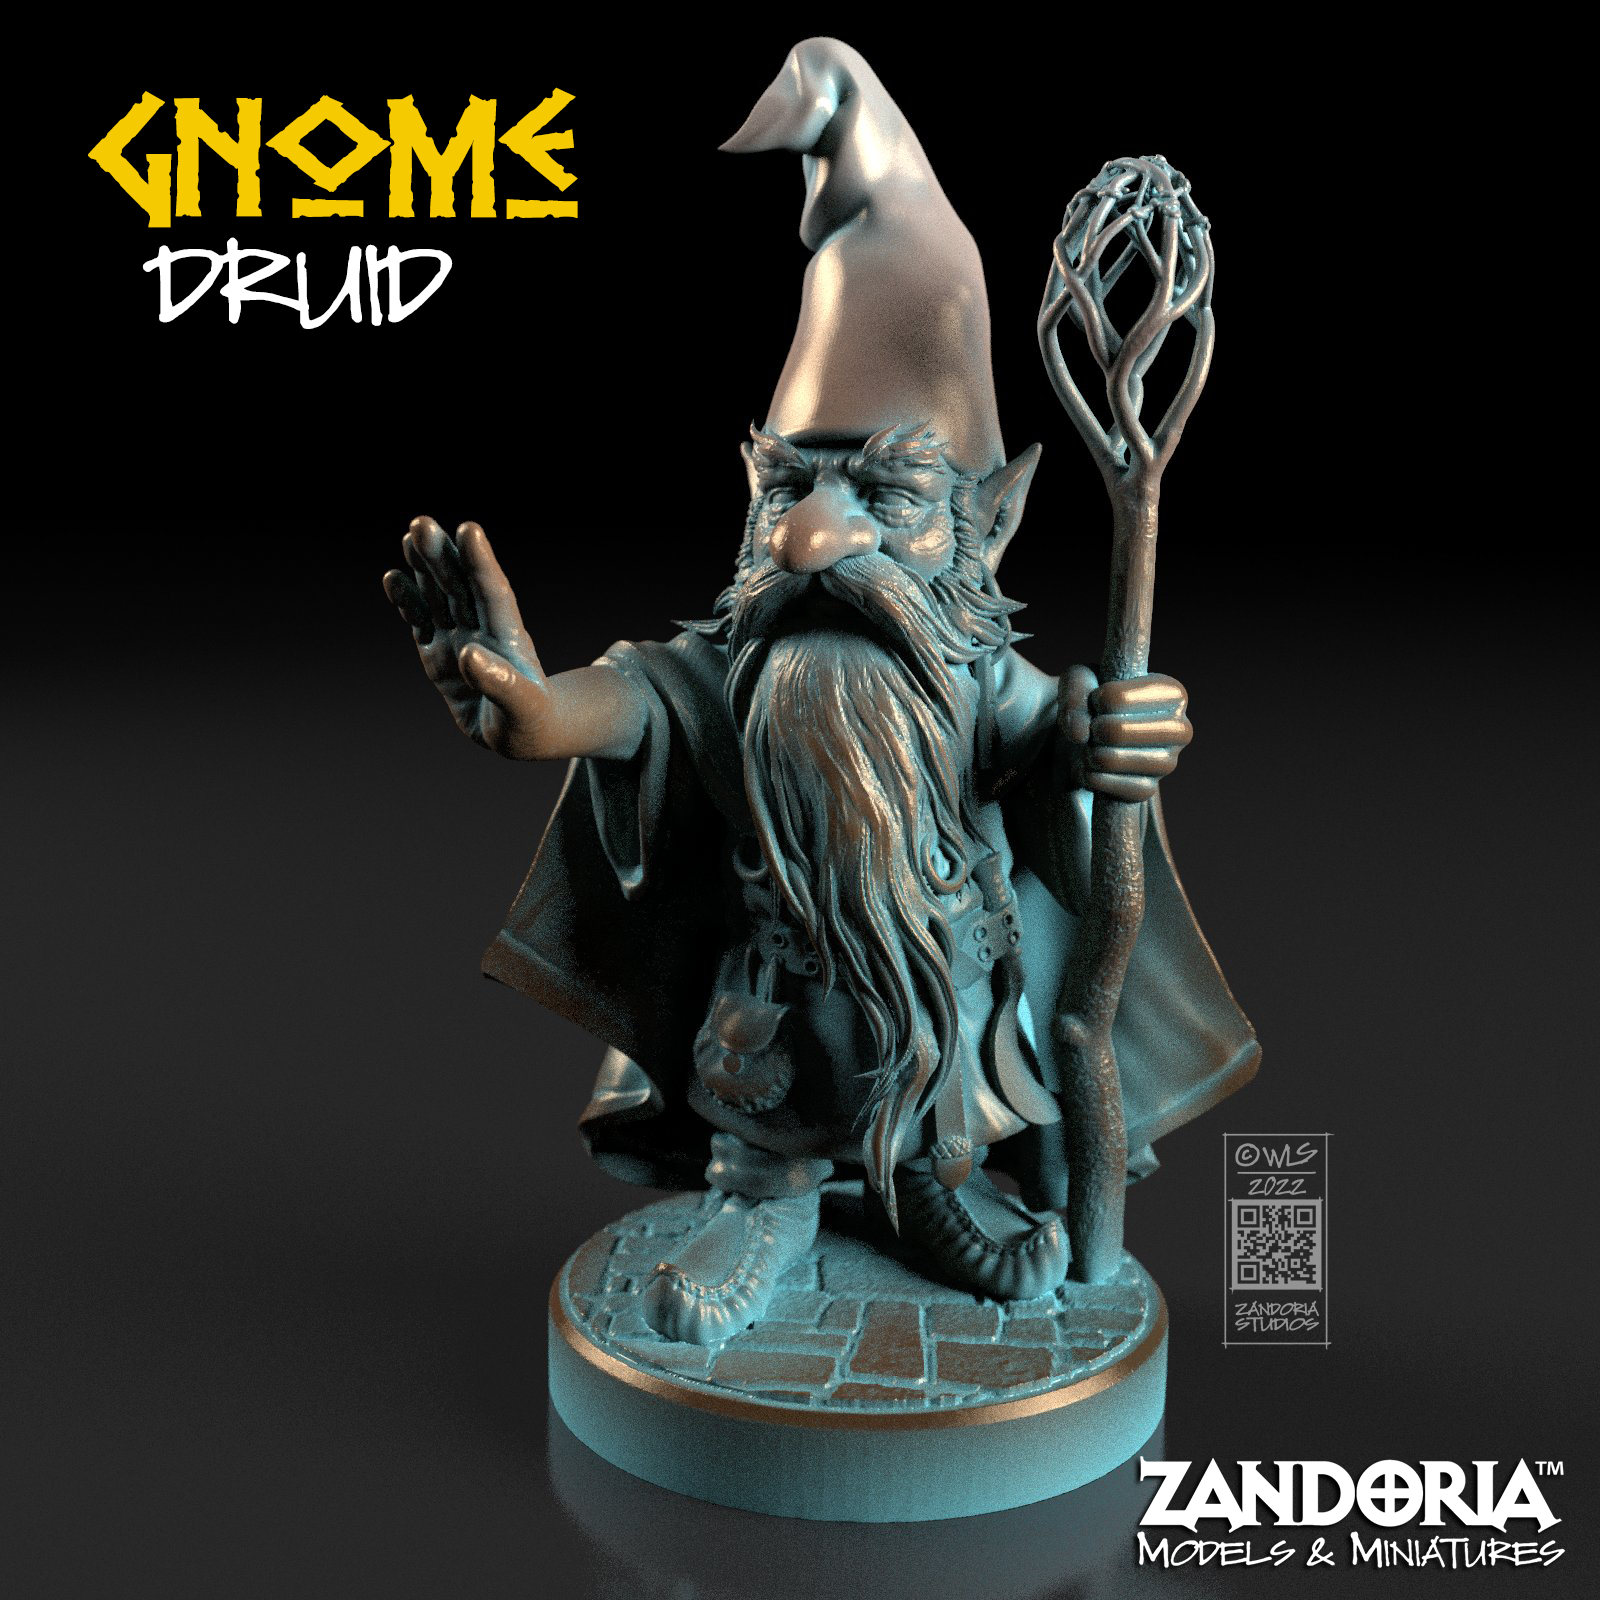
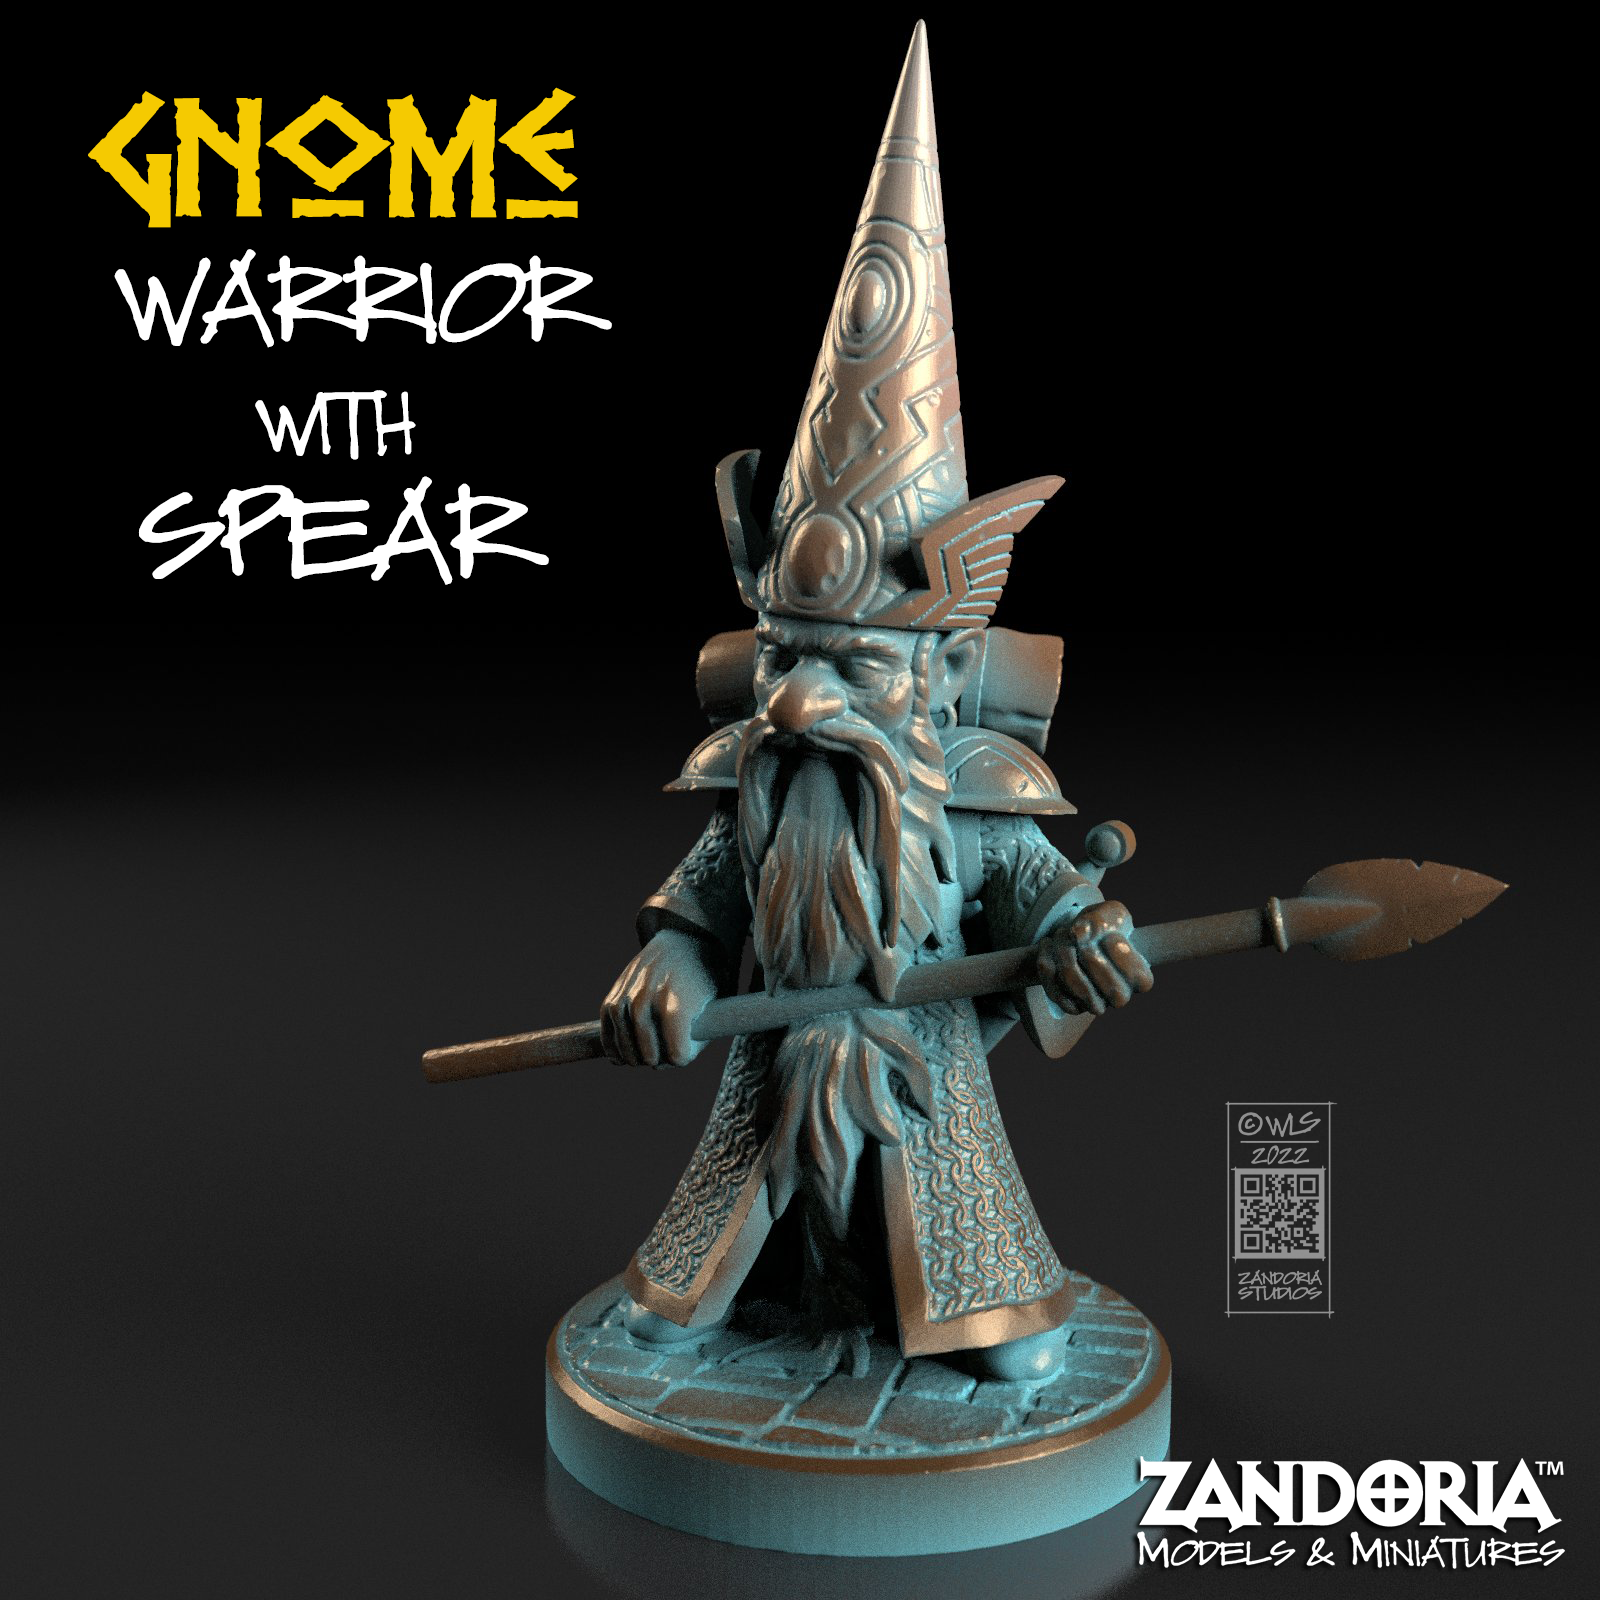
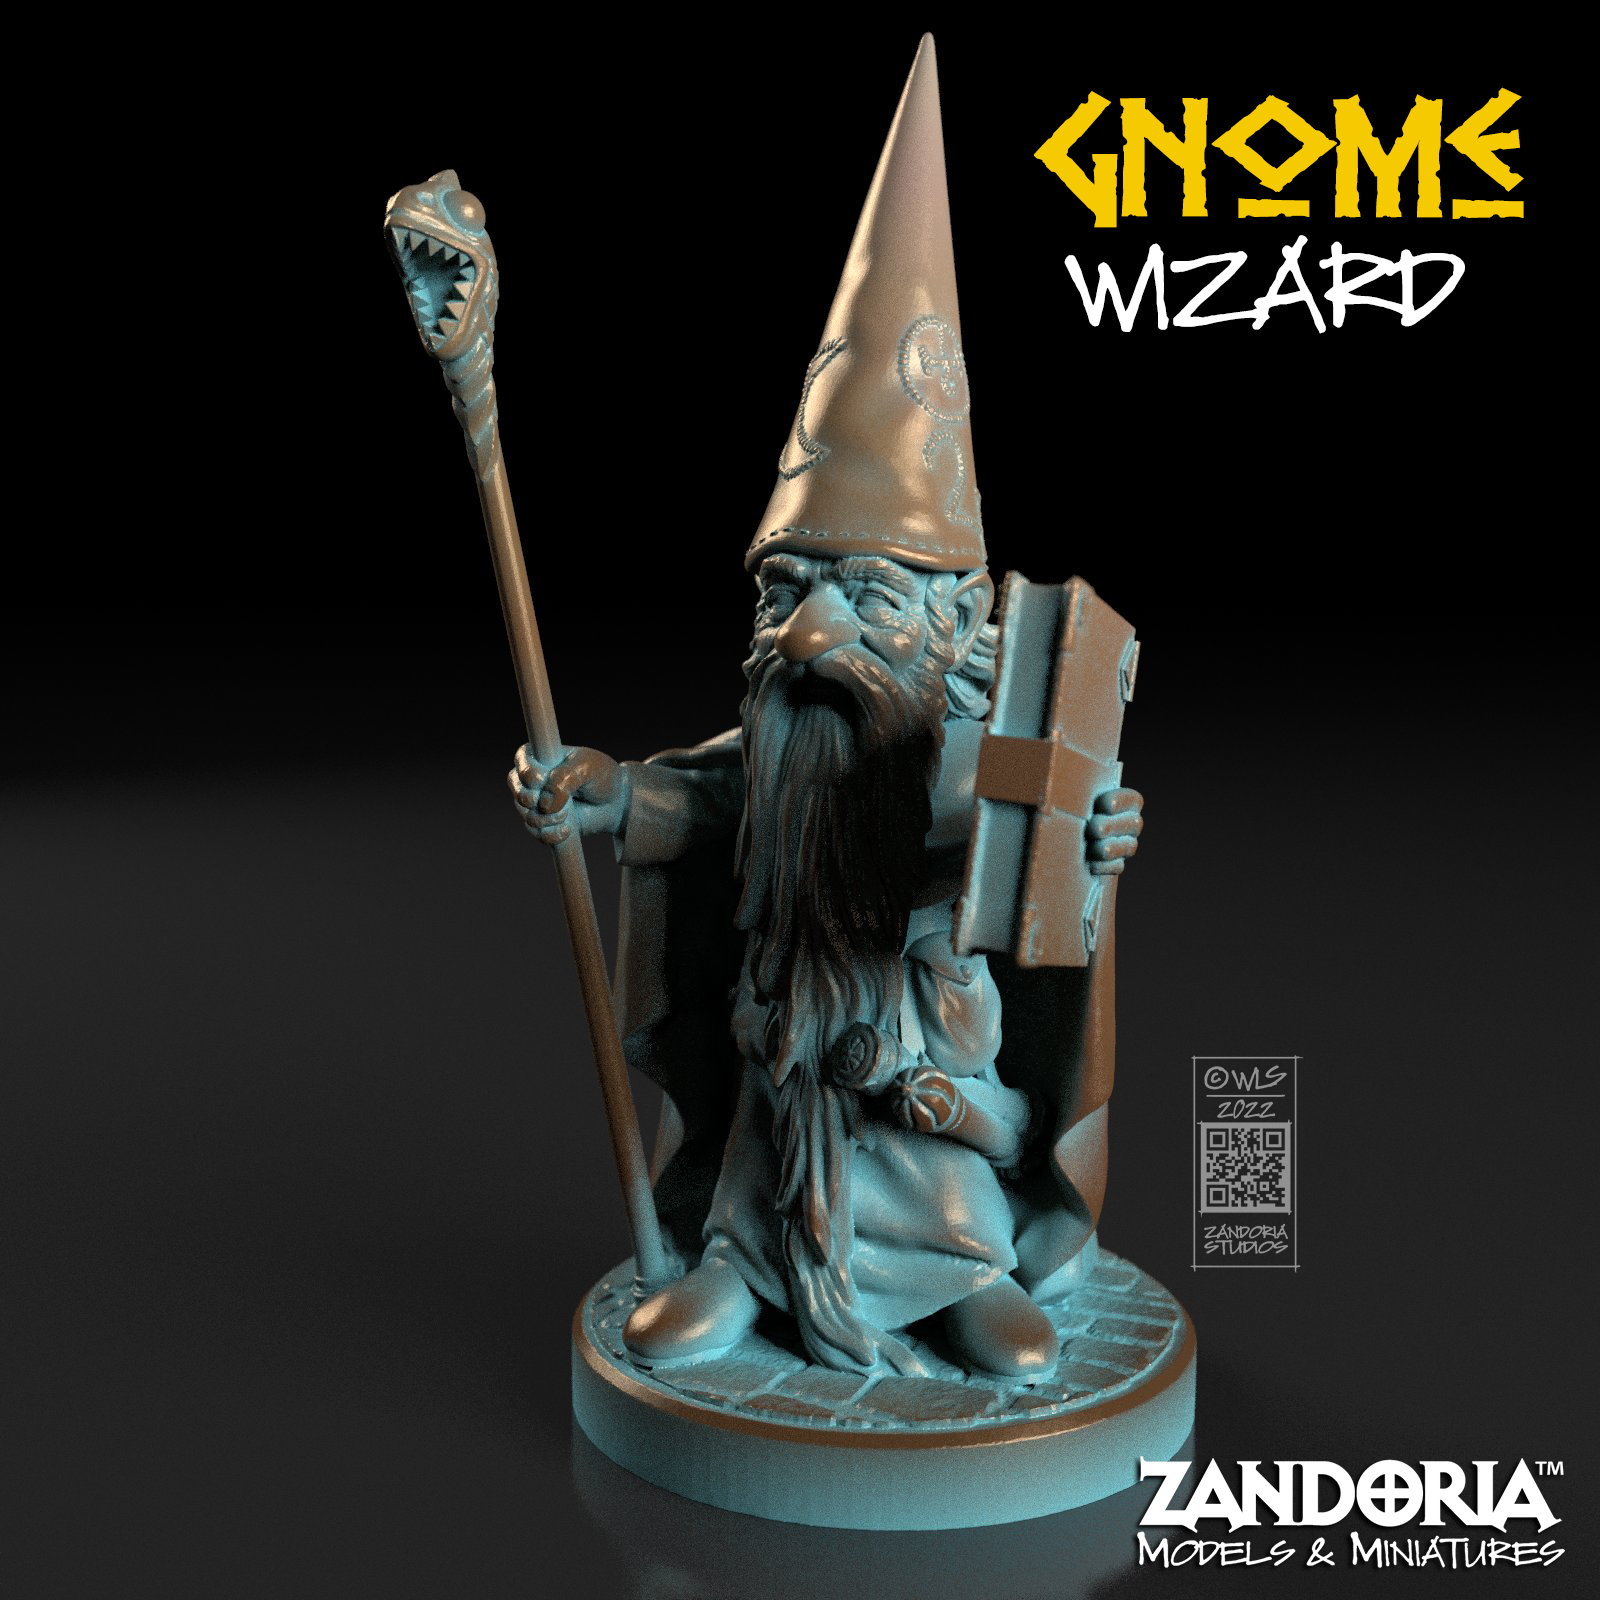
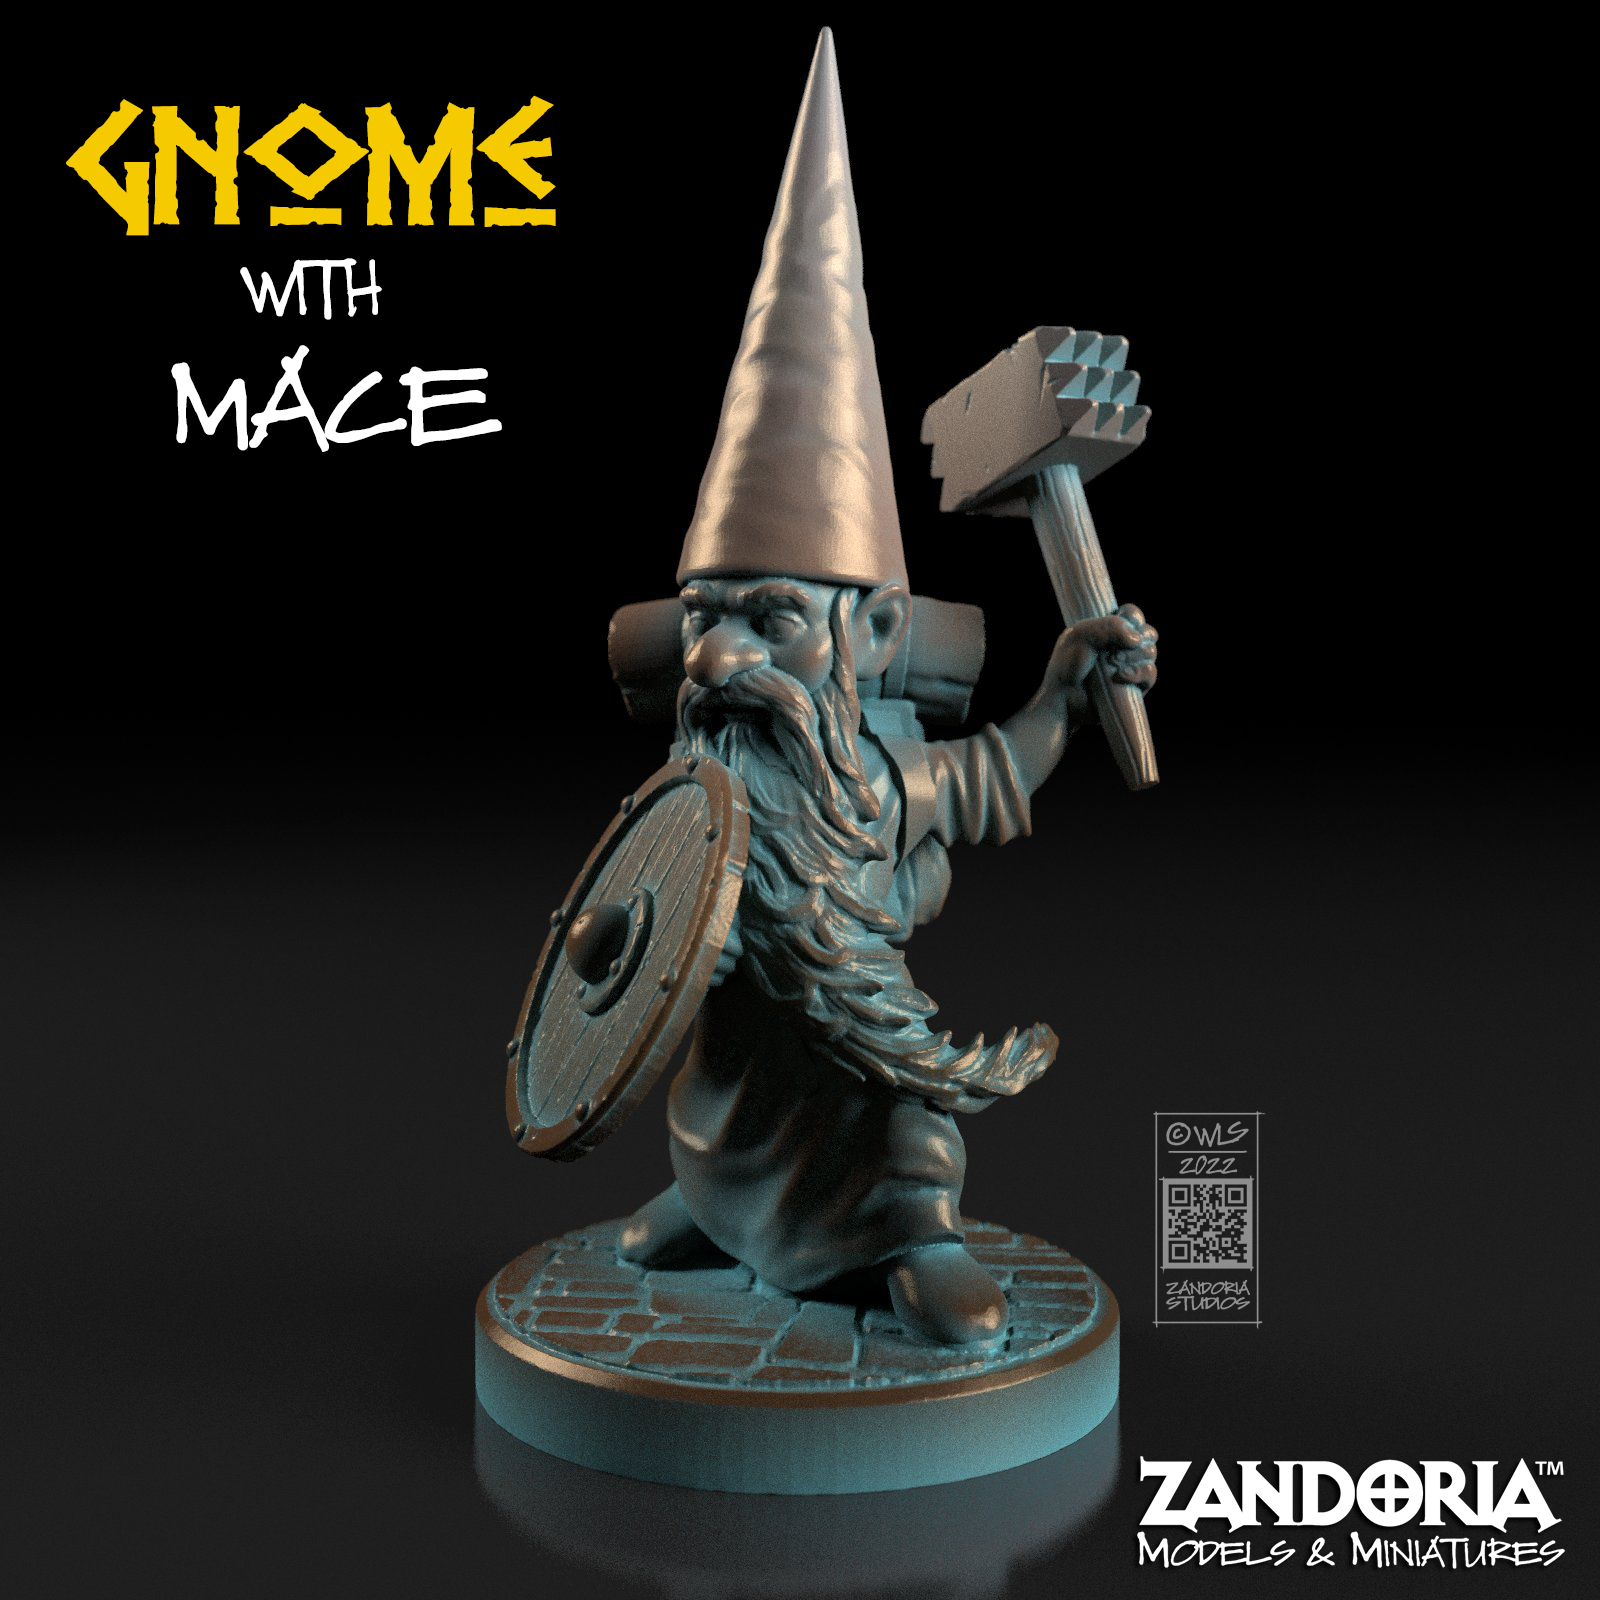
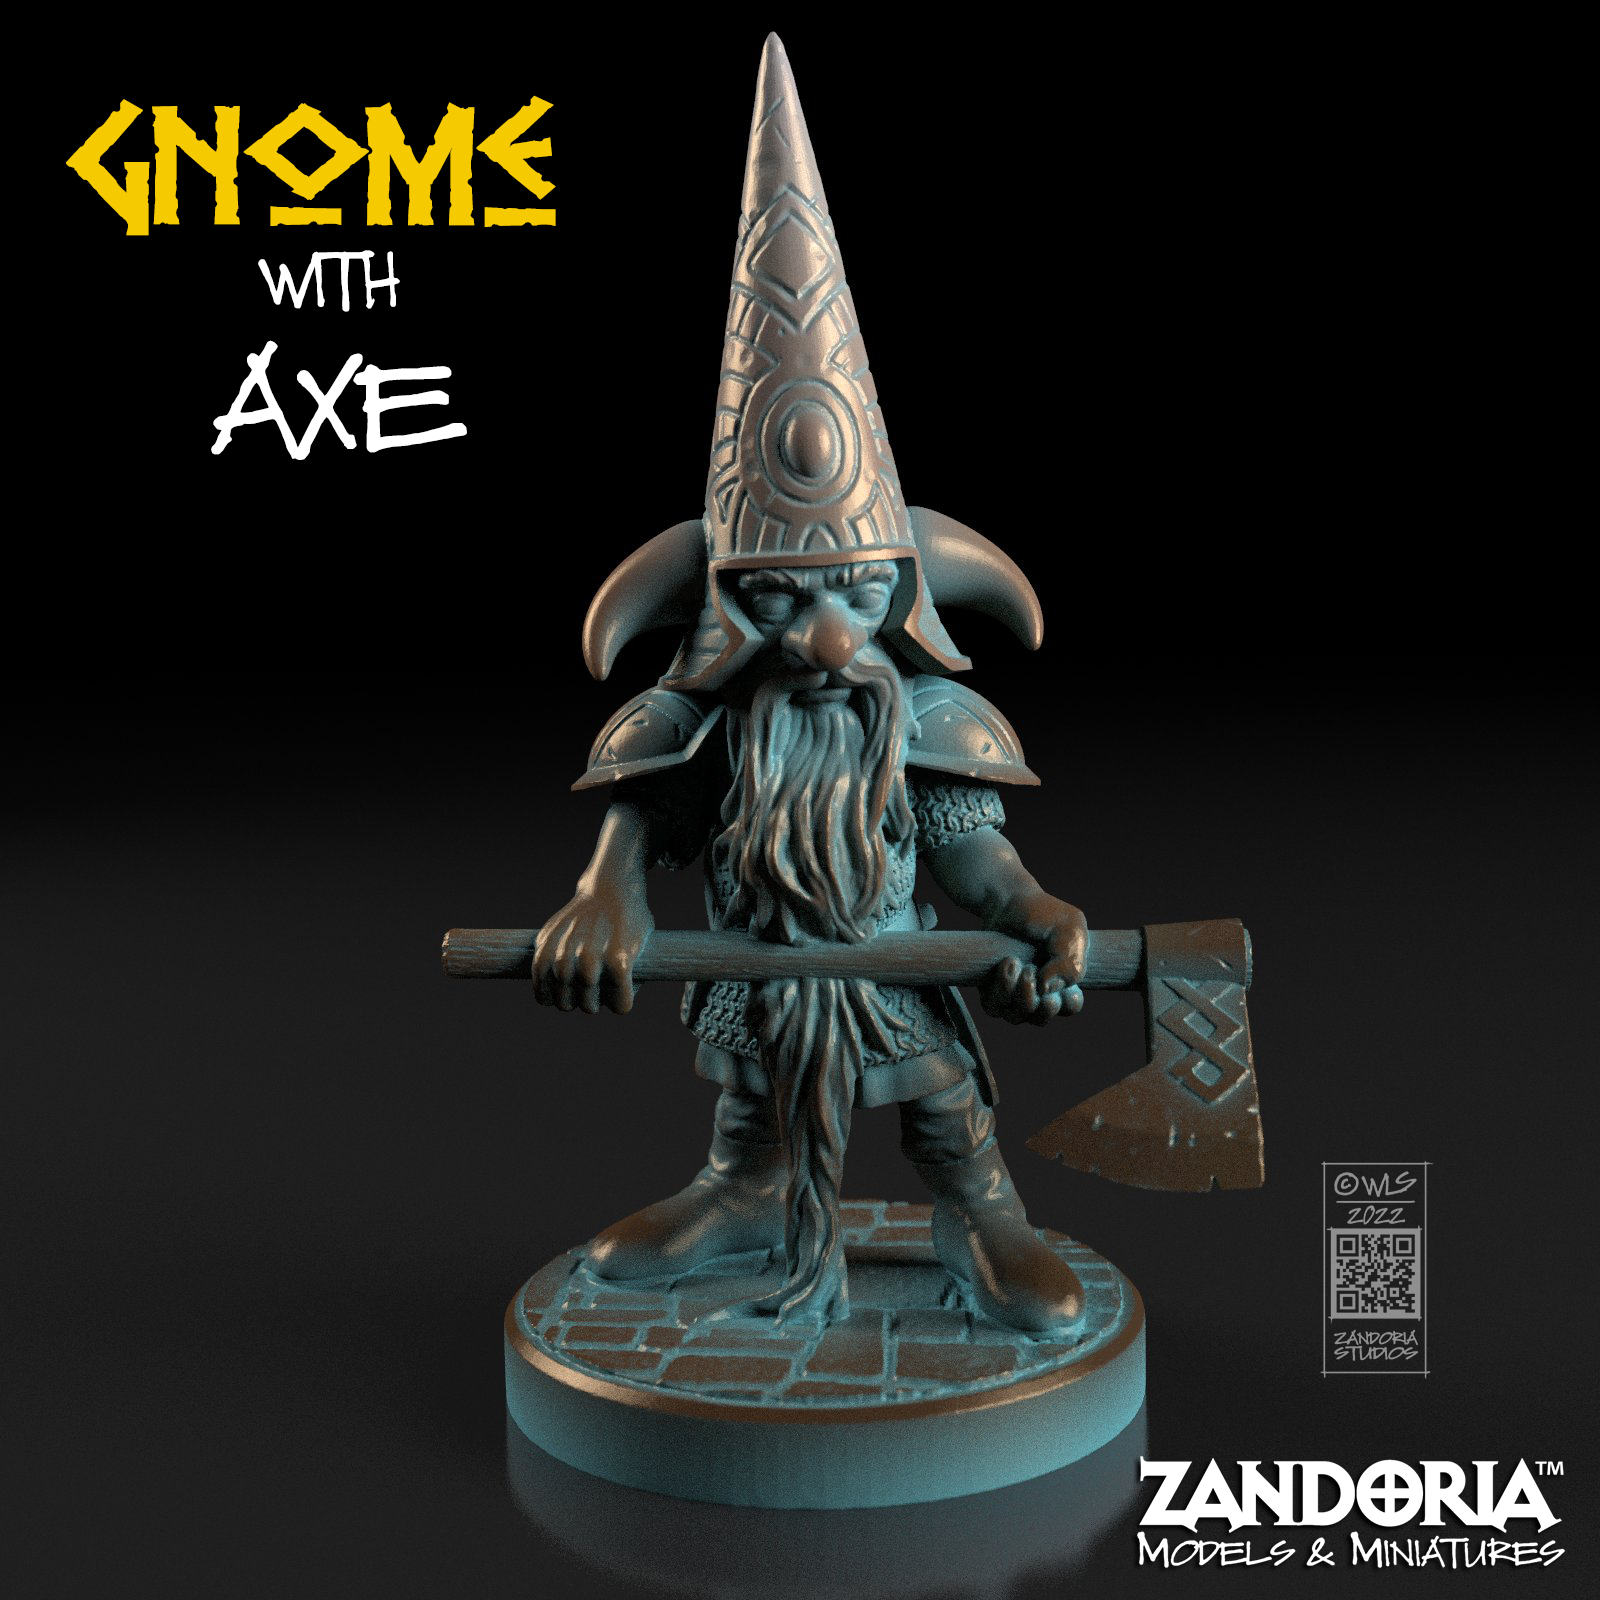
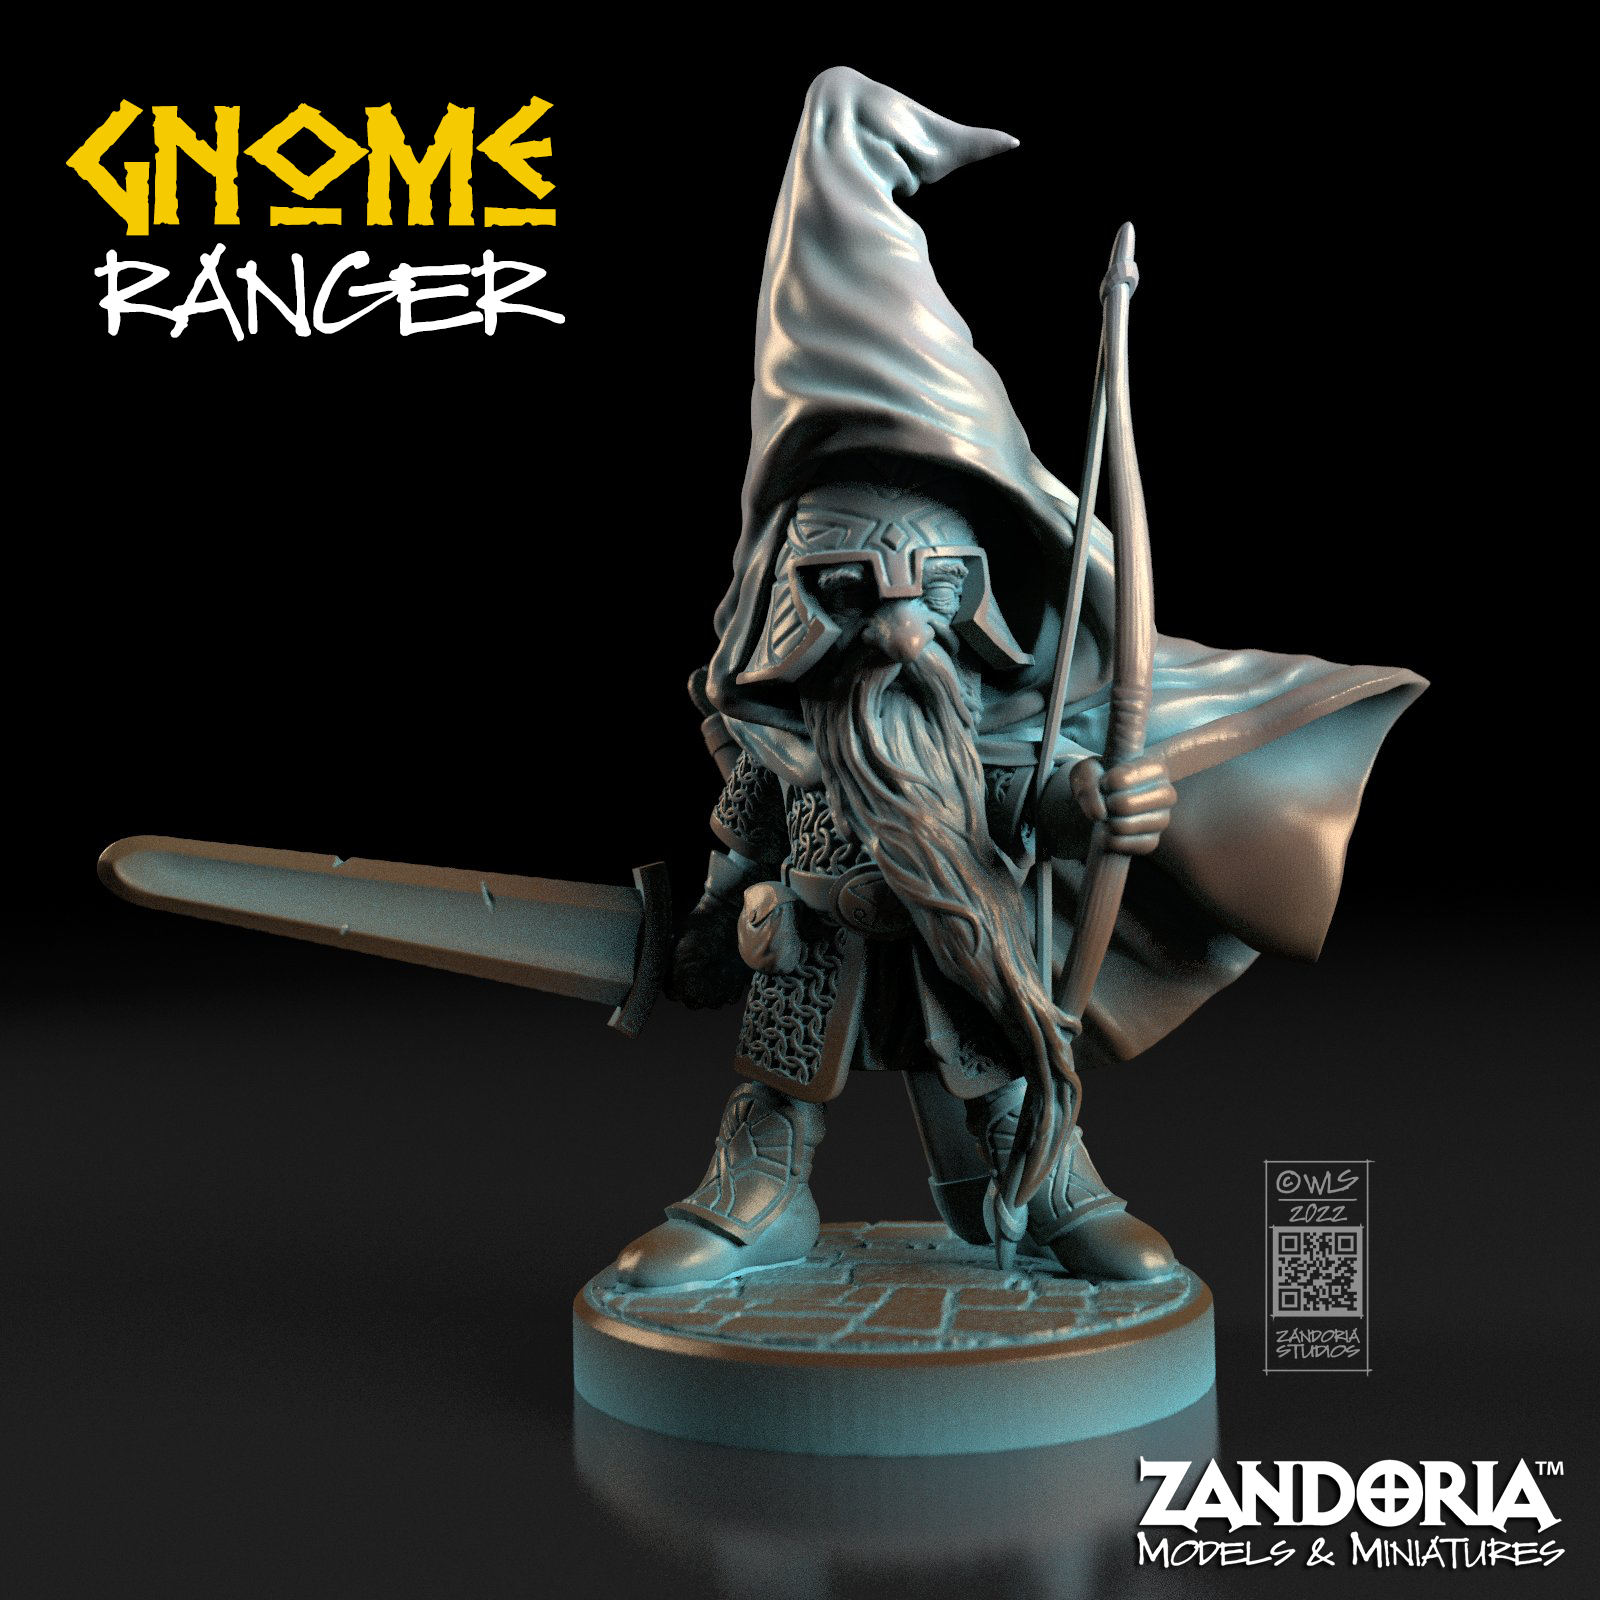
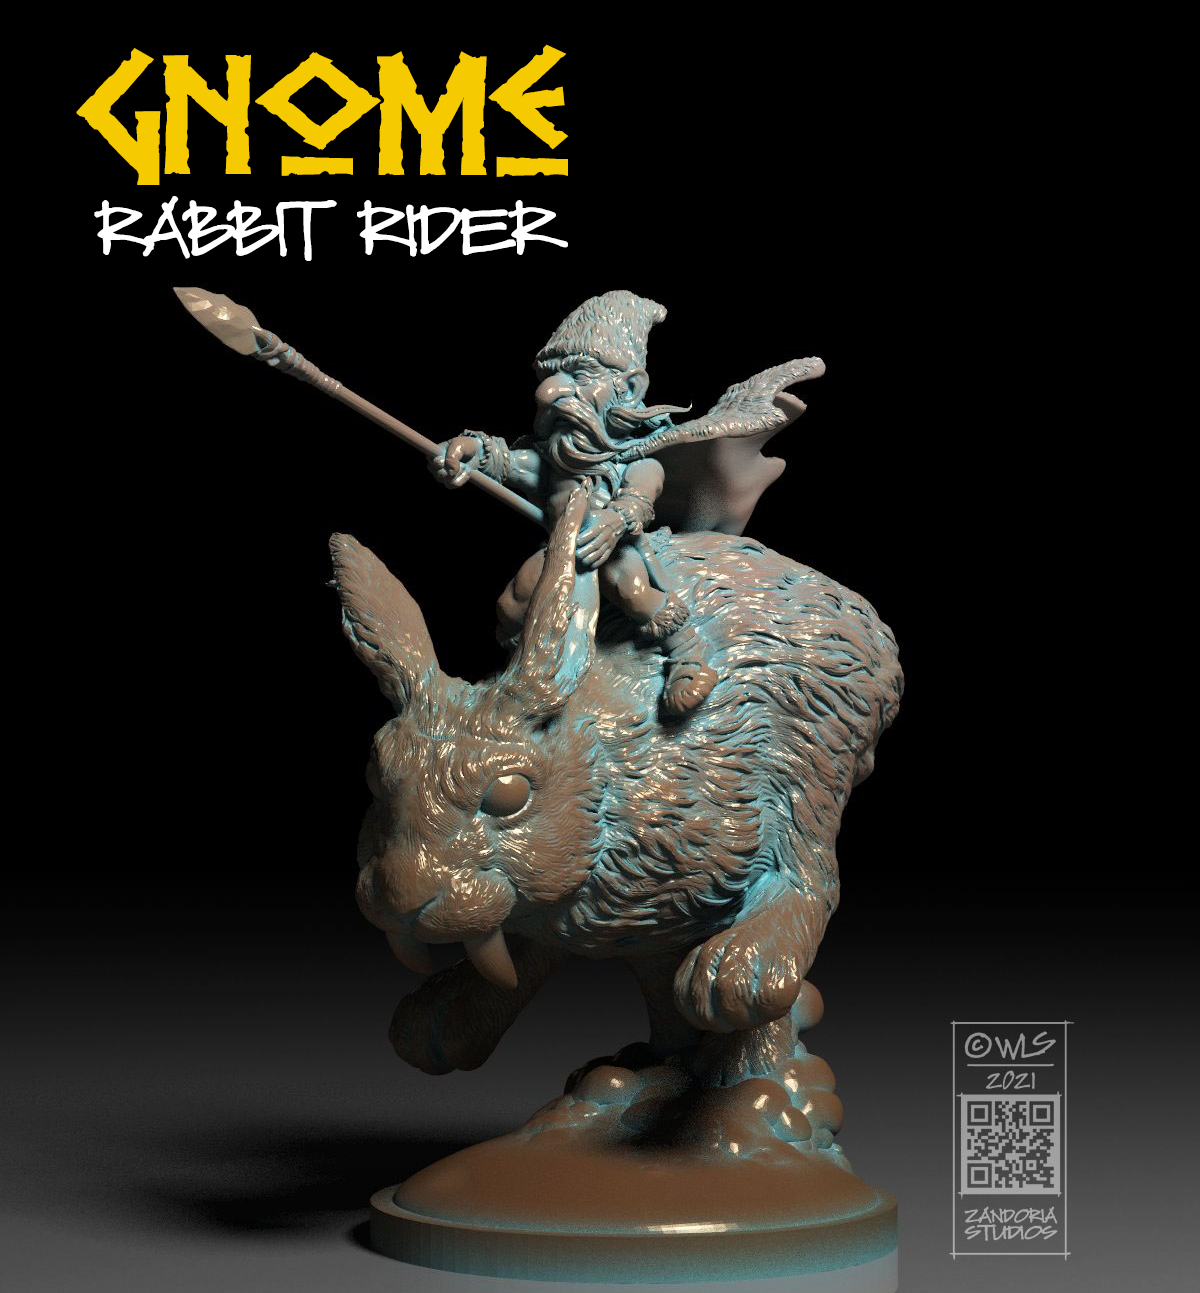
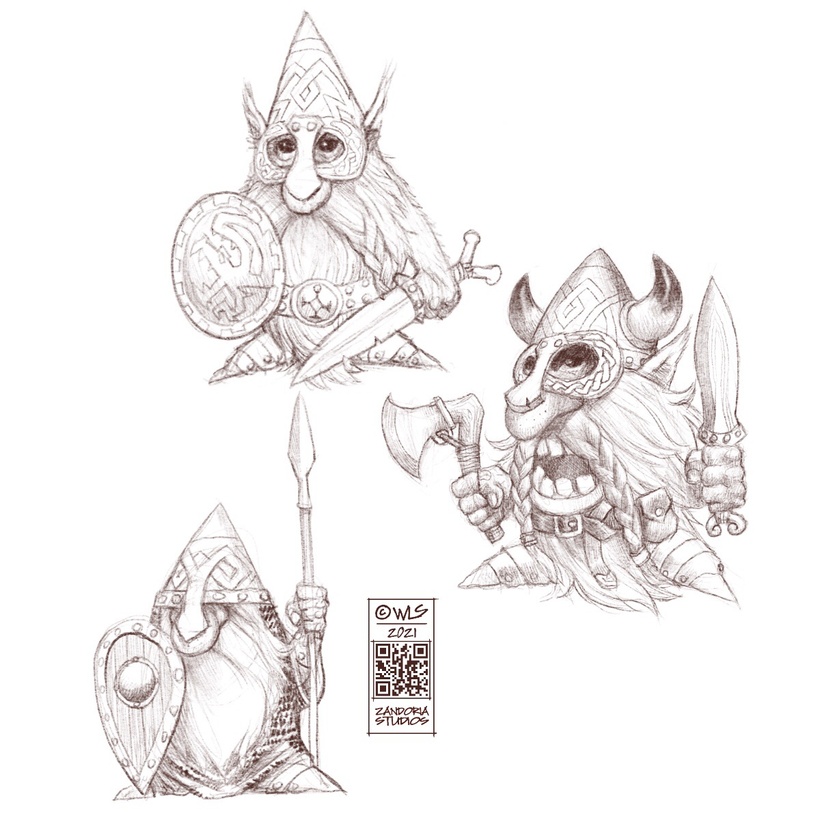
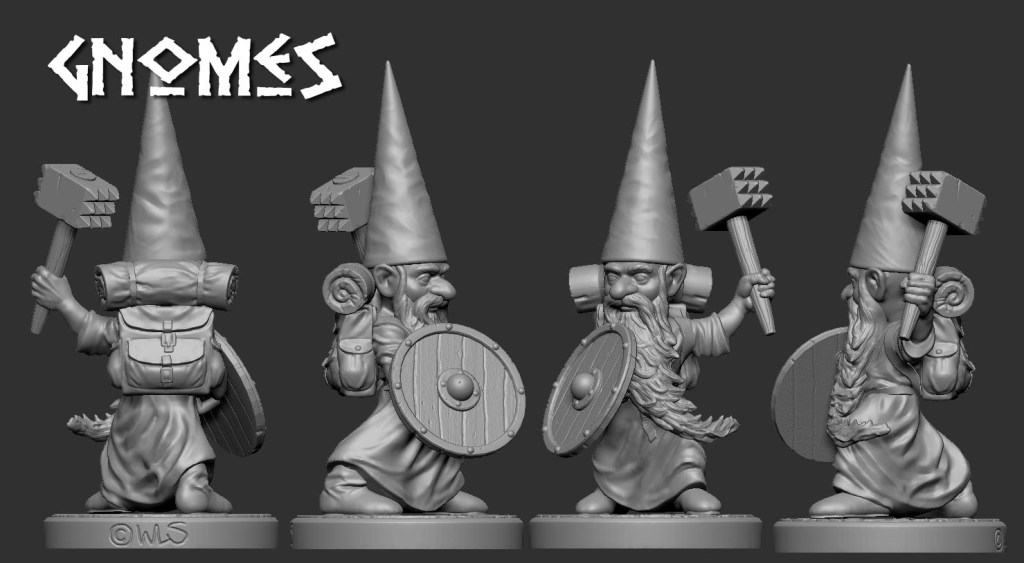
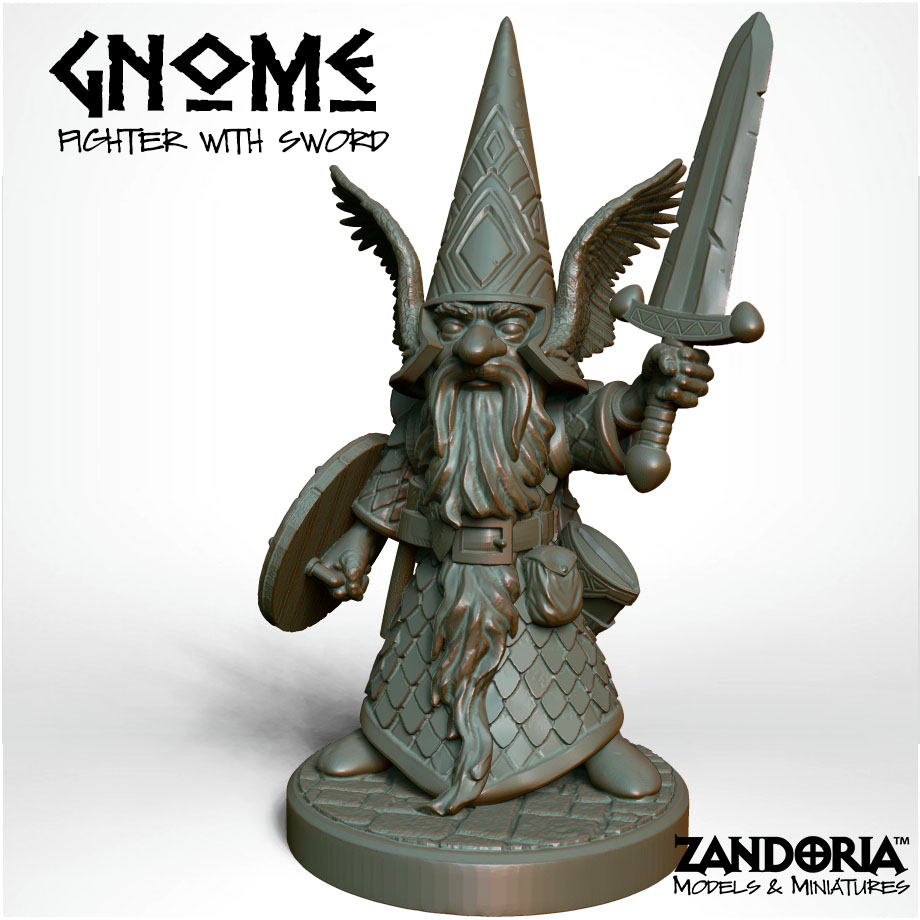
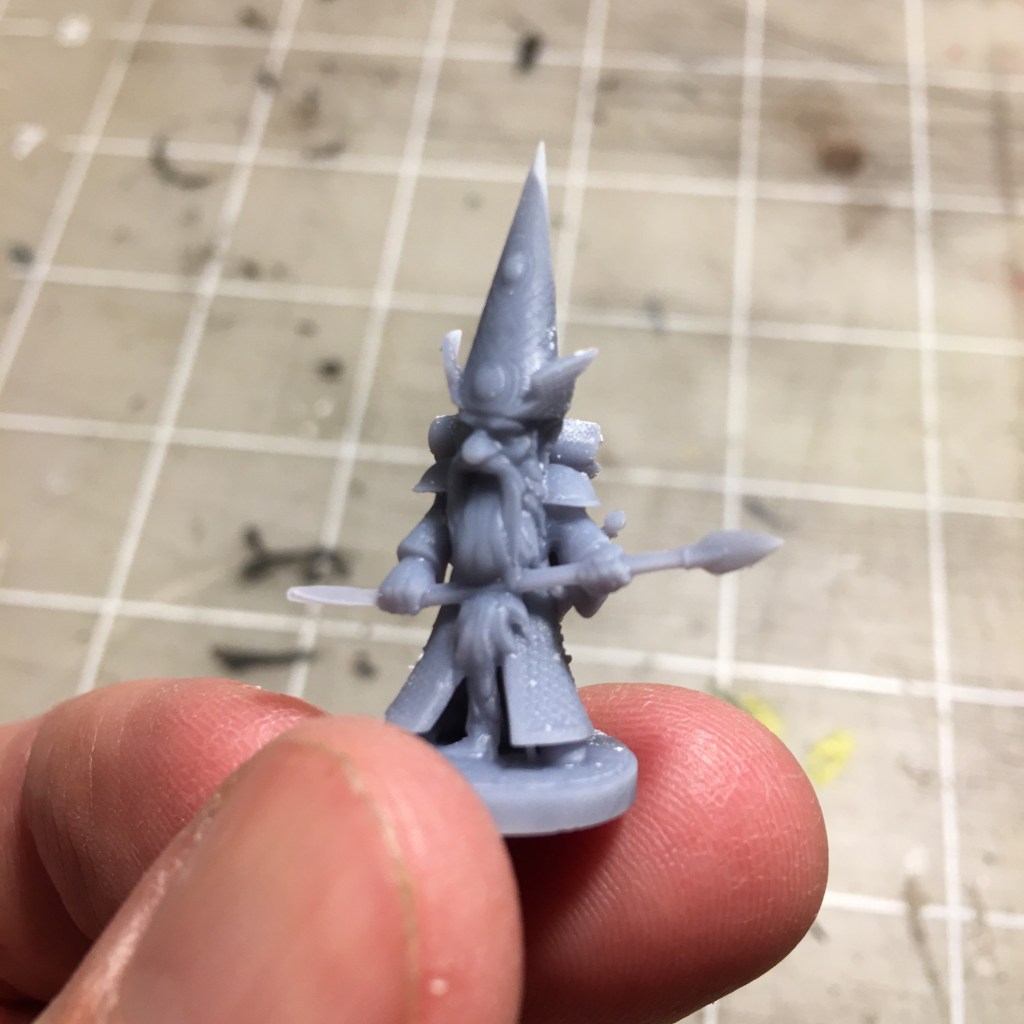
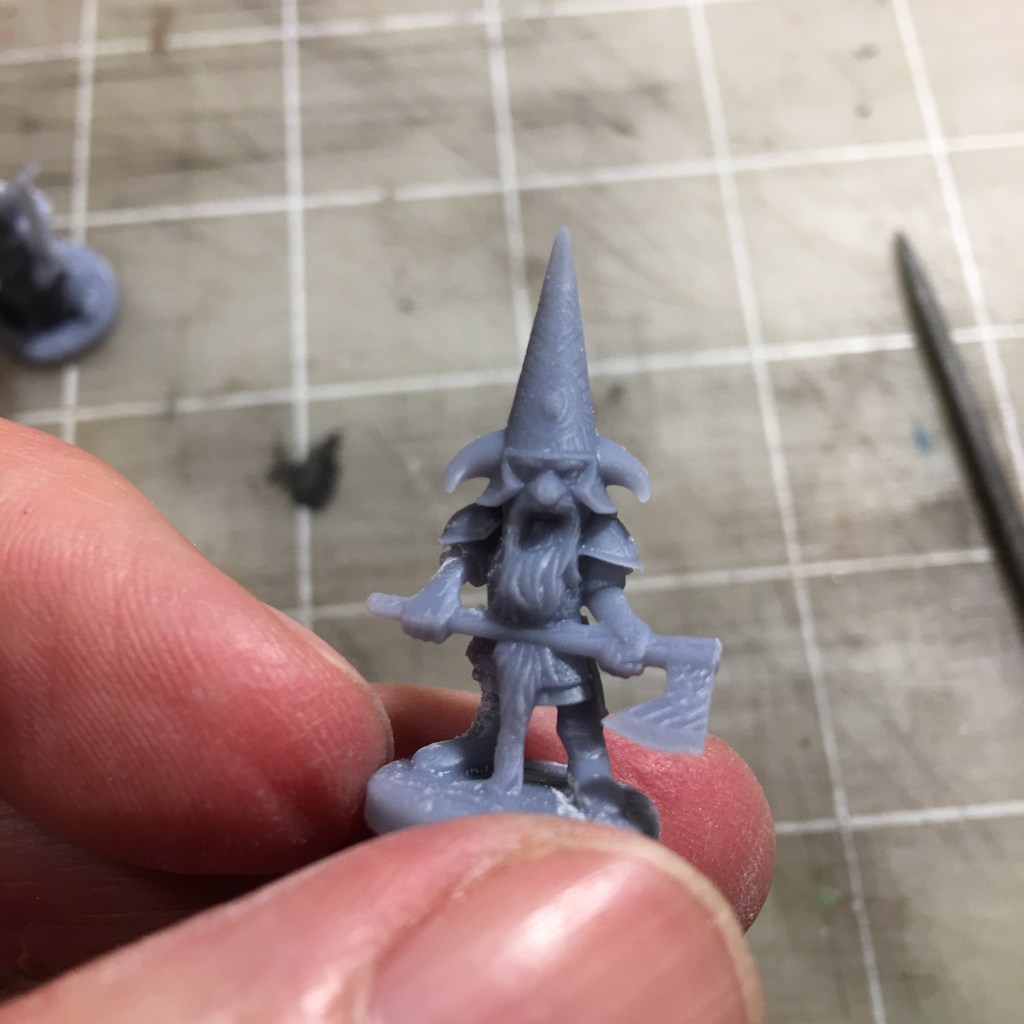
As Fantasy characters in Dungeons & Dragons and other TTRPGs, Gnomes are very popular. They are of small size, generally around 2′ tall. They are surprisingly strong for their size, at least as strong as a full-grown man! Because of their connection to nature, gnomes are often Druids or Rangers, but may be any Class.
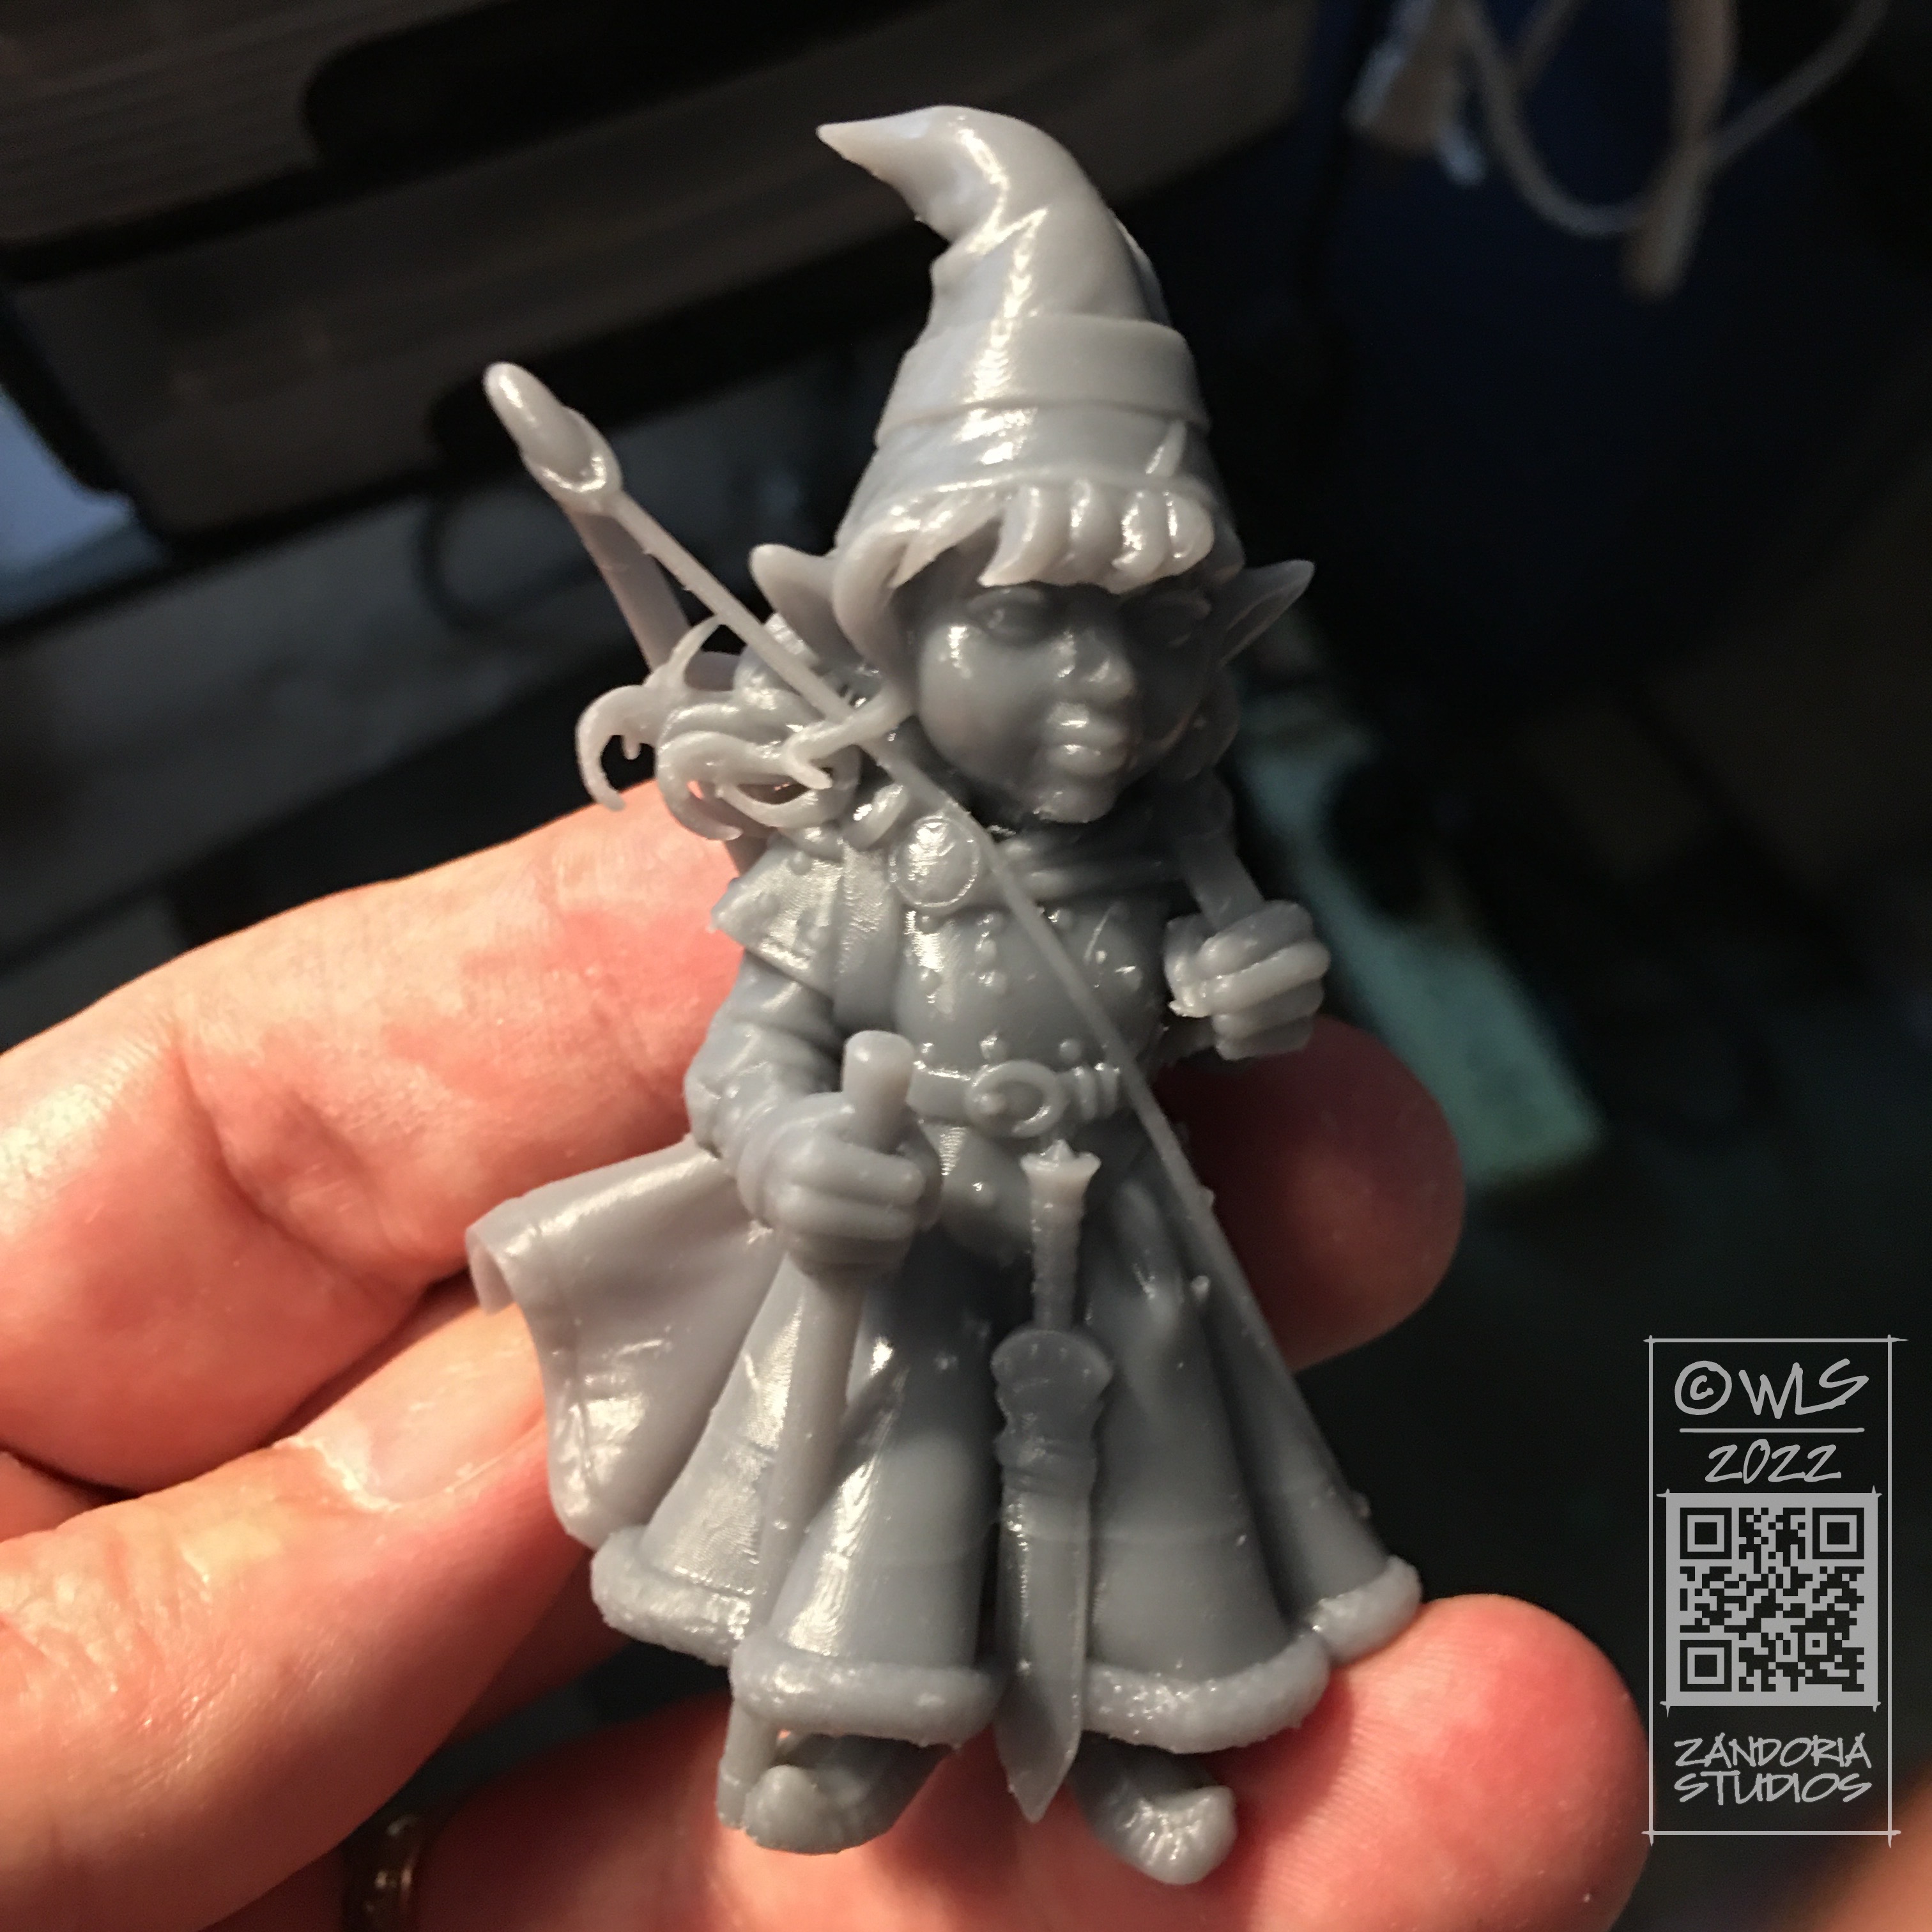
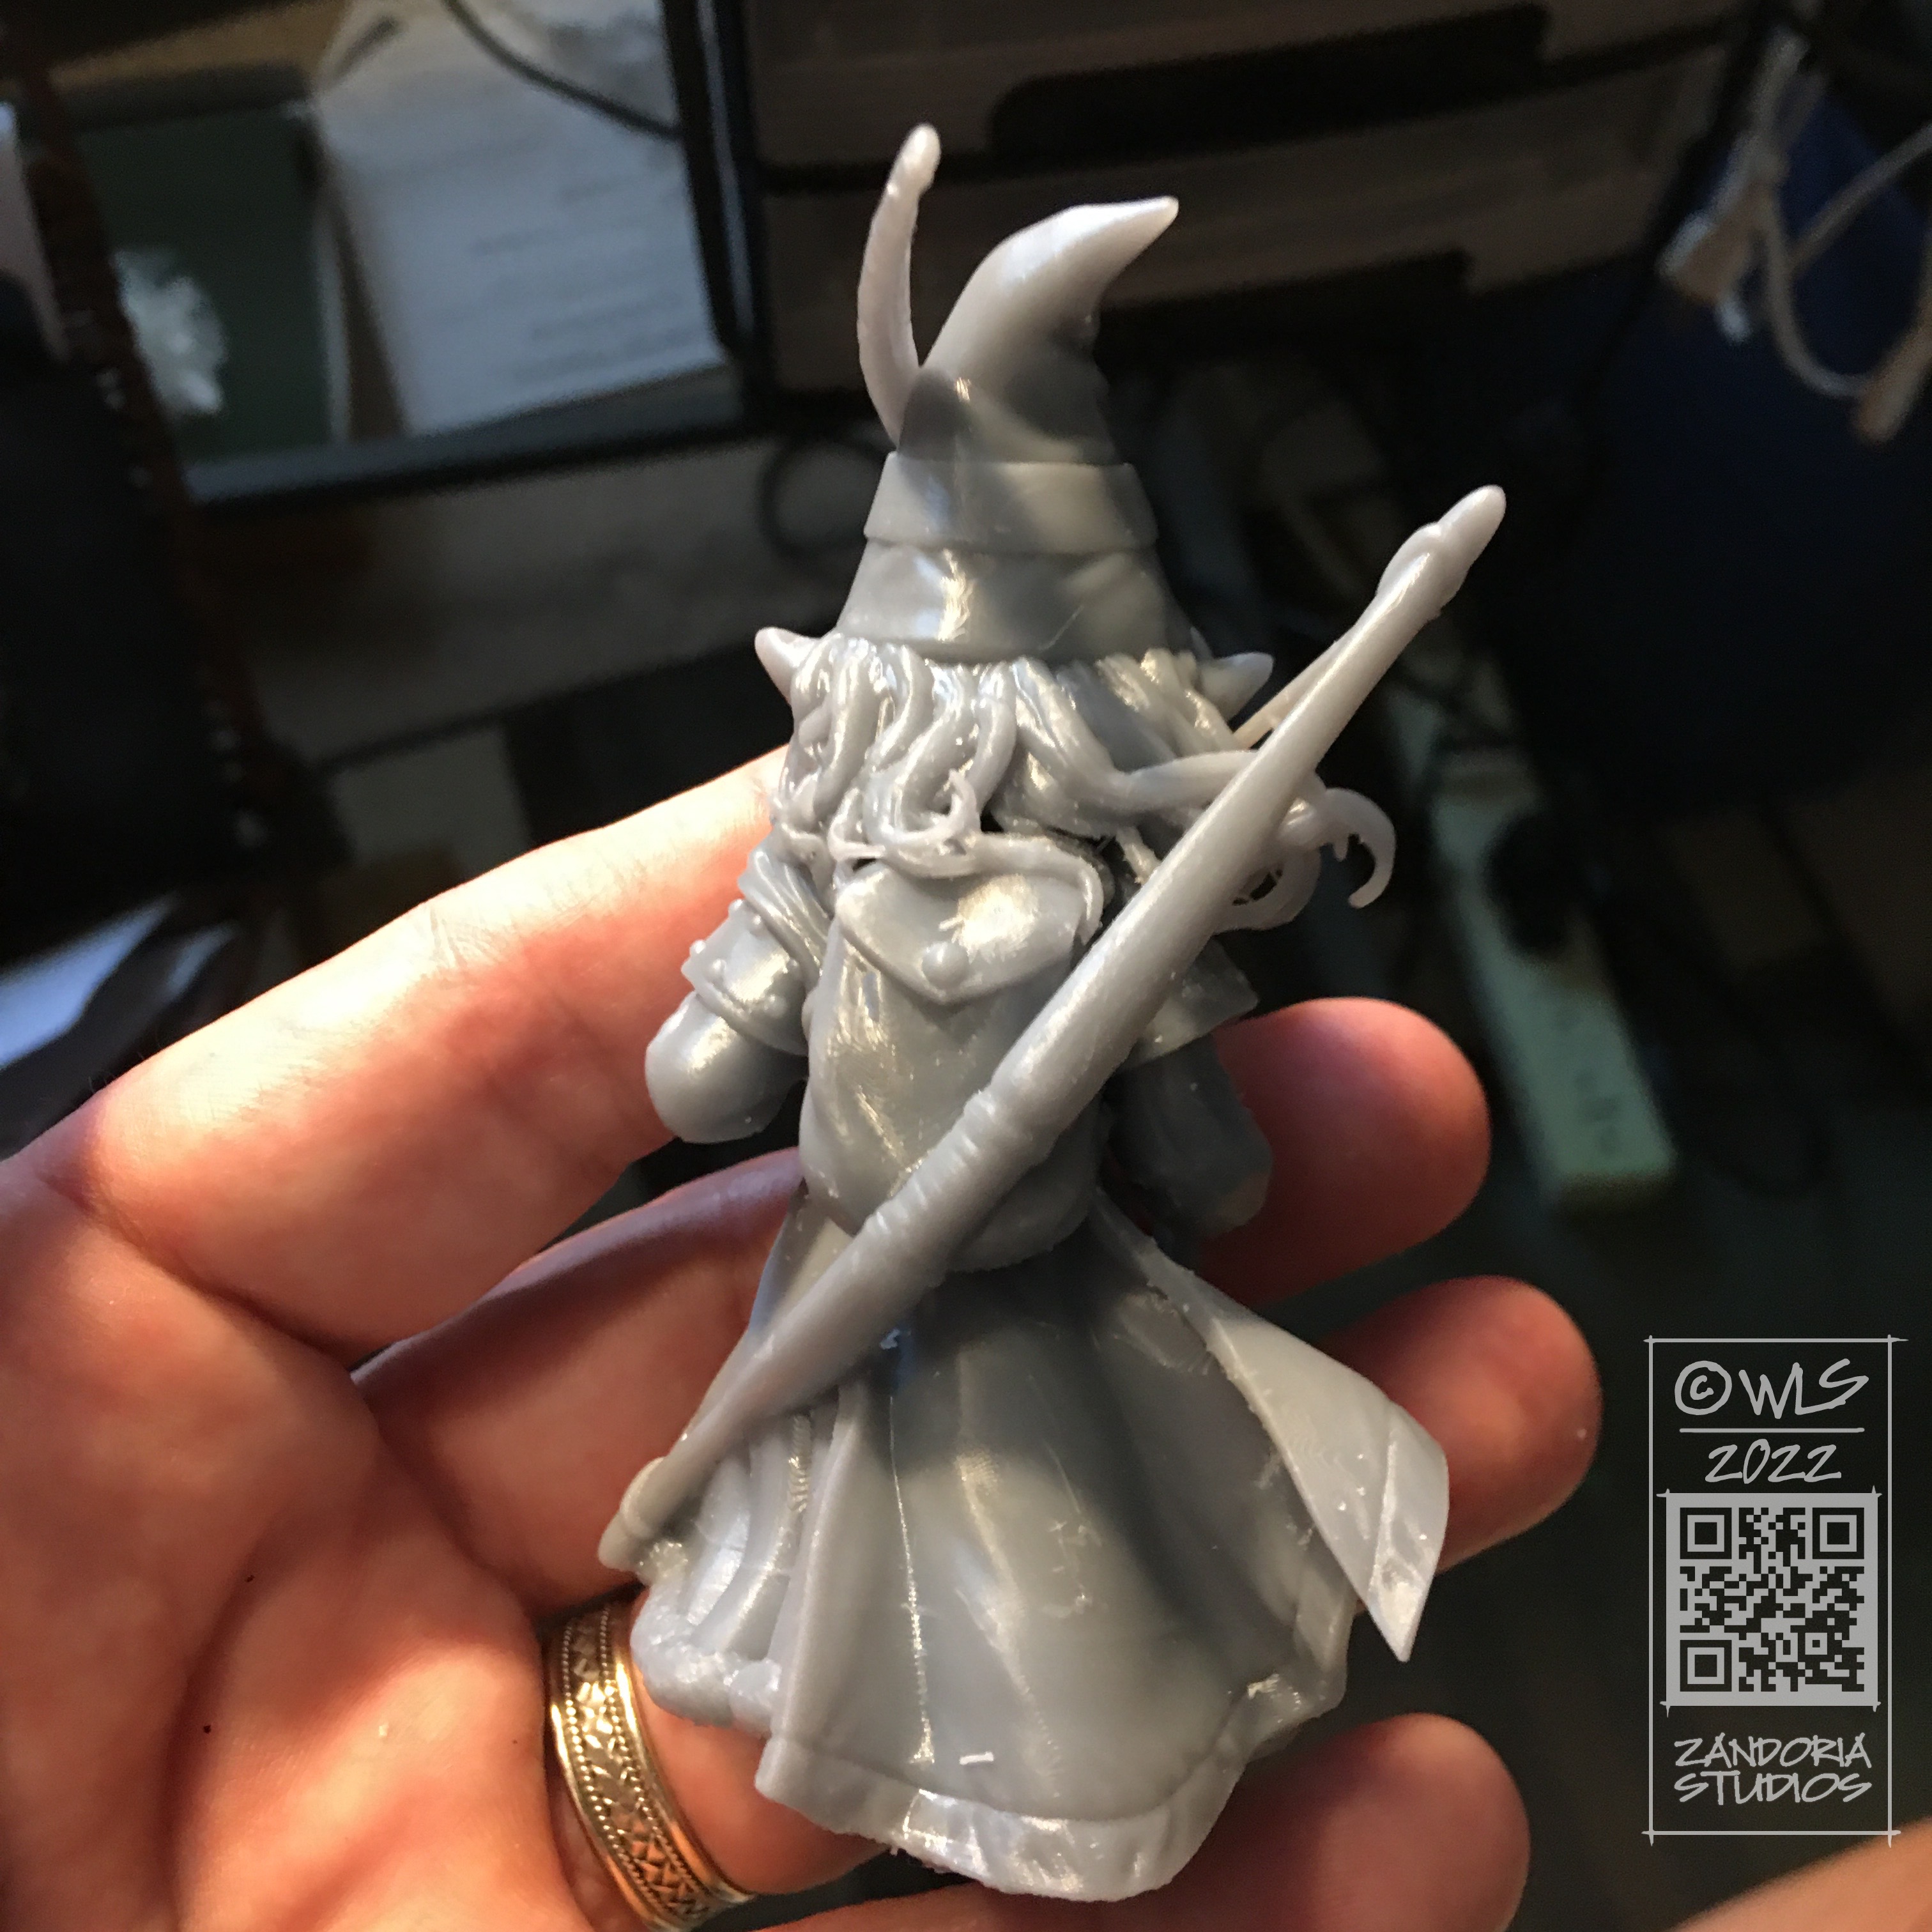
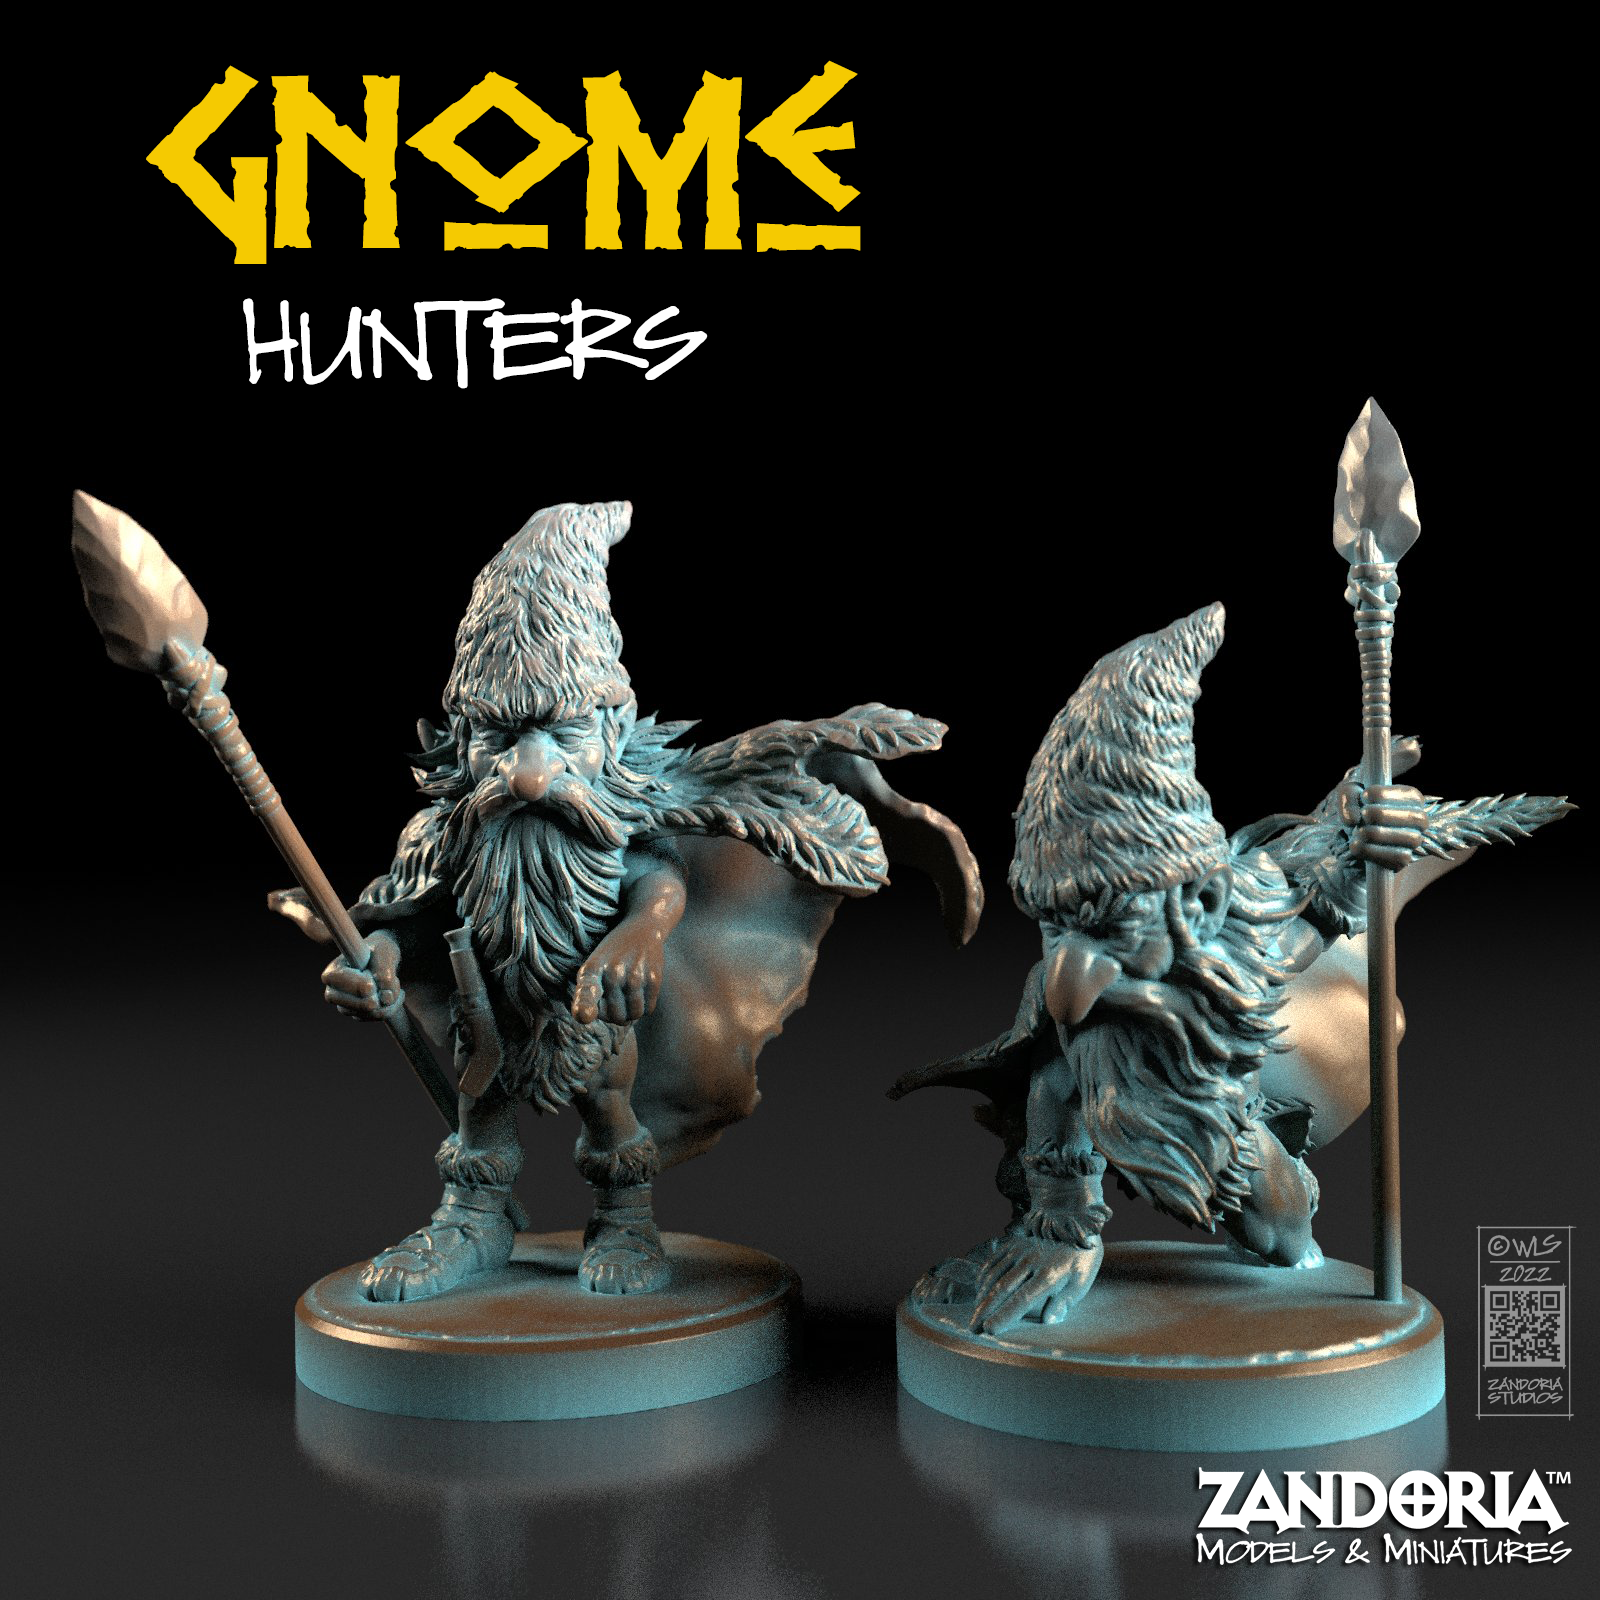
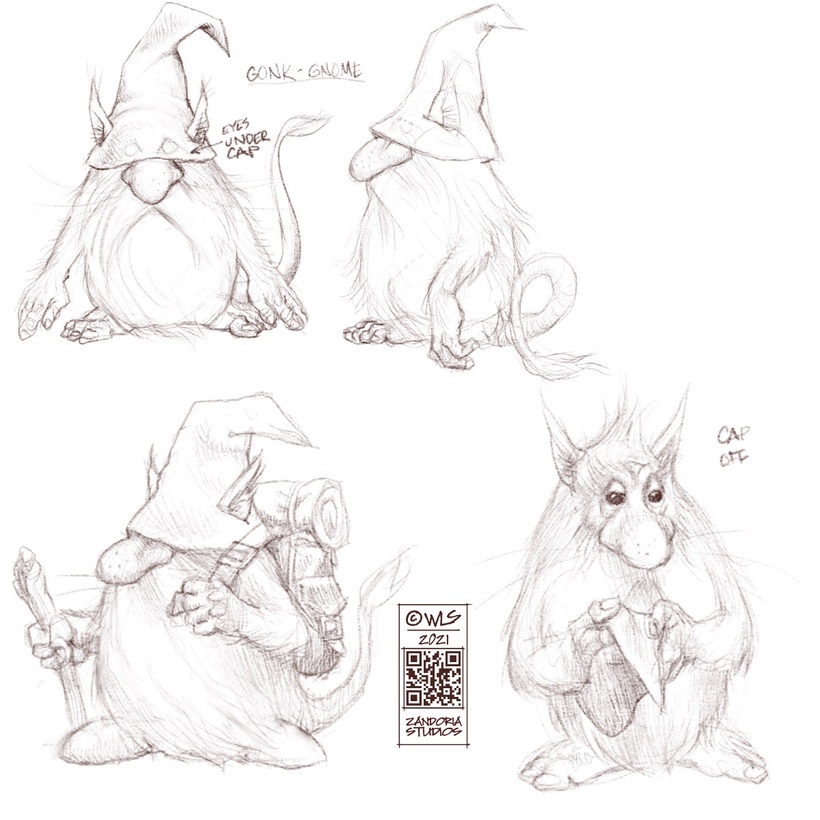
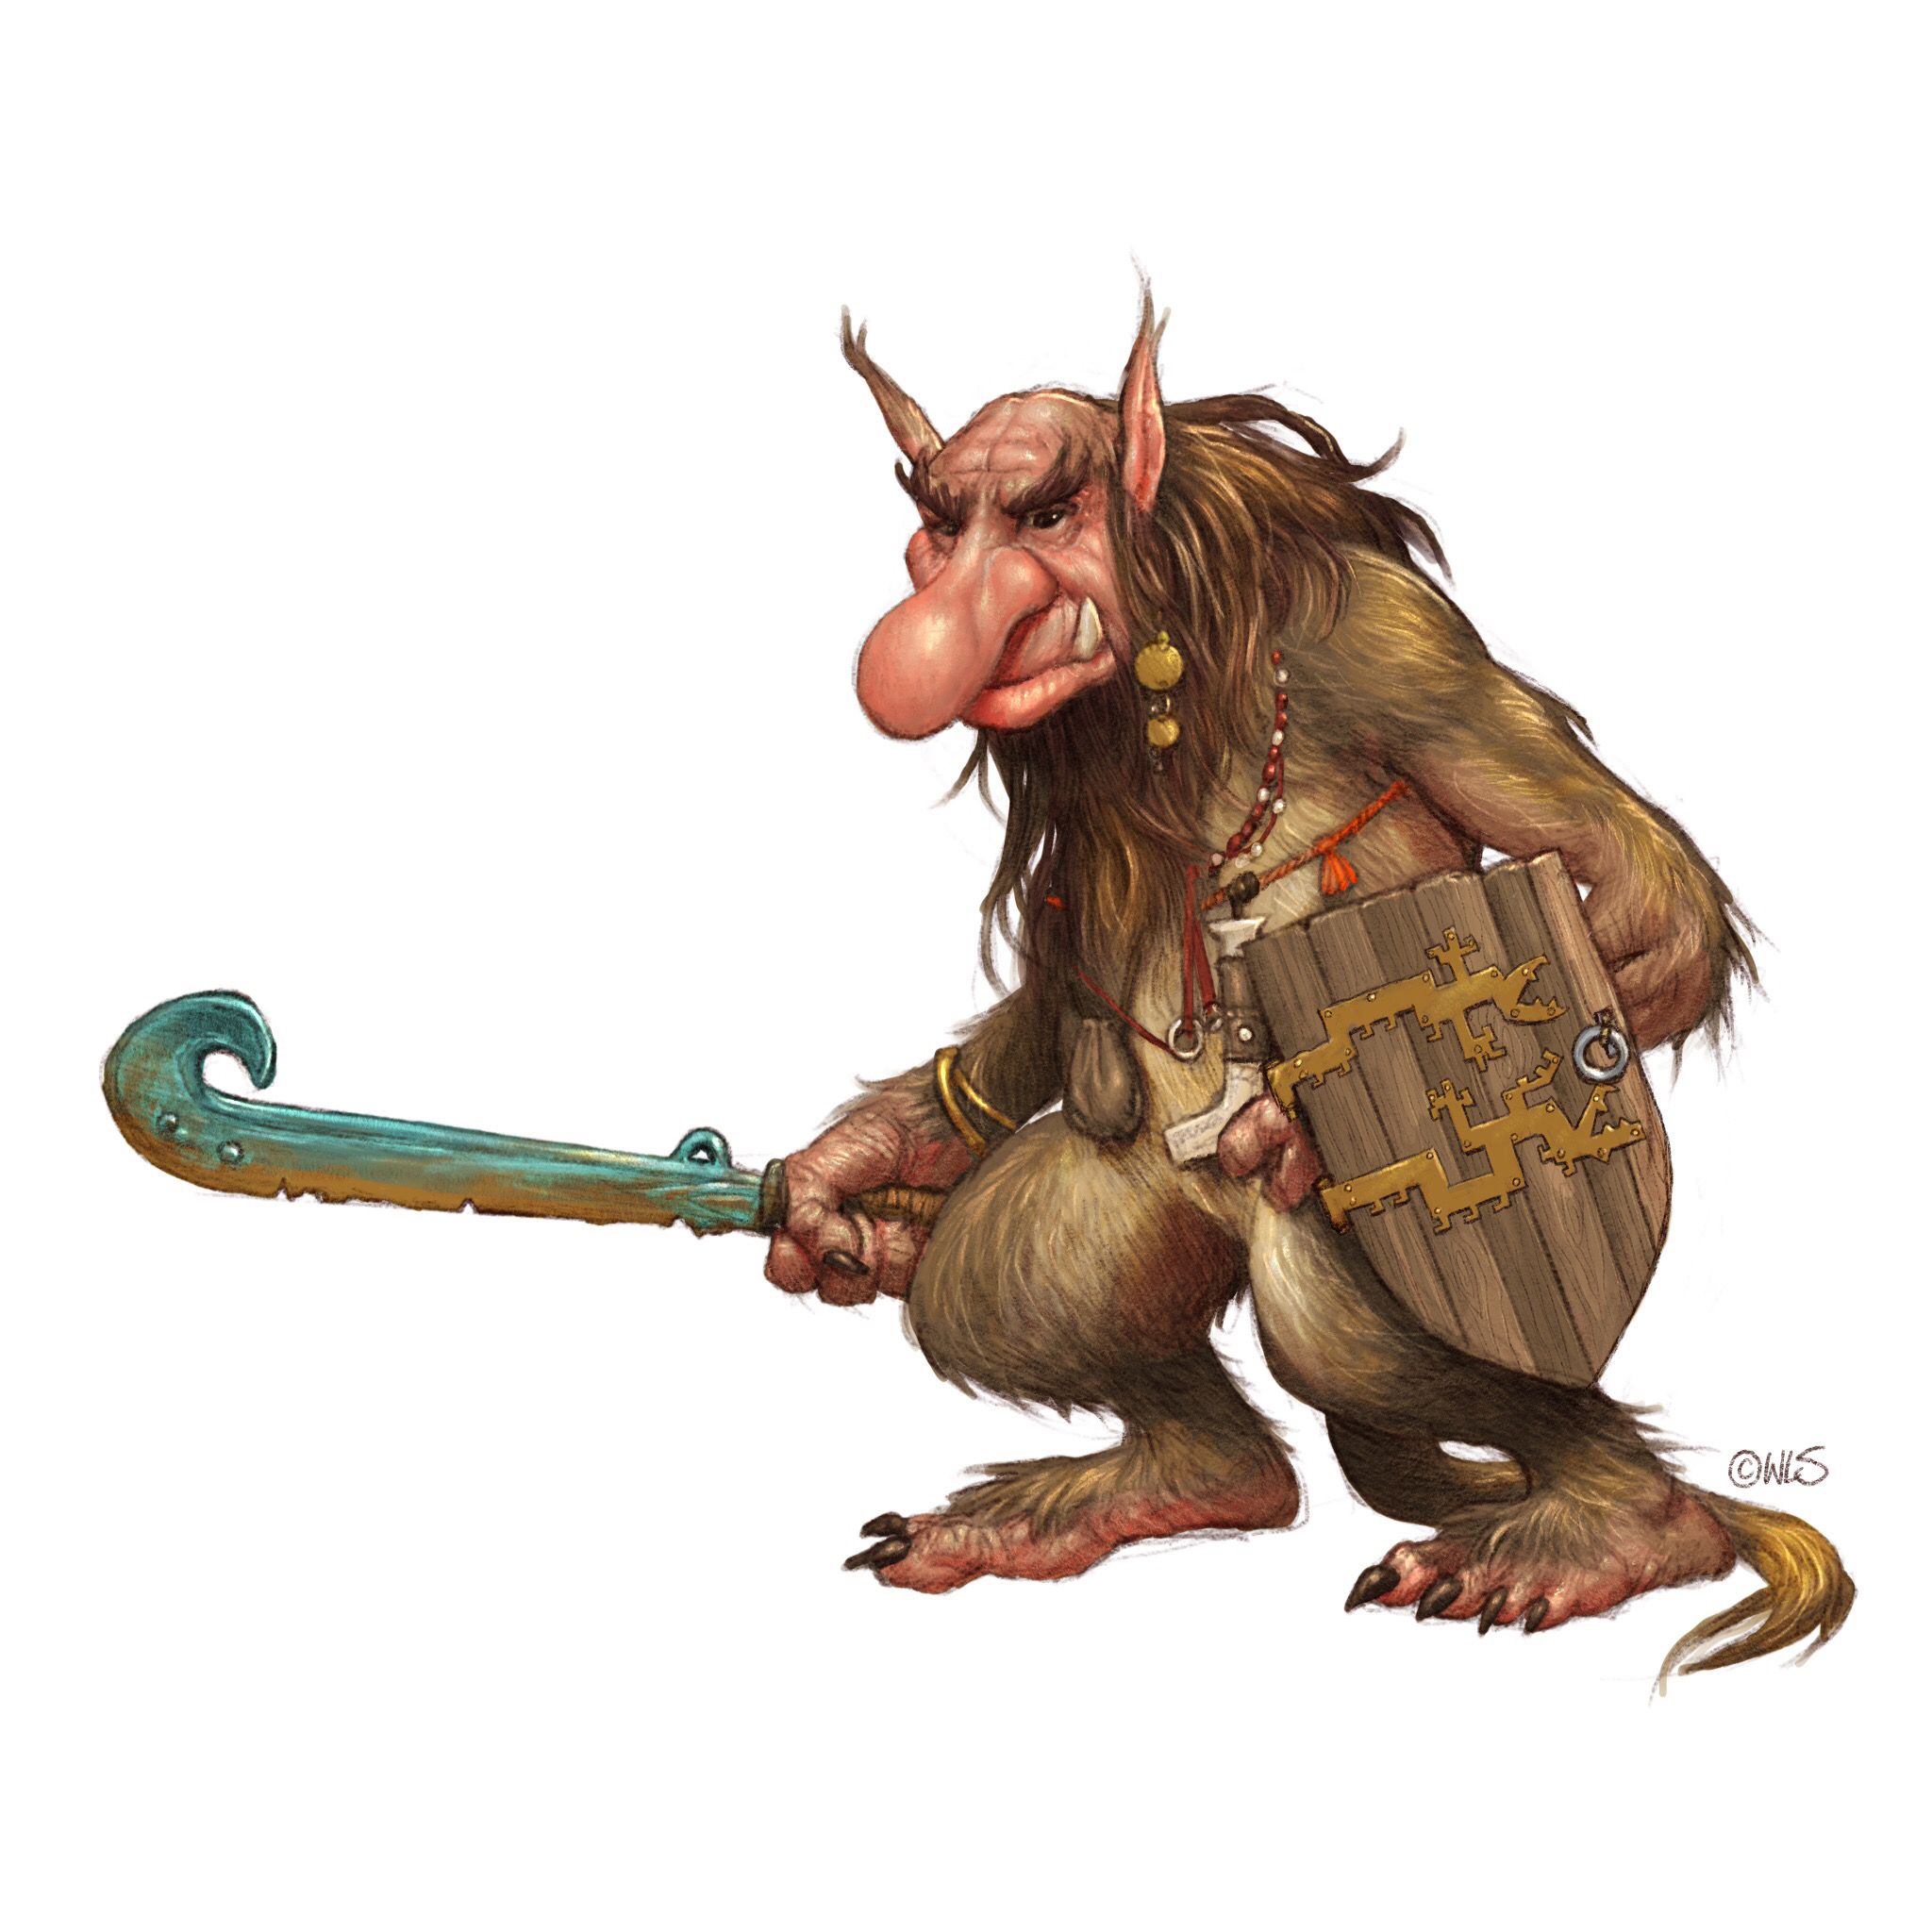
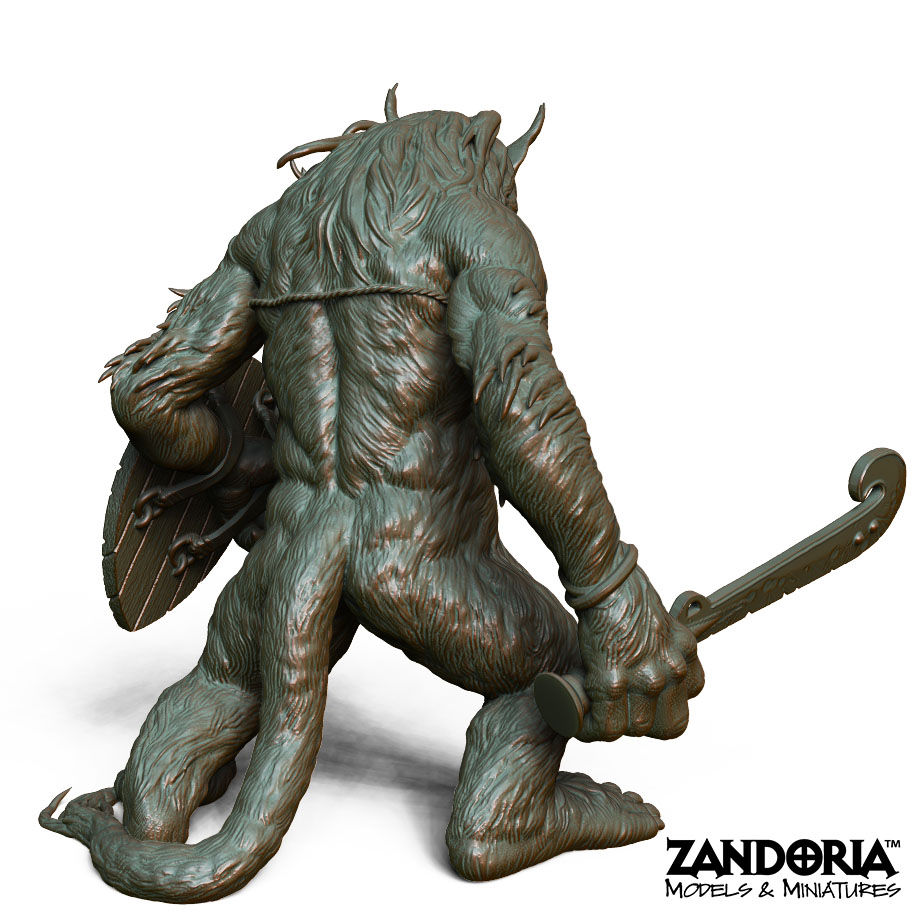
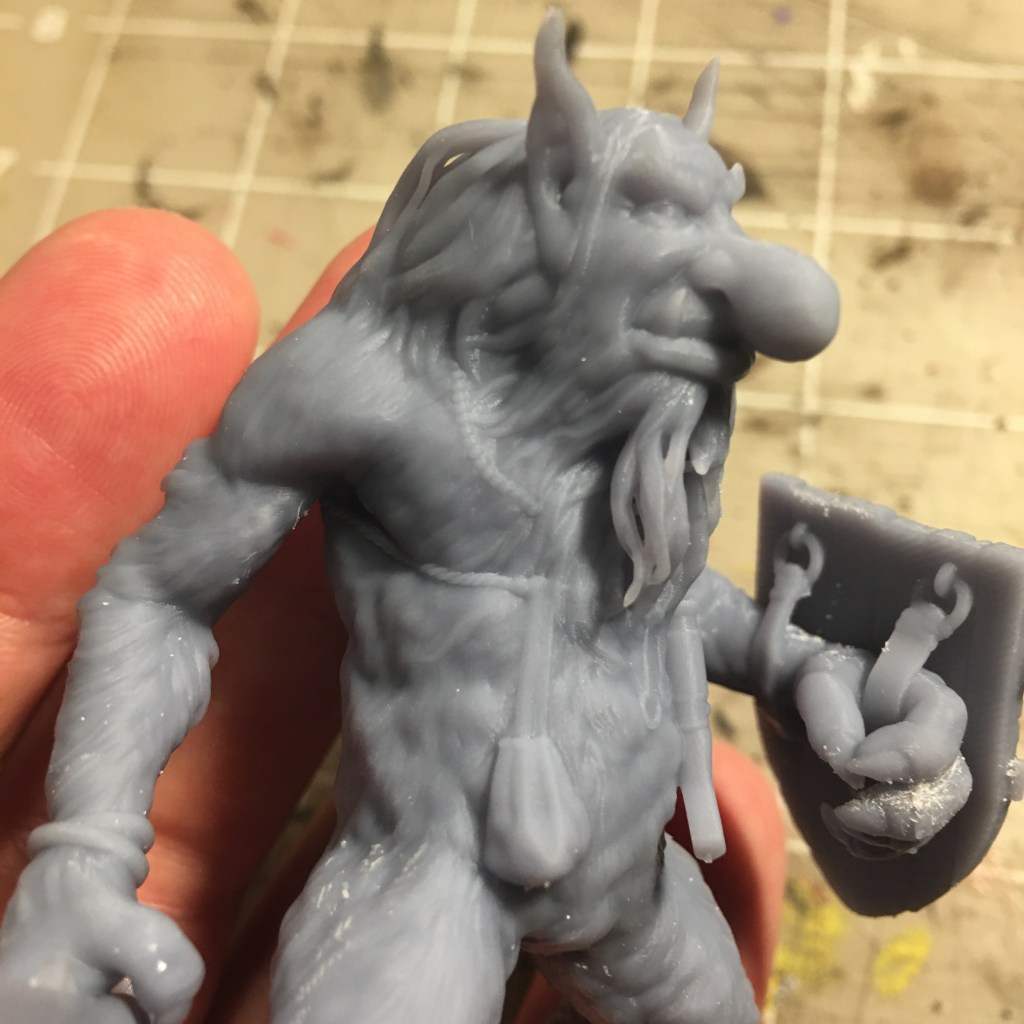
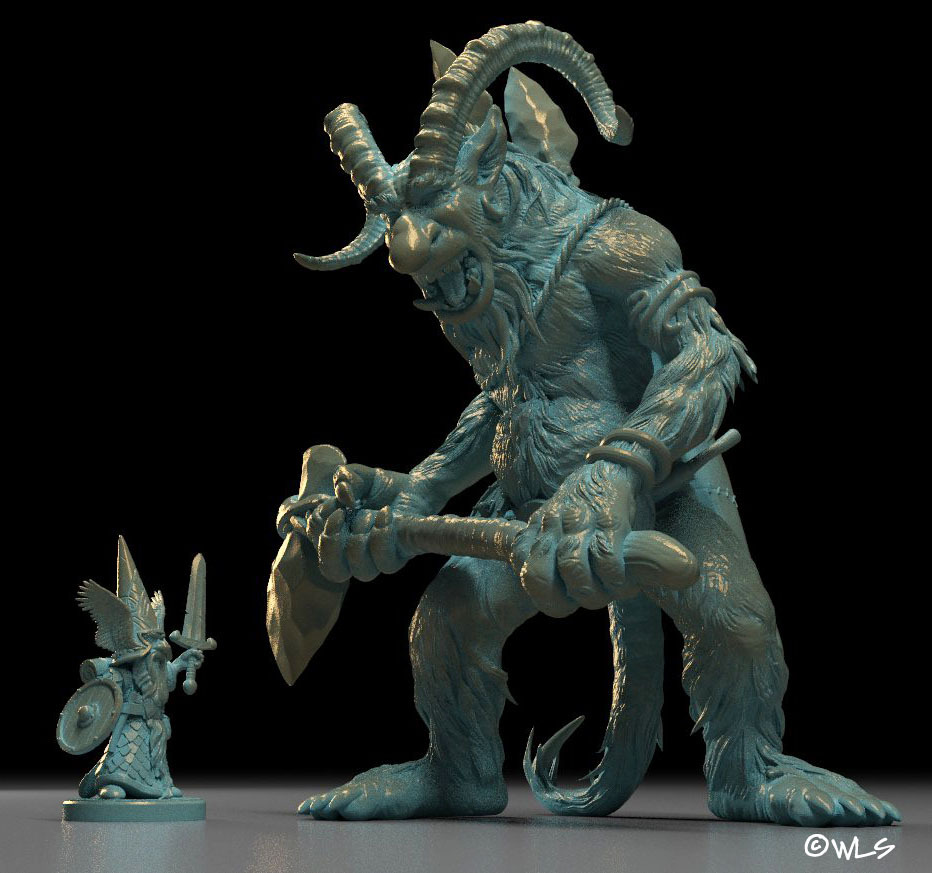
A Gonk is a subspecies of Gnome. They are a little shorter in proportion, and covered in fur. Gonks are are a more feral wild version of their taller kin, and live underground in burrows. They have a natural ability to shape-shift, which leads to some remnant animal traits in their appearance. Some Gonks even have tails!
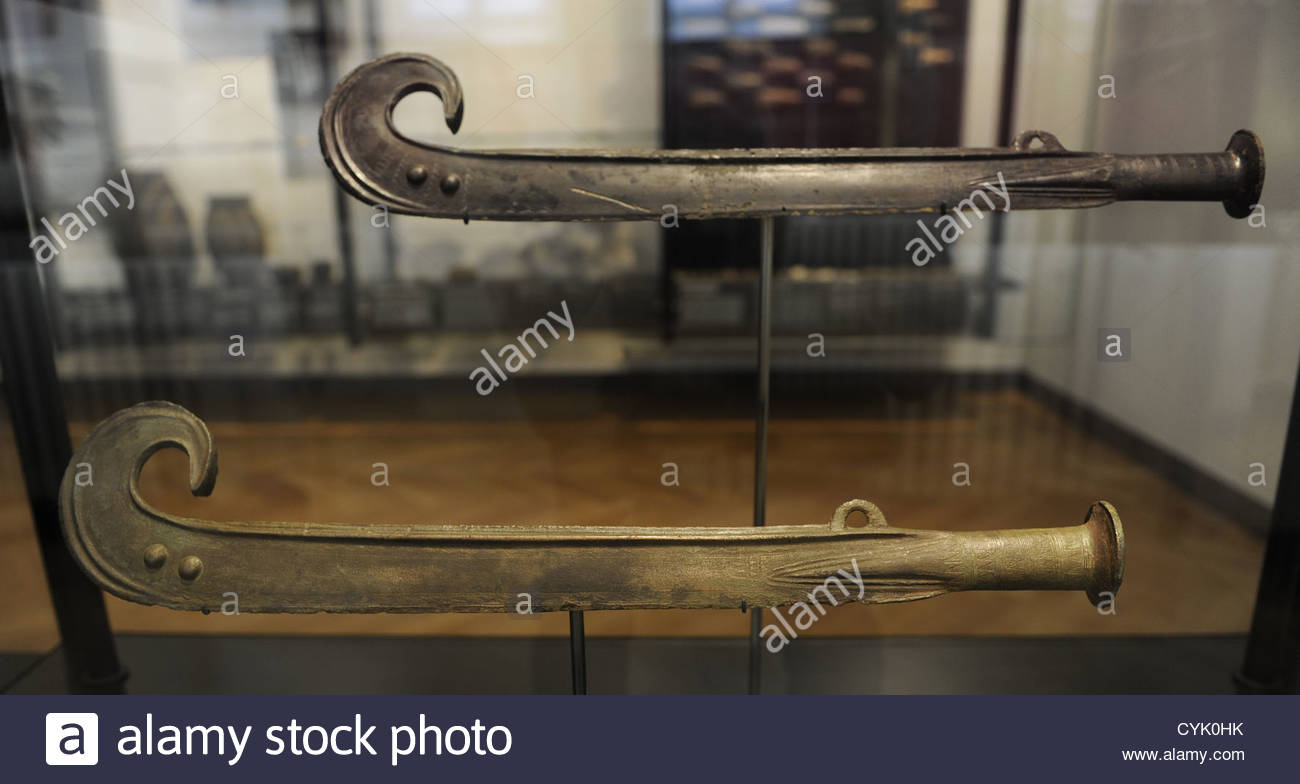
Gnomes wear tall cone-shaped felt caps, and take great pride in them. You can tell a lot about a gnome and his social status by the height of his cap. Caps are often embroidered and ornamented as well. Gnome warriors wear tall pointed helmets, which can also act as dangerous spikes to deter the big stompy feet of Trolls. Gonks also wear caps, and usually wear them pulled down to their nose to protect their sensitive eyes.